






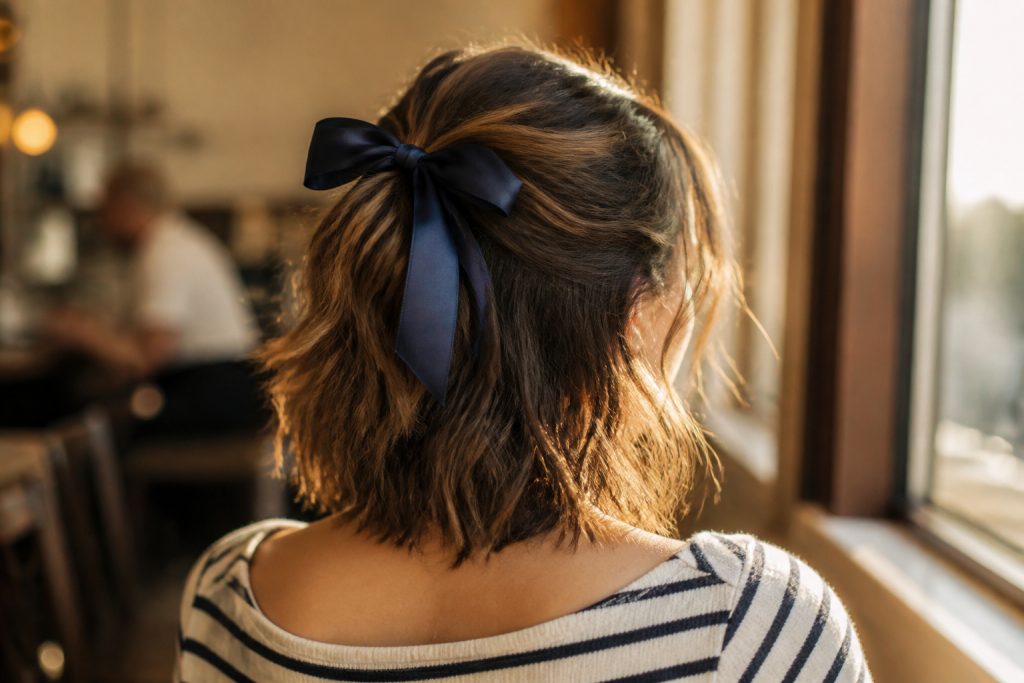

The first time I tried a sailor costume for women I assumed it would be all hat and stripes. Instead, the ribbon and a quick twist around my ponytail earned more compliments than the outfit. Below are 15 looks that take the sailor idea from cute to flirty to full-on party ready, and they work on everything from pixies to long, thick waves.
I picked styles for short, medium, and long hair, and noted how much morning effort each needs. Most of these take under 10 minutes once you know the trick, and everyone is moving toward soft, lived-in texture rather than stiff costume hair.
15 Sailor Costumes for Women That Look Cute, Flirty, and Party Ready
Twisted Sailor Bob with Ribbon Bow
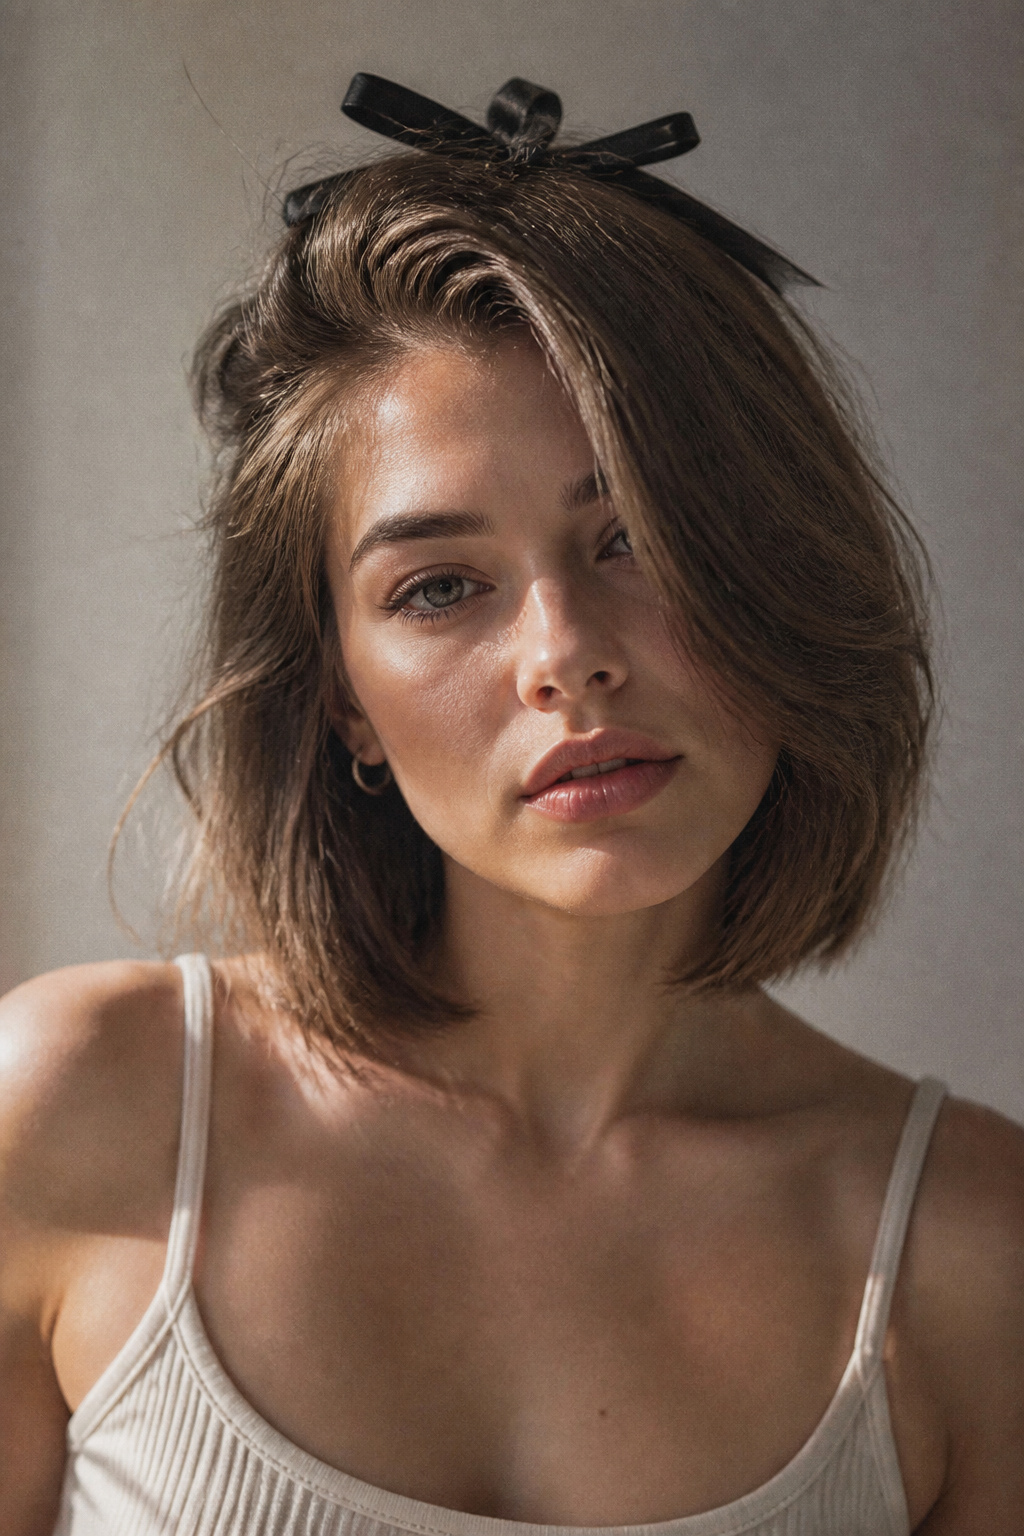

Best for fine to medium hair. Trim every 10 to 12 weeks. About 5 to 8 minutes each morning.
This look makes a bob feel costume-ready without looking like a wig. The visual payoff is a neat bow at the crown that reads nautical but still soft. It flatters round and heart faces because the deep side part and inward-turned ends create face-framing balance. The trick is to twist two small front sections back and secure with a ribbon, leaving the ends loose for movement. Do not over-spray or the ribbon will look staged.
High Pony with Nautical Scarf Wrap
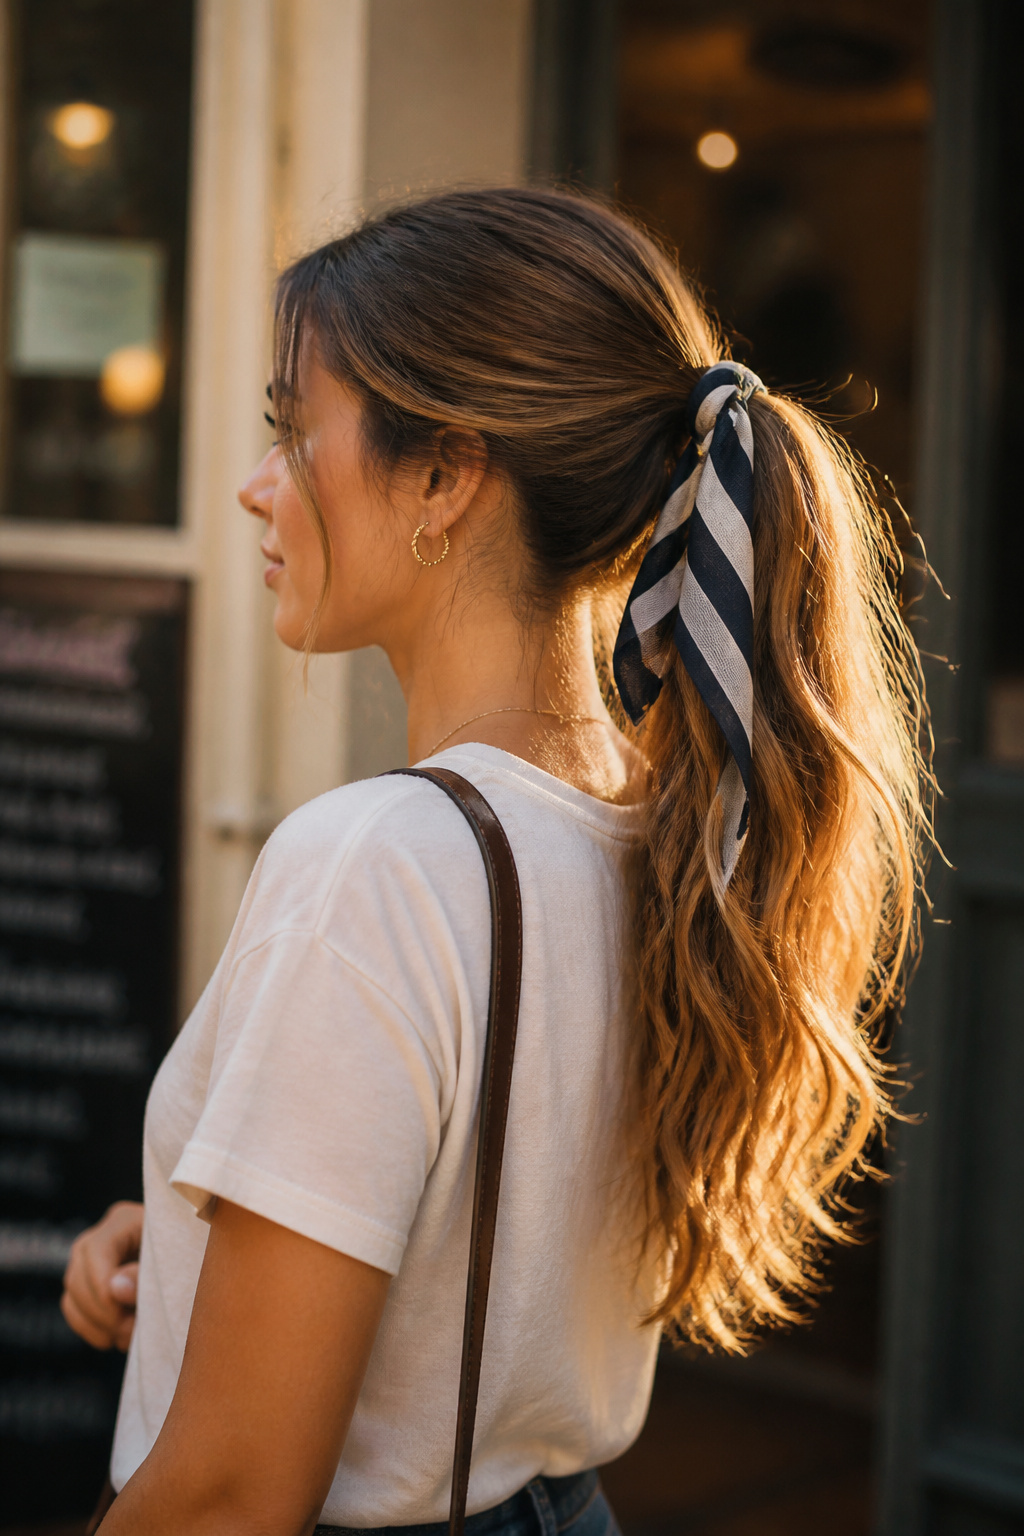

Best for long, medium density hair. Survives day two hair well. About 7 to 10 minutes.
This high pony reads party ready because the scarf gives it instant personality. It flatters long faces and necks, and the wrap disguises limp ends. The technique is to backcomb the crown lightly, smooth the top with a paddle brush, and tie the scarf around the base twice. Most people over-tighten the scarf and end up flattening the pony; keep it snug but not constricting. A light texturizing spray at the mid-lengths keeps the tail bouncy.
Messy Topknot with Mini Sailor Cap
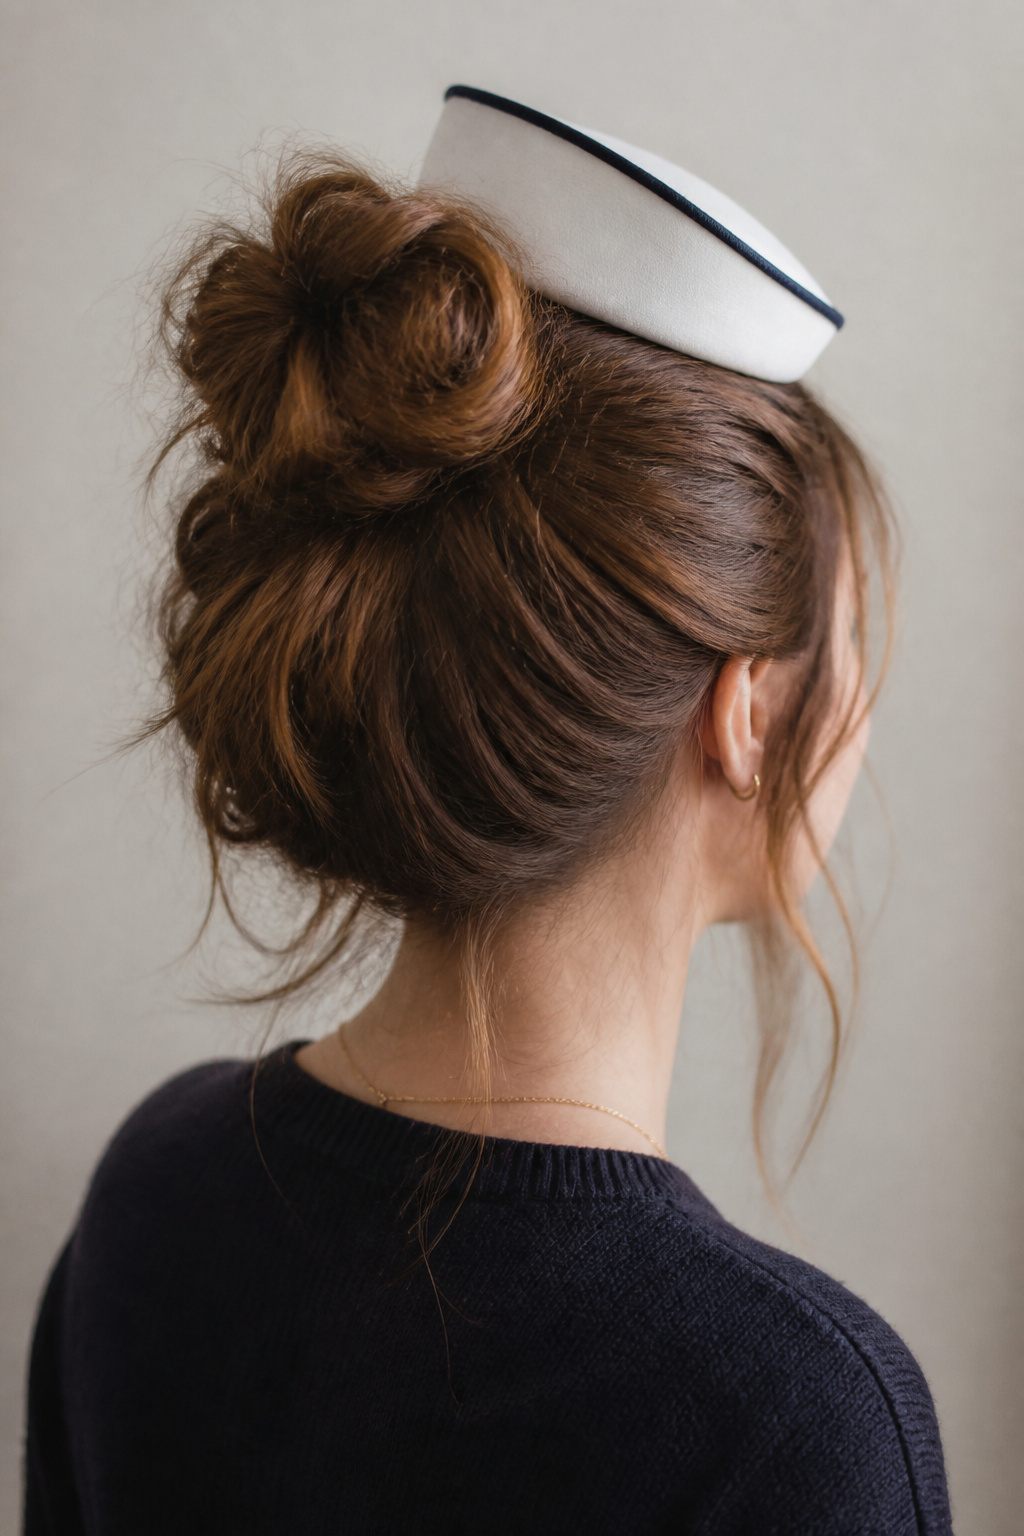

Best for medium to thick hair. Easy to restyle. Under 5 minutes once you know the twist.
This is my go-to when I want a hat to sit right without fussing. The payoff is effortless cool; the cap looks intentional rather than costume-y. The trick is a loose sock bun or twisted knot, then pin the cap through the knot’s base so it does not slide. Warning. If you pull the bun too tight the cap will look clinical. Embrace a few face-framing wisps for softness.
Vintage Finger Waves for Retro Sailor Glam
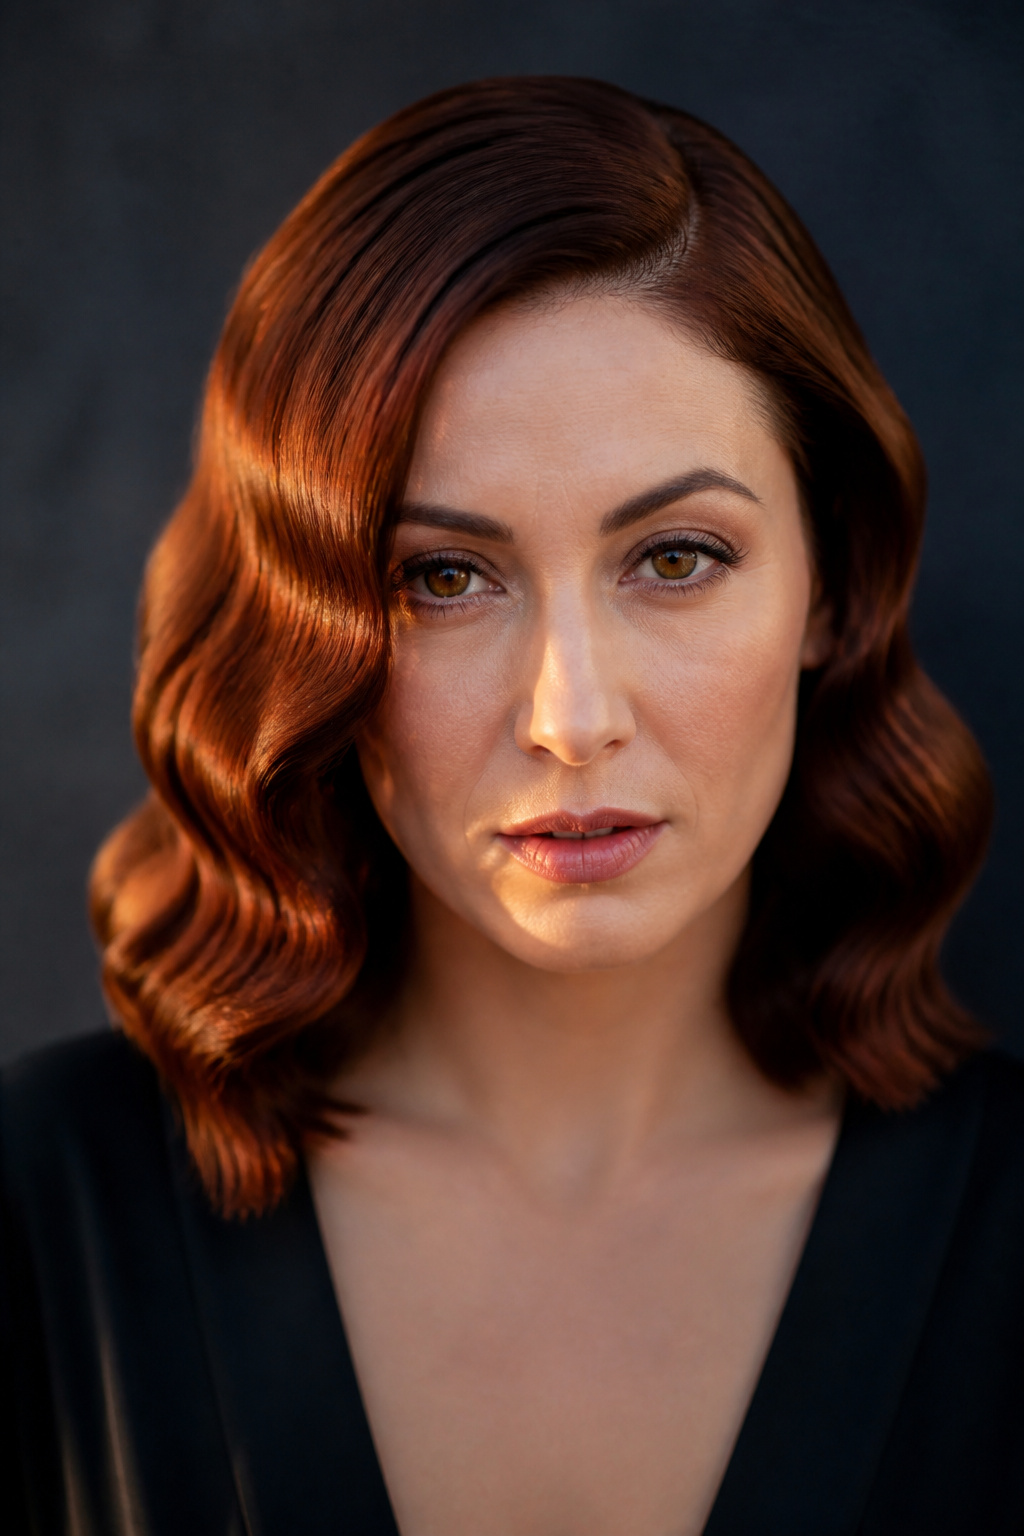

Best for short to medium straight hair. Professional styling helps. 20 to 30 minutes to set.
If you want old-school glamour with a sailor hat, finger waves pair perfectly. The visual payoff is a polished, sculpted shape that frames the cheekbones. It flatters oval and long faces. The technique needs a small-tooth comb and setting clips; work in thin sections and set the ridges while warm. Common mistake. Trying to do this by feel without clips produces sloppy waves. This one is slightly higher effort but worth it for a themed party.
Rope Braid Crown with Anchor Accent
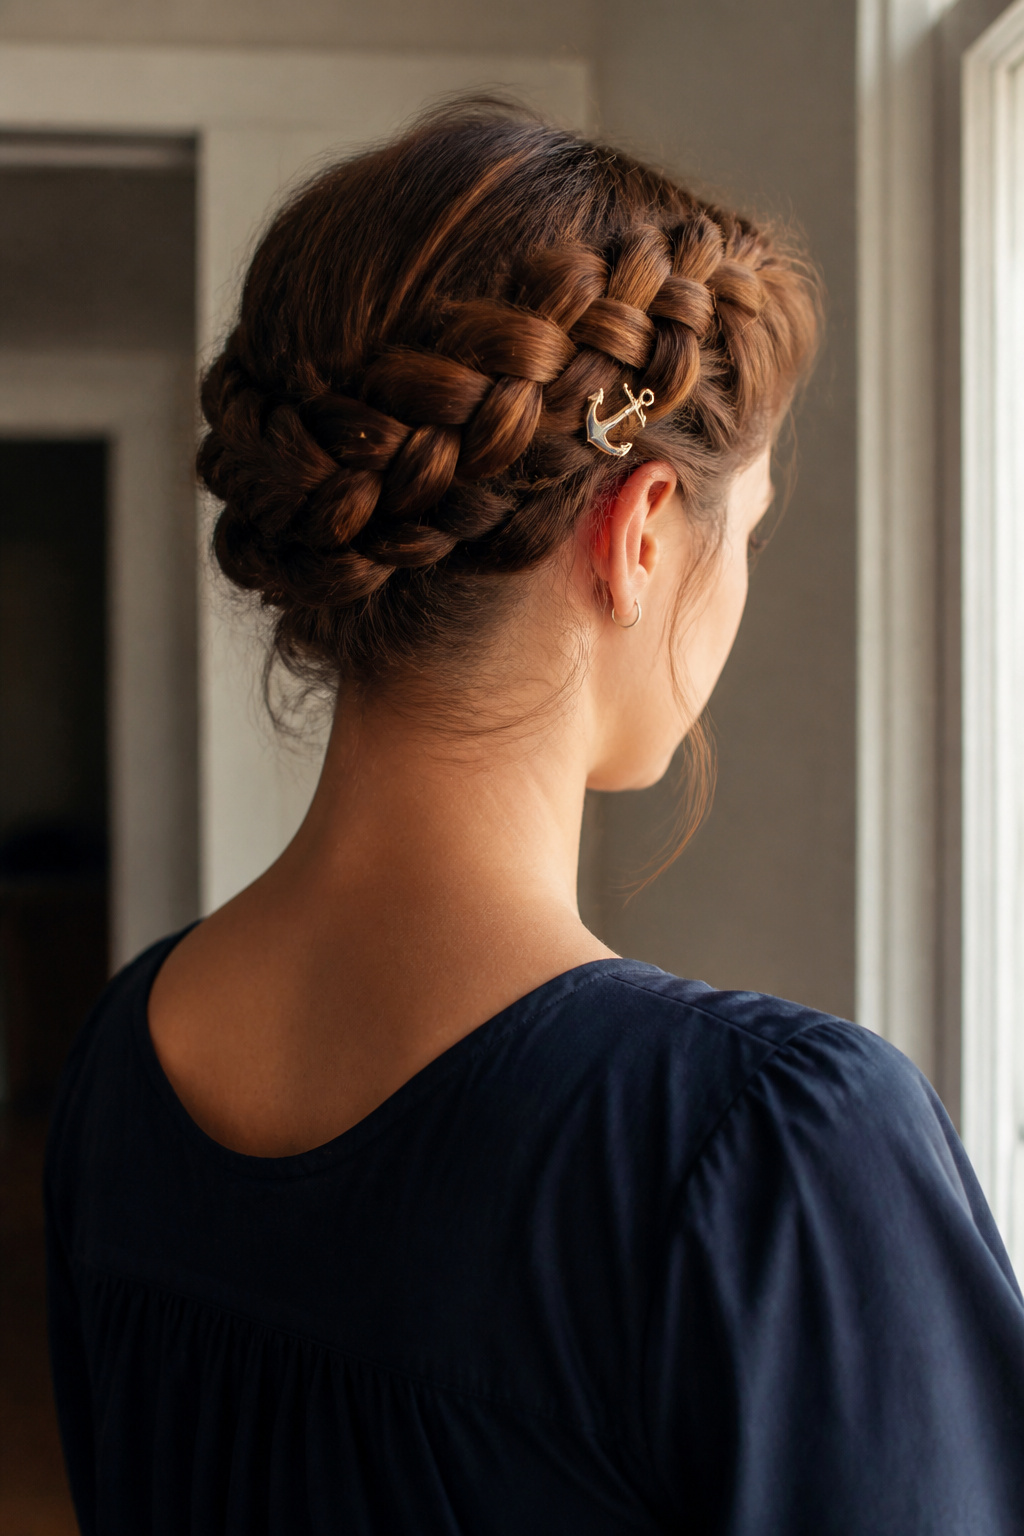

Best for medium to thick hair. Looks better a day after washing. 10 to 12 minutes.
A rope braid crown feels maritime without being literal. The payoff is regal yet flirty, perfect for heart and square faces. The technique is two rope braids from each temple, wrapped and pinned into a crown; hide the ends under the braid for a seamless finish. Avoid braiding too tightly or the crown will look stiff. Try finishing with a small anchor clip rather than a giant charm.
Low Twisted Bun with Nautical Knot
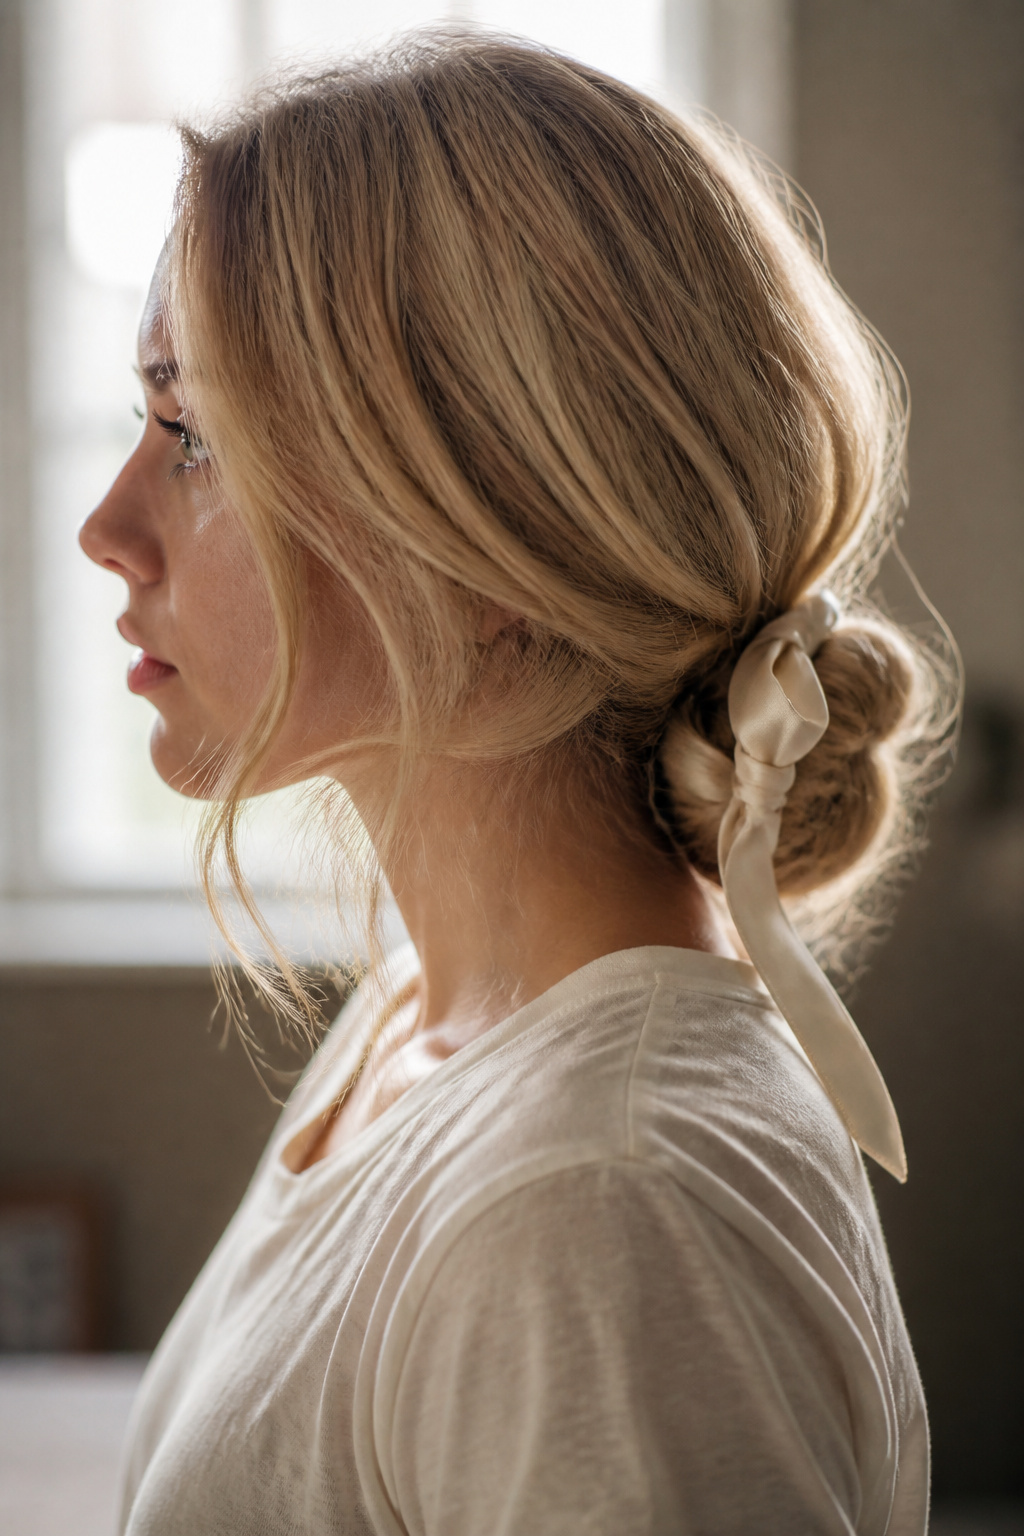

Best for medium density hair. Easy to sleep in for second-day hair. About 8 minutes.
This look reads polished and flirty. The visual payoff is a tidy bun with a decorative knot that keeps things thematic. It flatters square and oval faces. The technique is to twist sides toward the back, form a low bun, and tie a short knot with a ribbon as a finishing touch. Mistake to avoid. Pinning the ribbon beneath the bun makes the knot disappear, so layer it on top.
Curtain Bangs with Soft Sea Waves
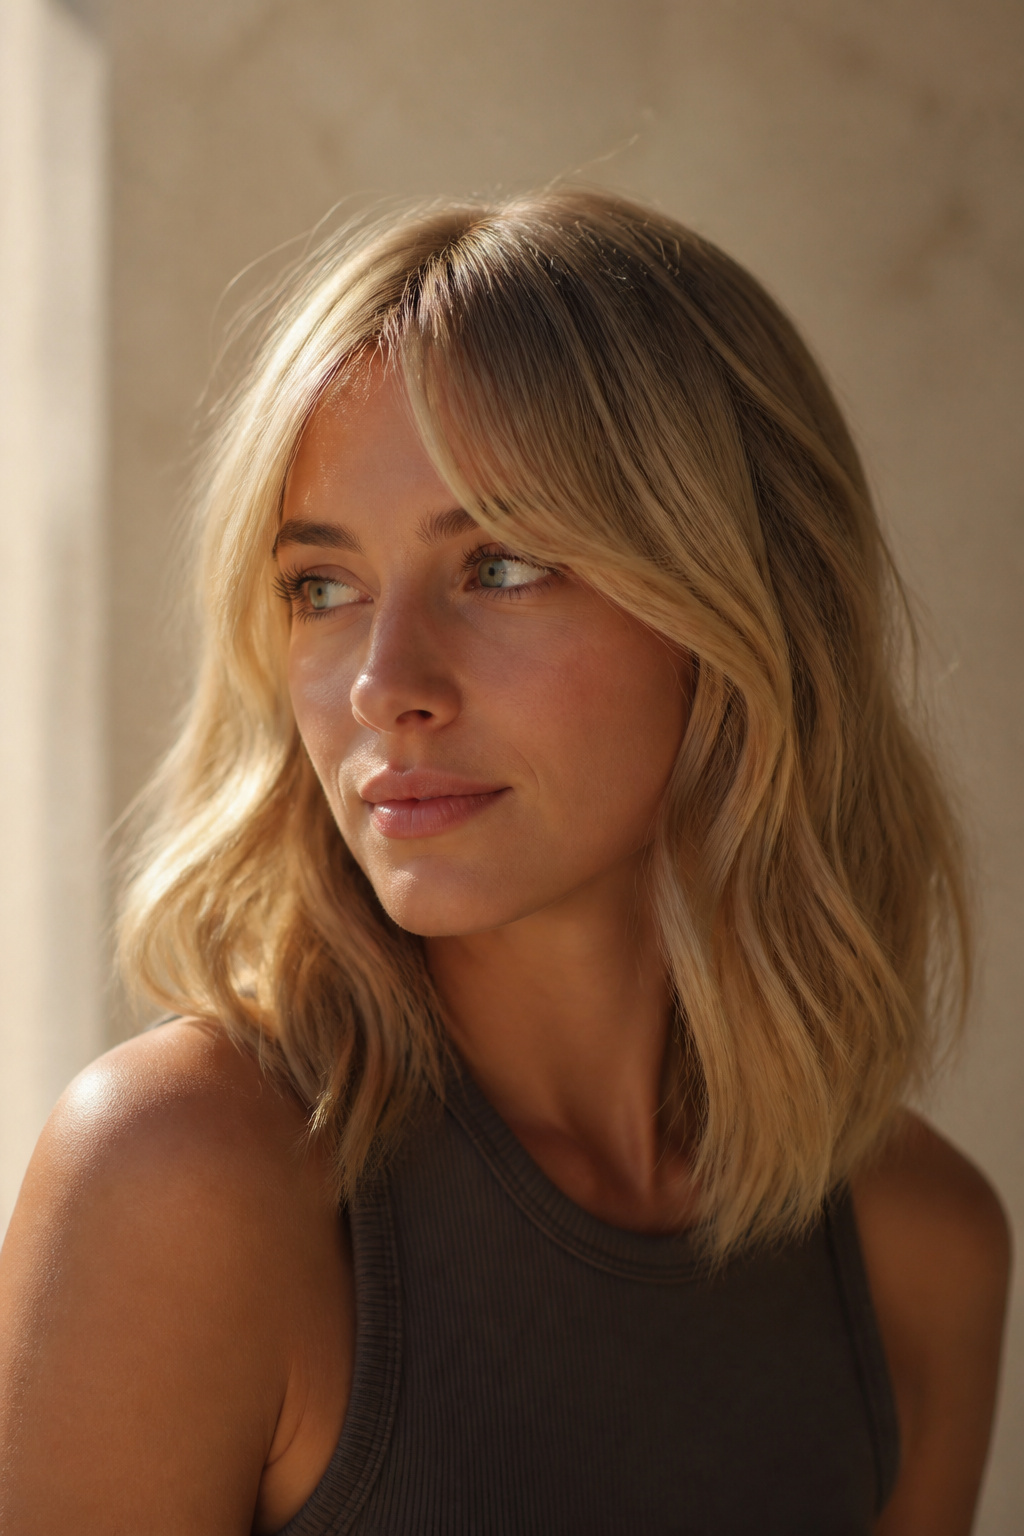

Best for fine to medium hair. Trim bangs every 8 to 10 weeks. About 10 minutes to style.
Curtain bangs are one of those trends that actually helps a sailor costume feel modern. The payoff is more face-framing softness under a cap or hat. The technique is to use a 1.25-inch barrel, curl away from the face, and brush through for S-waves. Most people curl too tight and then flatten with a heavy brush. Lived-in waves are better than perfect ringlets here.
Slicked-Back Wet Look for Club Night
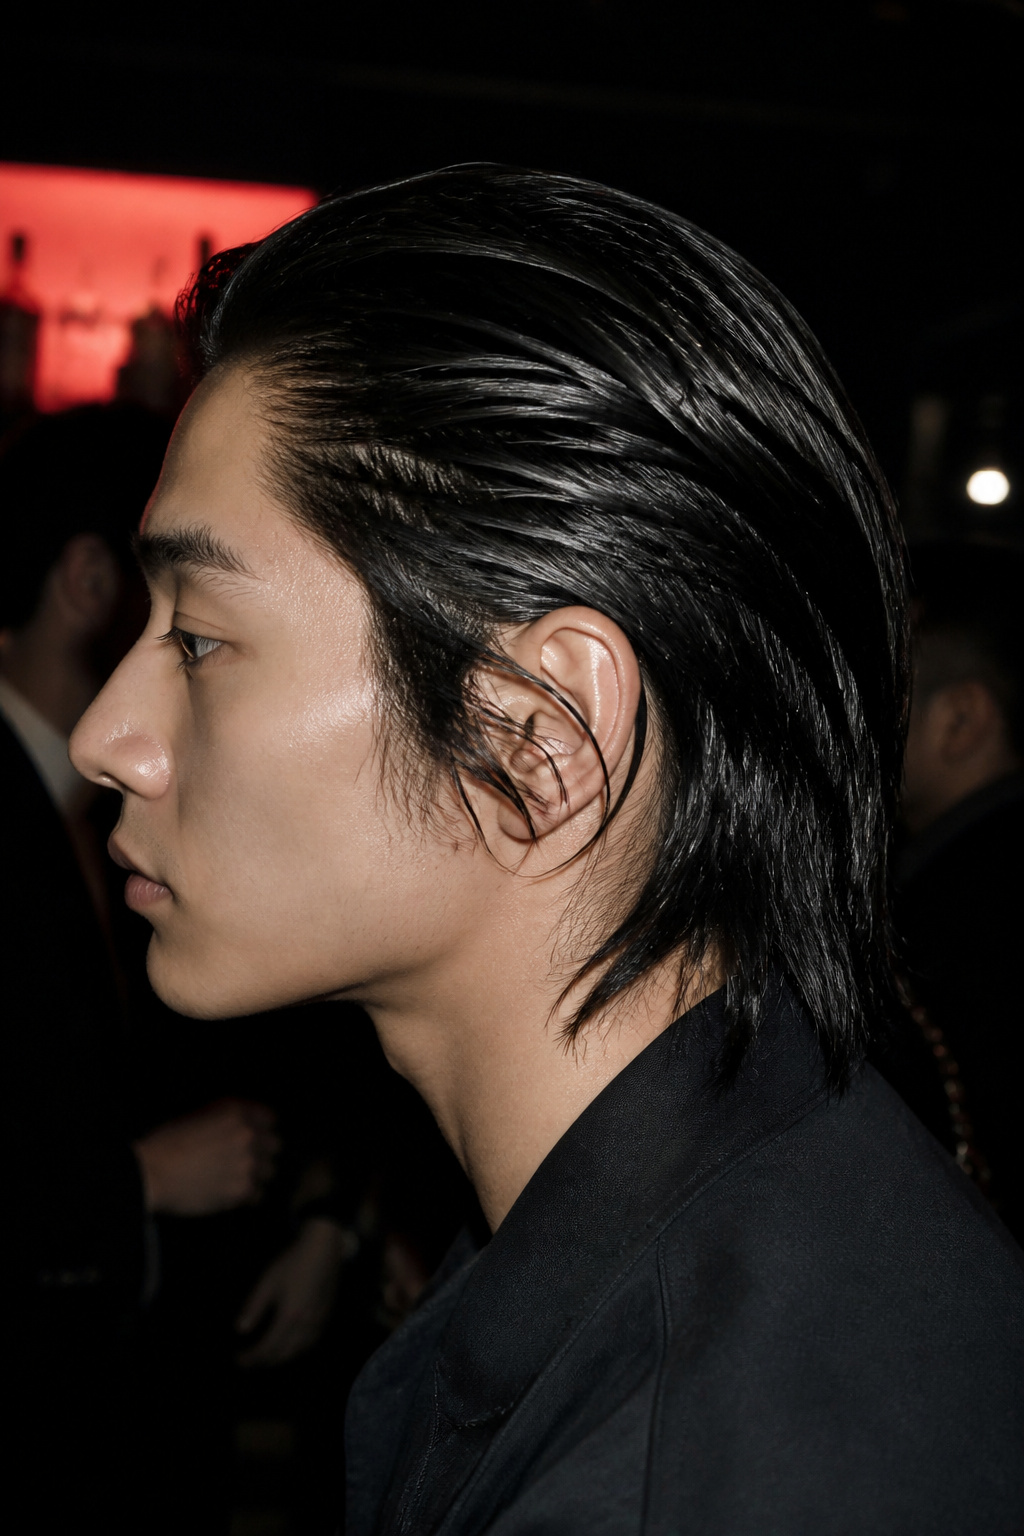

Best for medium to thick hair. Works best on second-day hair. 3 to 5 minutes.
If you want a bold, flirty club look, slinging a wet-look gel and slipping on a sailor cap is striking. The payoff is high impact. The technique is to distribute a dab of styling gel through damp roots and comb back. Warning. Use too much and this will look costume-y rather than chic. Keep products light and piggyback with a light-hold hairspray if you need more staying power.
Playful Pigtail Braids with Ribbon Ties


Best for long hair and thick density. Great for youthful looks and cosplay. About 8 minutes.
Pigtail braids read cute and playful, especially with striped ribbons. The payoff is instantly flirty and great for square or heart faces. Technique tip. Braid lightly and pancake the plaits for volume, then tie with ribbon at the ends. Over-braiding keeps it stiff. If your hair is too heavy, try a half-up instead.
Beachy Waves with Anchor Clip Detail
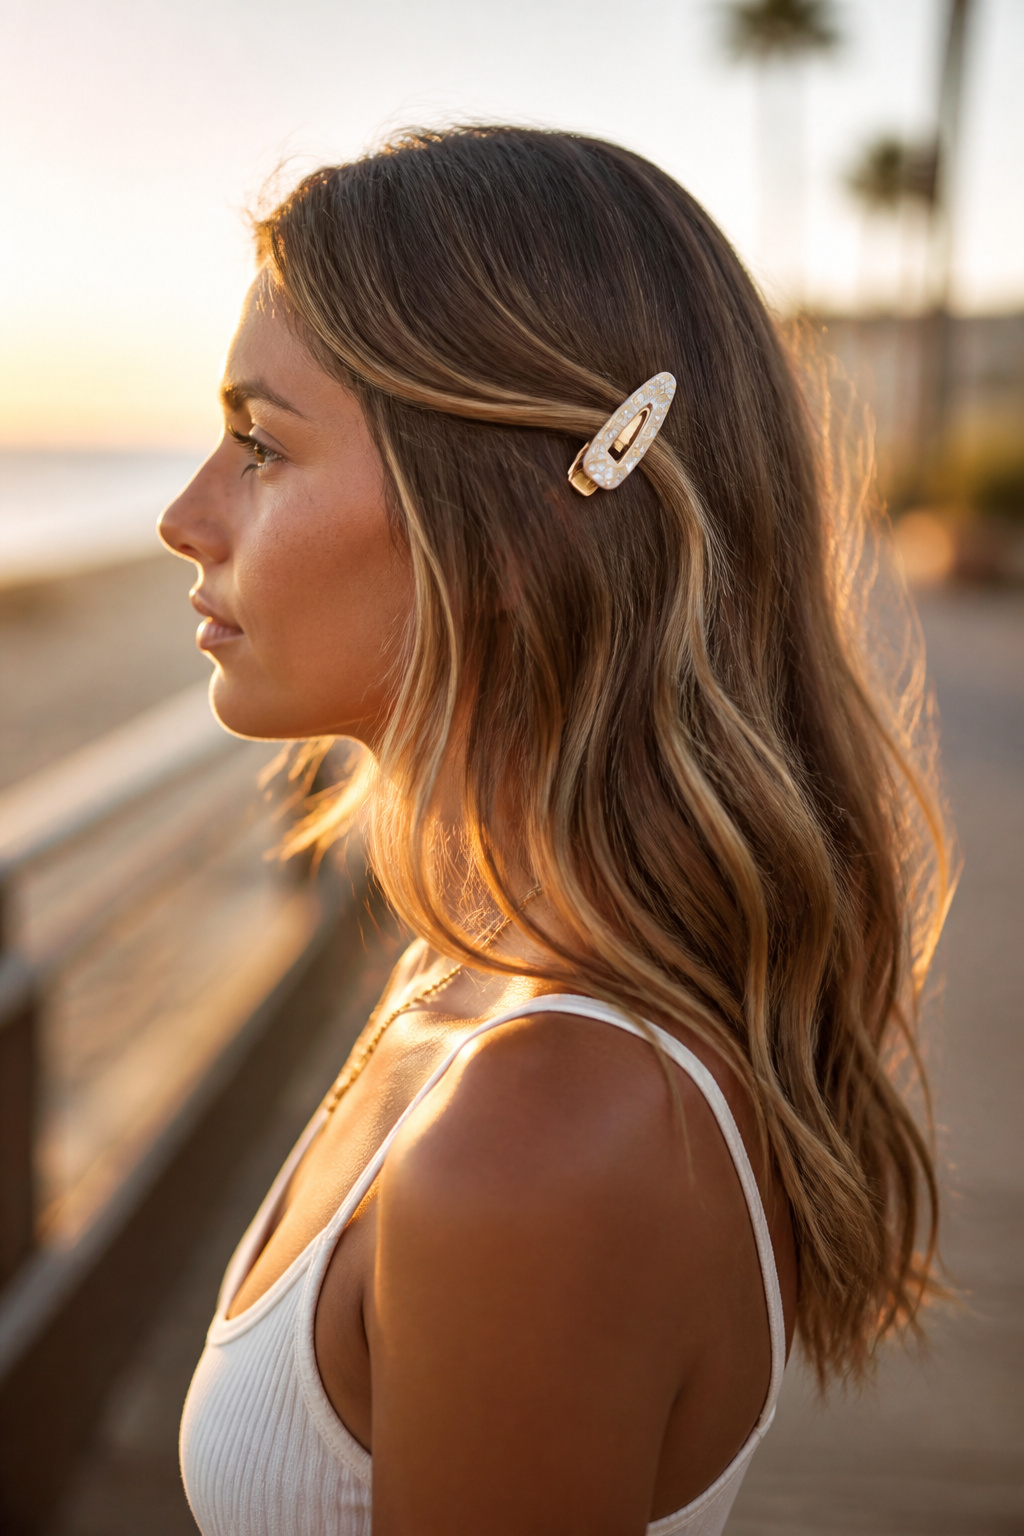

Best for long, layered hair. Survives humidity with the right spray. 10 to 12 minutes.
This look is the easiest way to marry sailor motifs with a modern vibe. The payoff is breezy and flirty, which pairs well with a maritime outfit. The technique is to use a 1.25-inch ceramic wand, curl alternating directions and leave the ends out for movement. Mistake many make is over-brushing; finger-combing keeps the texture. I like an anchor clip instead of a hat for crowded venues.
Half-Up Sailor Bow with Volume
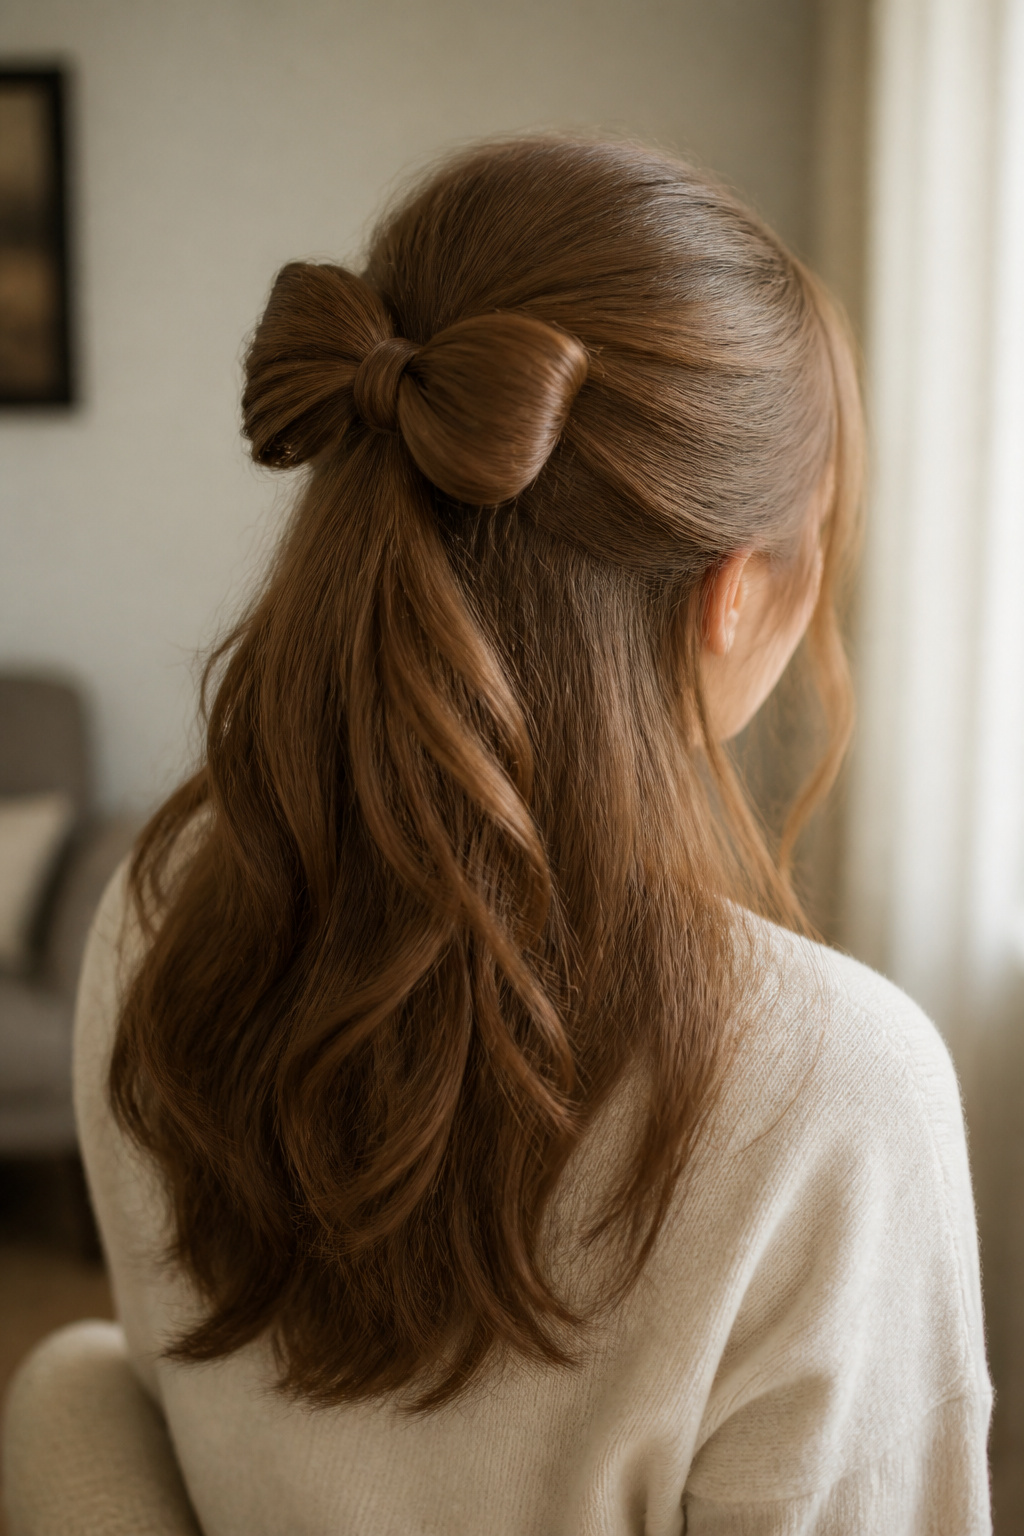

Best for medium to long hair. Adds instant lift. About 6 to 9 minutes.
Using your own hair to create a bow feels clever and less costume-y. The payoff is both flirty and polished. The technique is to create a half pony, loop the hair leaving a tail, and pin the loop into a bow shape. Forgetting to anchor the bow with hidden pins is a common mistake; secure the base well or the bow will flop.
Pixie with Side-Swept Fringe and Sailor Hat
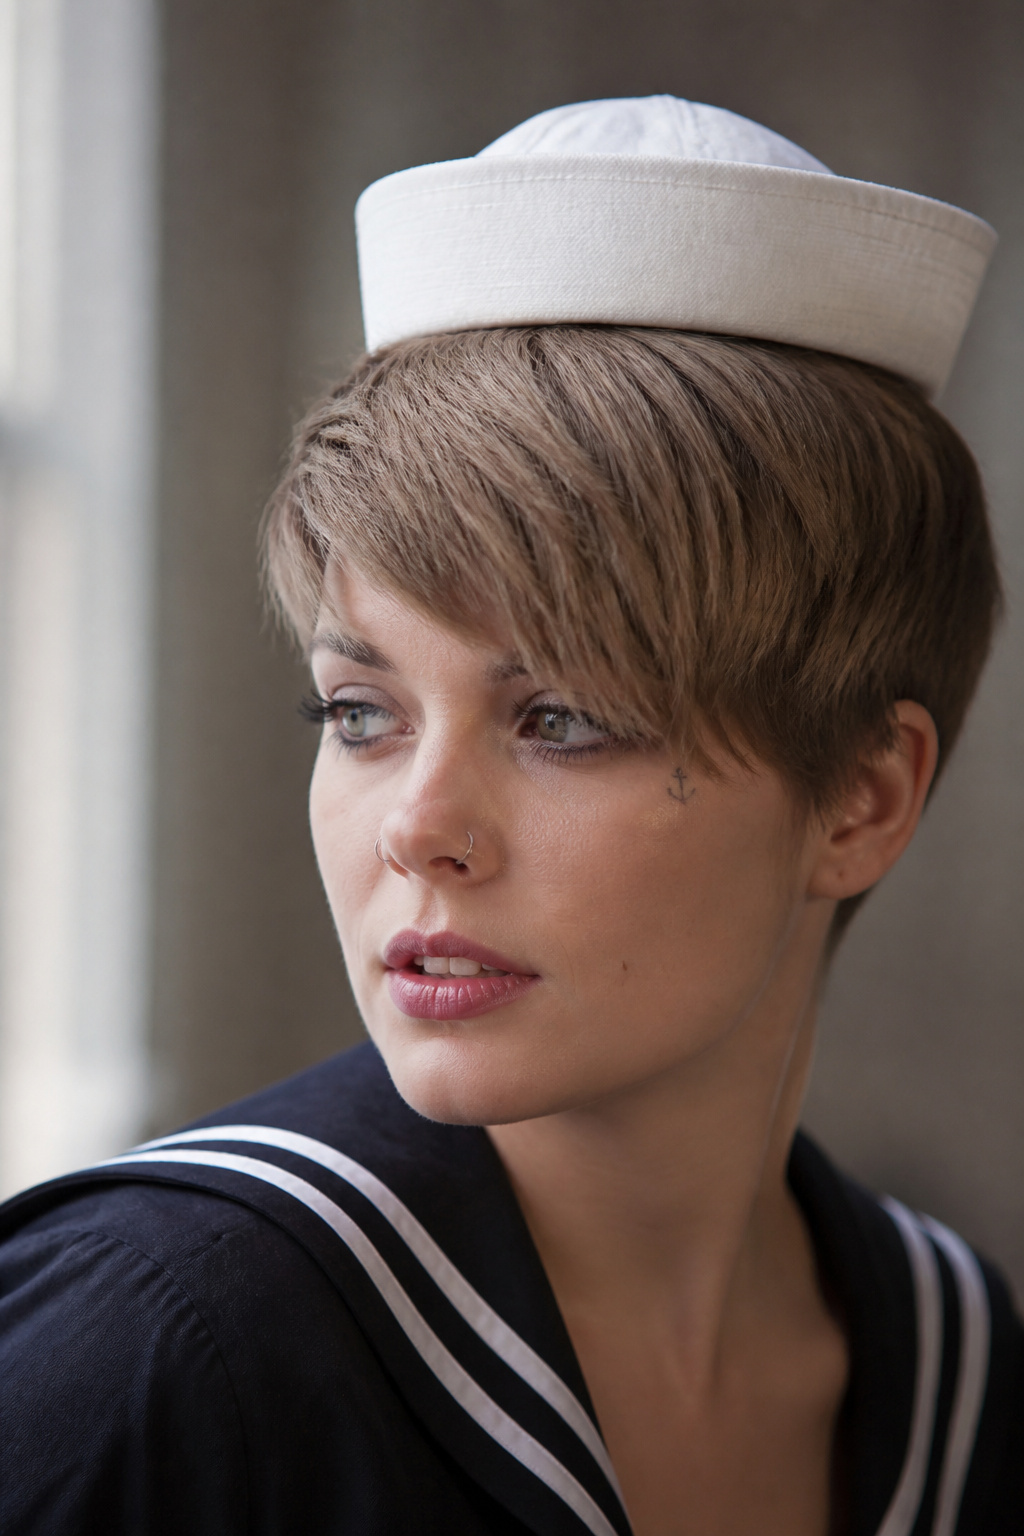

Best for fine textured hair. Low upkeep. 2 to 4 minutes to style.
A pixie makes a sailor hat feel modern and a little cheeky. The payoff is that it draws attention to eyes and cheekbones. The technique is to style fringe across the forehead and pin the hat slightly forward for balance. Common mistake. Wearing a hat too far back makes the silhouette top-heavy. This is one of the easiest looks to pull off.
Bandana Headwrap with Tousled Curls


Best for shoulder-length to long hair. Great for second-day hair. 3 to 6 minutes.
A headwrap is a quick, beachy spin on sailor style. The payoff is casual and flirty. Technique: fold the bandana into a triangle then a long strip, tie at the top and tuck ends. I once ruined a perfect wave set by wrapping the bandana too tightly, so leave room. This is one of the most forgiving looks.
Glam Deep Side Part with Old-Hollywood Curls
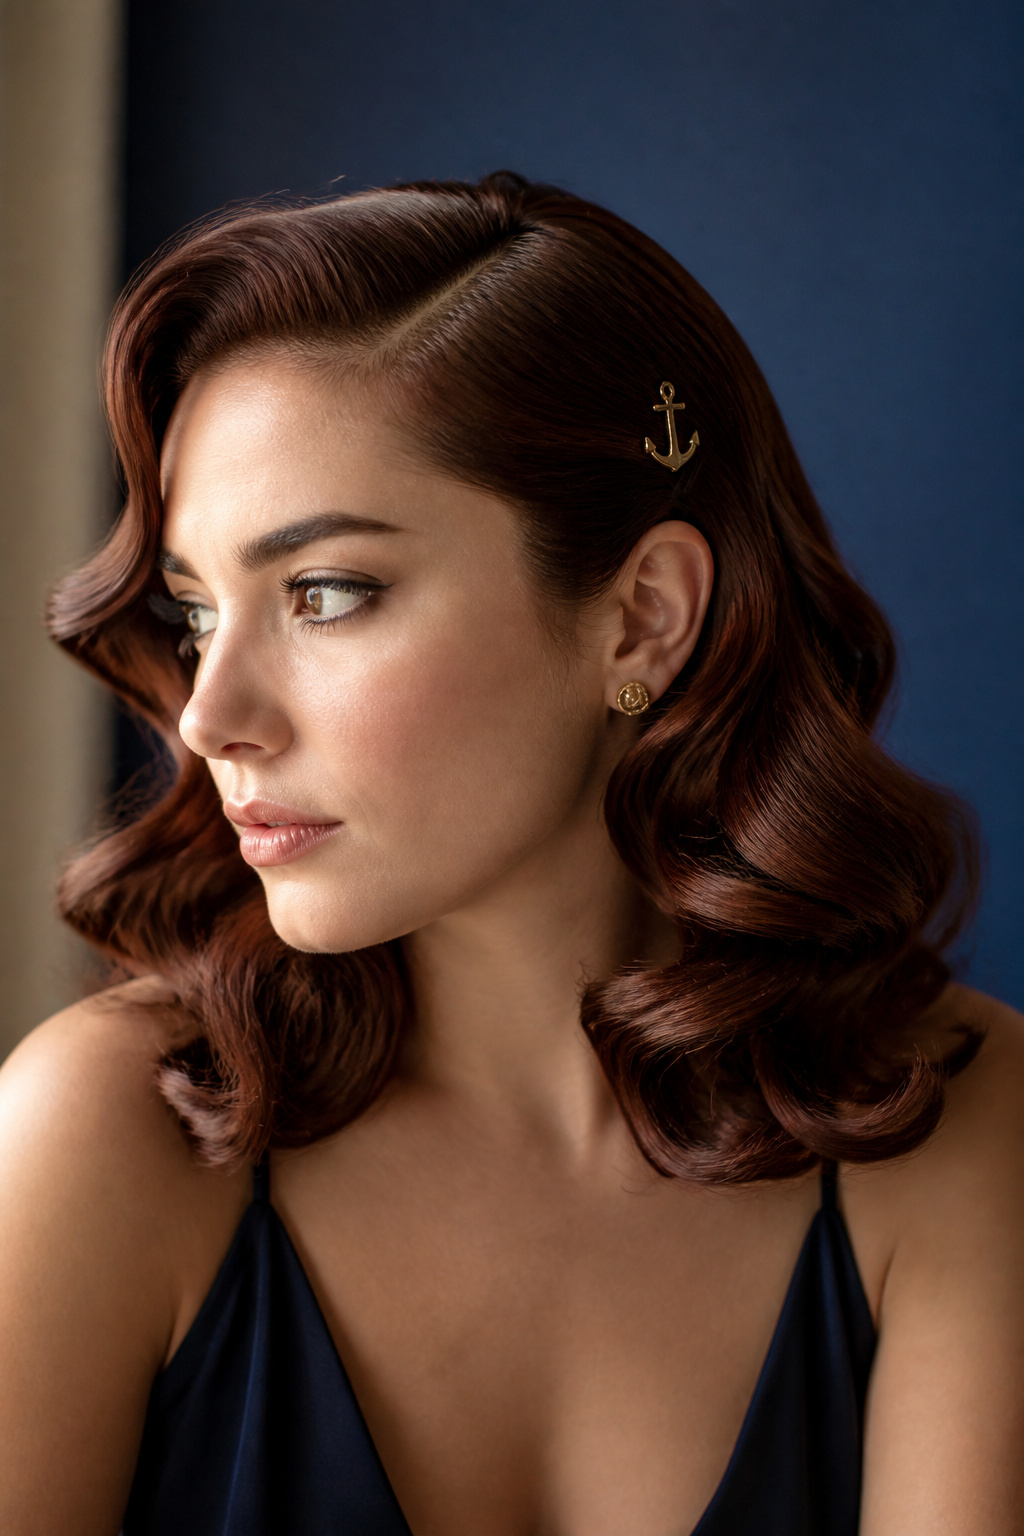

Best for medium to long hair. Higher effort but high payoff. 15 to 20 minutes.
If you want to go full glam, add structured S-curls and top with a subtle nautical pin. The payoff is elegant and party appropriate. The technique is to use a 1-inch barrel and set each curl on clips to cool before brushing for S-shape. Over-brushing turns these into limp waves; be deliberate when smoothing.
Nautical Rope Ponytail with Wrapped Finish
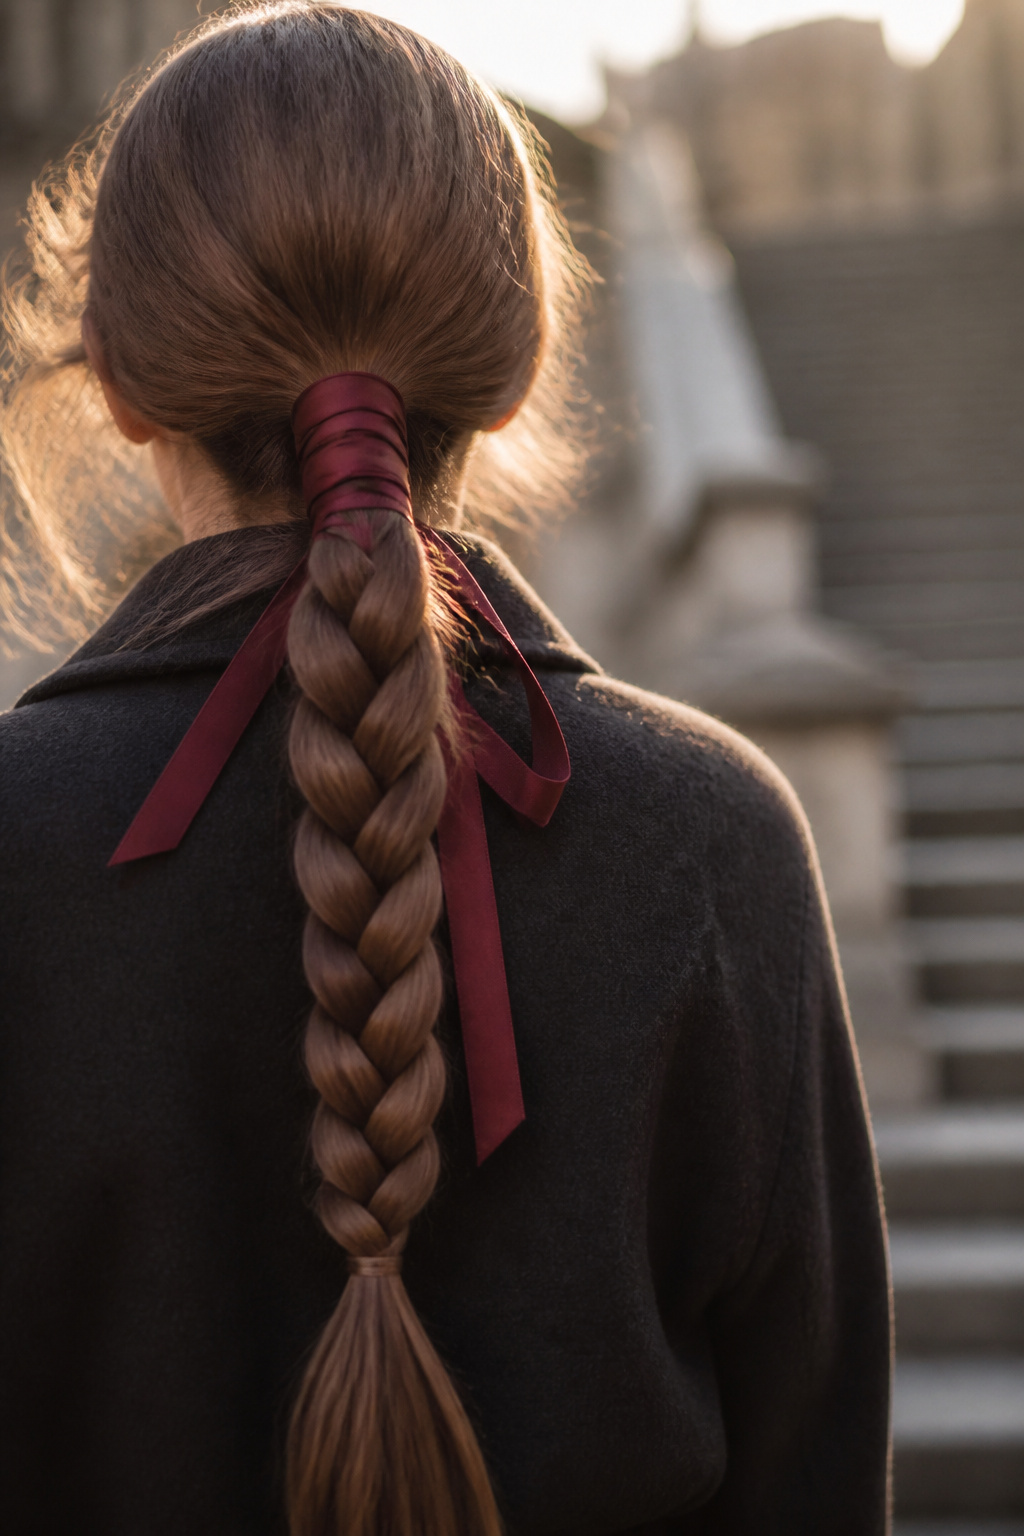

Best for long, thick hair. Secure with strong elastics. 8 to 12 minutes.
This one reads very sailor without being literal. The payoff is a sleek, wrapped finish that looks tailored. Technique: create a tight ponytail, do a rope braid, then wrap the base with ribbon and pin. Mistake to avoid. Using a novelty elastic that slips will undo your work; use a strong clear elastic and hidden bobby pins.
What You'll Need to Get This Look
Heat Tools
- 1.25-inch ceramic curling wand ($25 to $40). Good for S-waves and loose curls.
- 1-inch titanium flat iron ($40 to $80). Useful for polishing and creating sleek looks.
- Tourmaline blow dryer 1875W ($30 to $90). Faster dry times and smoother results.
Styling Products
- Alcohol-free volumizing mousse, 8oz ($10 to $18). Lightweight lift for finer hair.
- Sea salt texturizing spray, 6oz ($8 to $16). Adds grit for lived-in waves.
- Flexible hold hairspray, 10oz ($6 to $15). Holds styles without crunch.
Hair Care and Protection
- Sulfate-free moisture shampoo, 12oz ($8 to $20). Keeps color and tone healthy.
- Heat protectant spray, 5oz ($7 to $18). Must for any hot tool work.
Accessories and Finishing
- Classic sailor hat, white ($15 to $35). Choose a structured style for parties.
- Anchor enamel hair clip ($6 to $12). Small accent that reads nautical.
- Satin long ribbon, navy ($5 to $12). For wraps and bows.
- Bobby pins pack, 200 count ($5 to $10). A necessity.
Budget Swaps
- Drugstore dry shampoo, 6oz ($6 to $12). Great for second-day styles.
- Cotton headscarf ($6 to $14). A cheap, versatile wrap option.
Shopping Tips for These Looks
Buy tools during holiday sales. Blowouts and curling wands drop in November and you can snag a quality wand for less; I waited and picked a 1.25-inch ceramic curling wand for half off. 1.25-inch ceramic curling wand.
Pick a versatile barrel size. A 1 to 1.25-inch barrel covers most looks from S-waves to bouncy curls, so you do not need multiple wands. 1-inch titanium flat iron.
Use drugstore sprays for texture. Salt sprays and cheap dry shampoos work well for lived-in sailor styles; save splurges for heat protectants. Sea salt texturizing spray, 6oz.
Match ribbon weight to hair. Heavy satin bows overpower fine hair and slip. For fine hair pick a thinner ribbon and secure with pins. Satin long ribbon, navy.
Frequently Asked Questions
Can I make these looks last all night without redoing?
Yes. Use a flexible hold hairspray over a light texturizer and anchor with bobby pins at stress points. Try a medium-weight flexible spray for longevity. Flexible hold hairspray, 10oz
What is the fastest costume hair trick for a sailor vibe?
A wrapped scarf ponytail or a small tilted sailor cap takes two to five minutes and reads instantly themed. Keep a travel-size dry shampoo on hand. Drugstore dry shampoo, 6oz
My hair is very fine. Which looks work best?
Curtain bangs, half-up bows, and bow-tied ponytails translate well on fine hair because they emphasize shape not volume. Use an alcohol-free mousse for lift. Alcohol-free volumizing mousse, 8oz
How do I protect my hair from heat when creating curls?
Always mist from mid-lengths to ends with a heat protectant and let it settle before styling. A dedicated spray helps prevent dryness. Heat protectant spray, 5oz
Where to Start
If you want the quickest lift, try the high pony with a scarf; it took me one rushed morning to realize it was my easiest compliment generator. Pick one accessory, practice the knot or ribbon once, and then wear it confidently. Which look are you trying first?


