







I kept scrolling past tutorial reels until one morning I braided my hair before coffee and actually left the house. That morning I learned the trick is sharp parting more than perfect tension. These 15 Wednesday Addams hair tutorial ideas cover straight to wavy textures, collarbone to mid-back lengths, and quick morning fixes to styles worth a little more time. If you want clean, iconic braids that read deliberate, you are in the right place.
Short and simple. Most looks take under 15 minutes on a sleepy weekday, and a few need a mirror with good light. These ideas work best on straight to slightly textured hair; I include tips for fine, medium, and thick density so you can pick one that fits your morning routine.
15 Wednesday Addams Hair Tutorial Ideas for Perfectly Sharp Braids
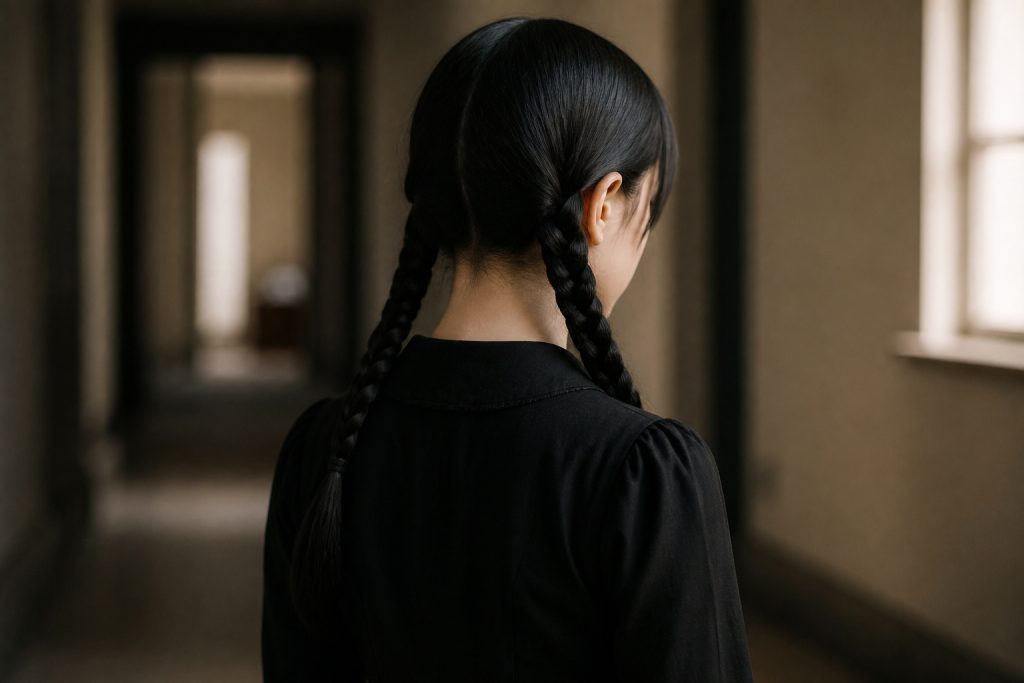
Razor-Flat Center Part with Clean Double Braids


Best for straight to slightly wavy hair. Part maintenance every wash. About 8 to 12 minutes each morning.
The result is graphic and very clean, which flatters oval and heart faces by emphasizing symmetry. The trick is to use a tail comb and dampen the part with a little water or light gel so the line stays razor-sharp. Most people braid too loosely at the crown; keep the first two inches snug to anchor the look.
Common mistake. Don’t apply heavy oil at the roots or the part will lose crispness.
Low, Sleek Cornrow-Paired Braids


Best for fine to medium hair. Grows out cleanly for two weeks. Allow 12 to 18 minutes to braid.
This gives the Wednesday silhouette a fresh, modern edge while keeping the hair flat to the scalp. Section the cornrows with a pointed tail comb and keep three small, even sections for a tight track. I sometimes used too much gel here and ended up with a crunchy finish, so go light and smooth with your fingers.
Works well if you want a low-maintenance style to last several days.
Slightly Loosened Braids for a Lived-In Look


Best for medium density hair. Let grow out for a soft shape. About 10 minutes each morning.
If you like Wednesday’s shape but prefer softer edges, braid tightly then gently tug the outer cords to create an undone, less severe version. That lighter look flatters round faces by softening jawlines. The trick is to loosen only the mid and lower braid, not the roots, or the part will vanish.
This is my favorite for when I want the vibe without feeling costume-y.
Ribbon-Tied Braids for a Vintage Finish


Best for medium to thick hair. Replace ribbons weekly. About 7 minutes once braids are done.
Tie thin black ribbon at the ends for a period-accurate finishing touch that keeps ends neat. I loop twice and knot once so it looks tidy without bulk. This flatters longer necks and gives heavy hair a clean endpoint. Avoid satin ribbon if you want matte authenticity.
No product needed, which makes this one low-tech and effective.
Hidden Elastic Double Knot for Longer Wear

Best for thick hair. Check knots every few days. About 5 to 10 minutes once braids are made.
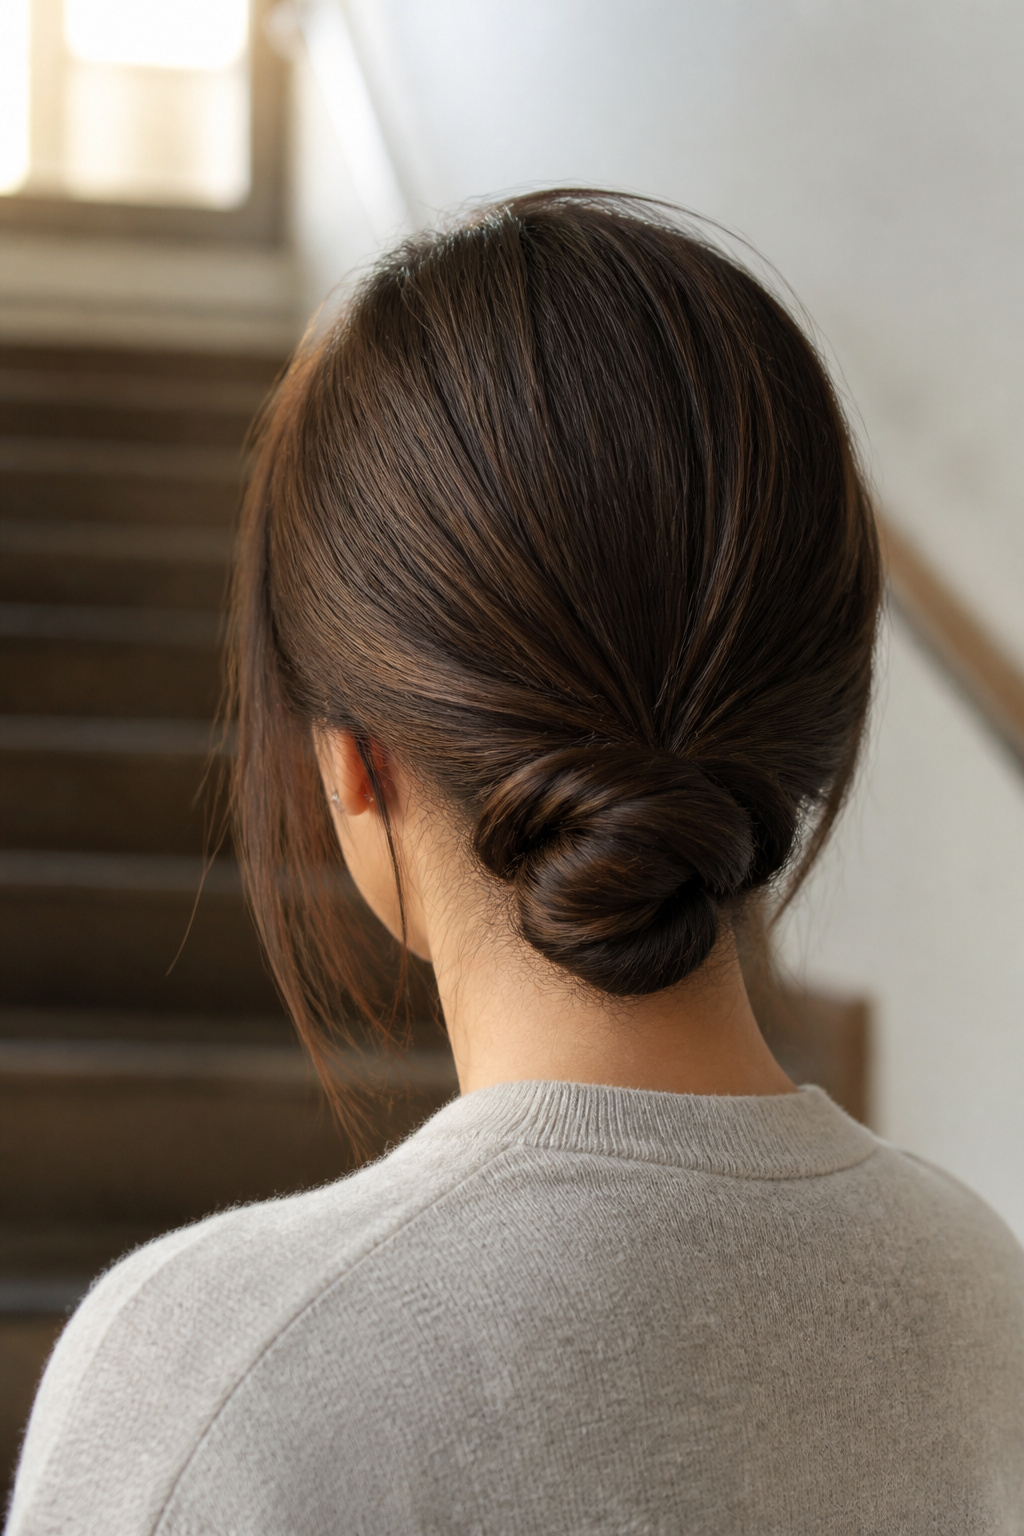
Tuck a small elastic inside the braid and knot the tail back into the braid so the finish looks seamless and stronger. That hidden finish kept my braids intact through a rainy commute. It’s great for active days or when you have kids around because the ends stay put.
Do not use oversized elastics or the tuck won’t sit flat.
Braided Crown with Twin Down Braids


Best for fine to medium hair. Trim crown layers every 8 to 10 weeks. About 12 to 15 minutes.
A narrow crown braid across the top gives a subtle update while keeping the classic twin-braid shape. It lifts the hair slightly at the forehead which flatters shorter foreheads and square faces. The technique is simple: create a three-strand braid across the hairline and merge it into the main braid mid-way down.
Most people make the crown too thick and lose the clean Wednesday outline.
Braids with Soft Face-Framing Pieces
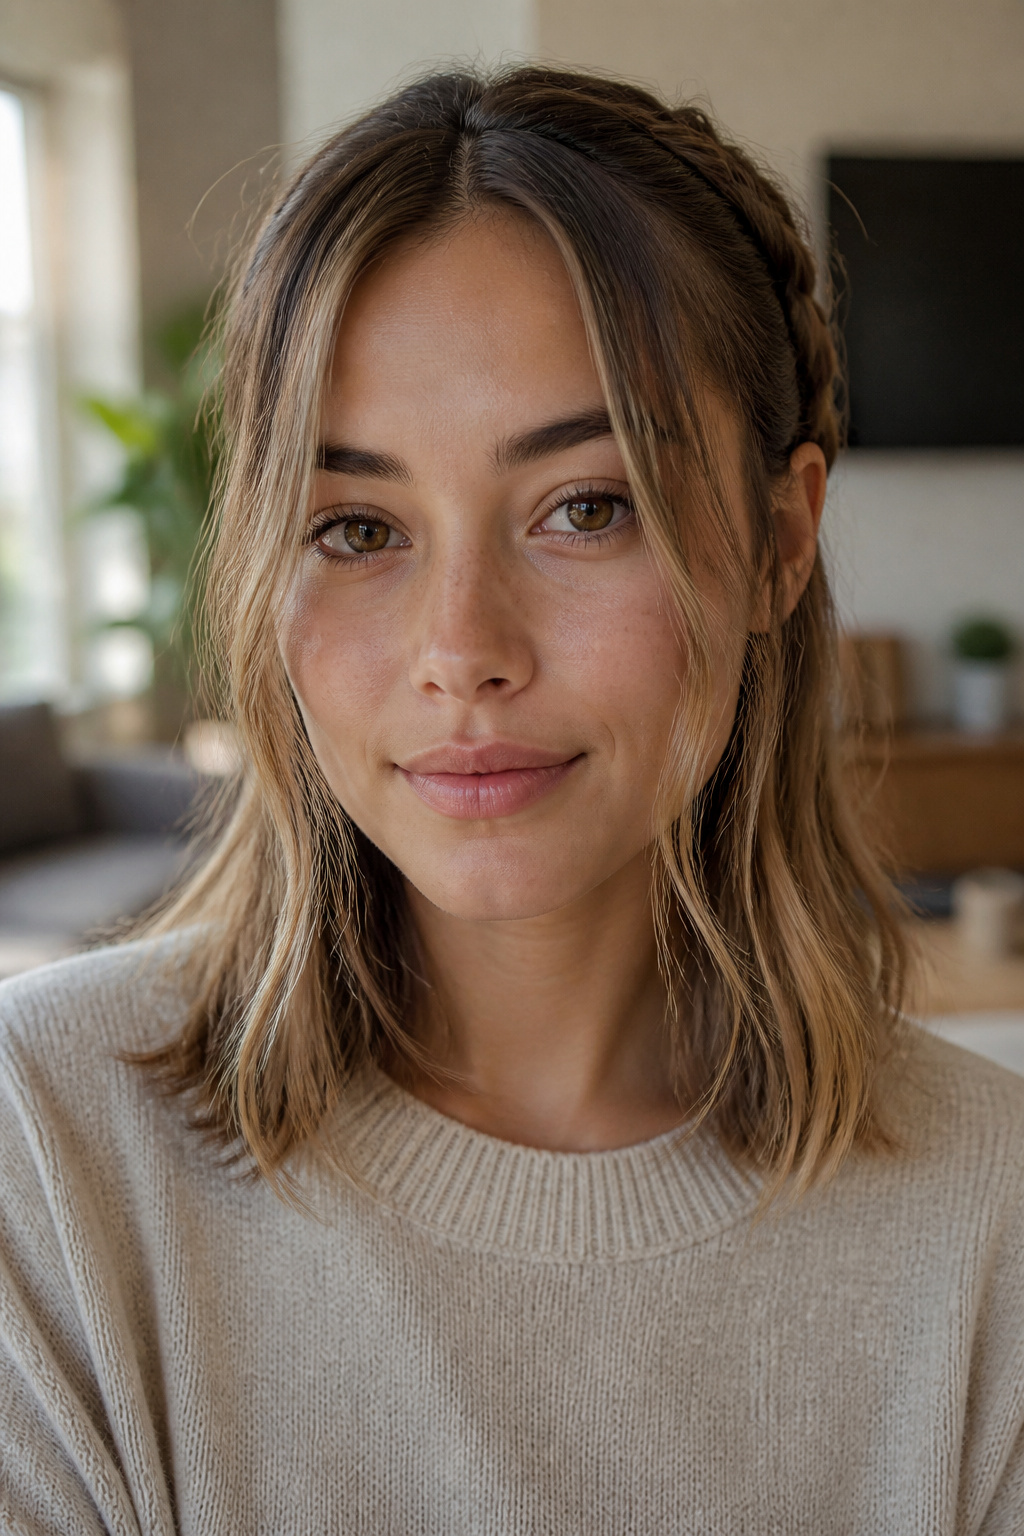

Best for medium density hair. Trim face-framing layers every 10 to 12 weeks. About 8 minutes.
Leaving small face-framing pieces softens the look and suits square or strong jawlines. The trick is to keep those pieces under two inches so you maintain the iconic feel. I tried longer tendrils once and it read boho, not Wednesday, so shorter pieces are the right call.
This is a good compromise when you want structure with a modern finish.
Two-Inch Sectioning for Super-Sharp Braids
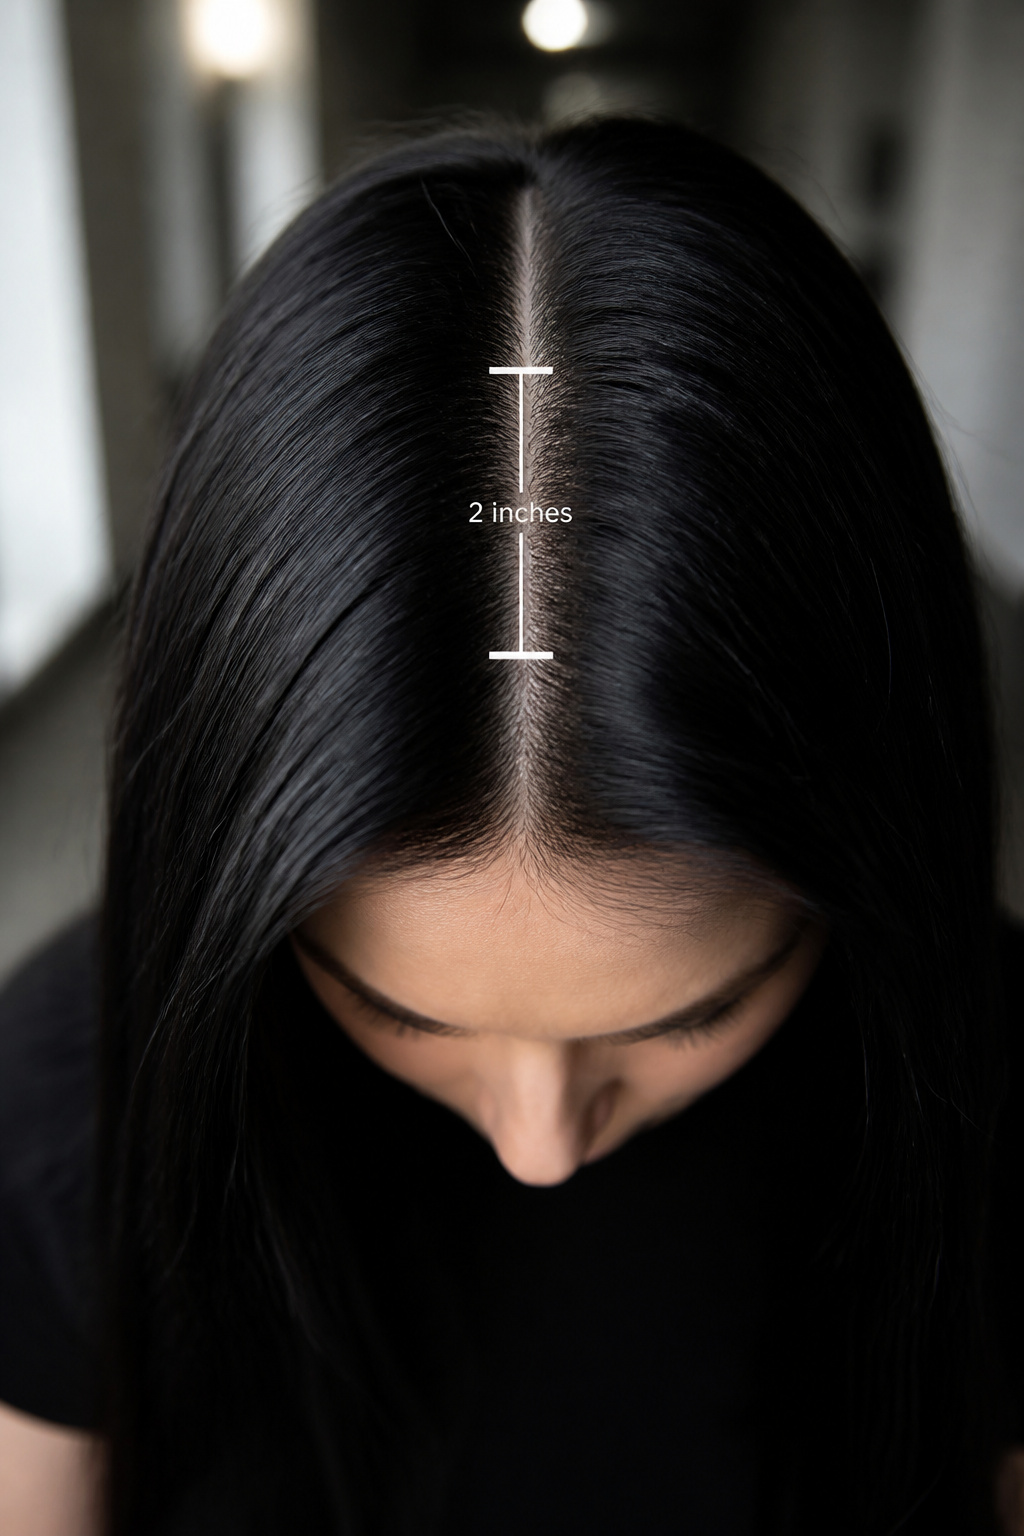

Best for all densities. Re-part between washes. About 10 minutes for neat results.
If your parts drift, section in two-inch increments from the crown down to the ear then braid each side. This method preserves tension evenly and produces identical-looking braids. I used this when my hairline was uneven and it created symmetric braids on both sides.
Warning. Too-small sections create extra work for thick hair, so scale up if needed.
Braids with a Slight Wave at the Ends
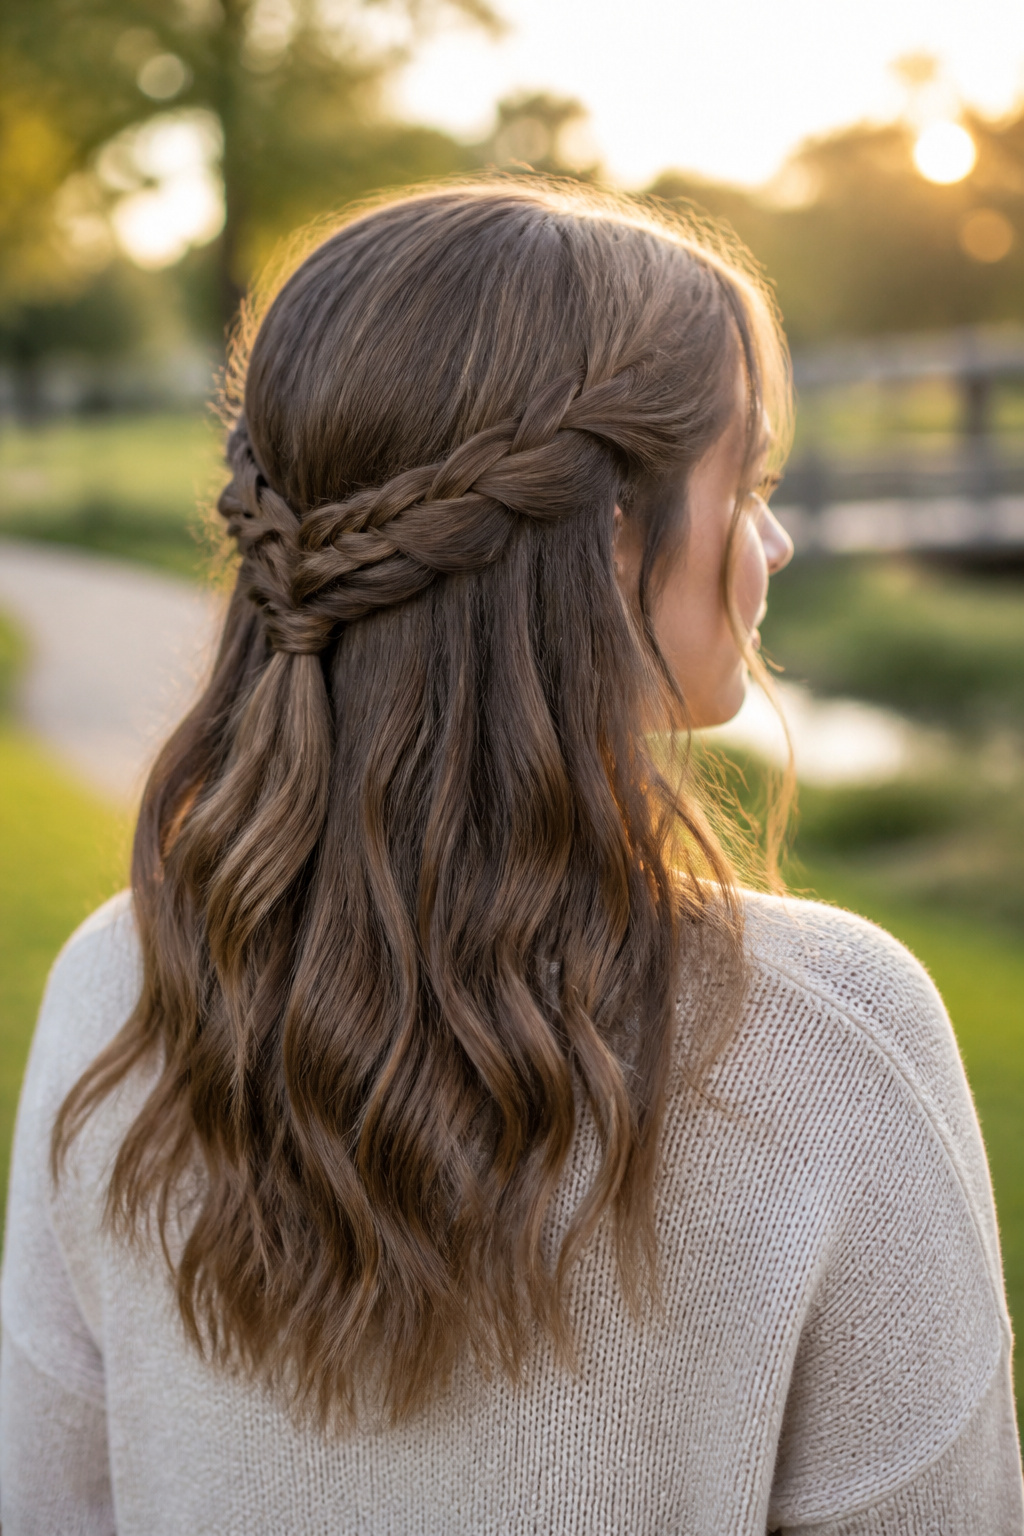

Best for medium to thick hair. Ends hold for a day or two. About 12 minutes including quick heat.
After braiding, release the last three inches and use a 1-inch curling wand to add soft S-waves away from the face. It keeps the braided shape while adding movement, which is flattering for longer faces. The specific technique is to curl away from the braid and brush lightly.
Do not over-curl the ends or the look reads too styled.
Two Classic Braids with a Faux-Induction Part


Best for fine hair. Re-slick daily if needed. About 6 to 10 minutes.
Create a narrow, deep part and slick hair to one side slightly to fake a more severe center line. This works when your natural part is stubborn. Use a small amount of flexible gel and comb through. I used this trick in an interview and it reads polished without looking glued on.
Overuse of heavy product will make the scalp look shiny, so choose a matte gel.
Boxer-Style Tight Braids for Active Days


Best for thick hair. Lasts several days with wrap protection. About 20 minutes for both braids.
If you need them to stay put all day, braid tighter and use small elastics at intervals so the braid does not loosen. This is the most secure route for rainy commutes or long shifts. It flattered my high cheekbones by keeping the face clean and framed.
Honest note. I once over-compressed the braid and it hurt the scalp, so aim for firm but not painful tension.
Braids with Texture Spray for Grip and Volume


Best for fine hair. Apply texture before braiding. About 7 minutes to finish.
On slippery or freshly washed hair, start with a texturizing spray at the roots and mid lengths for grip. That gives the braid body and stops it from sliding apart. I prefer a light spray rather than powder so the hair still moves.
Avoid over-spraying, which creates a dusty looking braid.
Half-Up Wednesday Braids for Shorter Lengths


Best for bob and short lob lengths. Trim bob every 8 to 10 weeks. About 6 to 9 minutes.
If your hair is too short for full twin braids, braid the top half and leave the rest down for a suggestion of the Wednesday shape. It still reads structured but is faster and gentler on short hair. This is the Ho-Ho trick I used when growing out a bob.
Do not force full braids on lengths under shoulder; the ends will puff.
Rope Twist Variation for a Sleeker Line


Best for straight hair. Re-twist as needed. About 10 to 12 minutes.
Use rope twists instead of three-strand braids for a sleeker, corded look that still reads classic. Twist each small section away from your face and then twist the two pieces together toward the face for a tight finish. It looks cinematic and holds shape well on straighter textures.
Most people forget to twist in the opposite direction for each half, which makes the twists unravel.
Textured Braids for Wavy Hair


Best for naturally wavy hair. Embrace wave, do not smooth. About 10 to 15 minutes.
If your hair is wavy, let the texture show. Braid gently without over-smoothing and use a light cream to calm frizz where needed. The softer lines make the Wednesday silhouette feel lived-in and modern. I resisted this for a while because I worried it would look messy, but it photographs beautifully.
Avoid heavy serums that flatten the wave.
Vintage Side-Swept Braids for a Slight Twist
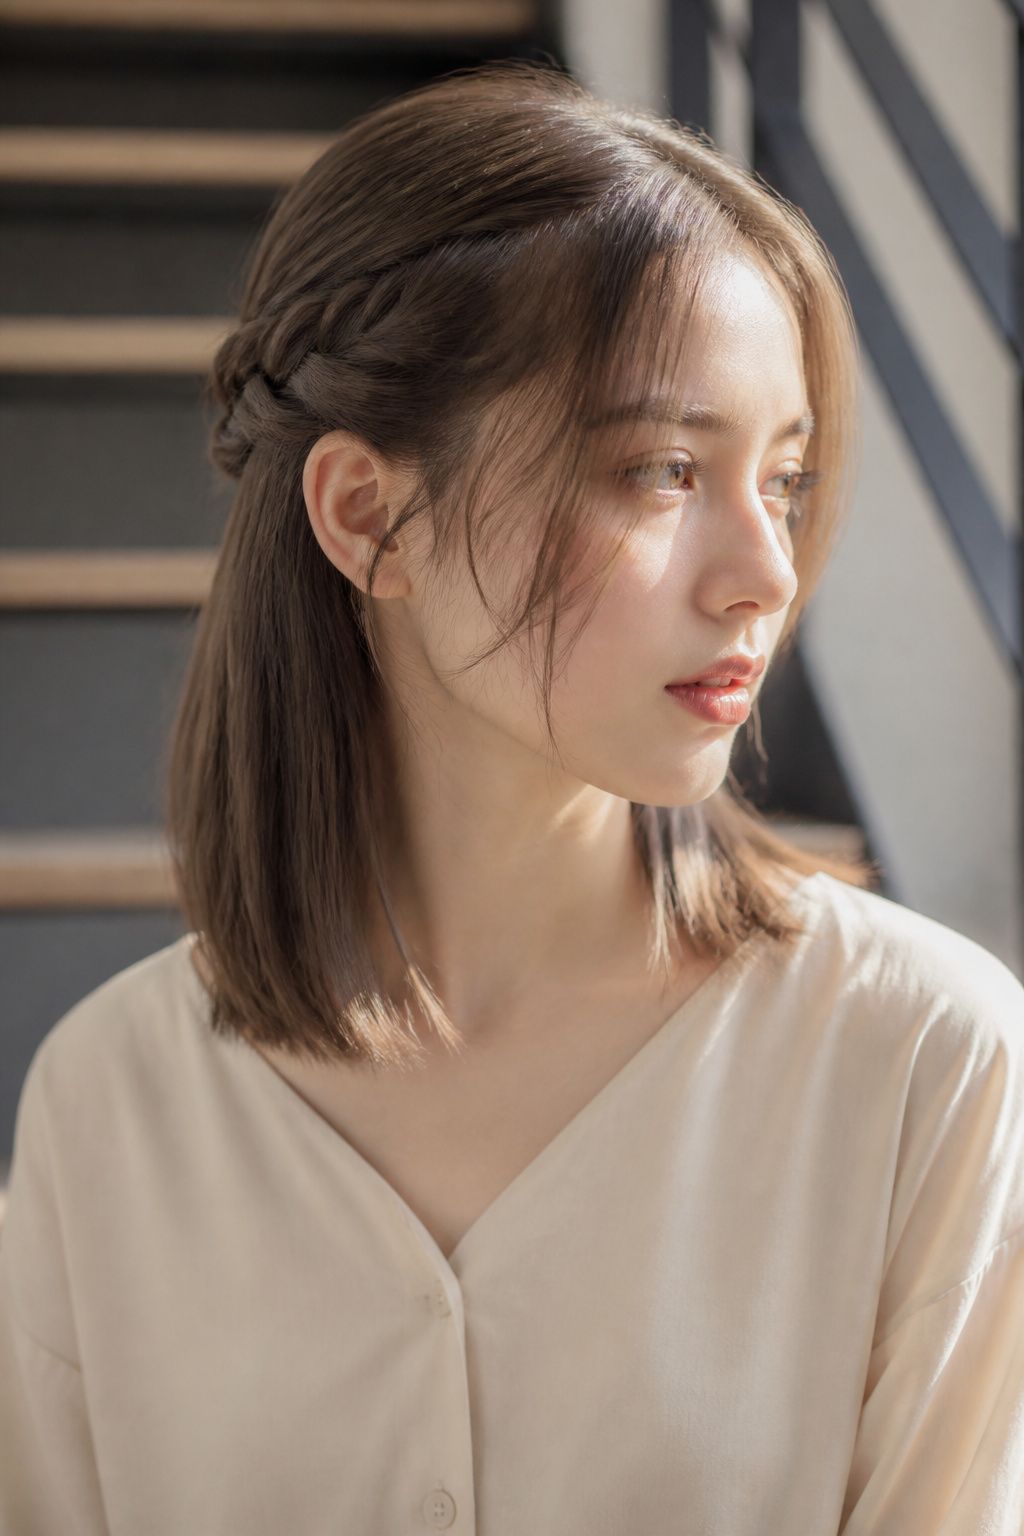

Best for medium hair. Pin with matte pins. About 10 minutes to arrange and pin.
Sweep one braid slightly forward and pin it behind the ear for an asymmetrical, vintage nod. It keeps the Wednesday feel while looking transported. Use matte pins to avoid shine and hide them under the braid.
This is a subtle way to change the silhouette without losing the original aesthetic.
What You'll Need to Get This Look
Heat Tools
- 1.25-inch ceramic curling wand ($35 to $60).
- 1-inch titanium flat iron ($40 to $120), good for smoothing stubborn kinks.
- Tourmaline blow dryer 1875W ($30 to $120).
Styling Products
- Alcohol-free volumizing mousse, 8oz ($10 to $25), ideal for fine hair.
- Flexible hold hair gel, 6oz ($8 to $20).
- Texturizing spray, 5oz ($8 to $25).
Hair Care and Protection
- Olaplex No.3 Hair Perfector, 100ml ($25 to $40).
- Heat protectant spray, 4oz ($8 to $25).
Accessories and Finishing
- Rounded paddle brush ($8 to $25).
- Alligator hair clips, 4 pack ($6 to $15).
- Matte black hairpins, 100 pack ($5 to $12).
Budget Swaps
- Drugstore ceramic curling iron 1 inch ($15 to $30).
- Drugstore flexible hold gel, 6oz ($5 to $12).
- Fabric hair ties 30 pack ($6 to $15).
Shopping Tips for These Looks
Buy tools during holiday sales. Blowout tools drop 20 to 30 percent in November. I grabbed my 1-inch titanium flat iron on Black Friday and it paid for itself.
Choose matte gels for authenticity. Glossy gels make the part look oily. Try a mattifying flexible gel like Flexible hold hair gel, 6oz.
Stock up on hairpins instead of specialty clips. A 100-pack of Matte black hairpins lasts longer than themed sets and hides better.
Buy a cheap texturizer first. If you are unsure about texture sprays, try the budget Texturizing spray, 5oz before investing in salon lines.
Keep a travel kit for weekend braids. A small pouch with Fabric hair ties 30 pack and a mini Heat protectant spray, 4oz keeps styles intact on trips.
Frequently Asked Questions
How do I make the center part perfectly straight?
Use a pointed tail comb and dampen the line with a light gel or water. Finish by smoothing with a flat iron if needed. For extra hold try a small dab of flexible gel.
Can I do these braids on very curly hair?
Yes. Stretch the curl first with a blow dry or twist-and-dry technique, then braid. A heat protectant spray helps; consider the Heat protectant spray, 4oz.
What product keeps my part sharp without stiffness?
A flexible, matte gel gives hold without the crispy finish. Try a salon-grade formula or the budget-friendly Drugstore flexible hold gel, 6oz.
How do I prevent braid frizz that happens after sleeping?
Wrap hair with a silk scarf or use a satin pillowcase. A small dab of lightweight cream on the ends before bed stops breakage. A compact travel silk scarf helps.
Which tool is best for smoothing before braiding?
A narrow flat iron is precise. If you are smoothing edges, a 1-inch flat iron is versatile. I use the 1-inch titanium flat iron for quick touch-ups.
Where to Start
Pick the version that requires the least change to your daily routine. If you already have straight hair, start with a razor-flat center part and clean double braids. If you are short on time, try the half-up twin braids. Which of these will you try on your next busy morning?


