








The day my stylist cut my first curly shag I nearly cried—because for once my hair sat like a shape and not a triangle. Curly hairstyles for natural hair that hold shape all day are about direction, not armor. Below are 19 looks I actually wear, keyed to length and effort, with honest wins and the missteps I learned the hard way.
Short and long, dense and fine, these styles favor texture and root lift. Most are no-heat or low-heat, and every one tolerates a busy morning. Lived-in definition and clipped cooling are the trend I keep coming back to.
19 Curly Hairstyles for Natural Hair That Hold Shape All Day
Curly shag with soft, invisible layers
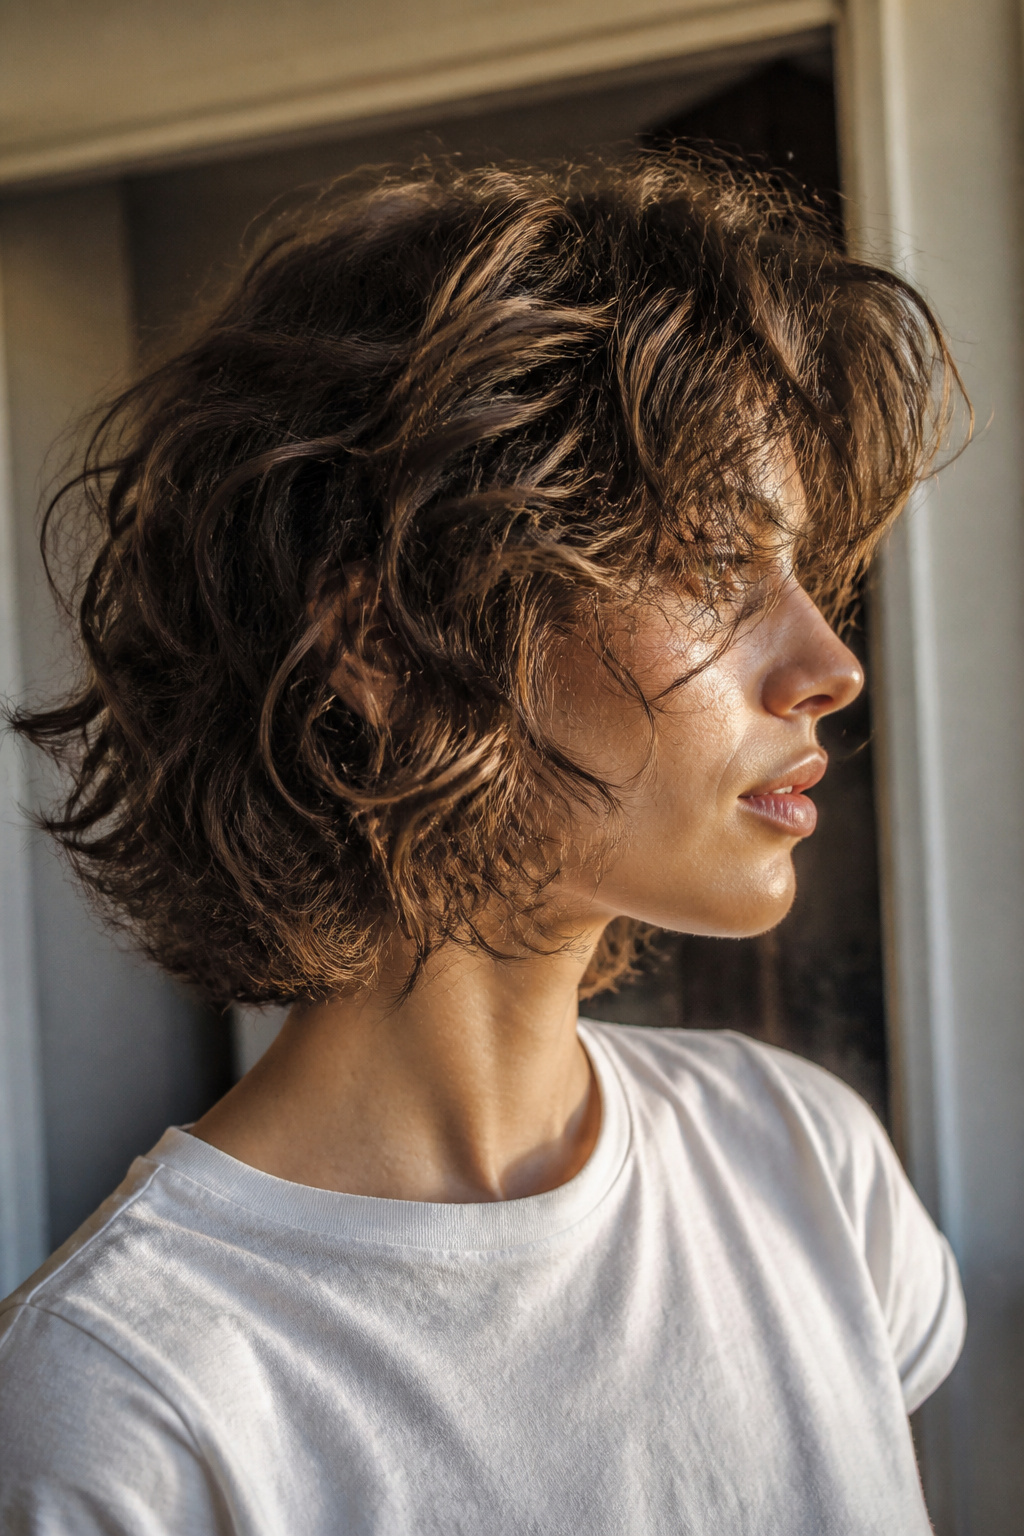

Best for chin-length to mid-back hair. Grows out softly, shape trims every 10 to 14 weeks. About 10 minutes to reshape each morning.
This cut gives you movement without losing bulk. It flatters round and square faces because the layers break the triangle silhouette and add crown volume. Ask your stylist for "a curly shag with soft, invisible internal layers and face-framing movement" and have them cut dry if possible. The trick is to stop layering before the ends lose weight; too many layers makes fine curls collapse. I once asked for a dramatic chop and ended up rediscovering long layers instead.
Curly fringe that frames the face
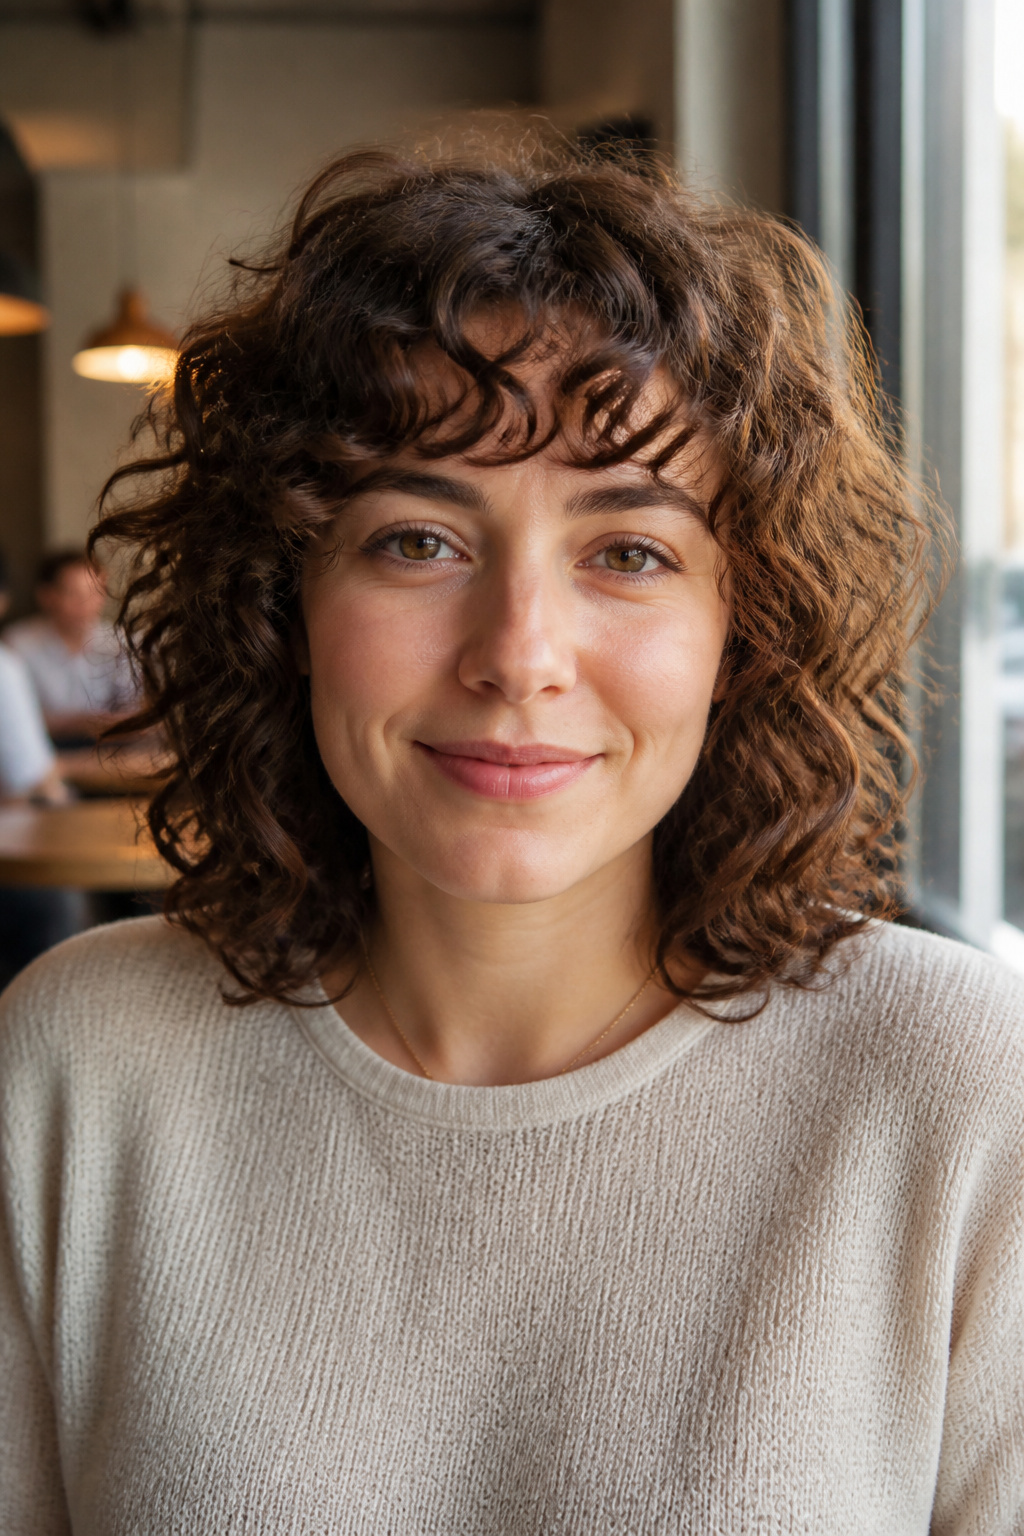

Best for collarbone to mid-back lengths. Bang trims every 6 to 10 weeks. Requires daily styling for shape.
Curly bangs modernize any cut and draw attention to the eyes. Get them cut dry and at least two inches longer than the final desired length so they have room to spring. Use a small amount of leave-in and a lightweight gel to keep the fringe defined without making it crunchy. Common mistake: cutting bangs wet and short, then being shocked at the spring. My stylist talked me out of a blunt, wet cut once and I am grateful.
Defined twist-out for stretched, uniform curls
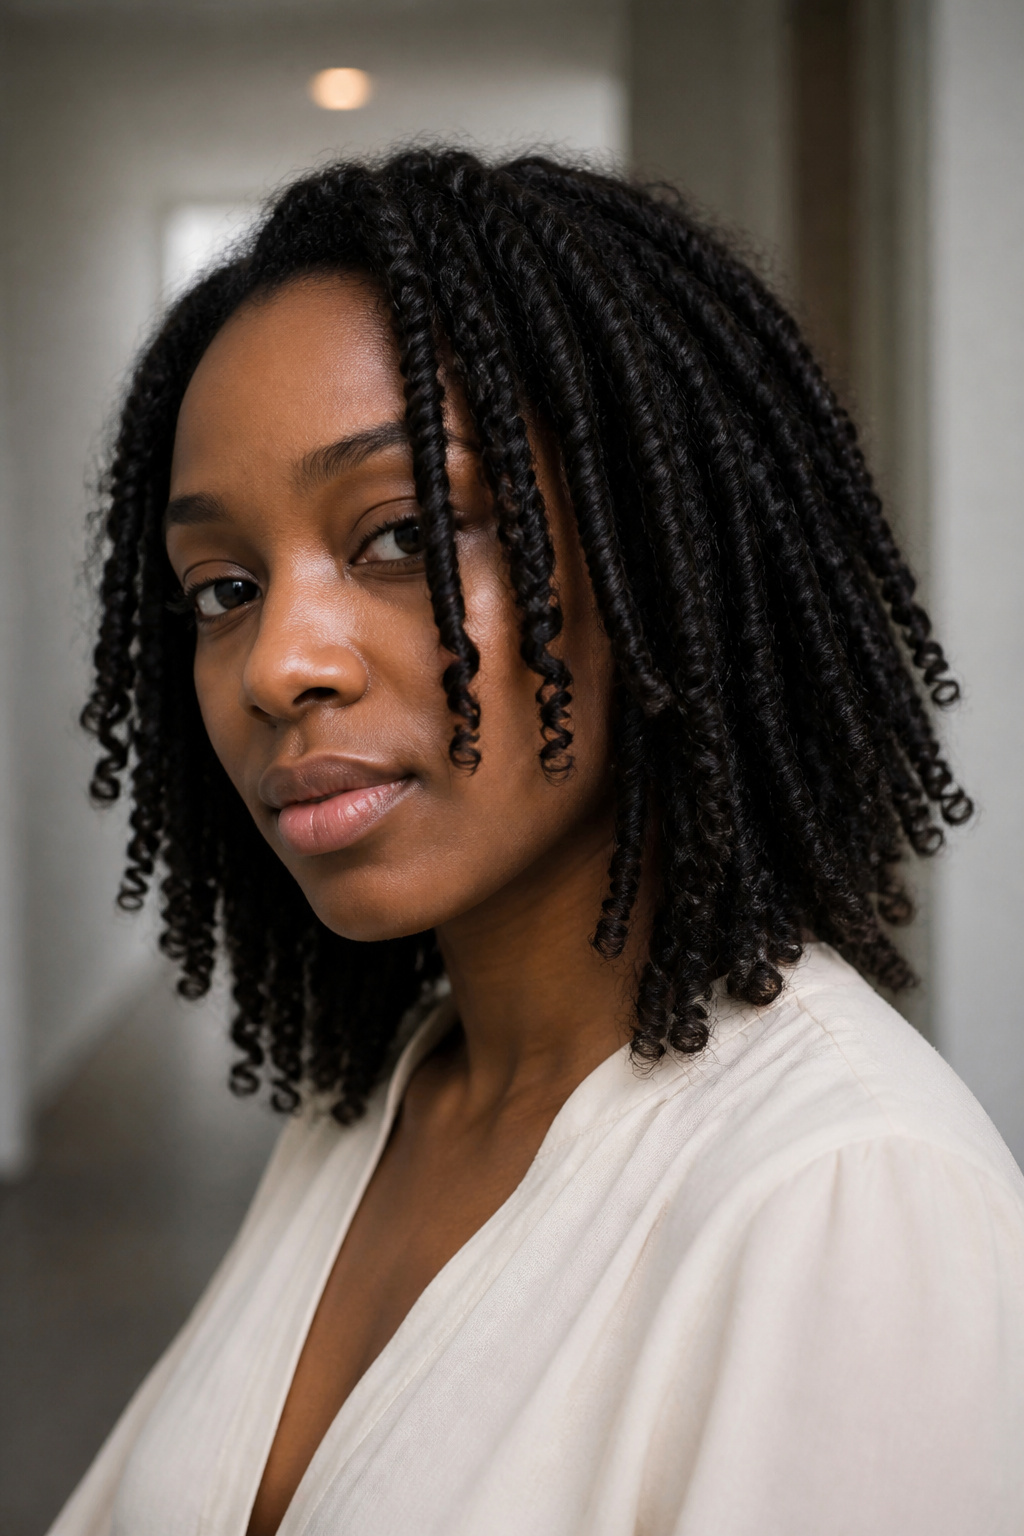

Best for short to long natural curls. Lasts 2 to 4 days when protected overnight. Full unravel only when completely dry.
This is the go-to when I want stretched definition without heat. Work in small sections for even product distribution and twist with a creamy styler. The smaller the section, the tighter and longer the hold. A rookie move is unraveling early; the result is frizz, not definition. For separation, warm a few drops of oil between fingertips and gently tease apart.
Bantu-knot-out for springy ringlets
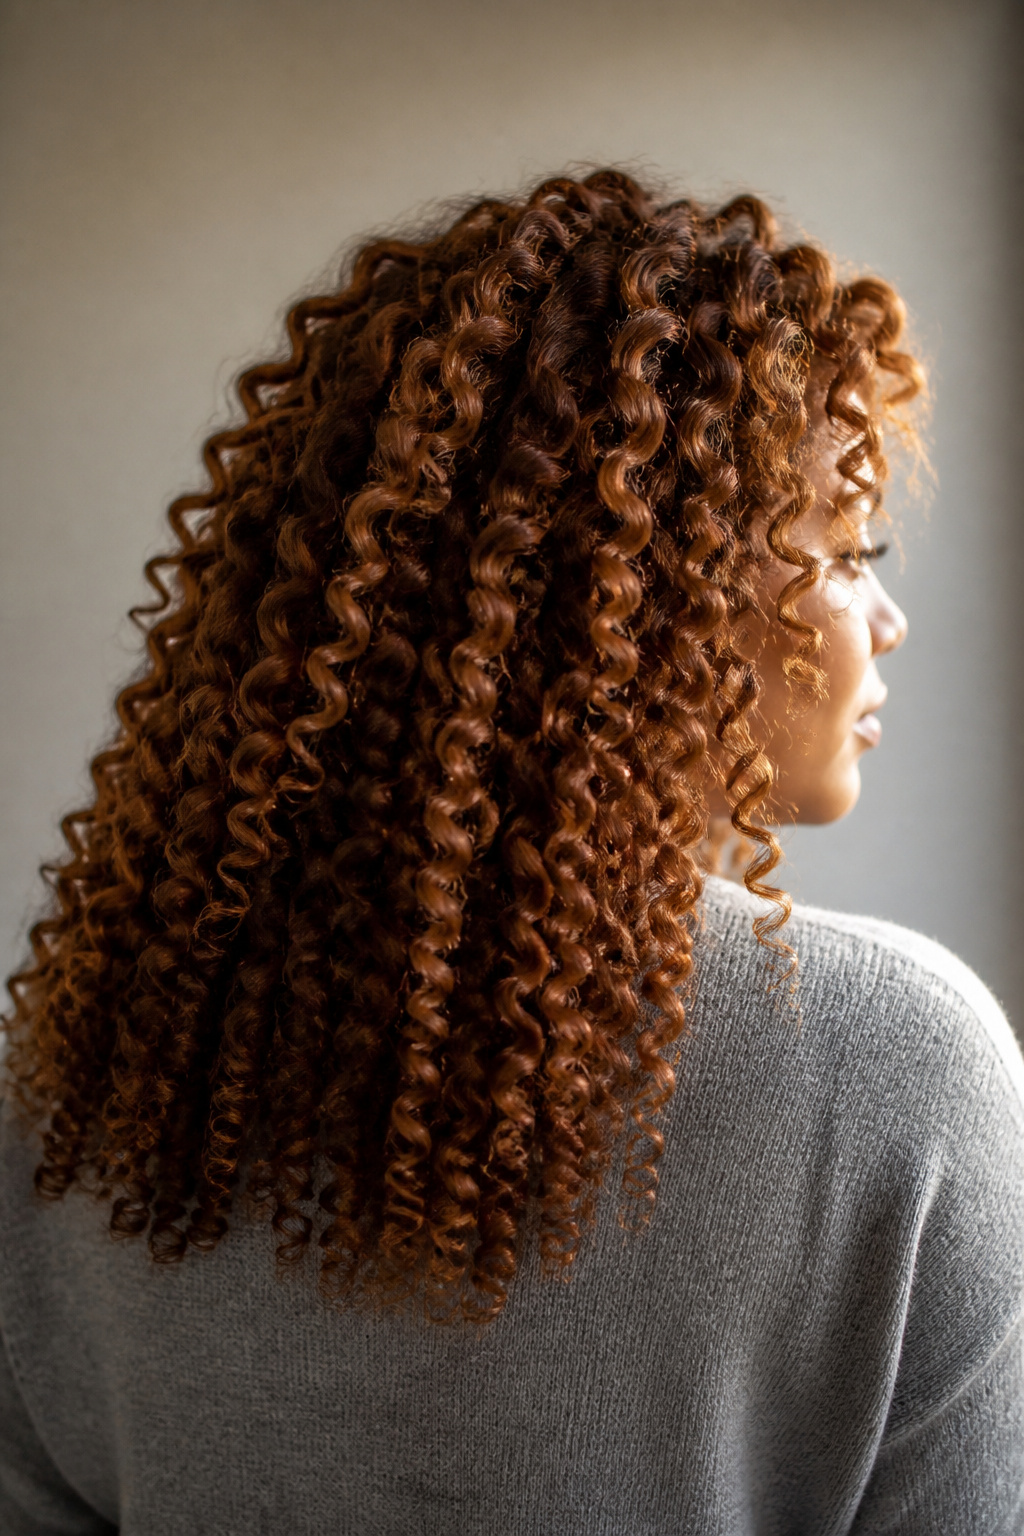

Best for short to long curls. Must dry completely before taking down. Set time depends on section size, expect 4 to 8 hours or overnight.
Bantu knots give a clear, defined pattern and hold surprisingly well through humidity. Use a defining cream and smaller sections for tight spirals. Avoid over-tugging the roots when you release—pulling at the base breaks the pattern. It took me a few tries to stop using too much product; lighter layers set better and last longer.
High puff that creates instant crown height
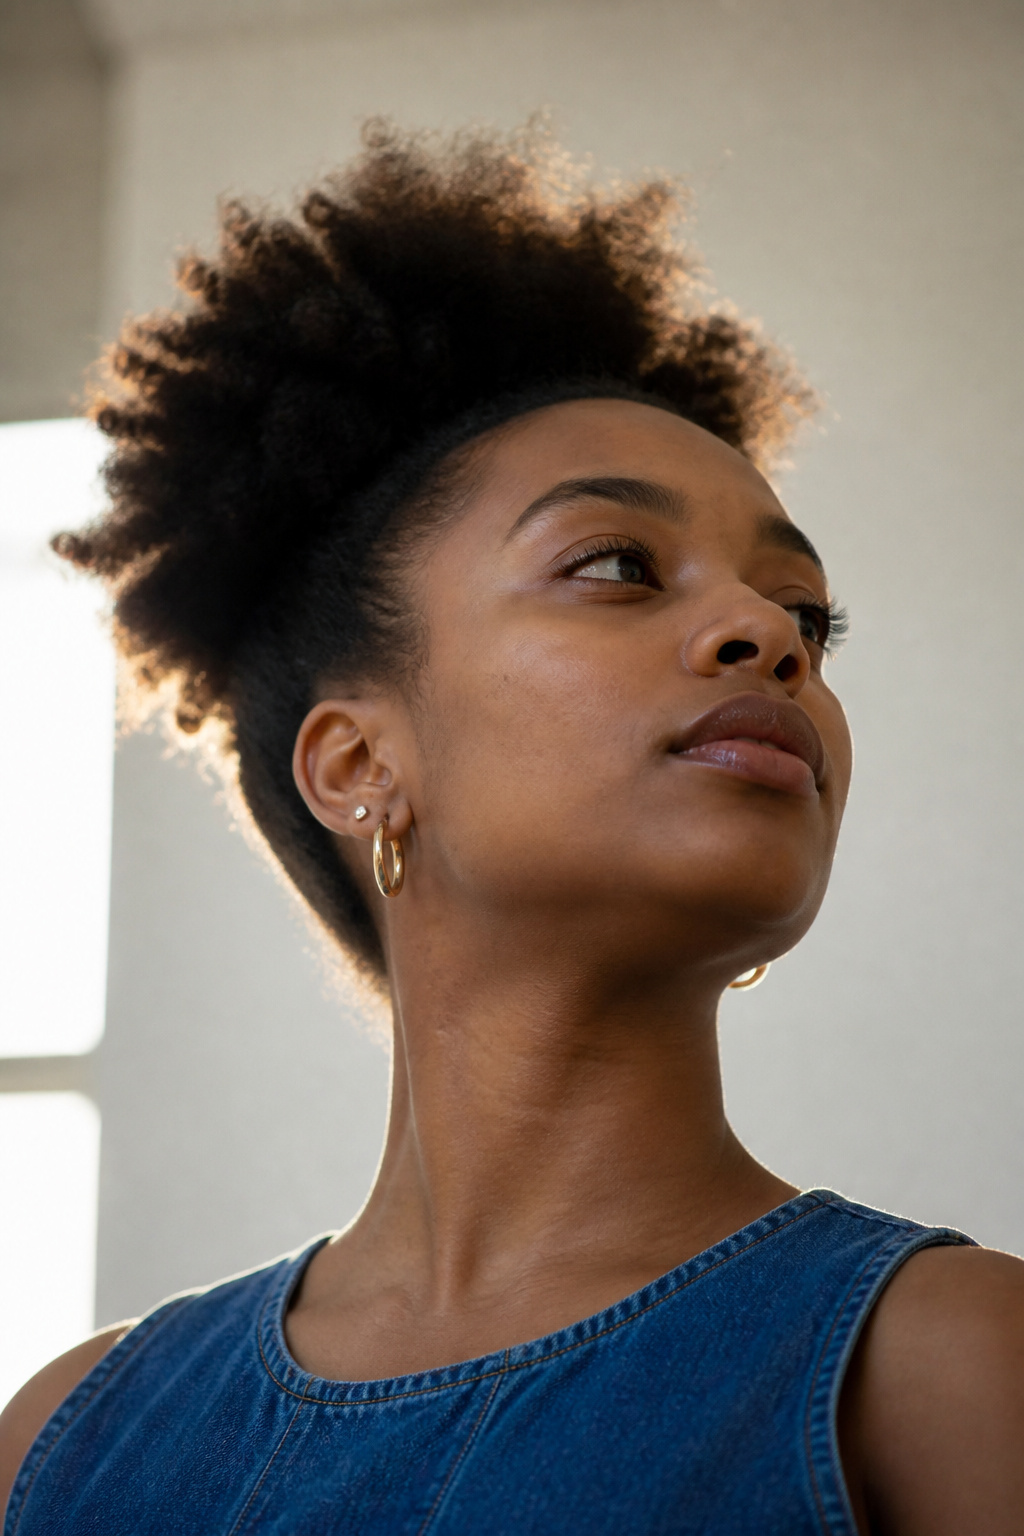

Best for short to long curls, especially fine to medium density. Can be refreshed daily. About 2 to 5 minutes each morning.
This is the fastest route to a polished, voluminous look. Gather at the crown with a satin scrunchie and lift with a wide-tooth pick at the roots only. The key is to fluff the roots, not comb through the lengths. If you brush too far down, you lose definition. I use edge control to smooth the perimeter for a sleeker finish on meeting days.
Low puff with sleek edges for a neat profile
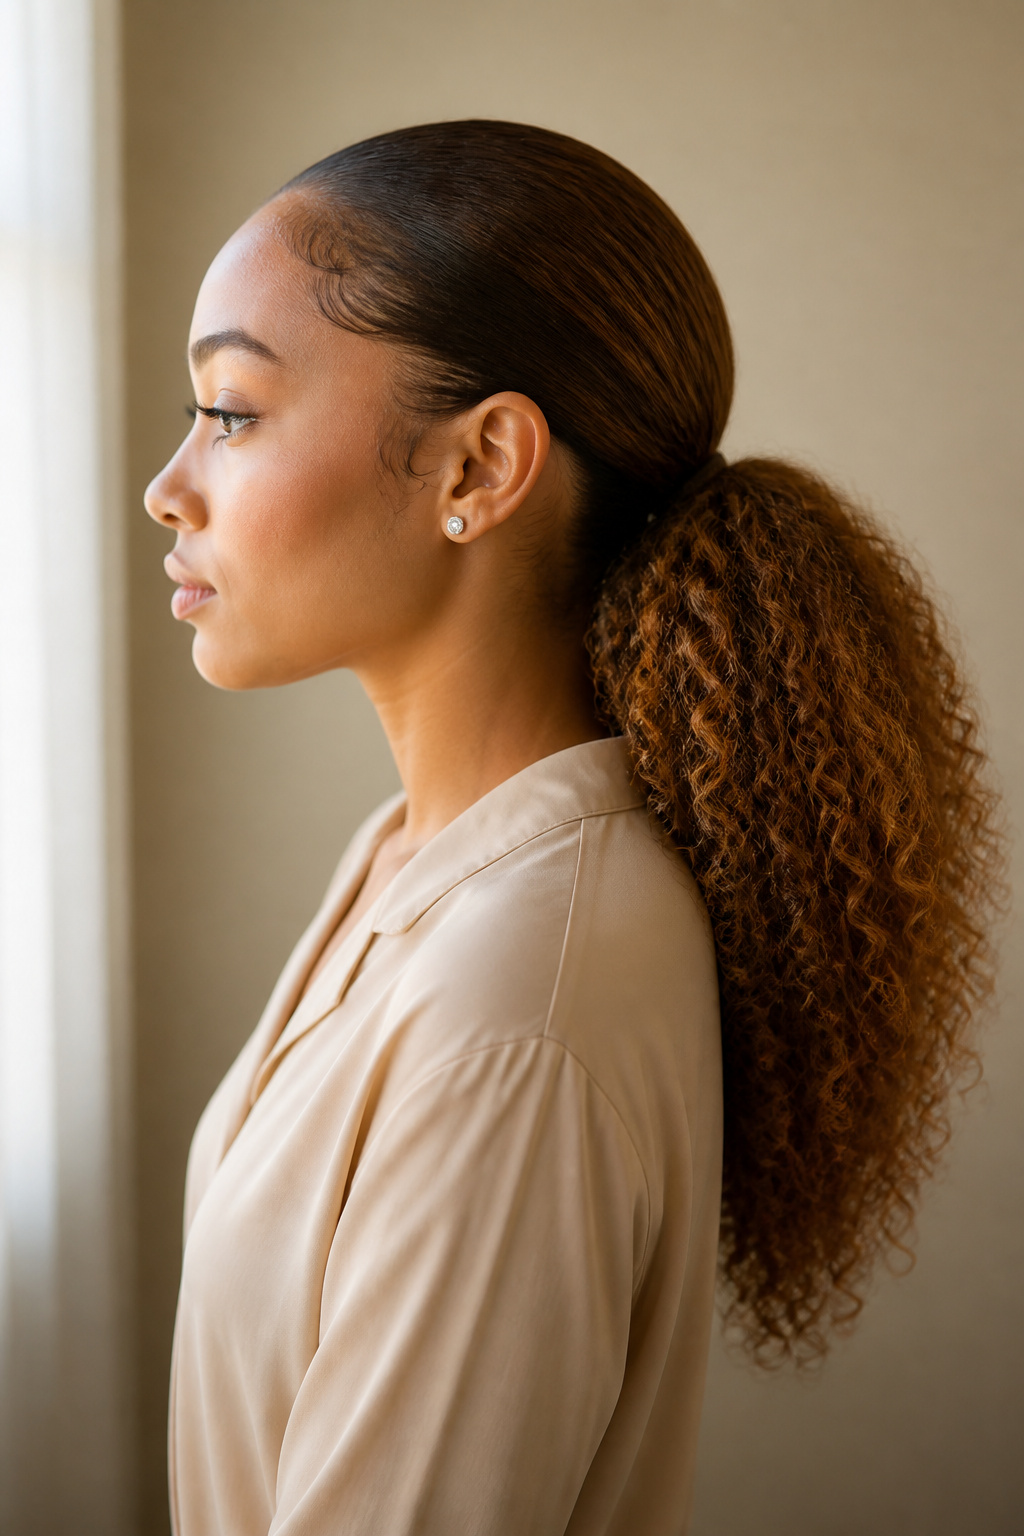

Best for medium to long curls. Easy to wrap and refresh. Stays neat through an entire workday with a satin scarf at night.
Polished but relaxed, the low puff preserves length while keeping the silhouette tidy. Use a soft-bristle brush and edge control to smooth the top, then tuck the pony loosely so the curls at the nape remain visible. Avoid over-tightening the elastic; a too-tight tie flattens root lift. This is my go-to for formal workdays.
Half-up double buns for playful balance
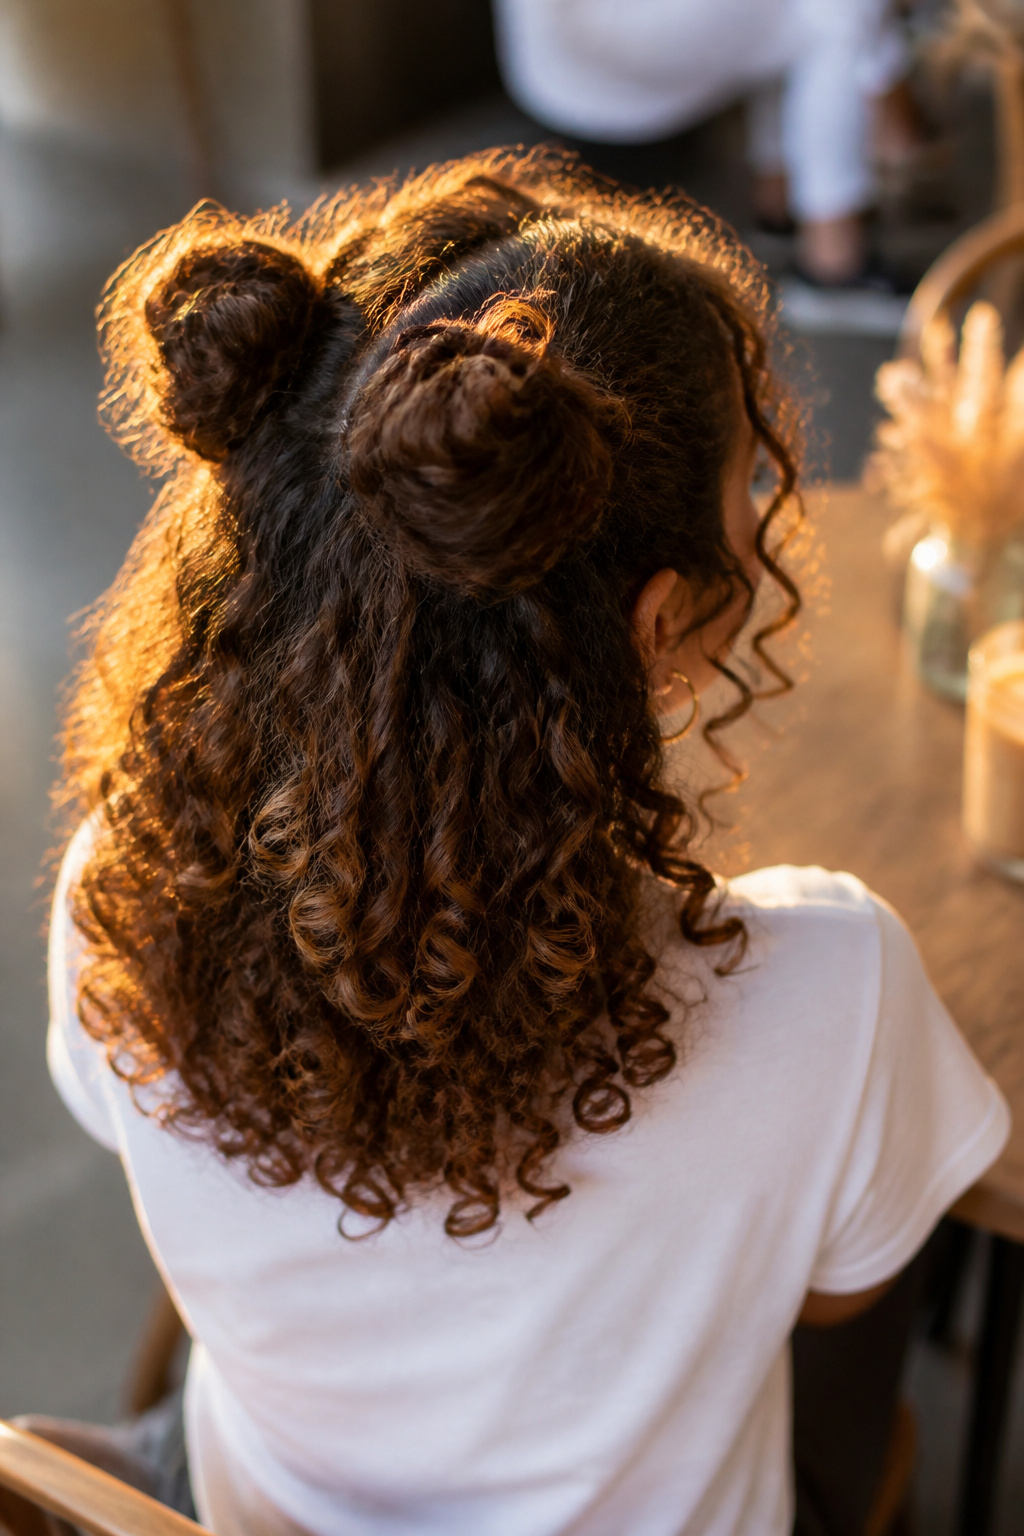

Best for short to long curls. Low upkeep and forgiving on day two. About 3 to 6 minutes to style.
Cute and fast, double buns keep hair off the face while showing length. Make two small buns atop the head and leave the rest soft. If your hair is dense, pin the ends instead of twisting to avoid bulk. Most people over-twist the base; looser buns last longer and look intentionally undone.
Pineapple updo to protect overnight and keep shape
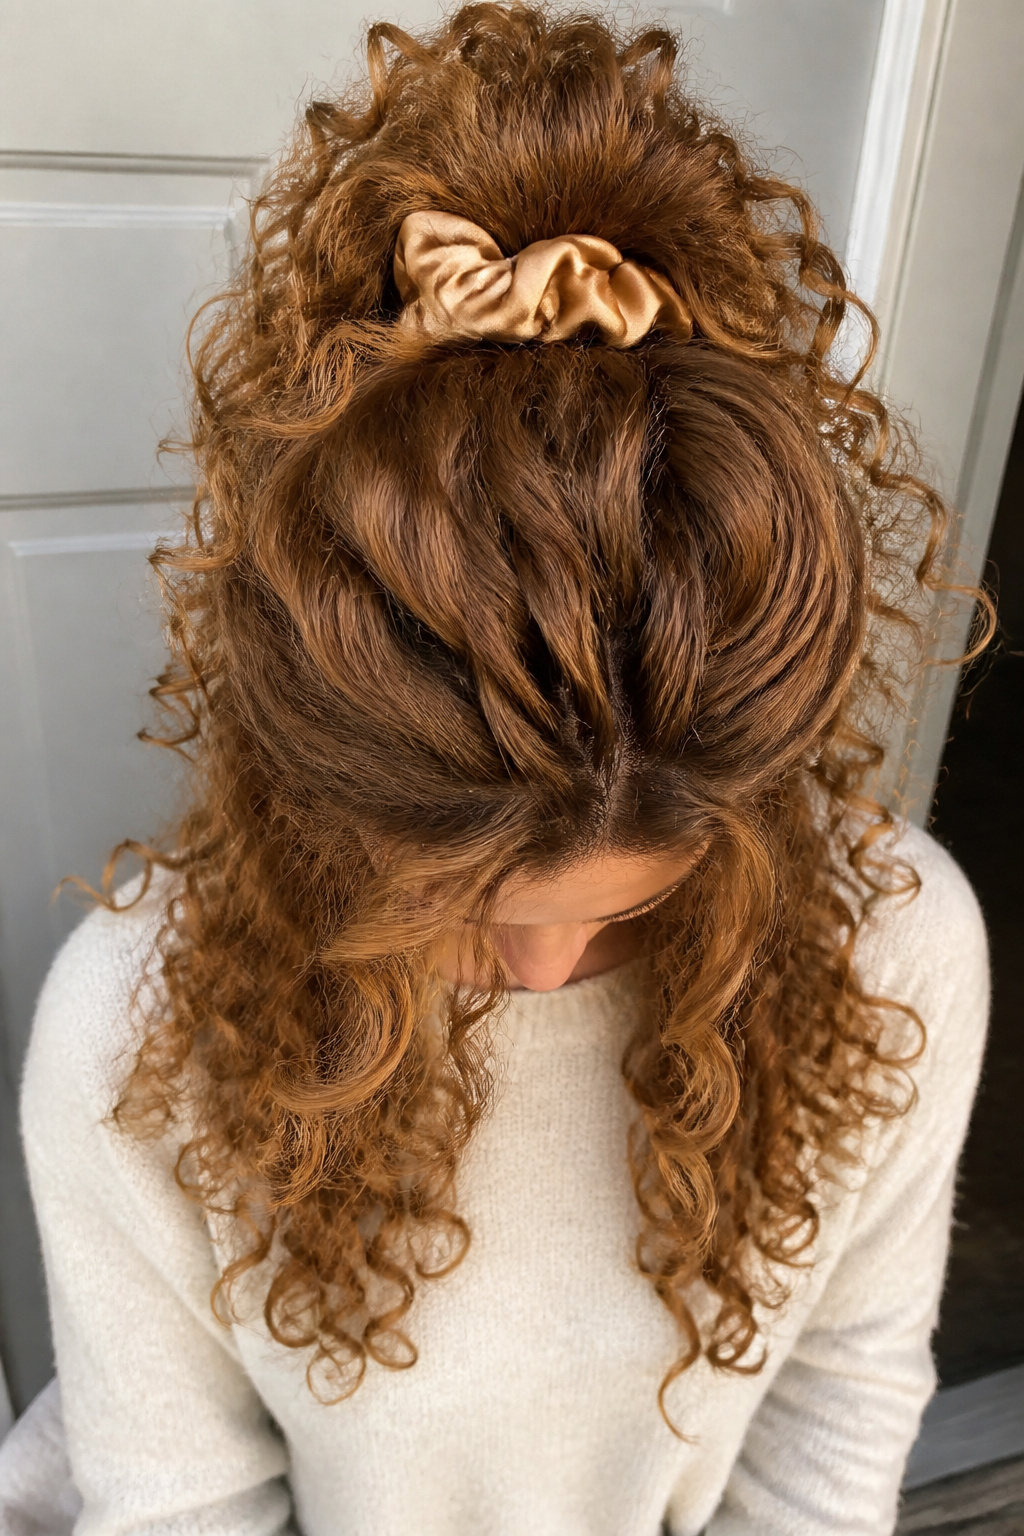

Best for medium to long curls, especially dense hair. Sleep-protect with a satin scrunchie or bonnet. Quick in the morning.
The pineapple is the unsung workhorse for preserving a wash-day shape. Tie loosely at the crown so the roots stay lifted and curls avoid crushing. Tight scrunchies flatten the base, so be generous with slack. It saved me entire mornings when humidity hit midweek.
Side-swept part with lifted roots for instant asymmetry
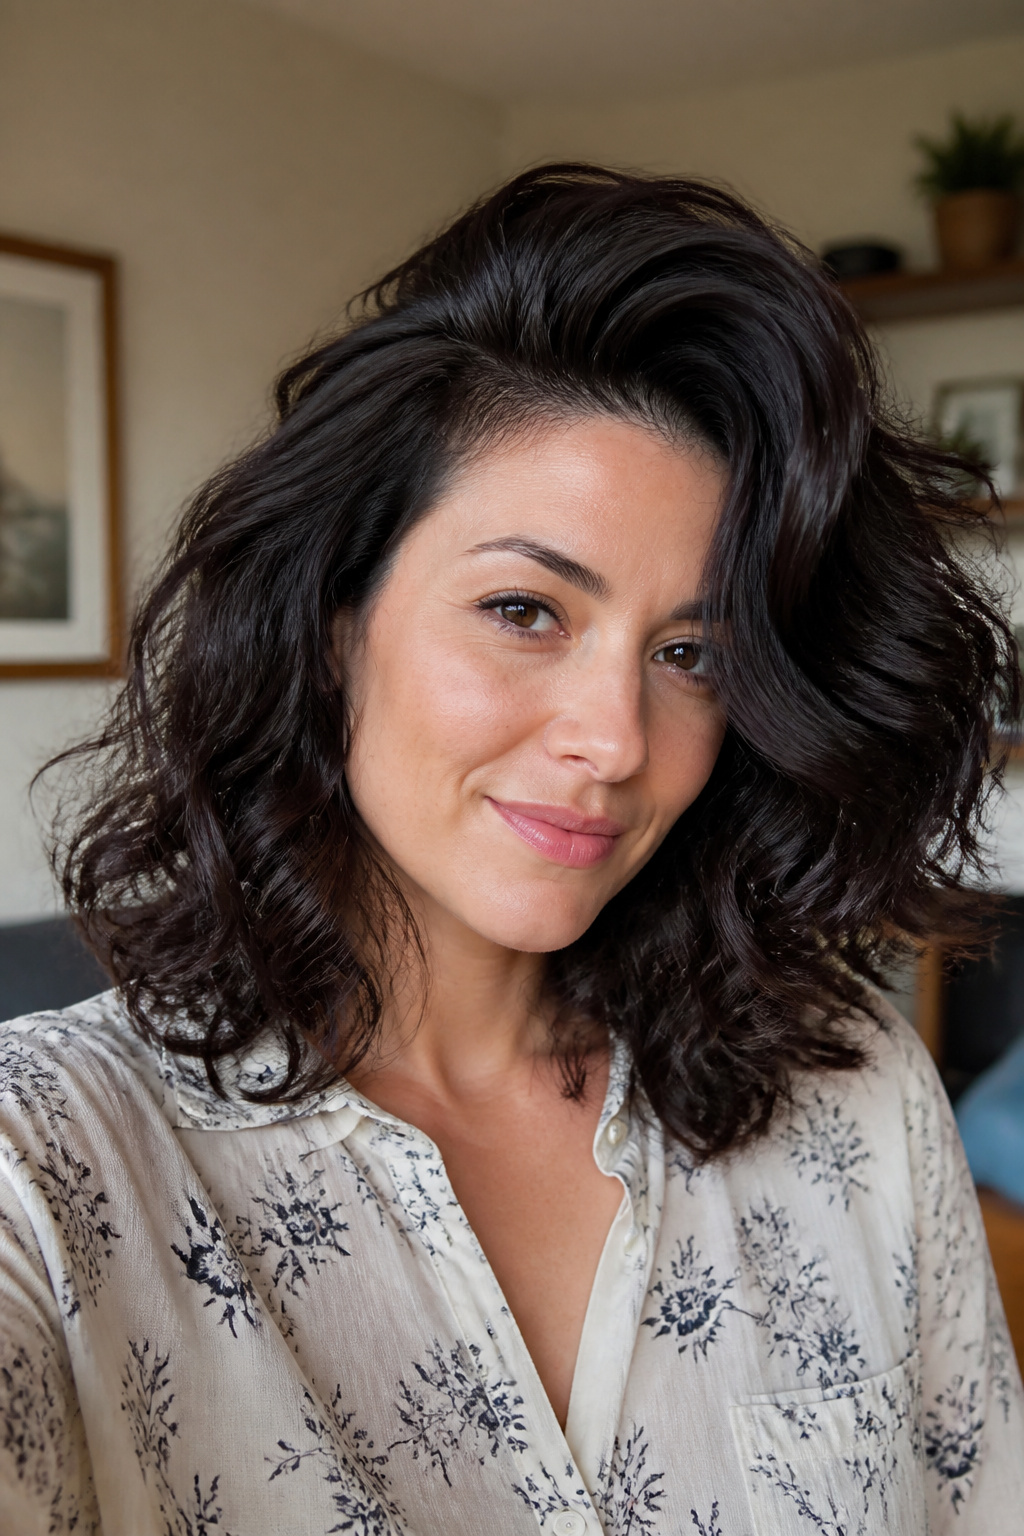

Best for short to mid-back lengths. Works best when curls are fully dry. About 5 to 10 minutes to fluff and set.
Shifting your part is one of the fastest ways to add lift and interest. Diffuse or clip the roots while cooling to hold the root direction. The trick is to lift only at the crown; over-manipulating the lengths makes it look messy instead of styled. I prefer a side-sweep for round faces because it elongates.
Diffused curl set with clipped lift
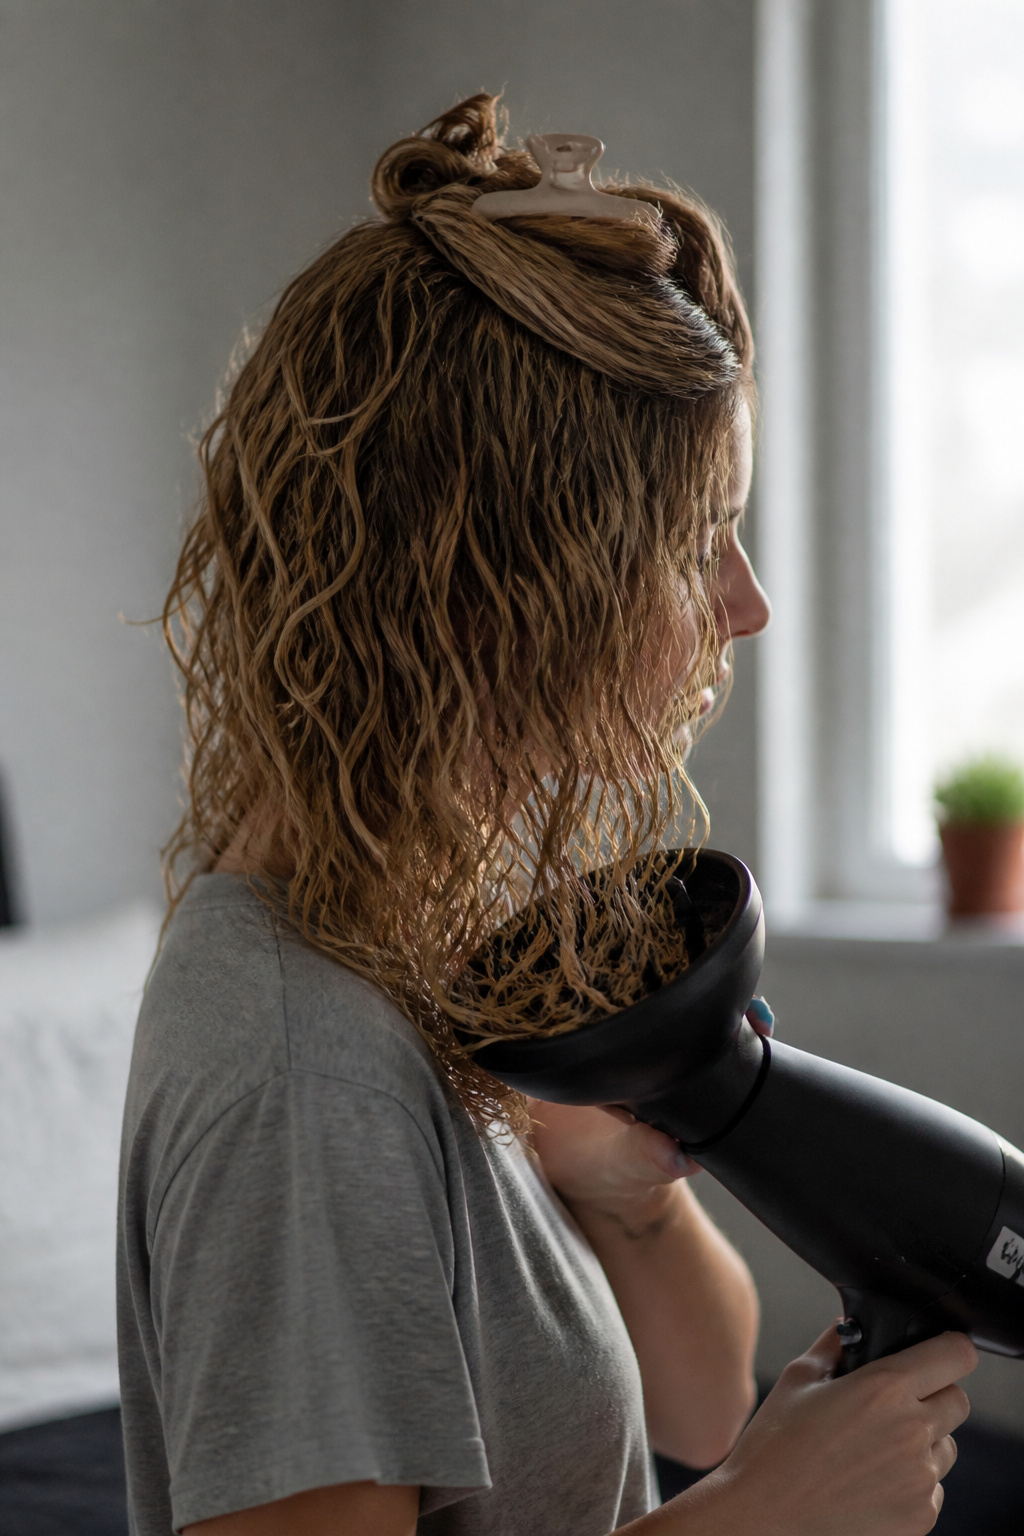

Best for all lengths, especially medium to long hair. Drying and clip-cool time about 15 to 25 minutes. Leave untouched while cooling.
This gives speed and a sculpted finish. Use low airflow and medium heat on a diffuser, cup curls and then set the crown with duckbill clips as they cool for lasting lift. A wrong move is using high heat or touching while drying; you will get frizz. I started clip-setting after a tutorial and the lift lasted through lunch.
Double-bun half-up with pinned ends for containment
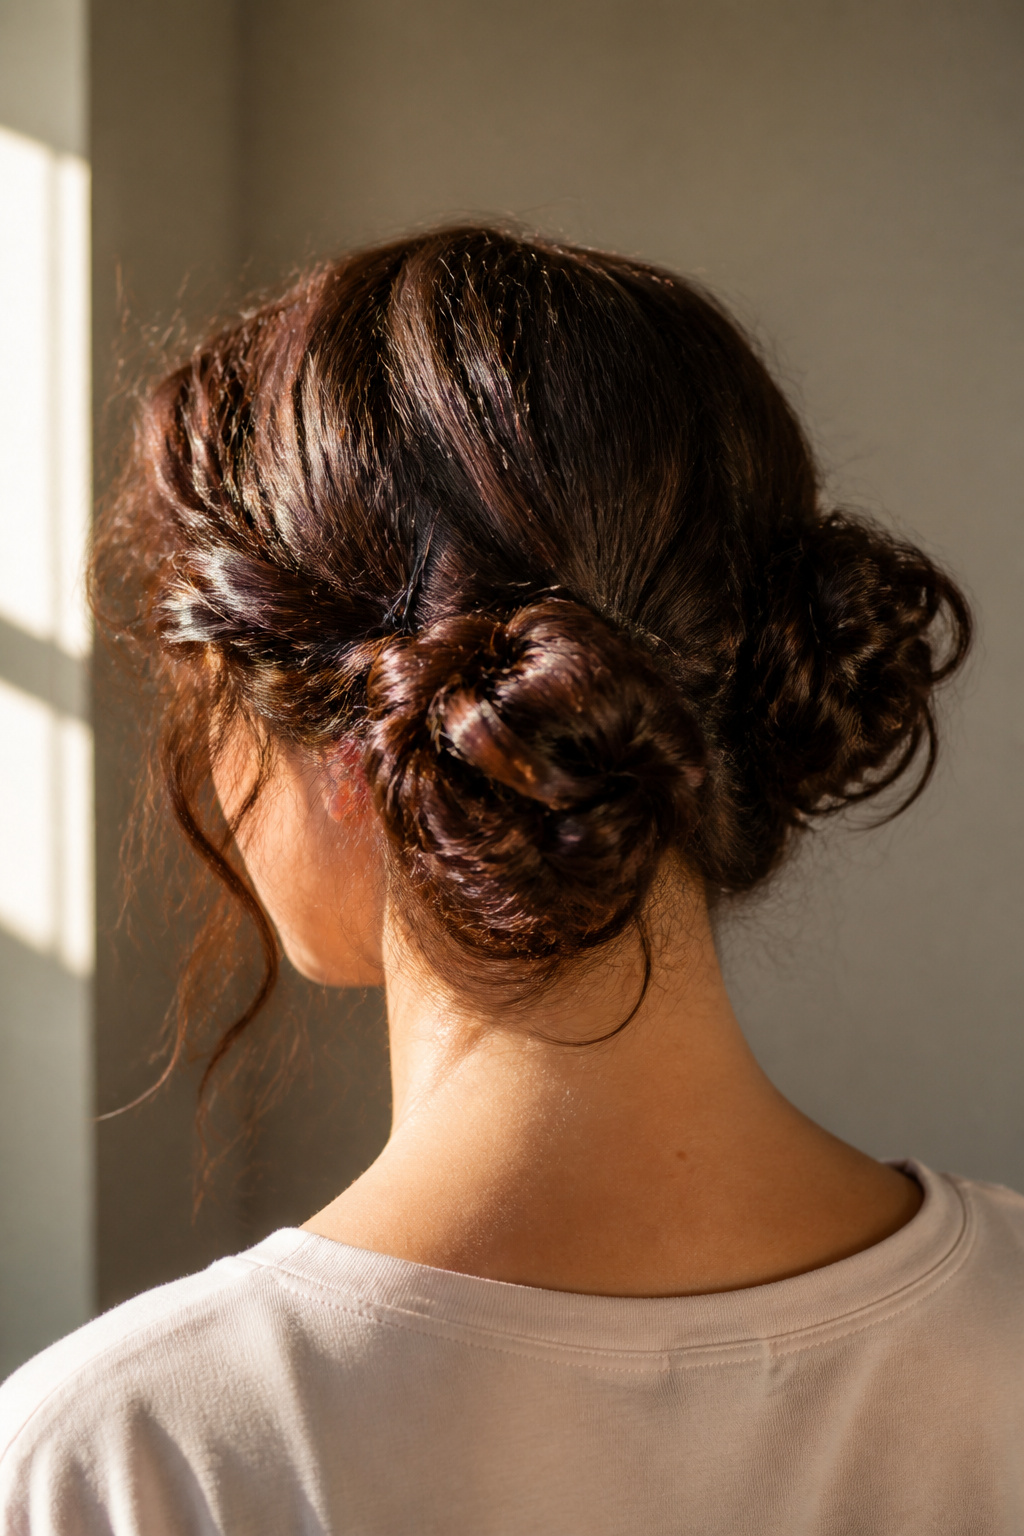

Best for mid-length to long curls. Fun and forgiving on day two. About 7 to 10 minutes to pin and shape.
This version tames top bulk and keeps hair from ballooning. Pin the ends into the base of each bun to reduce weight but leave face-framing curls free. Avoid overloading pins at the crown; you want shape, not a helmet. It’s my backup for unpredictable weather.
Rounded curly afro with root pick-out
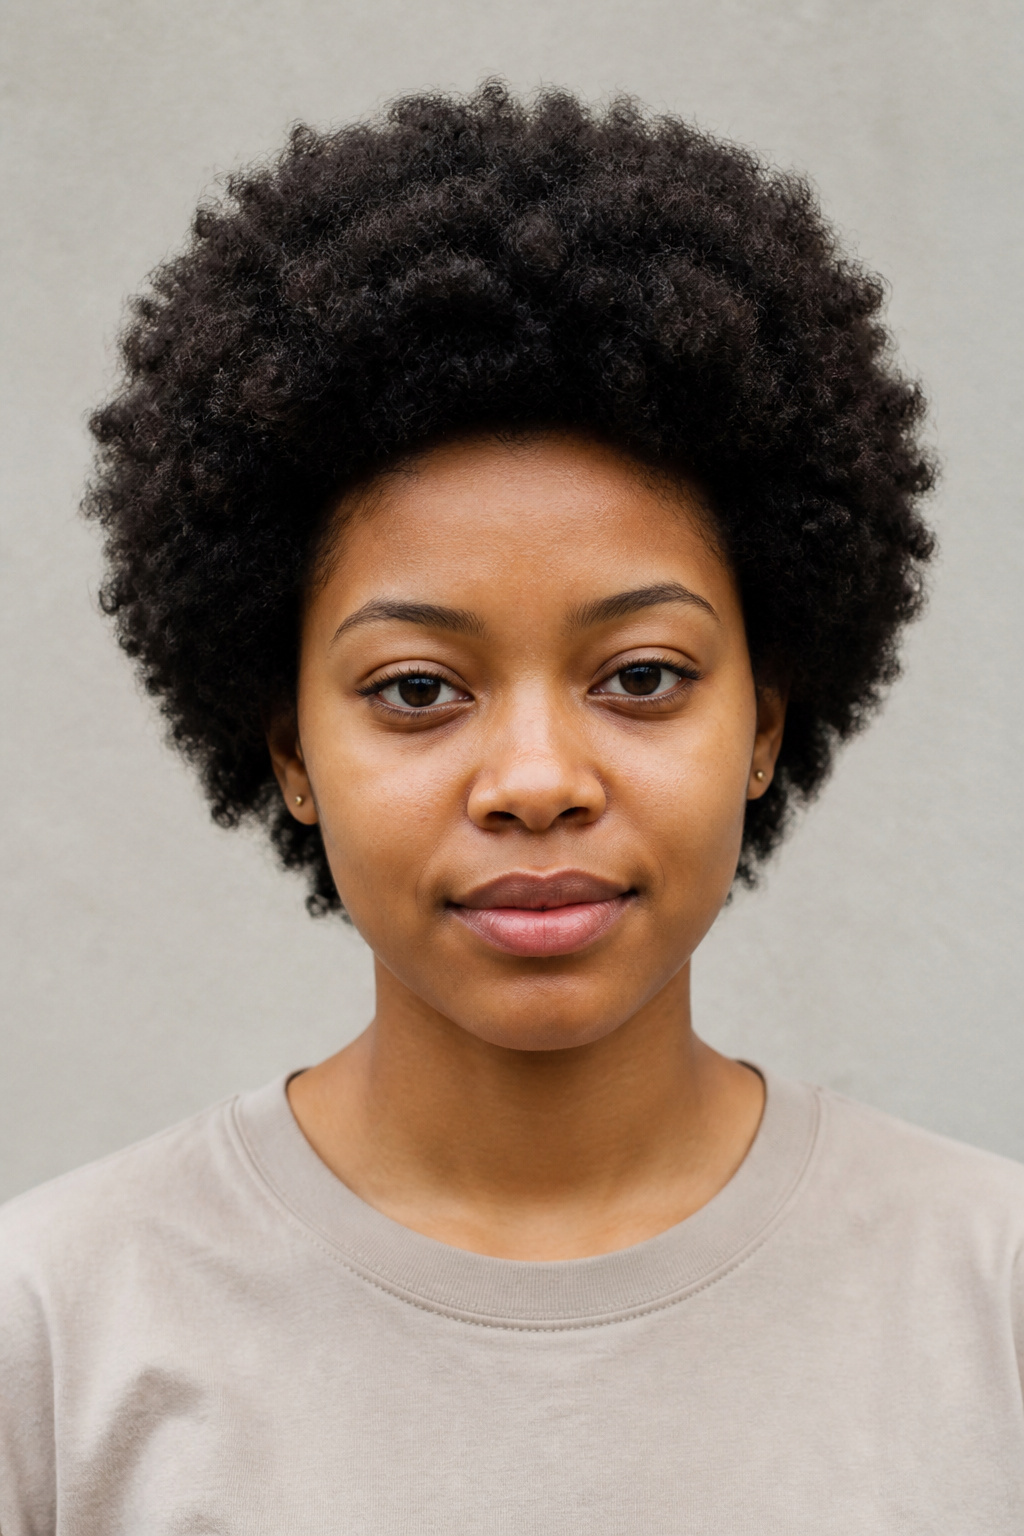

Best for short to medium coarse curls. Maintains shape with root picks rather than brushing. Quick daily fluff.
A root pick sculpts a rounded silhouette and gives lift without disturbing curl clumps. Pick only at the roots and avoid combing through lengths. The biggest mistake is trying to brush the whole shape; you’ll lose definition. I learned to pick lockdowns into one minute and move on.
Quick loose bun with curly ends
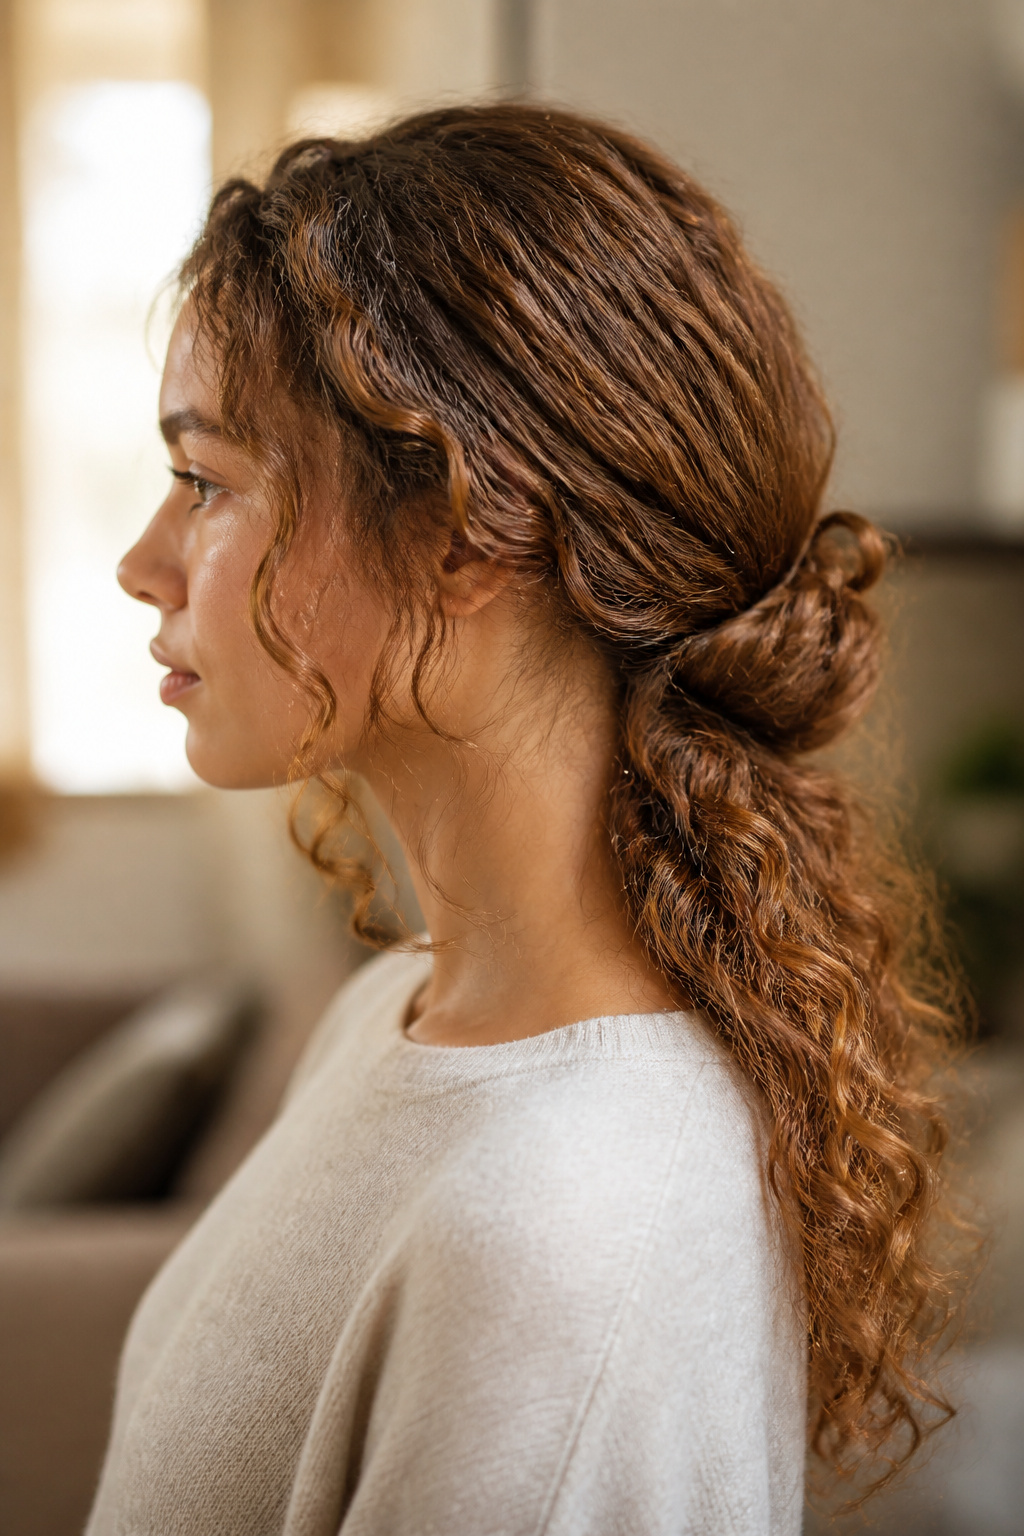

Best for medium to long curls. Fast to do and easy to redo. Great for day two hair.
This bun keeps it professional without hiding texture. Create a loose knot at the nape and let the ends fan out. Use a few invisible pins to secure, but do not pull the knot tight or the curls will lose their spring. I prefer this over a slicked bun when my roots are flat.
Slicked-back bun for second-day hair
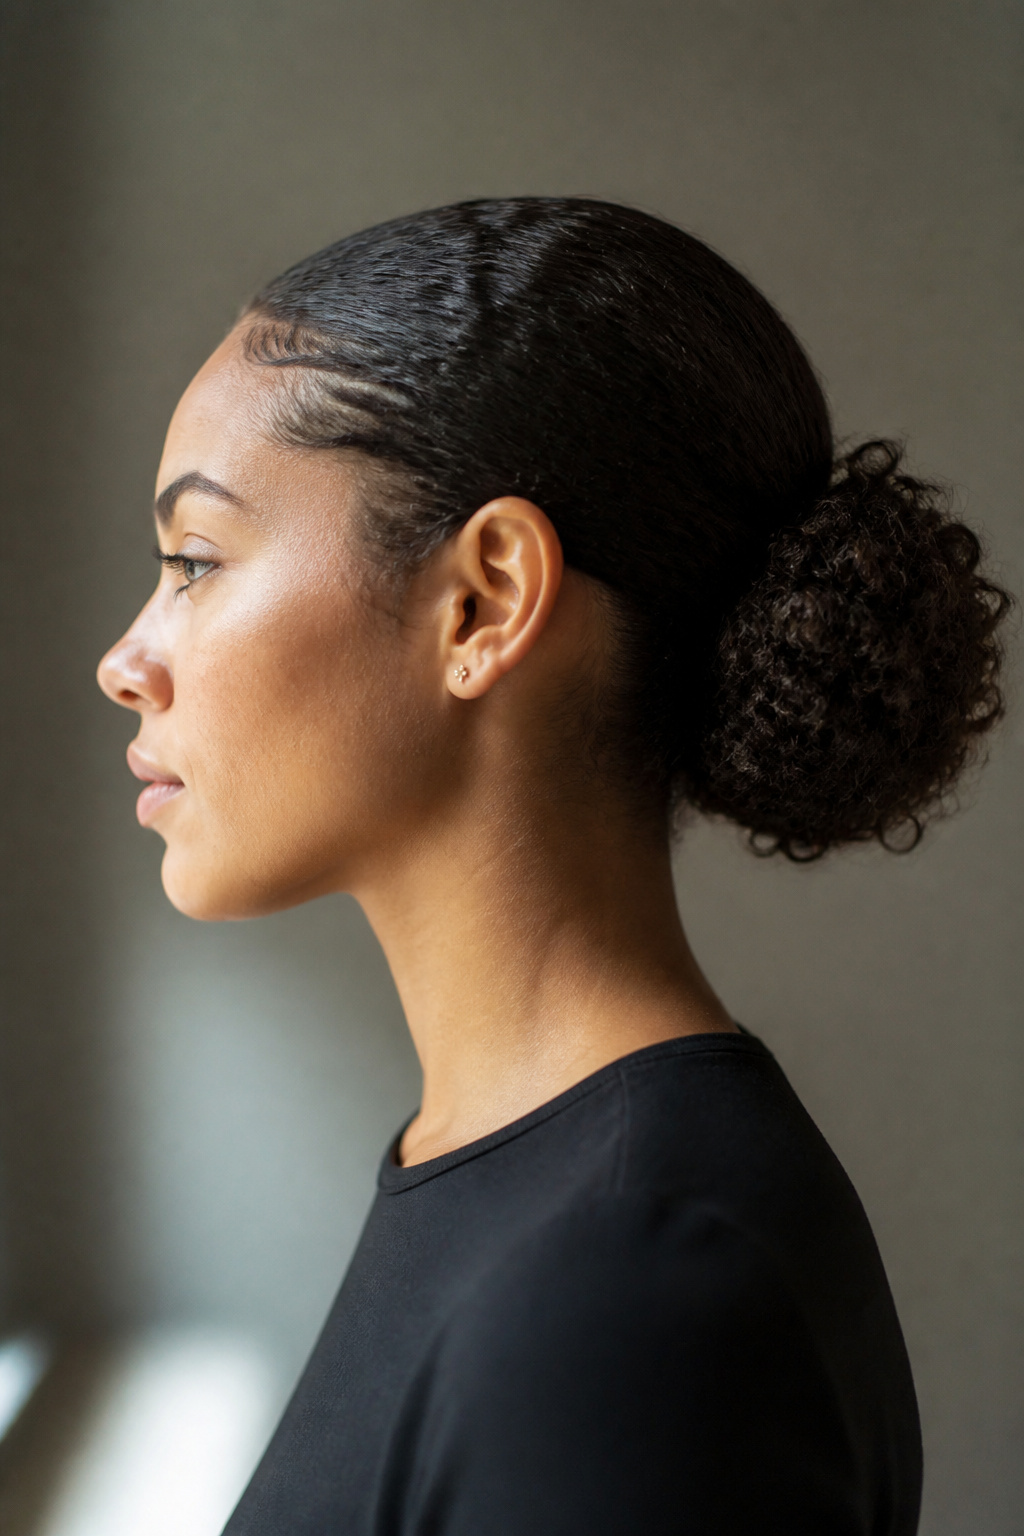

Best for medium to long curls on day two. Requires edge control and a satin wrap overnight. About 8 minutes to smooth.
Slicking the sides makes a bun look intentional on hair that has lost some volume. Use a smoothing gel and a soft brush, then wrap for five to ten minutes to set. Over-smoothing will flatten your crown; keep the top slightly lifted for balance. This is the "clean" version of a messy bun.
Finger-coil short curls for controlled shape
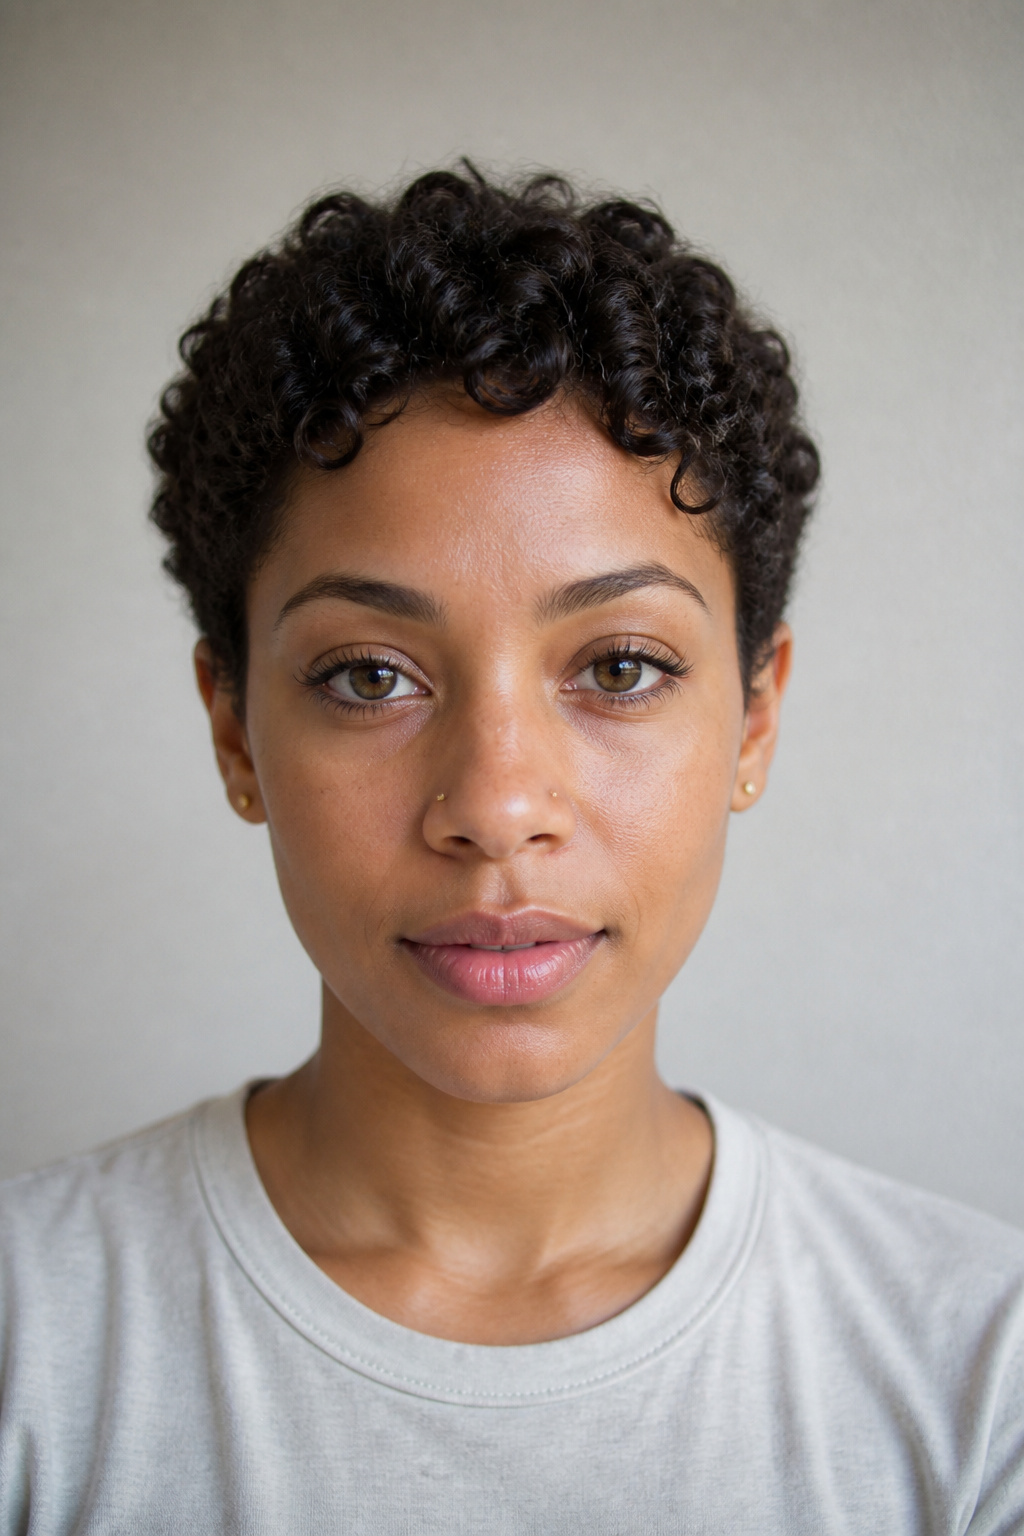

Best for very short to pixie lengths. Shape lasts several days with nightly satin cap. Takes 10 to 20 minutes to set depending on section size.
Finger-coils give a defined, vintage-adjacent finish that holds. Work on soaking-wet hair with a firm-hold cream or gel and coil small sections around your finger. The common overstep is doing large sections; they look undefined. I still use finger-coils when I want a neat, sculpted look.
Wash-and-go with a gel cast for long-lasting definition
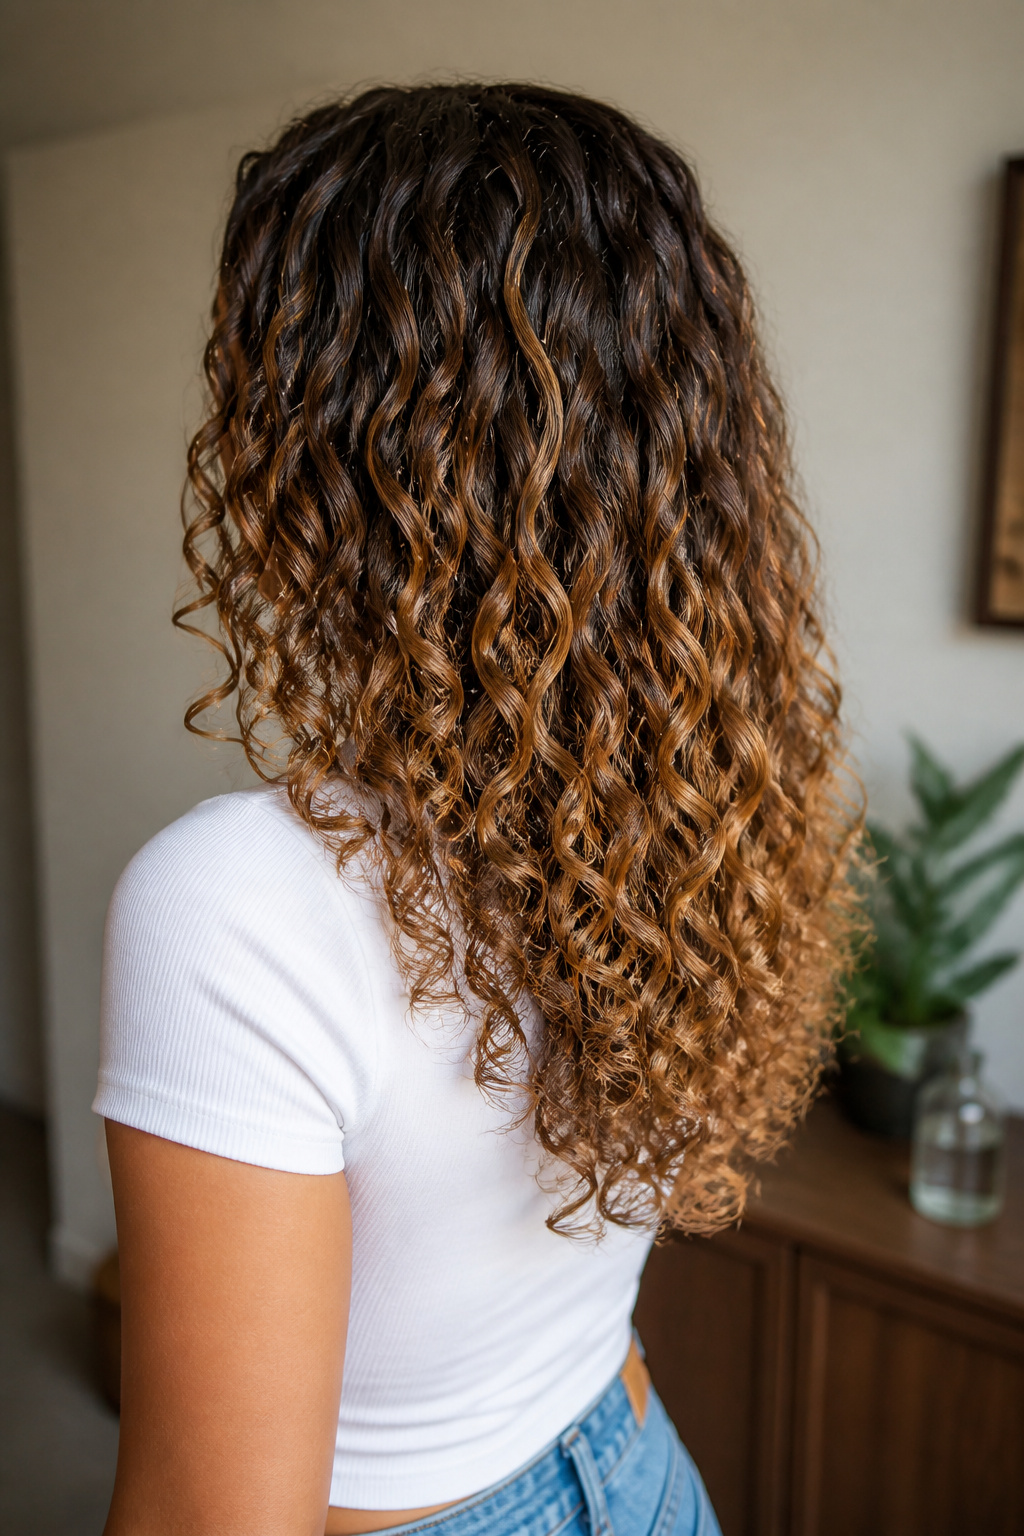

Best for medium to long hair with defined curl patterns. Apply to soaking-wet hair and air-dry or diffuse. Lasts 2 to 3 days with satin protection.
A proper wash-and-go with a medium-to-strong gel gives uniform clumping and a scrunch-out shine. The secret is applying product to soaking-wet hair and not touching while drying. People touch their curls to "fluff" and wreck the cast; resist that urge. I use the scrunch-out method with a light oil for finish.
Twist-and-pin vintage roll for an updo with hold
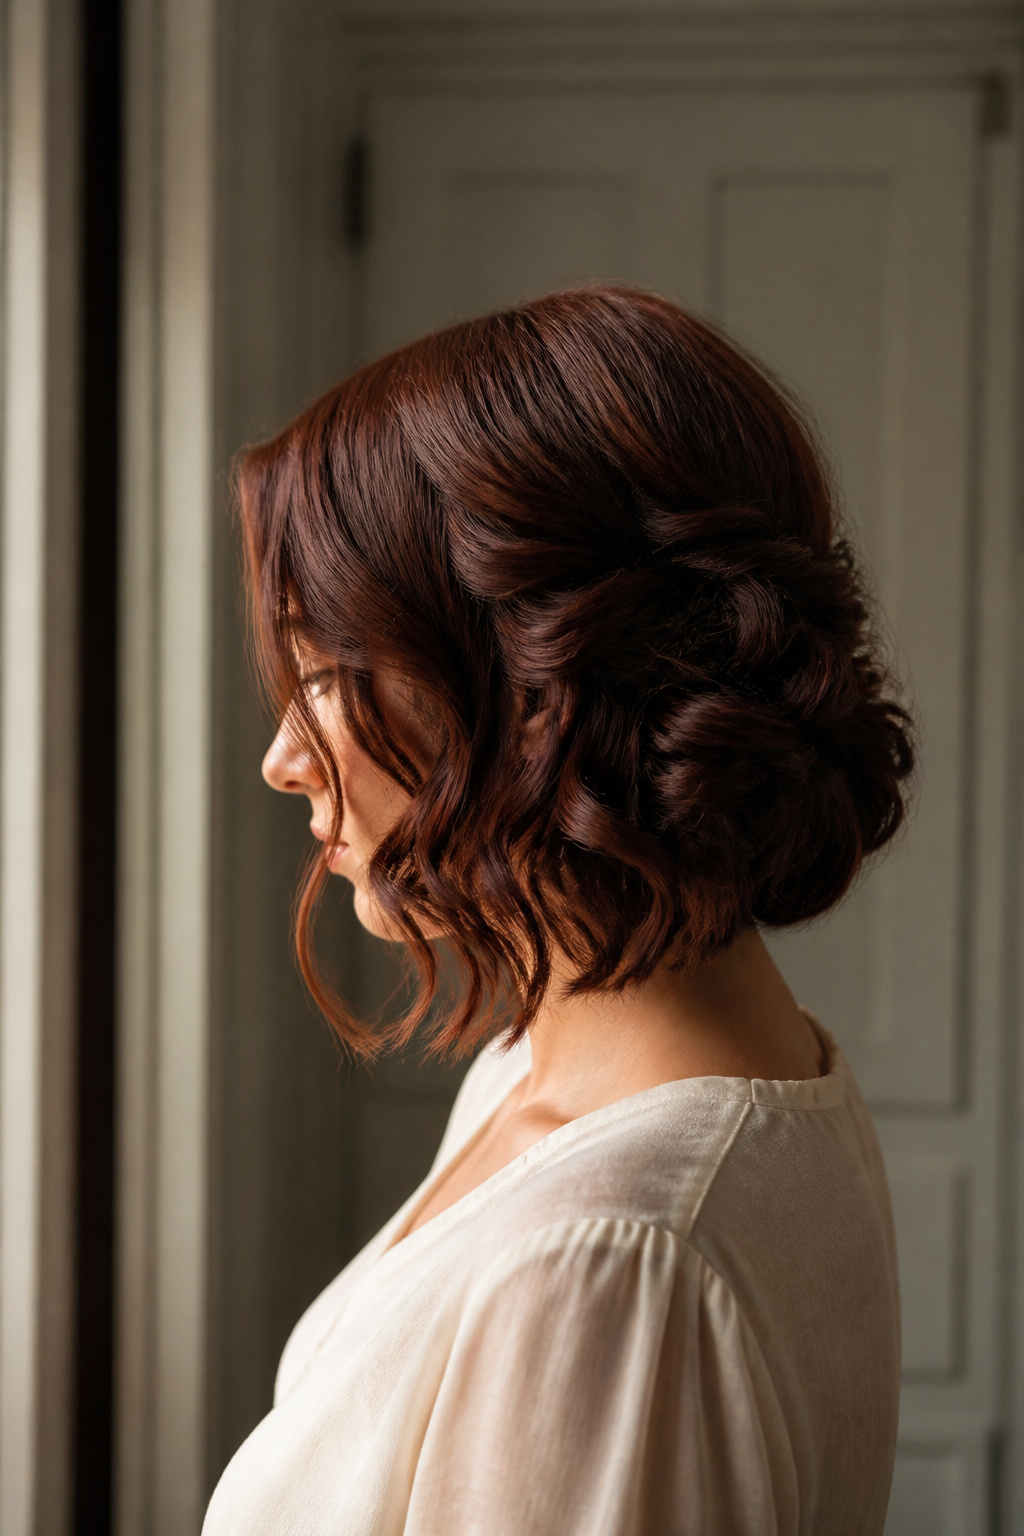

Best for medium to long curls. Holds well for events and survives humidity. About 15 minutes to pin and shape.
This low-tech updo pins twisted sections into a rolled shape that reads polished and textured. Use medium-hold gel at the roots and pin sections as they cool to lock direction. Avoid over-smoothing the ends; you want soft curl movement. I bring this when I need to look put together without ironing.
Protective stretched braid for a sleek day
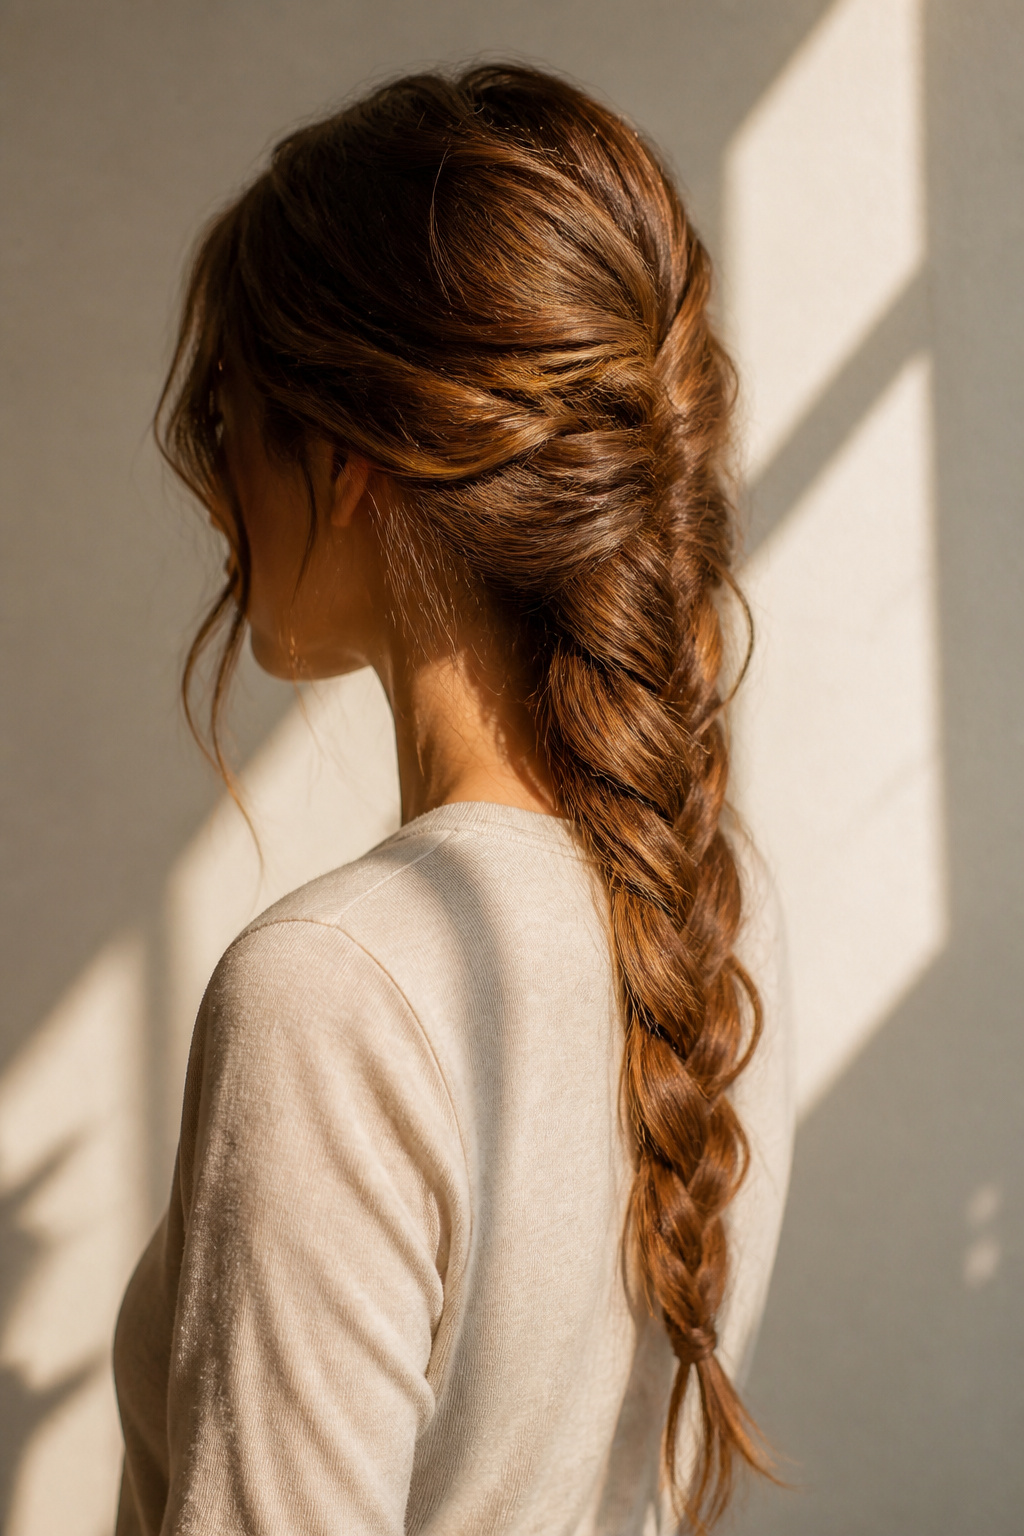

Best for long curly hair that needs length retention. Stays neat 3 to 7 days with nightly satin protection.
A loose, stretched braid controls bulk and preserves length while keeping a curly finish at the tail. Use a leave-in and a little cream before braiding to keep frizz minimal. If you braid too tightly you get tension at the roots; keep it relaxed. This is the easiest protective style I rotate with puffs.
Finger-flower pin for romantic half-up detail
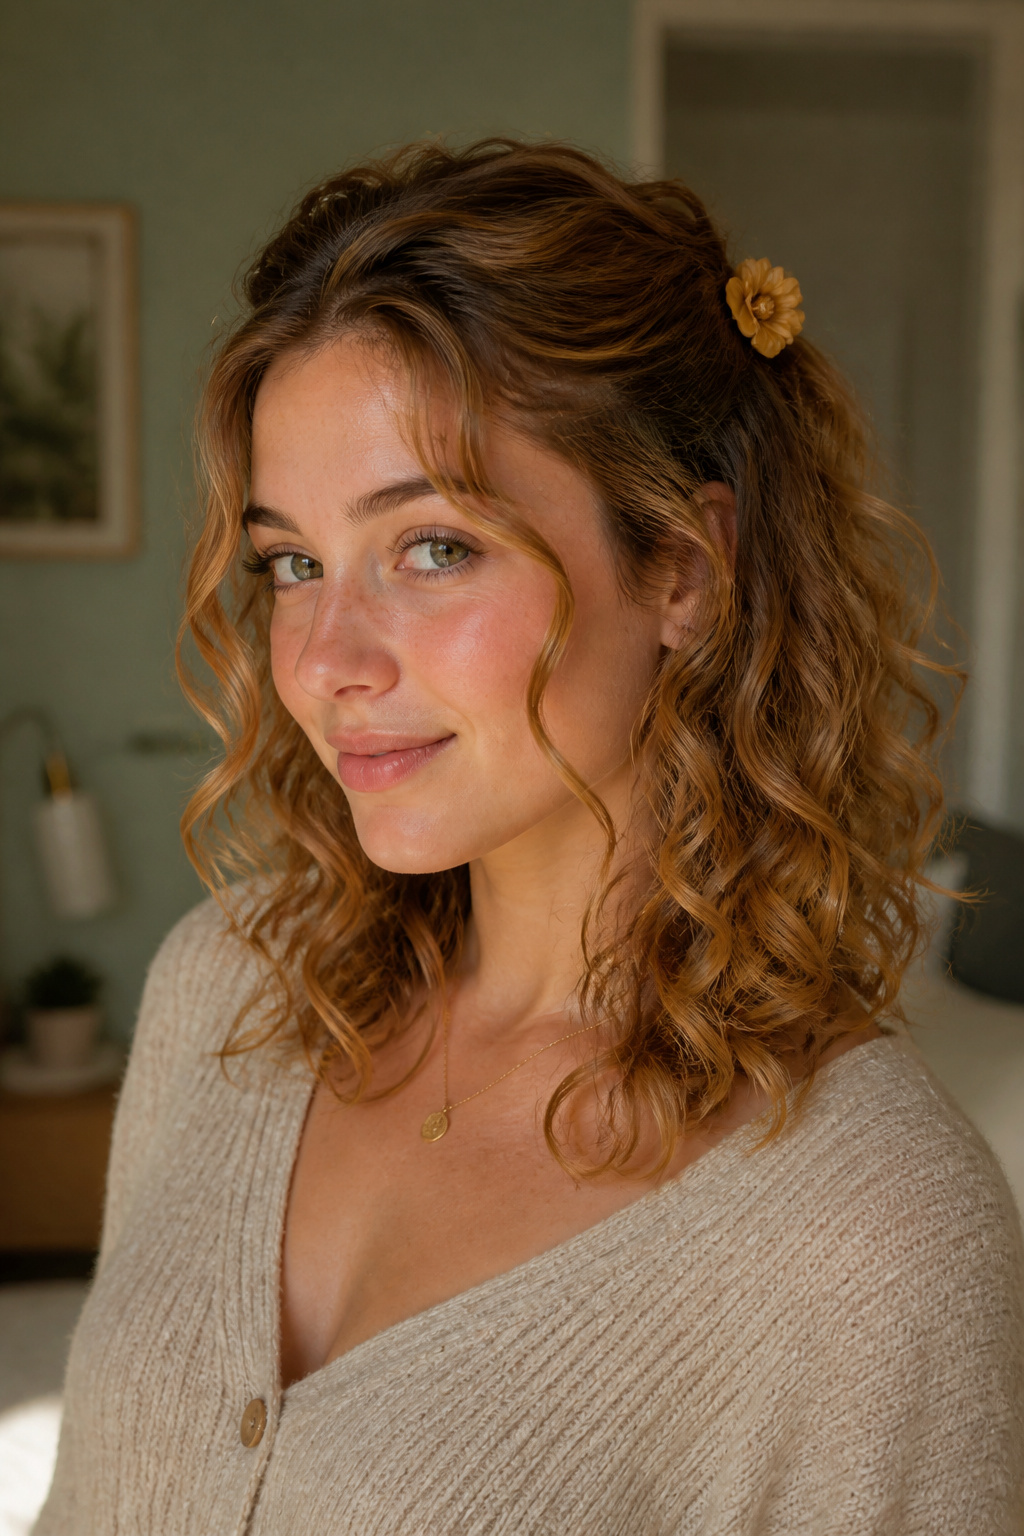

Best for short to medium curls. Great for growing-out phases and weddings. Takes about 5 minutes to arrange.
A small finger-rolled flower made from a twist of hair pins the half-up securely while keeping a handcrafted look. The payoff is a polished detail that reads intentional, not fussy. The usual mistake is over-spraying; you want a touchable finish. I bring this when I’m between cuts.
Messy top knot with curled nape for casual polish
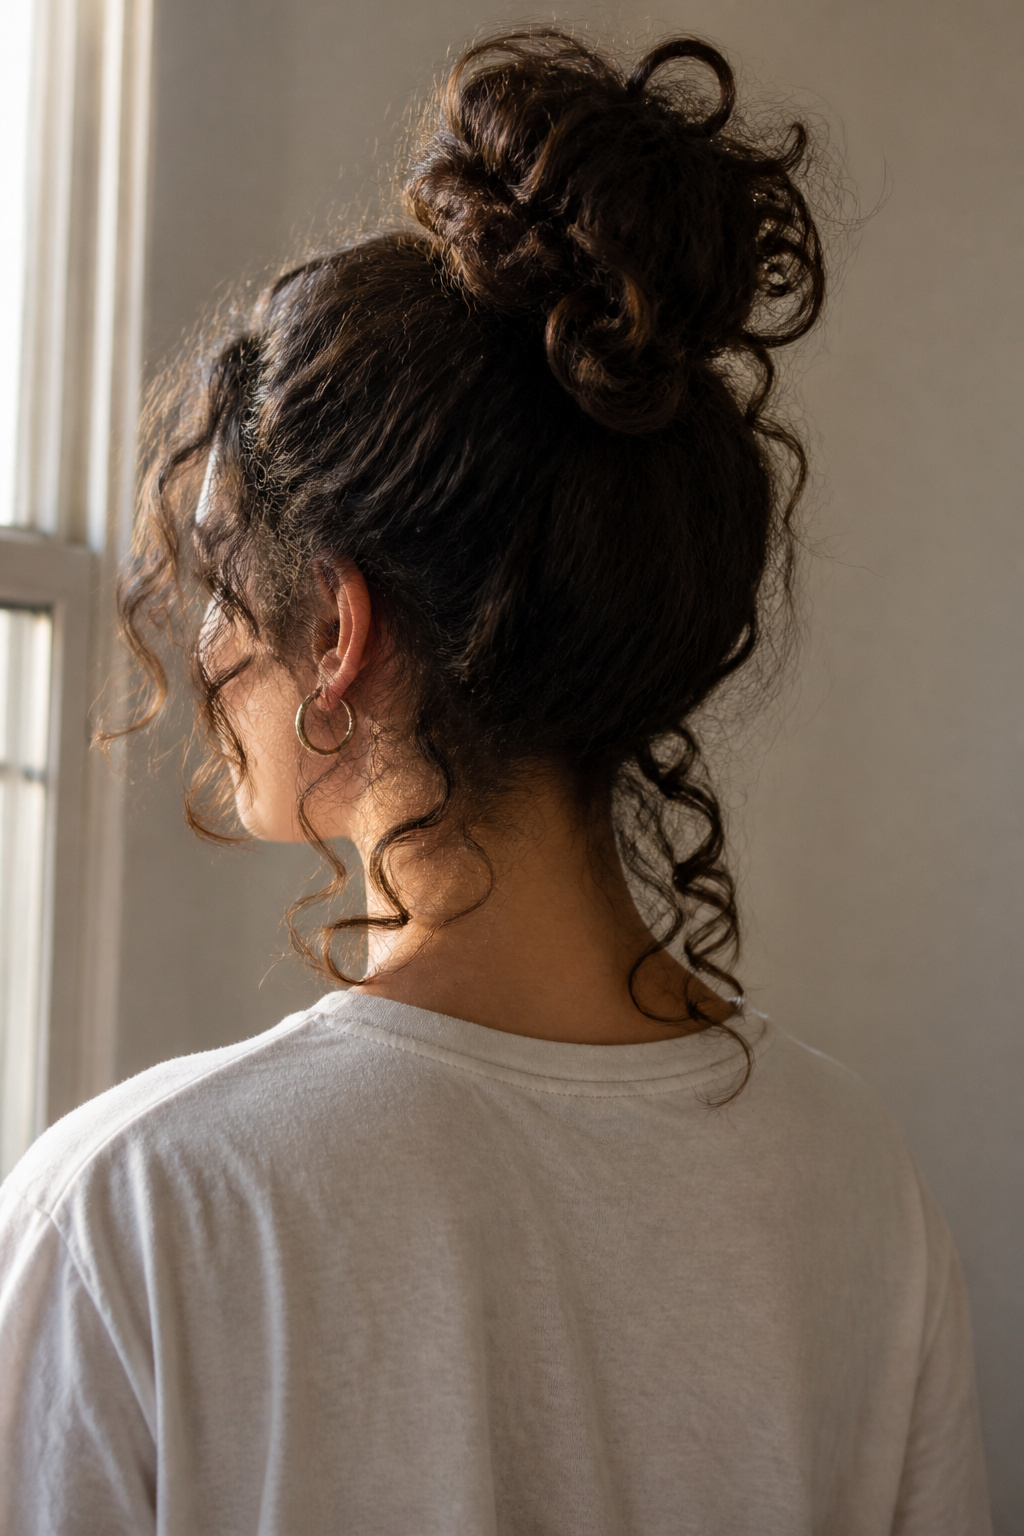

Best for medium to long hair. Quick and forgiving on day two. About 4 to 7 minutes to toss up.
The messy top knot balances messy with structured because the curled nape keeps shape. Use a few pins and leave some curls loose at the temples. Avoid making the knot too tight, which flattens the crown and shortens the silhouette. It saved me many rushed mornings.
What You'll Need to Get This Look
Heat Tools
- Diffuser hair dryer attachment, universal fit ($25 to $40)
- 1.25-inch ceramic curling wand ($30 to $70)
- Travel blow dryer with diffuser, compact ($25 to $60)
Styling Products
- Lightweight leave-in conditioner, 8oz ($10 to $25)
- Medium to strong hold curl gel, 8oz ($8 to $25)
- Curl cream for definition, 12oz ($10 to $30)
Hair Care and Protection
- Satin bonnet, large size ($8 to $20)
- Satin scrunchies 6-pack ($6 to $15)
Accessories and Finishing
- Wide-tooth afro pick with handle ($6 to $15)
- Duckbill clips, 6-pack ($7 to $18)
Budget Swaps
- Drugstore defining gel, 8oz ($5 to $12) — good for trials
- Affordable leave-in spray, 8oz ($6 to $15)
Shopping Tips for These Looks
Buy tools during holiday sales: Blowout tools often drop 20 to 30 percent in November. I waited and grabbed my Diffuser hair dryer attachment, universal fit.
Test a drugstore dupe first: For gels and creams, try a budget option before committing to salon brands. My cheap gel taught me my curl porosity more than any expensive jar.
Invest in a proper diffuser if you diffuse regularly: A cupping diffuser with low airflow changes root lift. I upgraded once and the shape held longer.
Seasonal switch: In summer humidity, swap to a stronger-hold gel and satin protection at night. I pack an extra scrunchie for vacations.
Frequently Asked Questions
How do I stop my curls from frizzing while they dry?
Do not touch them. Apply products to soaking-wet hair, diffuse on low airflow, and allow complete cooling before separating. For product, try a medium hold gel for a cast that you scrunch out.
Medium to strong hold curl gel, 8oz
My roots need lift but my lengths are heavy. What helps?
Clip the crown while cooling after diffusing and pick only at the roots. Use a lightweight leave-in at the lengths to avoid weighing them down.
Diffuser hair dryer attachment, universal fit
Can fine curly hair hold a layered shag?
Yes, with invisible internal layers and blunt-ish ends to preserve weight. Ask your stylist to cut dry and avoid too many short layers near the ends.
Wide-tooth afro pick with handle
How do I make a twist-out last longer?
Work in small sections, dry completely before unraveling, and sleep with a satin bonnet or pineapple. Smaller twists equal tighter, longer-lasting definition.
Where to Start
Start with the style that fixes your biggest frustration. If your roots fall flat, try the diffused set with clipped lift; if you want quick polish, try a low puff. Which one will you try tomorrow morning?


