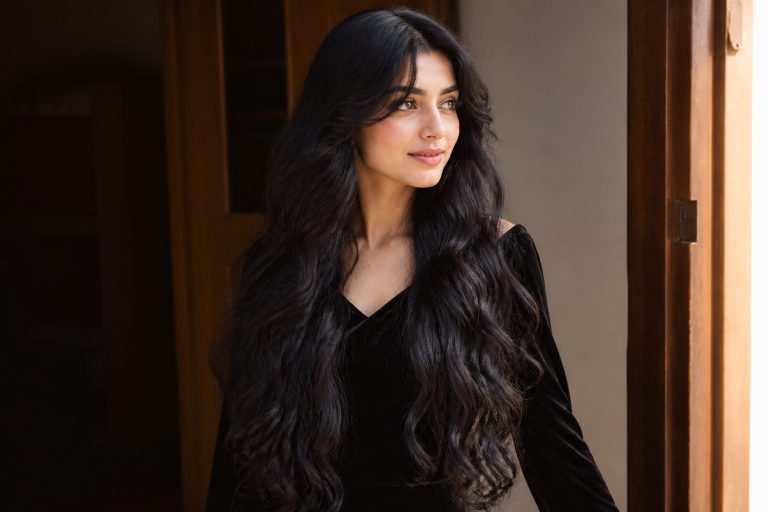


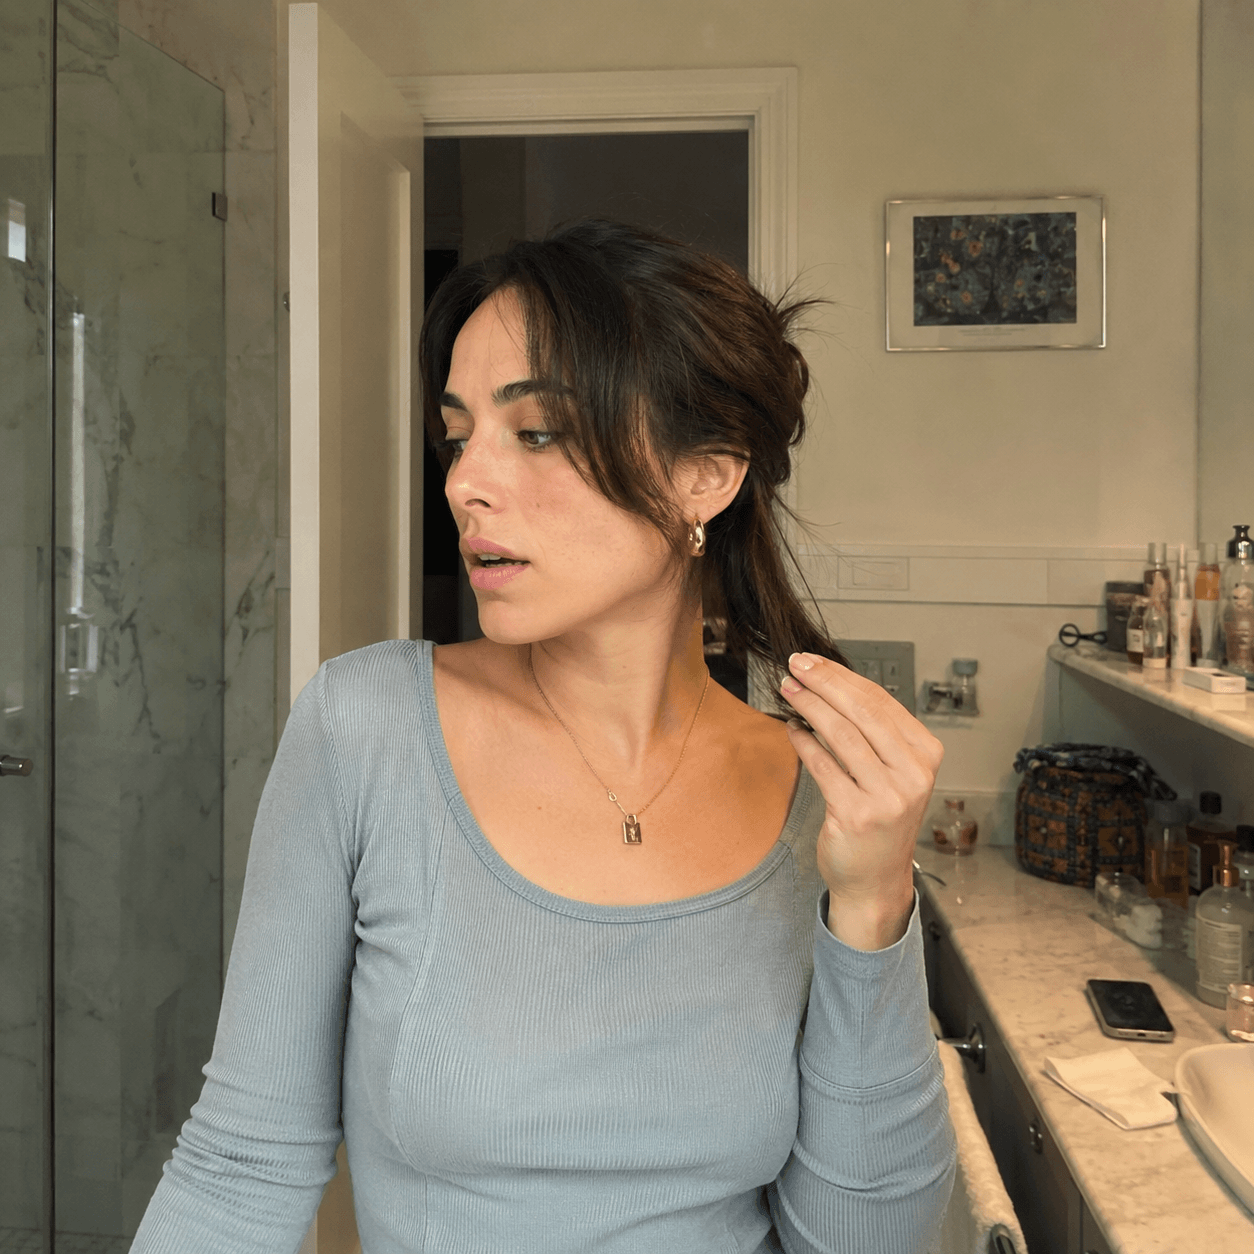
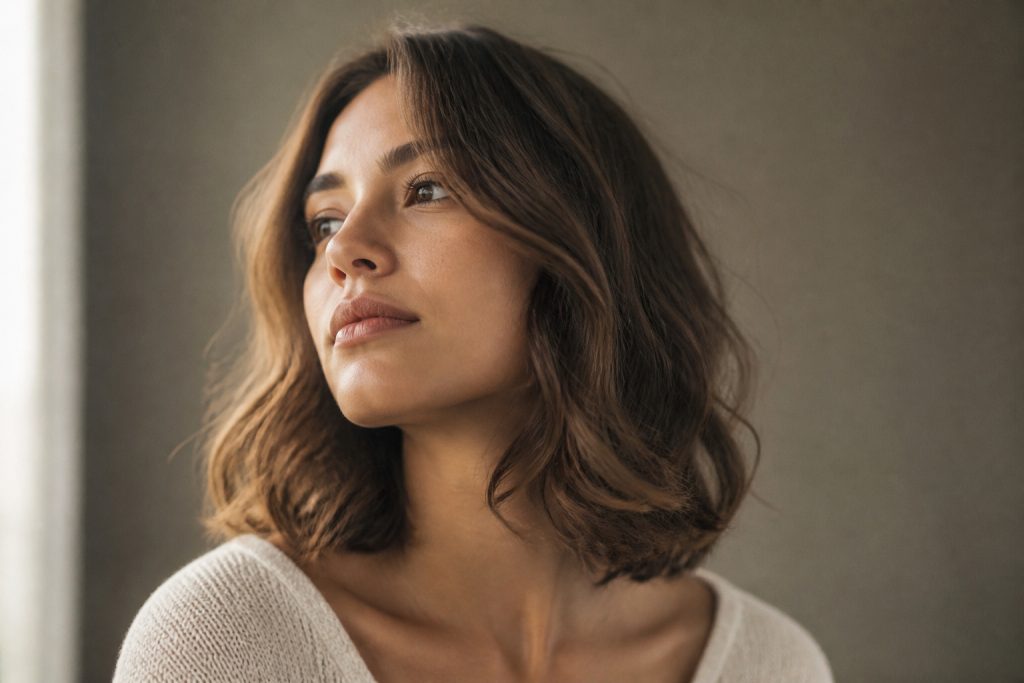

My curls used to look defined and then go crunchy by my morning commute. After a few weeks of experimenting I stopped overloading products and learned to sequence wet styling properly. This guide shows how to style curly hair so the curls read as soft, clumped, and defined without that helmet of dried product.
This is my wash-and-go routine tightened into a realistic weekday process. Expect to spend 20 to 40 minutes on wash day depending on length and whether you diffuse. It suits wavy to medium-coil textures and collarbone to mid-back lengths. If you already own a diffuser, you can skip buying tools for now; if not, a low-cost dryer and a good microfiber towel make the biggest difference.

Prep that sets the shape
Prep decides how long the style holds, so I do it first. I shampoo with a sulfate-free cleanser only when my scalp needs it, and follow with a generous rinse of conditioner, focusing on mid-lengths and ends.
I apply a leave-in to soaked hair section by section. For shoulder-length hair I use a coin-sized drop at a time and rake it through with my fingers so every strand feels slippery. The visual principle is moisture before hold so curls clump instead of resisting each other.
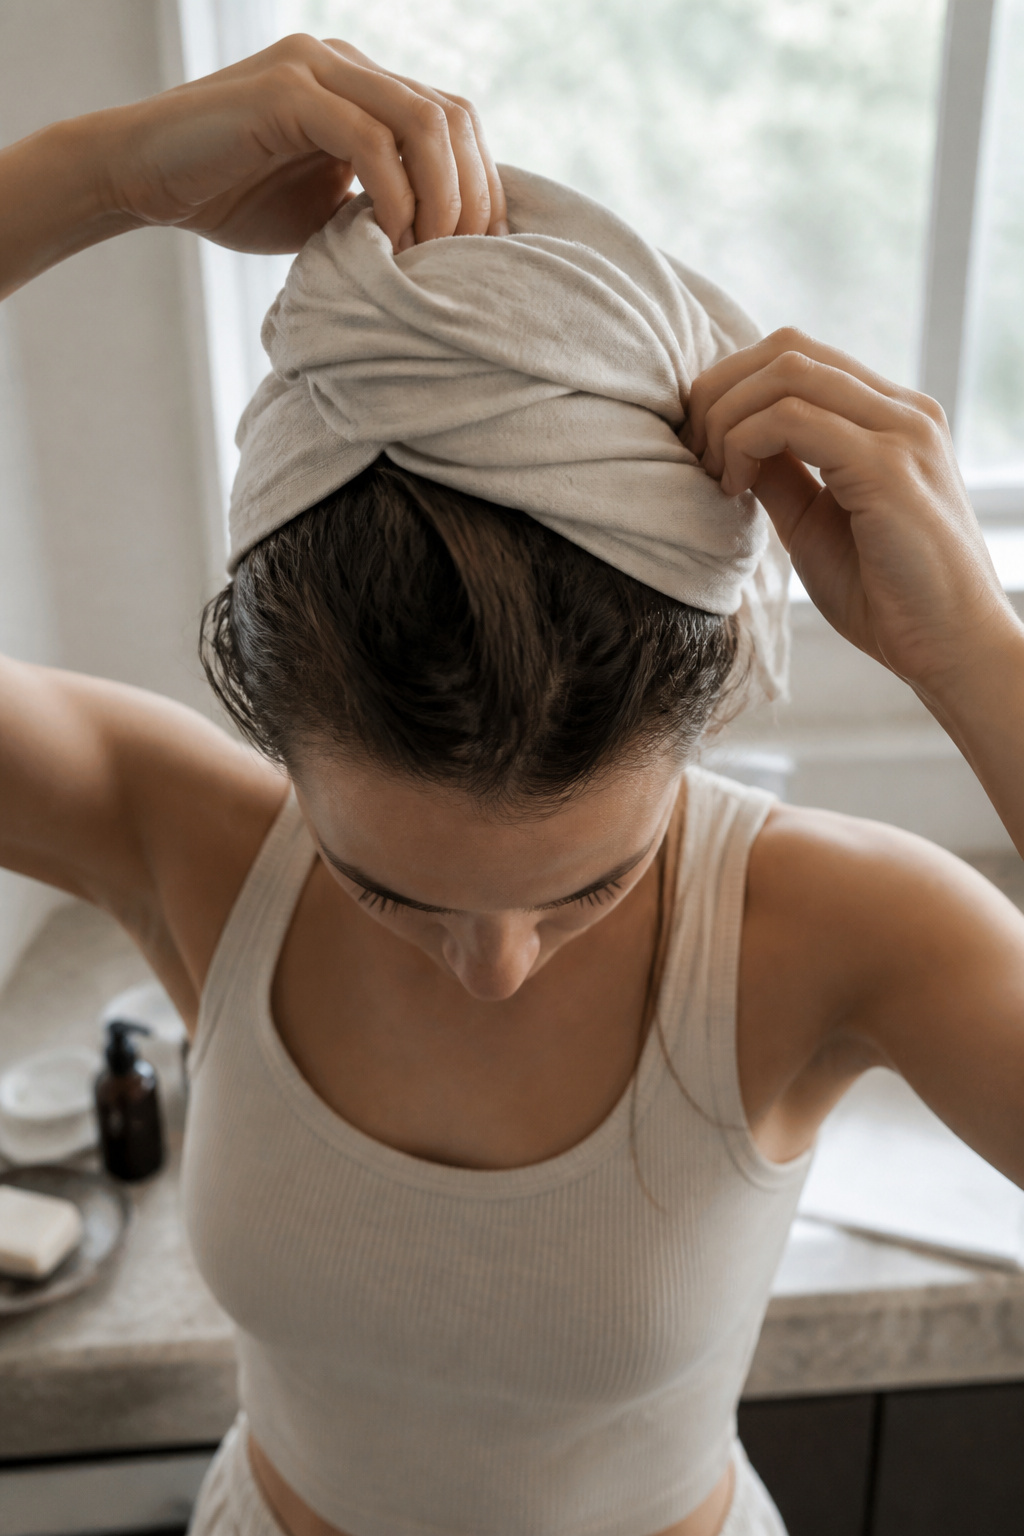
Then I micro-plop with a cotton T-shirt for five to ten minutes to remove excess water without roughing the cuticle. That keeps the curl pattern from spreading into frizz. If you plop too long and compress the roots too tightly, you can end up flat at the crown; that was my first mistake, so I let the roots sit less than the lengths.
One tool that helps here is a microfiber towel for a quick squeeze. If your hair is very dense, leave the plop on while you do makeup for extra hold.

Build clumps with prayer-hands and layering
This phase creates the clumps you see in photos. Start with sectioning into 2-inch vertical slices. I work through one side at a time so product gets distributed evenly.
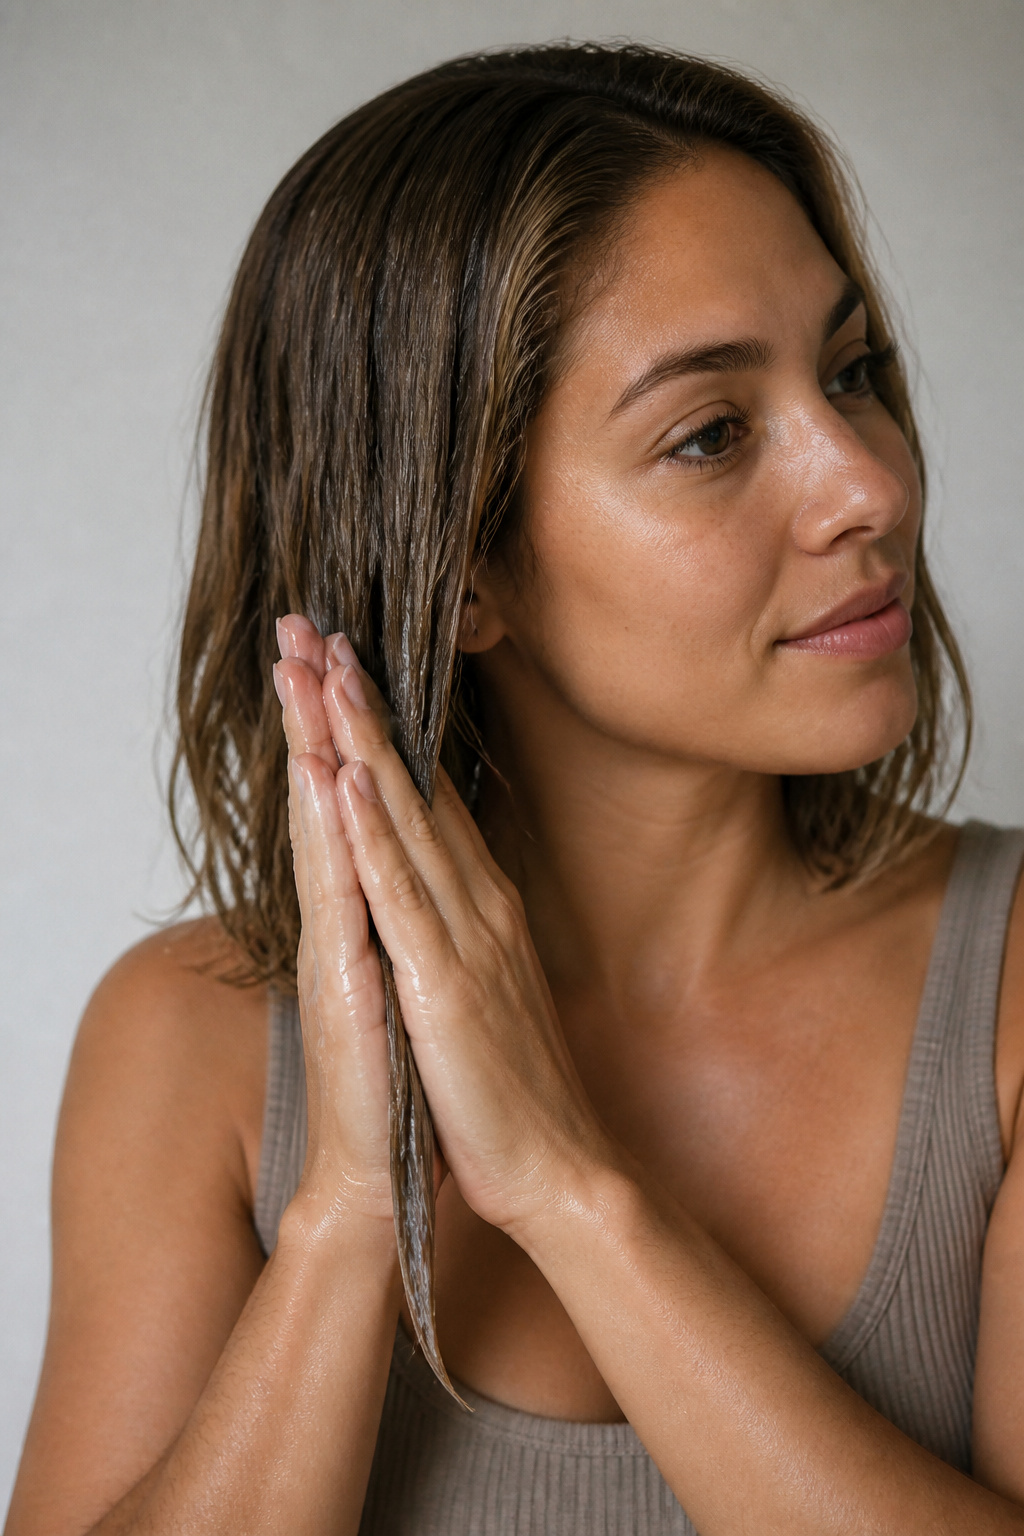
First, apply a leave-in if you skipped it earlier. Next a curl cream. For shoulder-length hair I use a golf-ball-sized amount of cream, distributed between the sliced sections. Use the praying-hands method: press palms together over the section and glide from root to tip to smooth the cuticle and encourage each strand to join the clump.
Finish each section with a nickel-sized amount of gel applied with the same hands. The gel gives hold without stiffness if you apply it to sopping wet hair. Scrunch gently upward to encourage the curl to form. Repeat across the head.
People over-apply at this stage and end up crunchy. The trick is light, repeated layering rather than one big glob. If your product feels tacky when hair is dry, you used too much.

Dry to shape, not to plaster
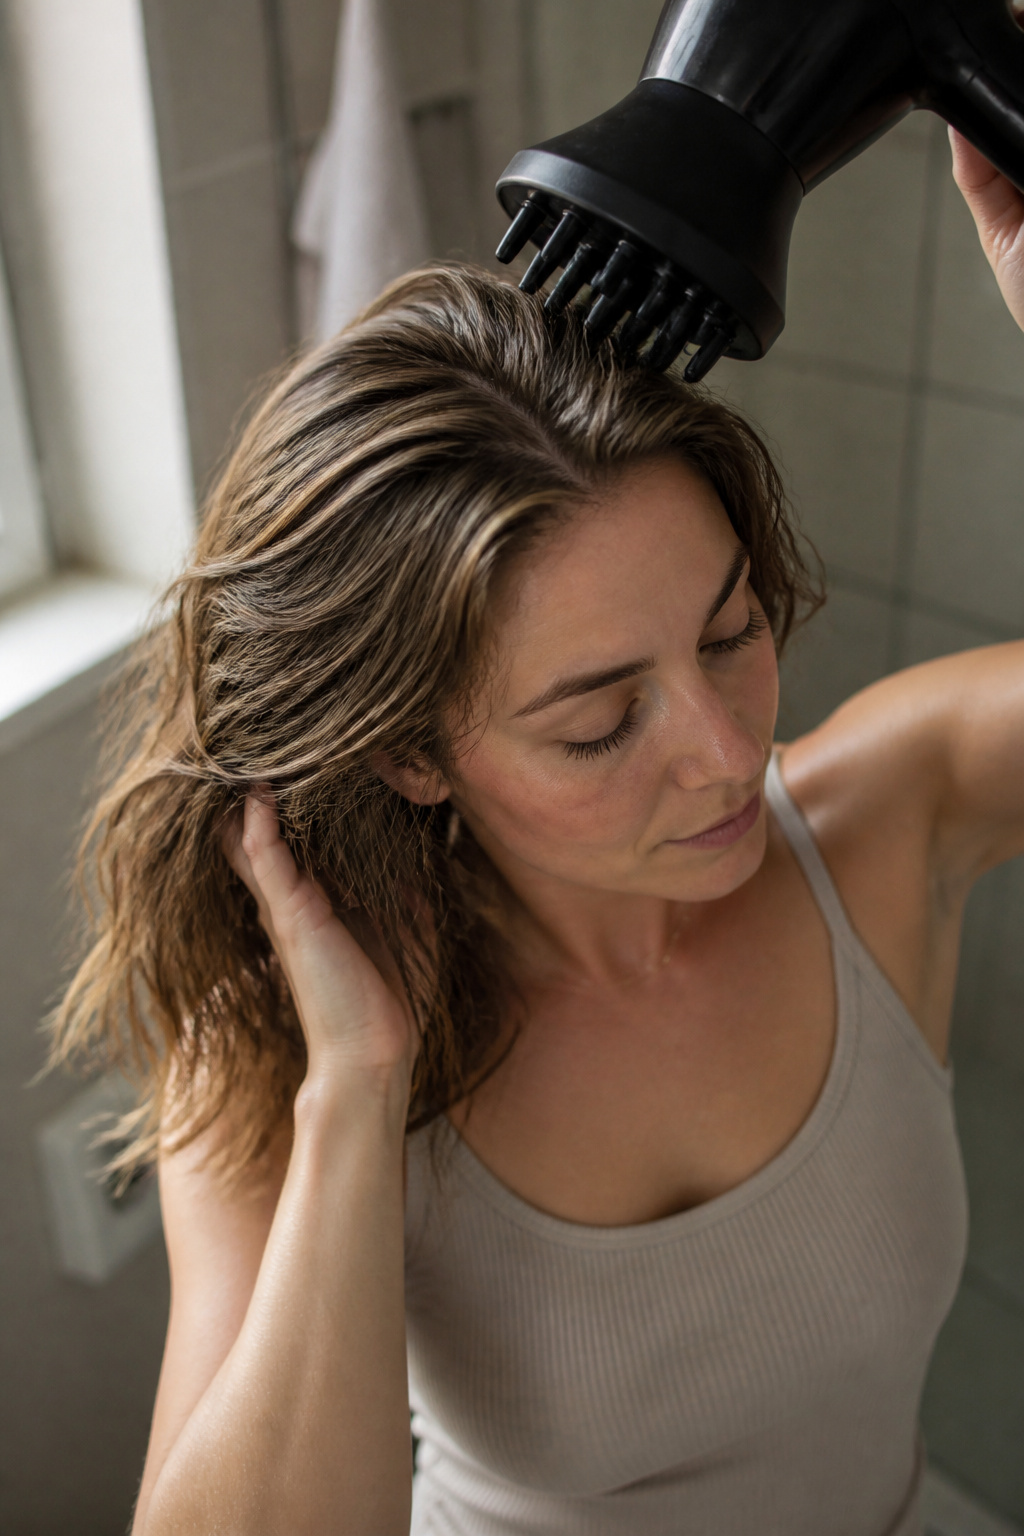
Drying decides the finish. I always diffuse on low air and medium to low heat until hair is about 80 percent dry. If your dryer has numbered settings, choose low speed and the second-lowest heat. This reduces frizz and prevents the curl from setting too fast into a hard shell.
While diffusing, cup sections in your hand and lift at the roots for volume. Spend the bulk of time at the crown and mid-lengths, not blasting the ends. Once the hair is mostly dry, switch off the dryer and allow the last 20 percent to finish without heat. That keeps the ends soft.
The common fail here is diffusing to 100 percent. It makes hair hard and immovable. Stop early, and you will be able to scrunch out any remaining crunch. I use a heat protectant on pieces I touch with any hot tool, applied sparingly so it does not weigh the clumps down.

Finish that looks soft, not crunchy
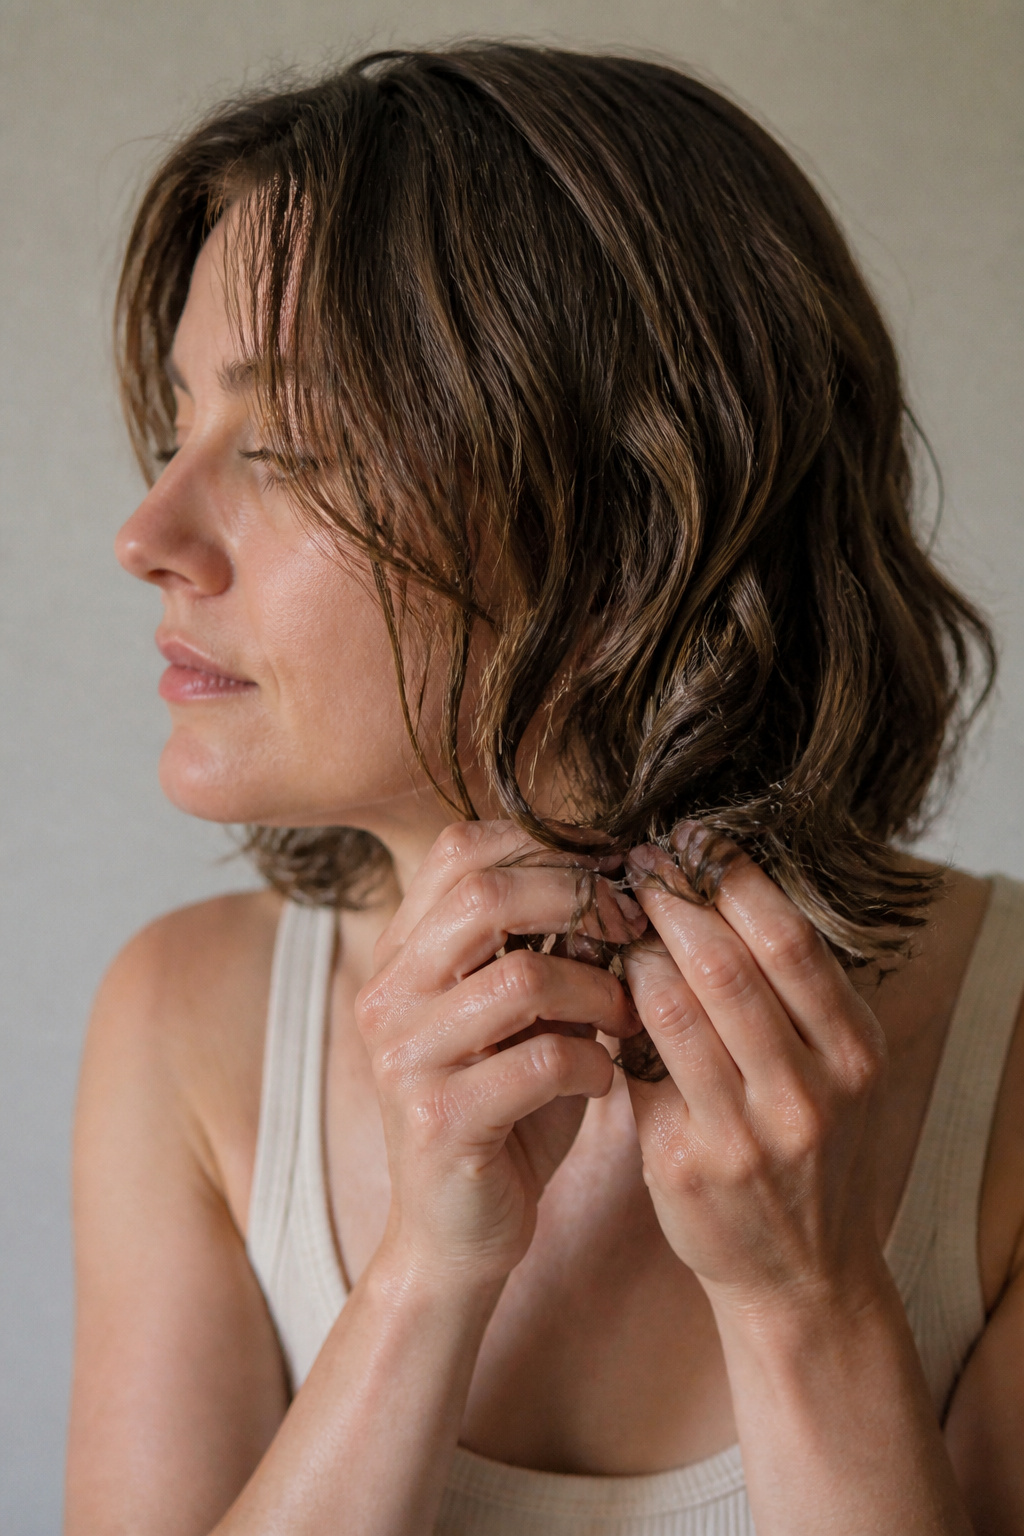
Once your hair is fully dry and you feel a hard cast, the next step is gentle scrunching to break it and reveal softness. Cup a small amount of oil or cream between your palms and very lightly scrunch the lengths; use a pea-sized drop for shoulder-length hair. This melts the gel film and revives shine.
If you have a few unruly pieces, finger coil them by wrapping those strands around your index finger. That fixes the problem pieces without restyling the whole head. I used to finger coil every curl and it took forever. Now I only touch the sections that refuse to clump.
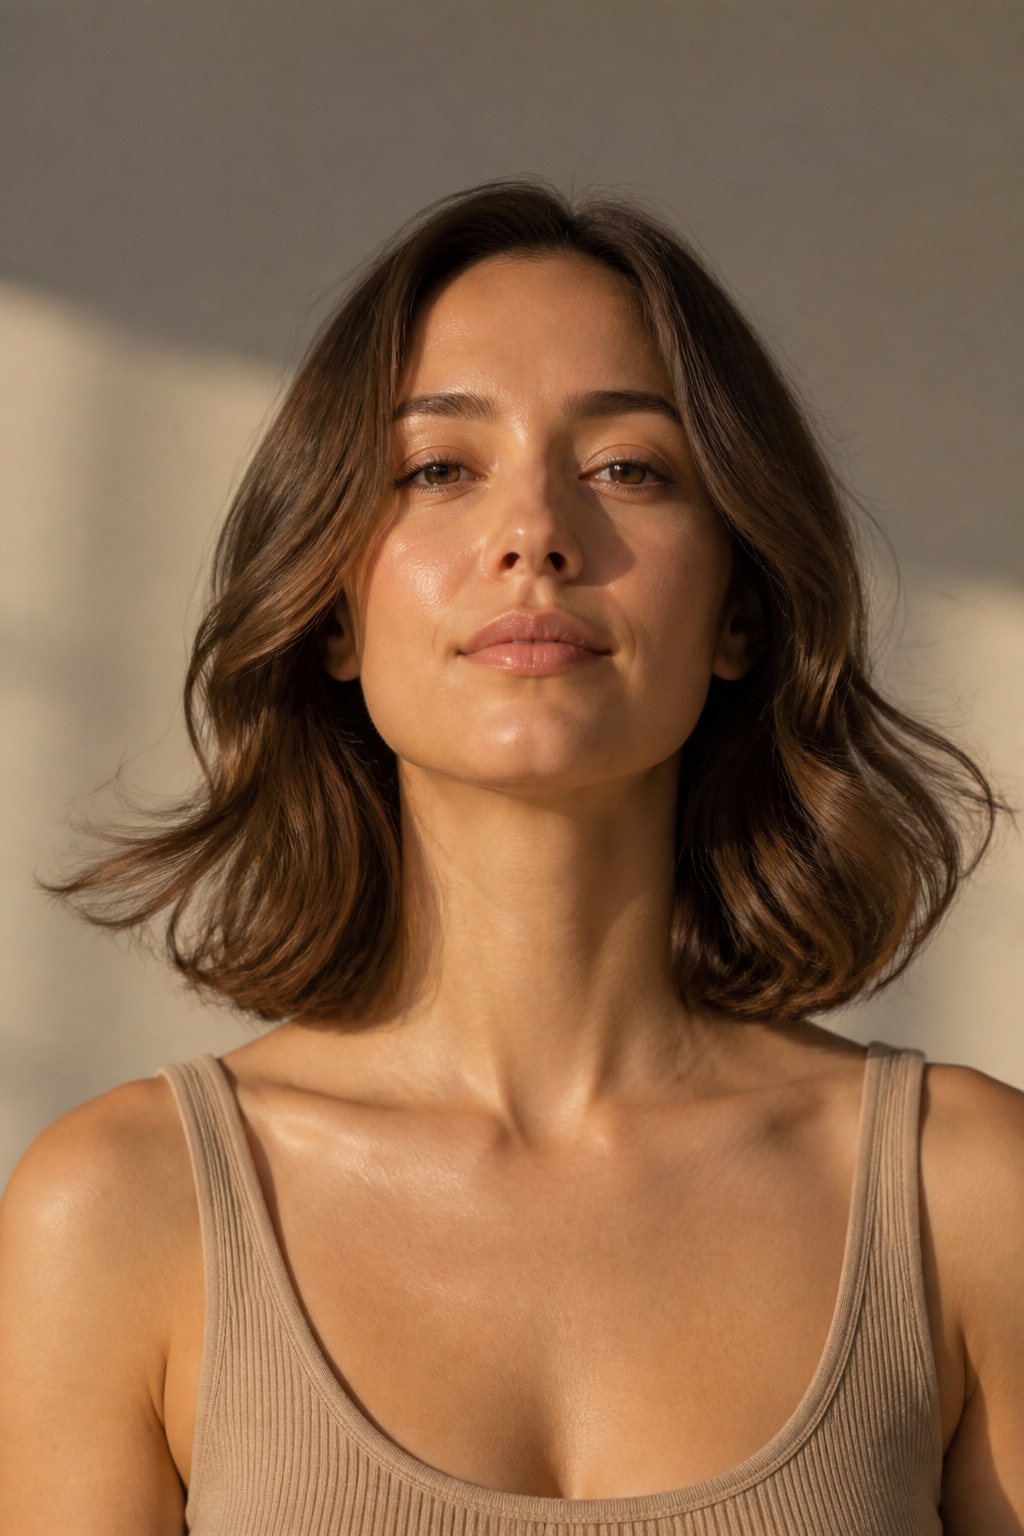
Finish with a light mist of flexible-hold spray to tame flyaways. Avoid heavy hairsprays that reintroduce stiffness. For day-two wear, pineapple at the crown with a silk scrunchie and sleep on silk to preserve shape.
Common Styling Mistakes to Avoid
Heavy product on damp hair. Why it fails. Too much product sinks clumps and leaves a sticky shell when dry. Better approach. Layer small amounts on soaking wet sections and reapply only if a section feels dry.
Brushing or combing when dry. Why it fails. It separates clumps into frizz. Better approach. Detangle only when wet with a wide-tooth comb and run fingers through for final shaping.
Diffusing to fully dry. Why it fails. It gives a hard cast and reduces bounce. Better approach. Stop at 80 percent and air-dry the rest to keep ends soft.
Plopping too tightly. Why it fails. You can flatten the roots. Better approach. Micro-plop the lengths only and let roots breathe.
How to make it last
Crown collapse is the first thing to go. On day two I gently mist the roots with water from a spray bottle and massage in a tiny amount of mousse at the base, then diffuse for two minutes to reactivate volume. For frizz-prone hair I apply a pea-sized drop of oil to ends before bed.
Overnight protection is crucial. I pineapple with a silk scrunchie or use a silk bonnet and sleep on a silk pillowcase. If curls feel limp the next morning, finger-coil two to three key pieces rather than redoing the whole head. A light gel reactivation on wet spots helps without rebuilding the cast.

What you'll need for this look
-
Heat tools
- Blow dryer with diffuser attachment ($35 to $120). Spend here if you diffuse daily; it makes a big difference.
- 1.25 inch ceramic curling wand ($20 to $60). Optional. Useful for touch-ups on front pieces.
-
Styling products
- Leave-in conditioner, 8oz ($8 to $25). Essential for moisture-first styling.
- Curl cream, 6oz ($10 to $30). Defines without crunch.
- Styling gel for curly hair, 6oz ($6 to $20). Look for flexible or medium hold.
- Alcohol-free volumizing mousse, 8oz ($8 to $25). Use at the roots if you need lift.
-
Care and protection
- Sulfate-free shampoo, 12oz ($8 to $25).
- Deep conditioning mask, 8oz ($10 to $40).
- Heat protectant spray, 5oz ($6 to $25).
-
Accessories and finishing
- Microfiber hair towel ($7 to $20). Cheaper offline at discount stores.
- Cotton T-shirt for hair plopping ($5 to $15).
- Silk hair bonnet ($8 to $30).
- Silk pillowcase for hair ($12 to $40).
- Wide-tooth comb ($3 to $12).
- Matte claw clip ($5 to $18).
- Silk scrunchie ($4 to $15).
If you need to trim the list, prioritize a microfiber towel, a medium-hold gel, and a diffuser. Those three items make the biggest visual impact for the money.
Where to start if you only change one thing
If you change only one habit, switch to applying styling products on soaking wet hair and use the praying-hands method. It is the single move that turned my styles from frizzy and crunchy to soft clumps that lasted through a humid afternoon. Tell me which part of your routine gives you the most trouble and I will share a tweak that helped me.