








My curls used to collapse at 9 a.m. after a perfect wash-day, so I learned a different goal: refresh, not restart. I say how to refresh curly hair on day two by waking yesterday’s product and rebuilding only the areas that failed overnight. The result is fresher curls without a full wash.
This look is collarbone-length soft ash brown curls, medium density, and it works best on 2.5 to 4.5 inch to mid-back lengths. Budget path: if you already own a fine mist bottle and a diffuser, you can skip purchases. I’ve leaned light for fine curls and stronger hold for thick hair, and I find the half-product rule saves more time than a full restyle.
Roots that lift and breathe


The crown usually flattens first, so I start at the roots. Section a 2 inch by 2 inch box at the crown and clip the rest away. Lightly mist the roots from about 30 cm to avoid drenching. I learned the hard way that soaking makes the weight fall through the curl. A few spritzes is enough.
Use a pea-sized amount of lightweight mousse or a volumizing foam on the damp roots only. Rub it between your palms and press it into the base, then cup the hair and scrunch upward three times to encourage the clump formation. For fine hair this phase takes 2 to 4 minutes; for thicker hair allow 5 minutes to distribute product.
Pick the roots gently to lift, lifting from the scalp outward in small vertical motions. The common mistake is backcombing or rough teasing, which leaves fuzzy frizz. Instead, aim for controlled lift so the top reads full but the curl pattern is preserved.
Rebuild curl clumps core-to-ends


After the roots are set, reactivate the product you used on wash day. Lightly mist a 1 to 2 inch section, working around the head in quarter sections. I reapply no more than half the amount I used on wash day. For shoulder-length hair that is a pea-sized dab of cream or a coin-sized blob of gel per quarter.
Use prayer-hands smoothing to avoid breaking clumps. Flatten your palms together and glide down a section from root to tip, then cup and scrunch the ends. If a front piece needs tighter definition, finger-coil that single strand around your index finger for 10 to 15 seconds. This targeted work prevents messing with the whole head.
The mistake I made early on was running my fingers through every section. That destroys clumps and creates frizz. Work section by section, leave a minute between passes so the product resets, and move on.
Define face-frame and problem pieces
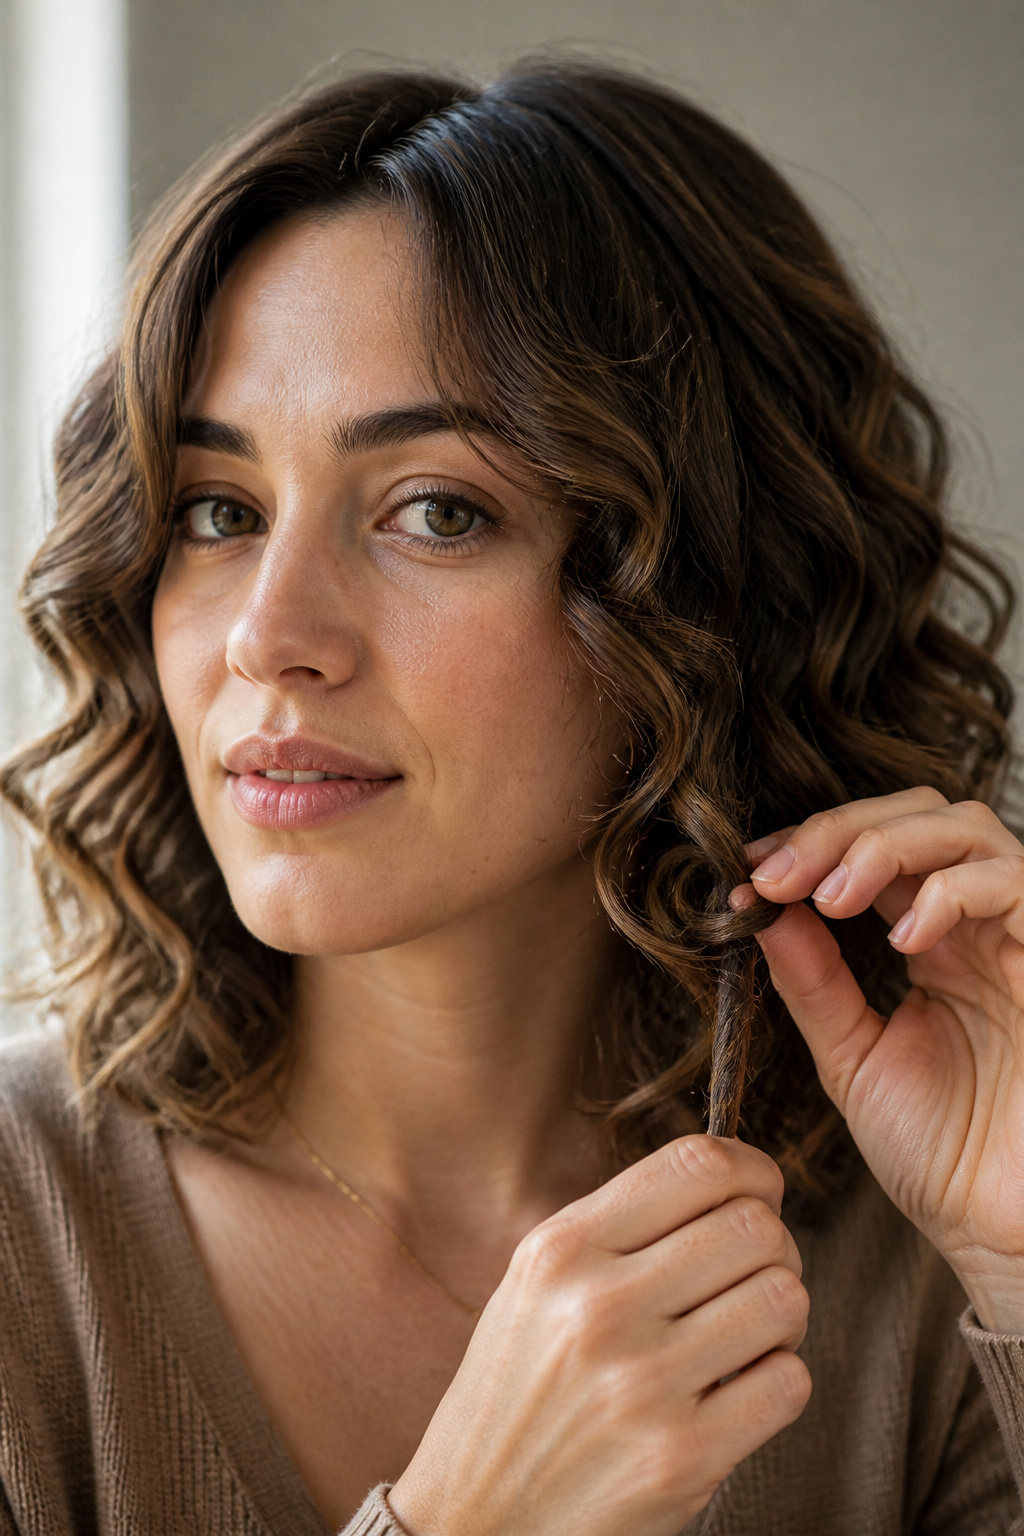

The eye goes to the front, so this is where I spend most of my attention. Pick two to four one-inch sections that frame your face. Lightly mist each, apply a pea-sized amount of your regular styler, and wrap the curl around your finger for 8 to 12 seconds.
If ends are dry, add one coin-sized drop of lightweight oil to your palms and pat it on the tips only. Too much oil here is a trap; I once flattened my entire front with an extra two drops and had to redo the rest of the head. Finger-coiling keeps those pieces crisp without feeling heavy.
A common overreach is reworking every strand. Instead, keep the mid-section softer and only redefine the face frame and any frizzy patches. This gives a lived-in look that still reads polished in photos.
Finish for long-lasting shape


Finish by setting the shape. Diffuse on low to medium heat for three to six minutes focused at the roots only if you need extra lift. Keep the diffuser moving and cup sections rather than pushing air straight into the ends. If you are time-poor, air-dry for 10 to 20 minutes while occasionally cupping the roots to keep volume.
When dry, lightly shake the roots with your fingers or use a pick to lift in small vertical motions. Avoid over-manipulating; once you find the balance, the style holds better through the day. I aim for the whole process to take 12 to 20 minutes from start to finish on day two.
Common Styling Mistakes to Avoid
Over-wetting the head. Too much water means longer dry time and limp curls. Mist in short bursts from 30 cm and work in sections.
Using full wash-day amounts. Heavy product collapses fine and low-density curls. Try roughly half the amount you used the first day.
Touching damp curls repeatedly. Hands on the hair create frizz and break clumps. Apply, set, and leave alone until it is mostly dry.
Backcombing the crown. That produces a gritty texture and flattened pattern. Lift gently with a pick in small vertical motions instead.
Skipping the face frame. The rest of the head can be softer and still read polished; redefine front pieces for immediate impact.
How to make it last
Day two collapse usually begins at the roots and the face frame fades next. To extend wear, sleep on a silk pillowcase or loosely pineapple the hair with a silk scrunchie. In the morning, refresh roots with 2 to 4 light spritzes and scrunch—do not soak.
If you hit humidity, use a tiny dab of lightweight gel on the front pieces and a very small oil drop on the ends. Re-energize volume with a three to five second blast from a diffuser at the roots only. For full day longevity, avoid heavy creams in the morning; they weigh curls down by noon.
If a section went flat midday, section it off, mist and finger-coil that area for a quick rescue. These targeted fixes save time and prevent a full restyle.
What You'll Need for This Look
Heat tools
- Diffuser attachment for hair dryer, universal fit ($15 to $30). Worth spending on if you diffuse often.
- Travel hair dryer, 1875 watt ($25 to $60). Useful if you need speed and compact storage.
Styling products
- Lightweight volumizing mousse, 8oz ($8 to $20). Apply at roots for lift.
- Light-hold gel, 6oz ($6 to $18). Use for clump memory and prayer-hands smoothing.
- Leave-in curl cream, 5oz ($10 to $25). For medium-to-thick curls that need moisture.
- Lightweight argan oil, 1oz ($8 to $20). Two to three drops on ends only.
Care and protection
- Silk pillowcase, queen size ($12 to $40). Preserves overnight shape.
- Microfiber hair towel, large ($6 to $18). Gentle blotting on wash day.
Accessories and finishing
- Flairosol fine mist spray bottle 200ml ($8 to $18). Even misting from 30 cm.
- Wide-tooth comb, wooden ($4 to $12). For careful detangling.
- Claw clips, medium matte ($5 to $15). Sectioning for precision.
- Hair pick, metal long teeth ($5 to $15). Gentle crown lift without frizz.
Where to start if you only change one thing
If you make one change, buy or repurpose a fine mist bottle and practice the 30 cm spritz. It changes how product behaves and prevents over-wetting, which is the single biggest cause of day-two collapse in my experience. Try that for a week and tell me which spot your curls improved first.


