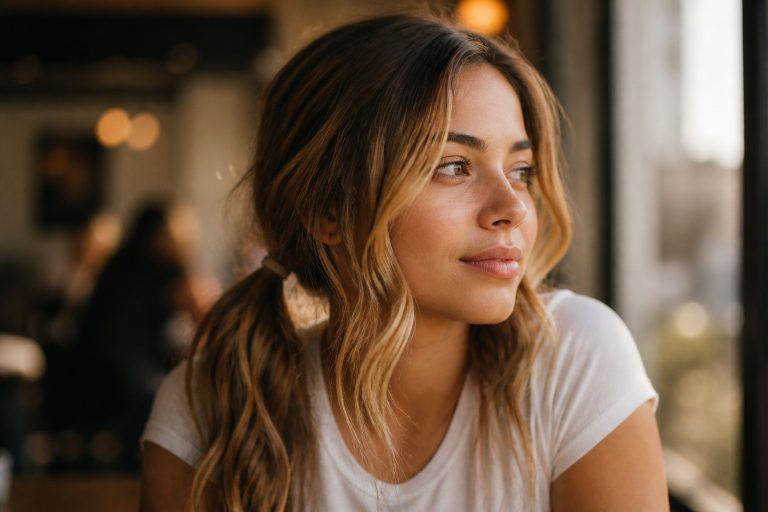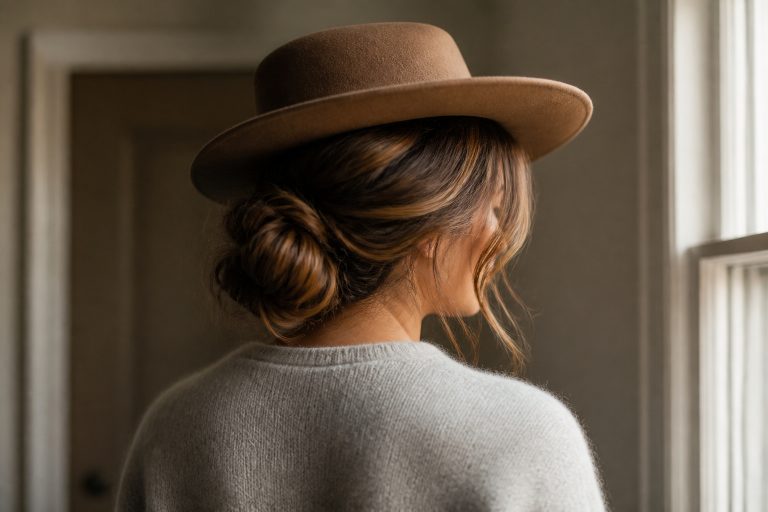




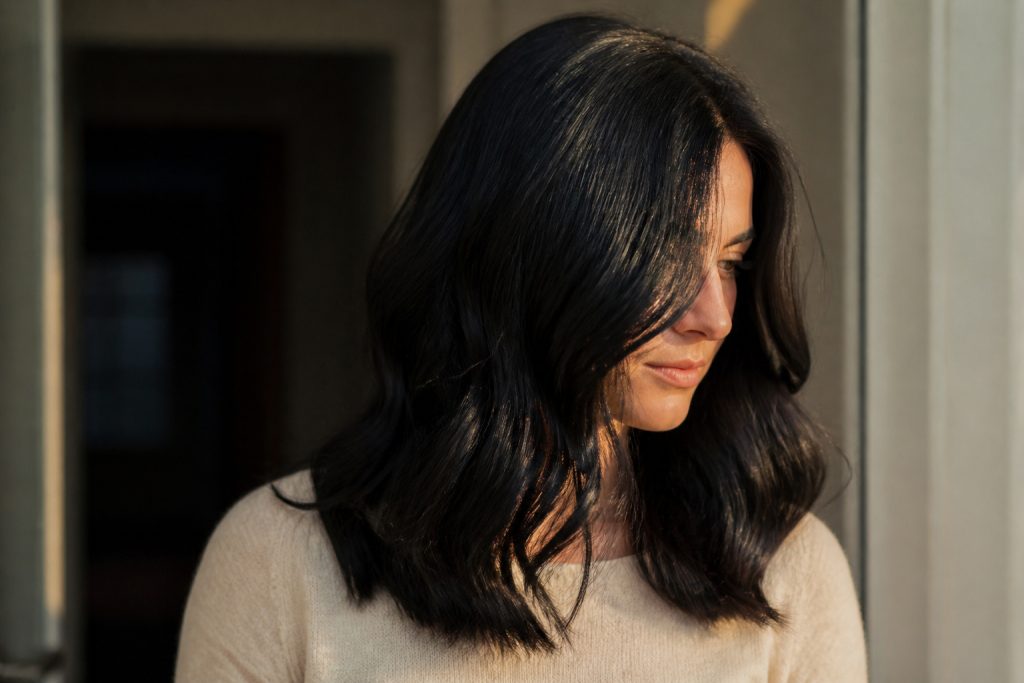

I laughed when my "quick cat ears" turned into a frizz halo one Halloween. Since then I’ve tried everything from full wigs to two-minute hacks, and I settled on looks that read sleek, not basic. This list covers 12 ideas that work on straight, wavy, curly, and kinky hair and any length from pixie to mid-back. Expect styles that take about five to twenty minutes and actually hold up through parties.
I’m leaning into polished textures, lived-in volume, and small details—the ear placement, a face-framing flick, the right barrel size. Most of these are wearable on second-day hair and play nicely with real life.
12 Black Cat Halloween Costume Hair Ideas That Look Sleek, Not Basic
Sleek High Pony with Sculpted Ears
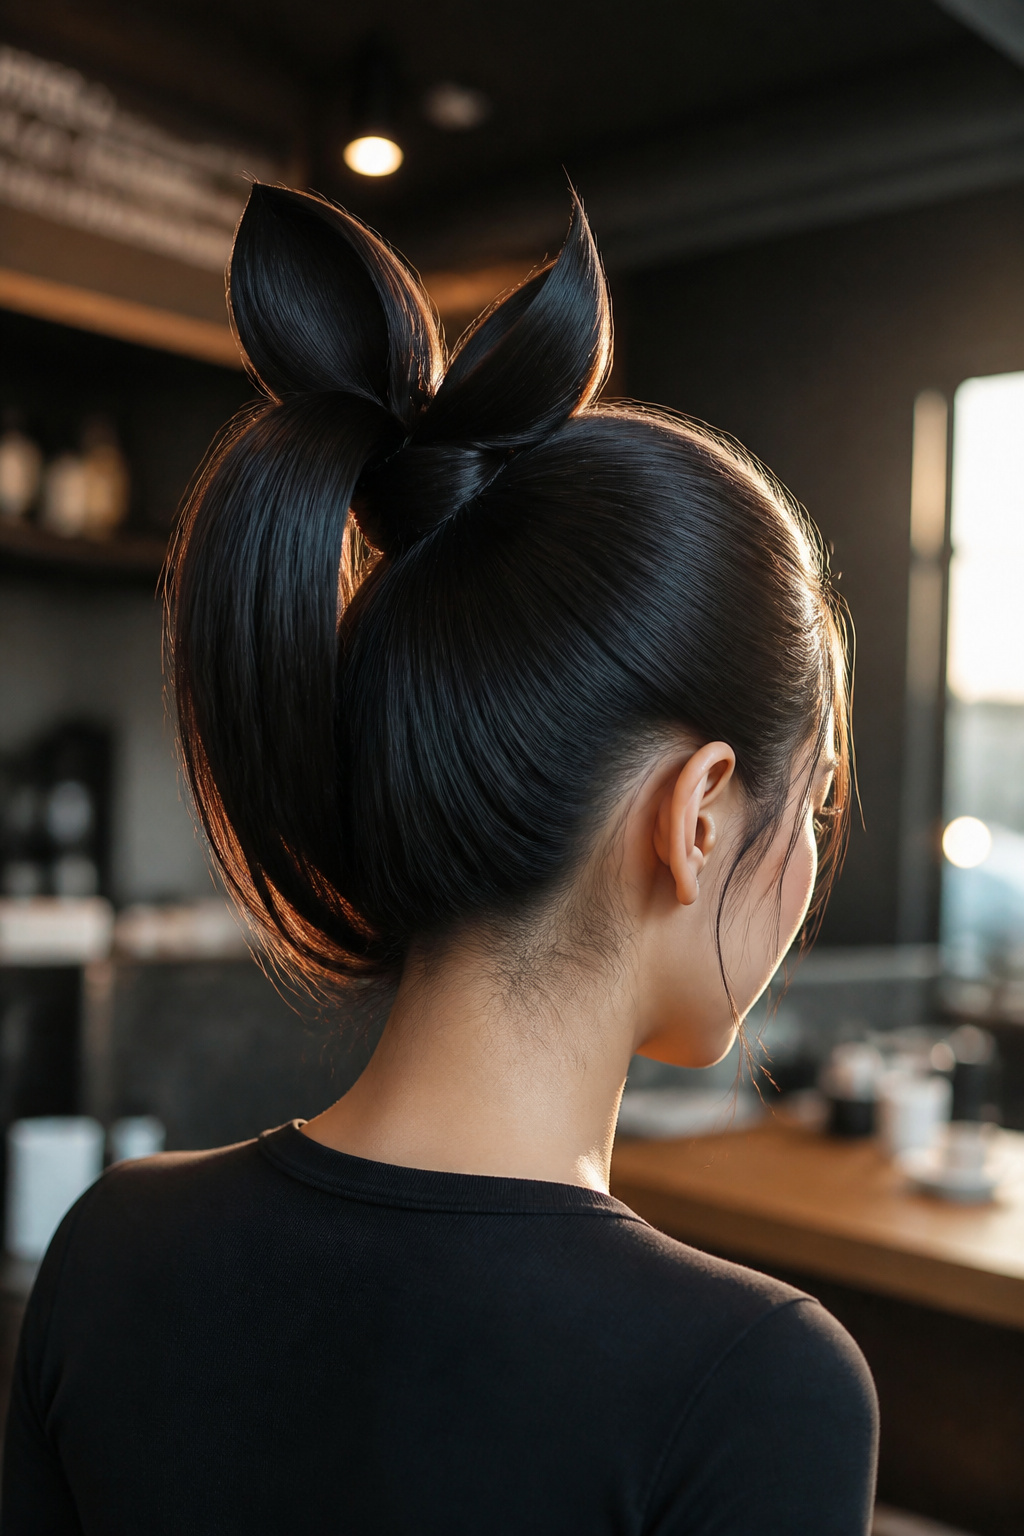

Best for medium to thick hair. Use a flexible pony at the base. About 10 minutes to create.
The payoff is ultra-clean silhouette and instant costume recognition. This flatters oval and heart-shaped faces because the pony adds vertical lift. The trick is to wrap two small sections into cones and anchor them with hidden pins rather than trying to sculpt a perfect point with too much hairspray.
Most people pull the pony too tight and get a hollow crown. Loosen the crown by a finger-width for a softer, more polished shape.
Curtain Bangs with Cat-Edge Flick
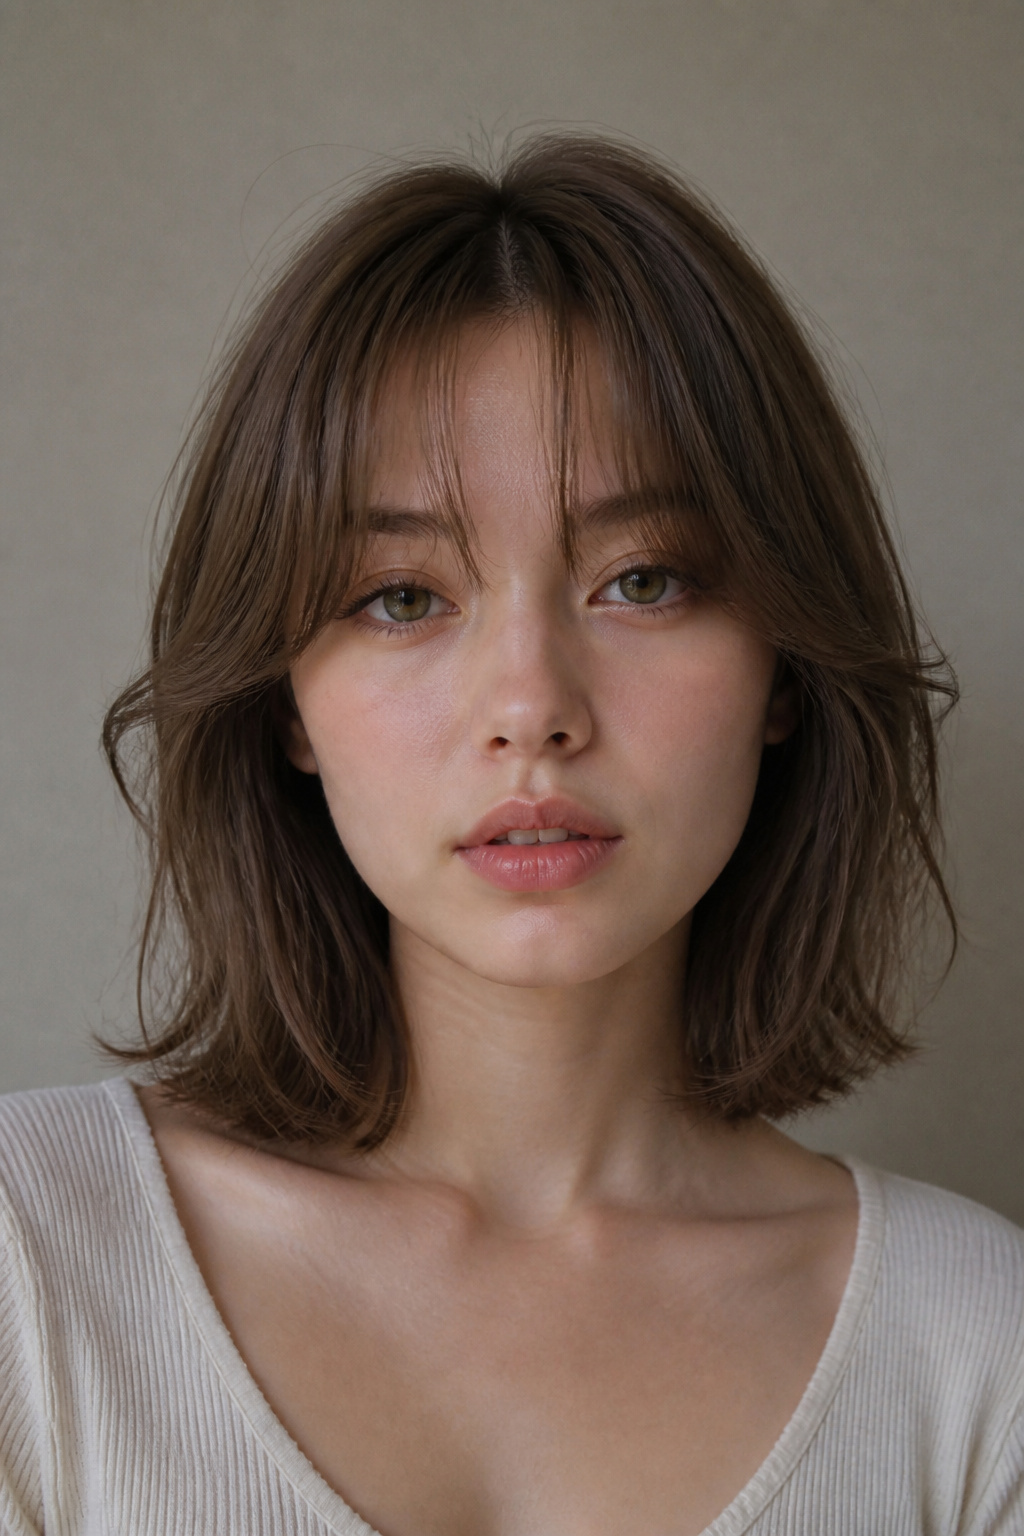

Best for fine to medium hair. Trim bangs every 8 to 10 weeks. About 5 minutes styling.
This is subtle but reads catlike when paired with a precise eyeliner. The visual payoff is the soft frame plus an outward curl that echoes the winged liner. Use a 1-inch barrel to bend the fringe ends away from the face and always curl into the face first, then flip the last half-inch out.
A common mistake is over-clumping the bangs with too much product. Keep a tiny bit of lightweight pomade on the ends only.
Slicked-Back Bun with Velvet Ears Headband
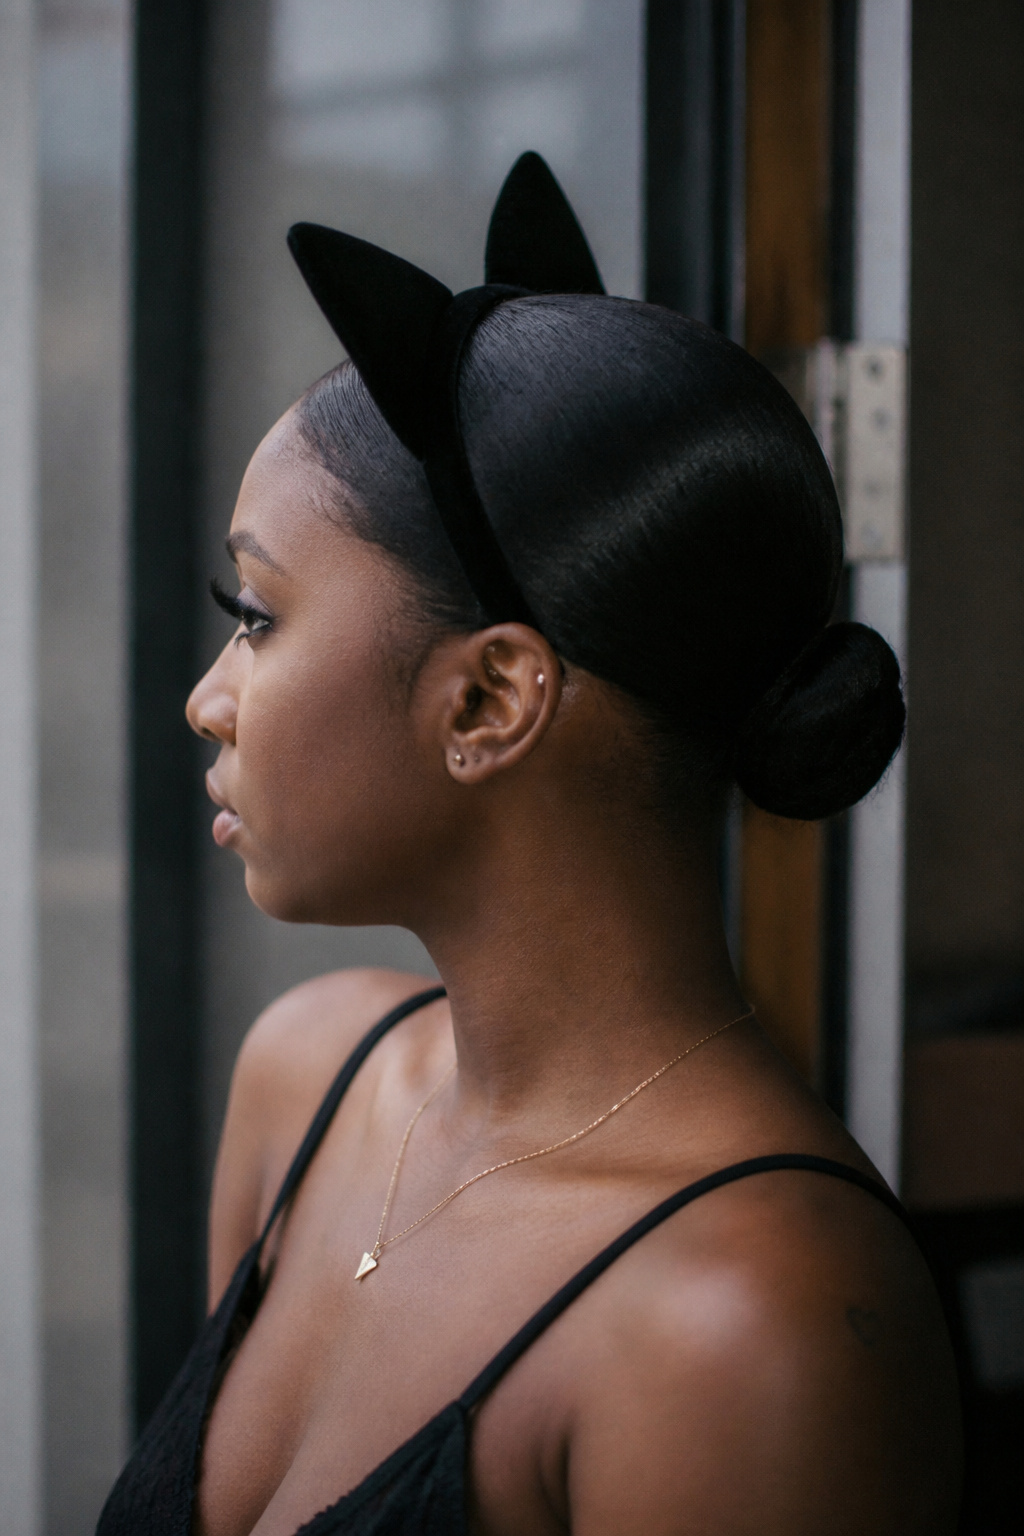

Best for fine to medium hair. Survives humidity if sealed. About 8 minutes to assemble.
This channels clean minimalism so the costume reads chic rather than cutesy. Smooth the hair with a medium-hold gel, then pin the bun low. Place a slim velvet ears headband an inch behind the hairline so it feels integrated.
People often push the headband too far forward. If it sits on the scalp edge, it screams novelty. Slide it back slightly and tuck a few face-framing pieces out in front for softness.
Tousled Long Waves with Hidden Wire Ears
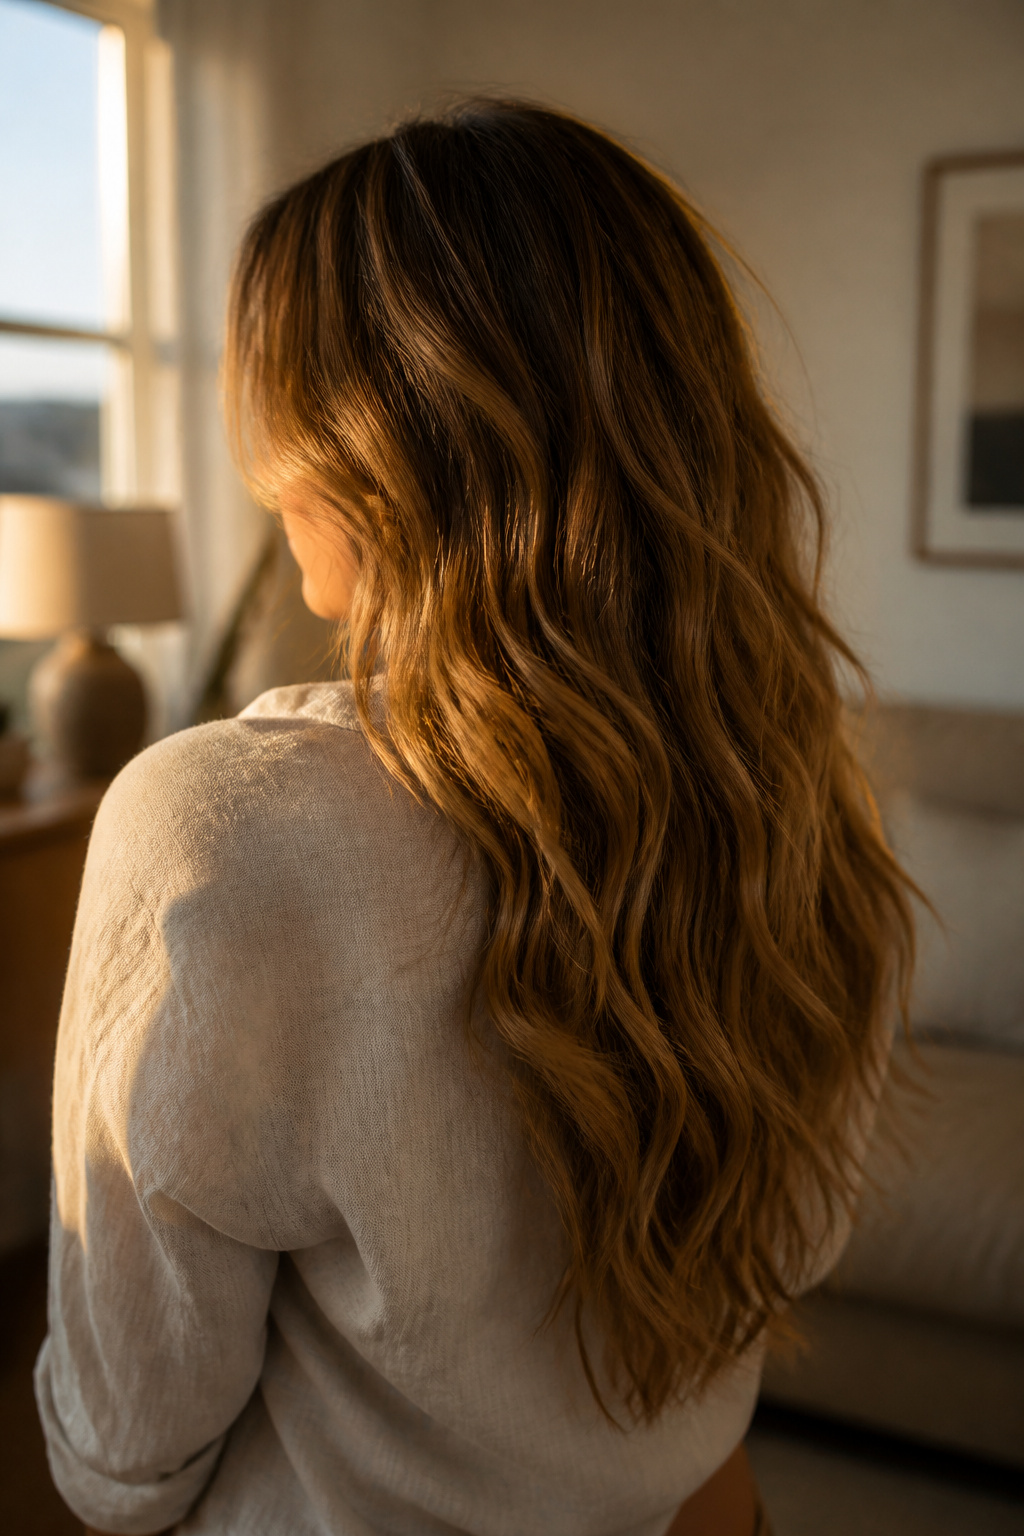

Best for thick or long hair. Survives two days. About 15 minutes to curl and shape.
If you want cat ears without a headband, bend thin floral wire into ear shapes and wrap with hair at the crown for subtle points. The result is more sophisticated than costume store ears and it keeps your silhouette sleek.
The trick is to hide the wire with a small top layer of waves so the shape peeks out without obvious hardware. Avoid big, stiff curls that read costume-y.
Short Pixie with Side-Swept Cat Flick
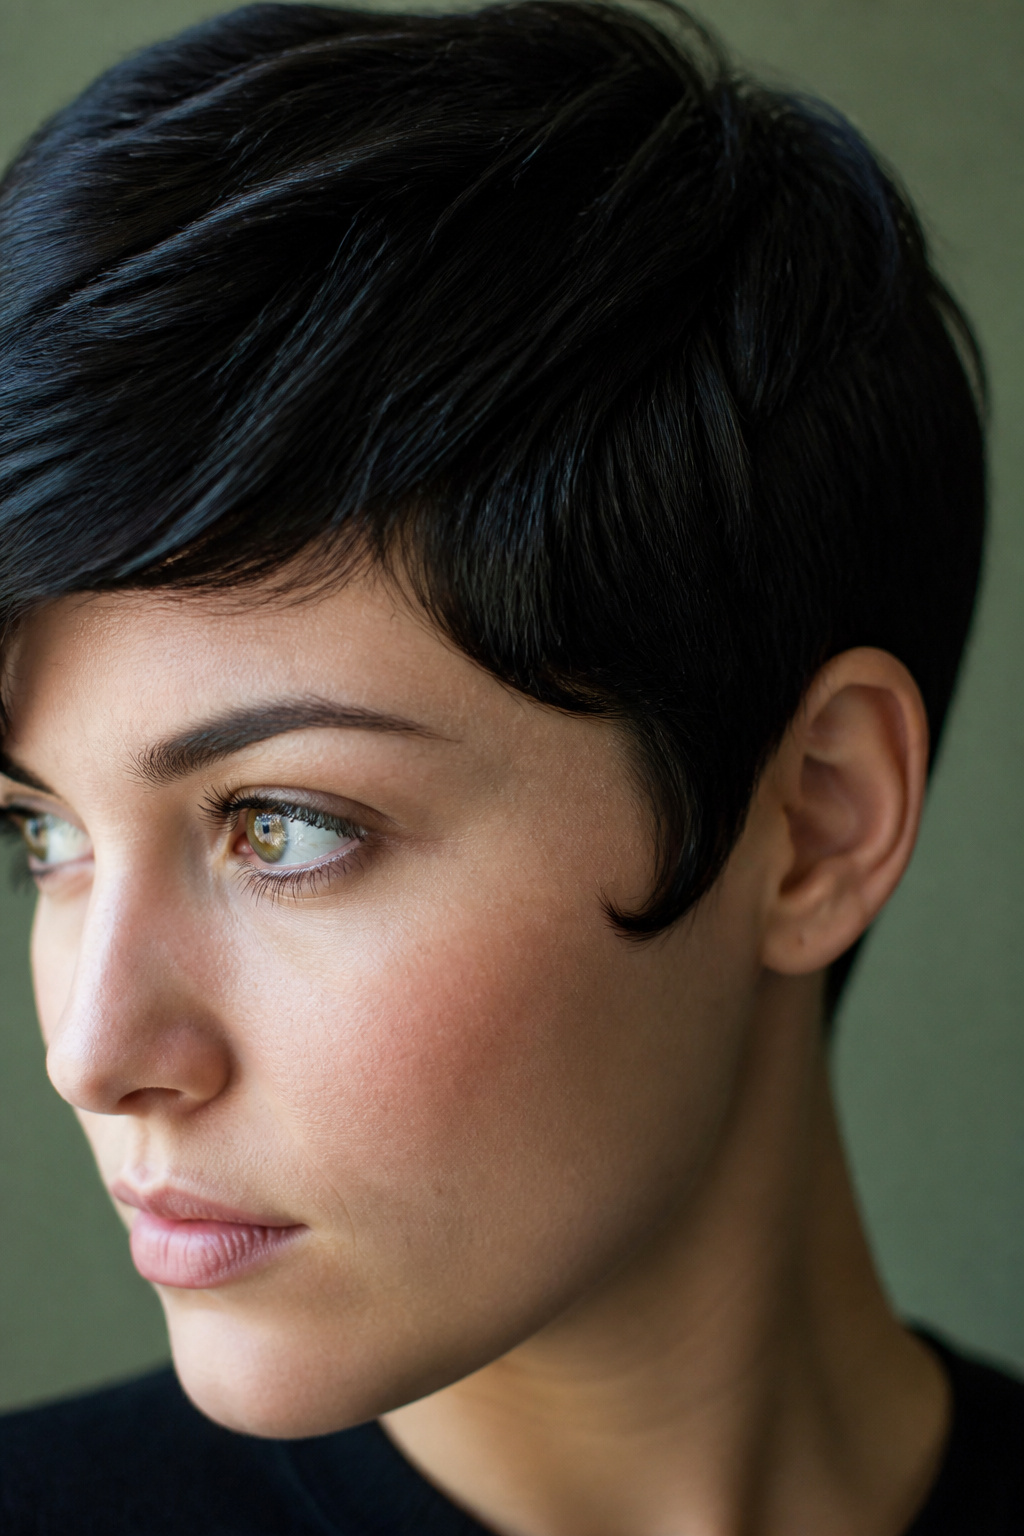

Best for fine to medium hair. Frequent trims every 4 to 6 weeks. Style in 3 to 5 minutes.
This is the easiest way to read cat without props. The flick at the temple mirrors a winged liner and elongates the face. Use a small round brush or a 1-inch flat iron to bend the side pieces outward.
Many people overuse wax and the flick clumps. Use a pea-size amount warmed between fingers for separation.
Cat-Eared Crown Braid
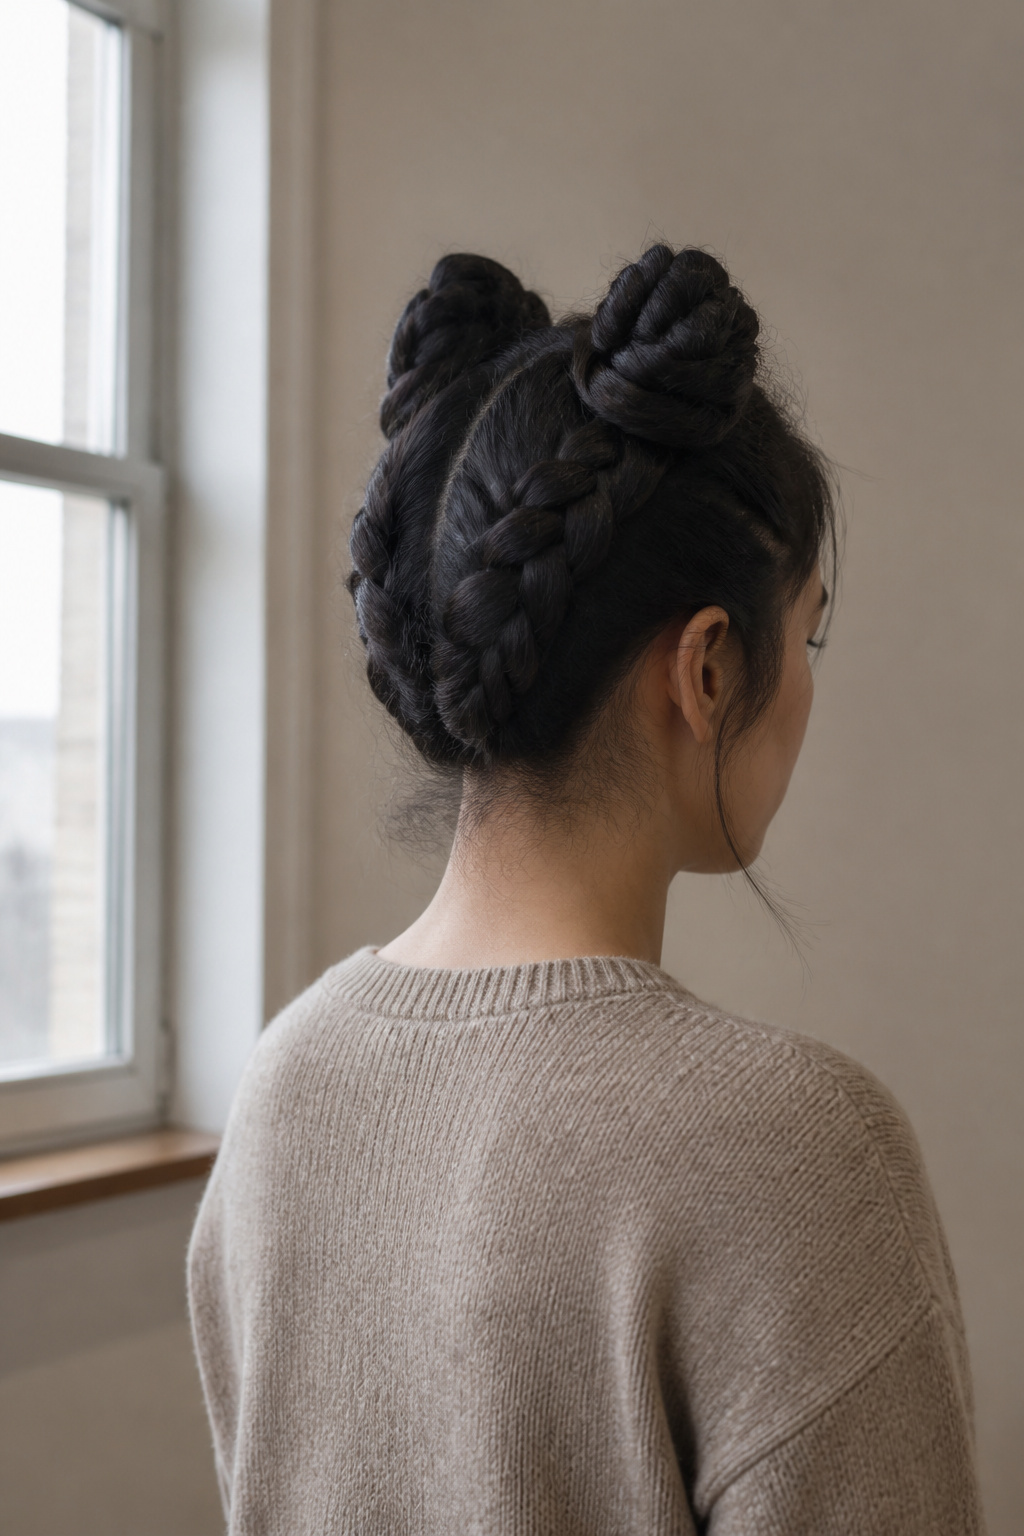

Best for thick or long hair. Can be undone and reheated. About 20 minutes to braid and pin.
This is a braid-forward solution that looks intentional and sculptural. Two Dutch braids that meet and are tucked into ear points read elegant and keep hair off your neck for outdoor events.
It can get lumpy if you start with uneven sections. Smooth each panel and keep the braids slightly loose so the ear points keep shape without being stiff.
Glassy Wet-Look Bob with Pointed Micro-Ends
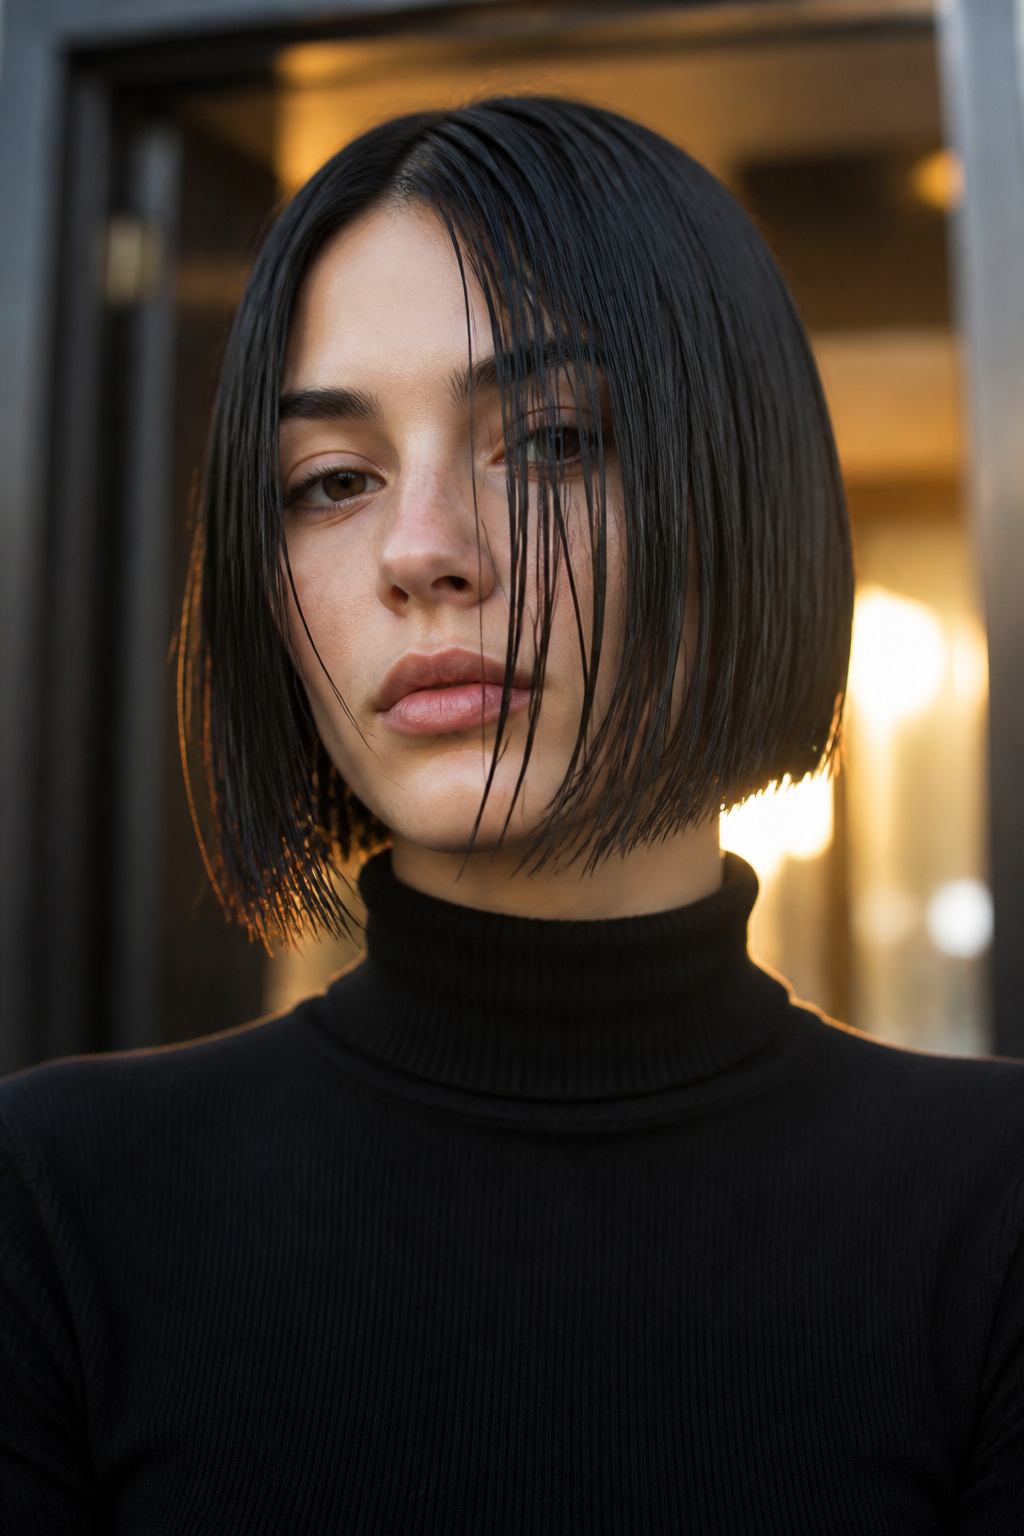

Best for straight to slightly wavy textures. Touch up at night for shine. About 6 minutes to style.
The wet finish reads editorial, and trimming the ends into slight points gives that feline edge. Apply a glossy serum through mid-lengths and shape the tips with a flat iron, angling outwards.
Overdoing the product turns hair oily rather than glossy. Start with a dime-size amount and build slowly.
Voluminous 80s-Inspired Cat Top Knot
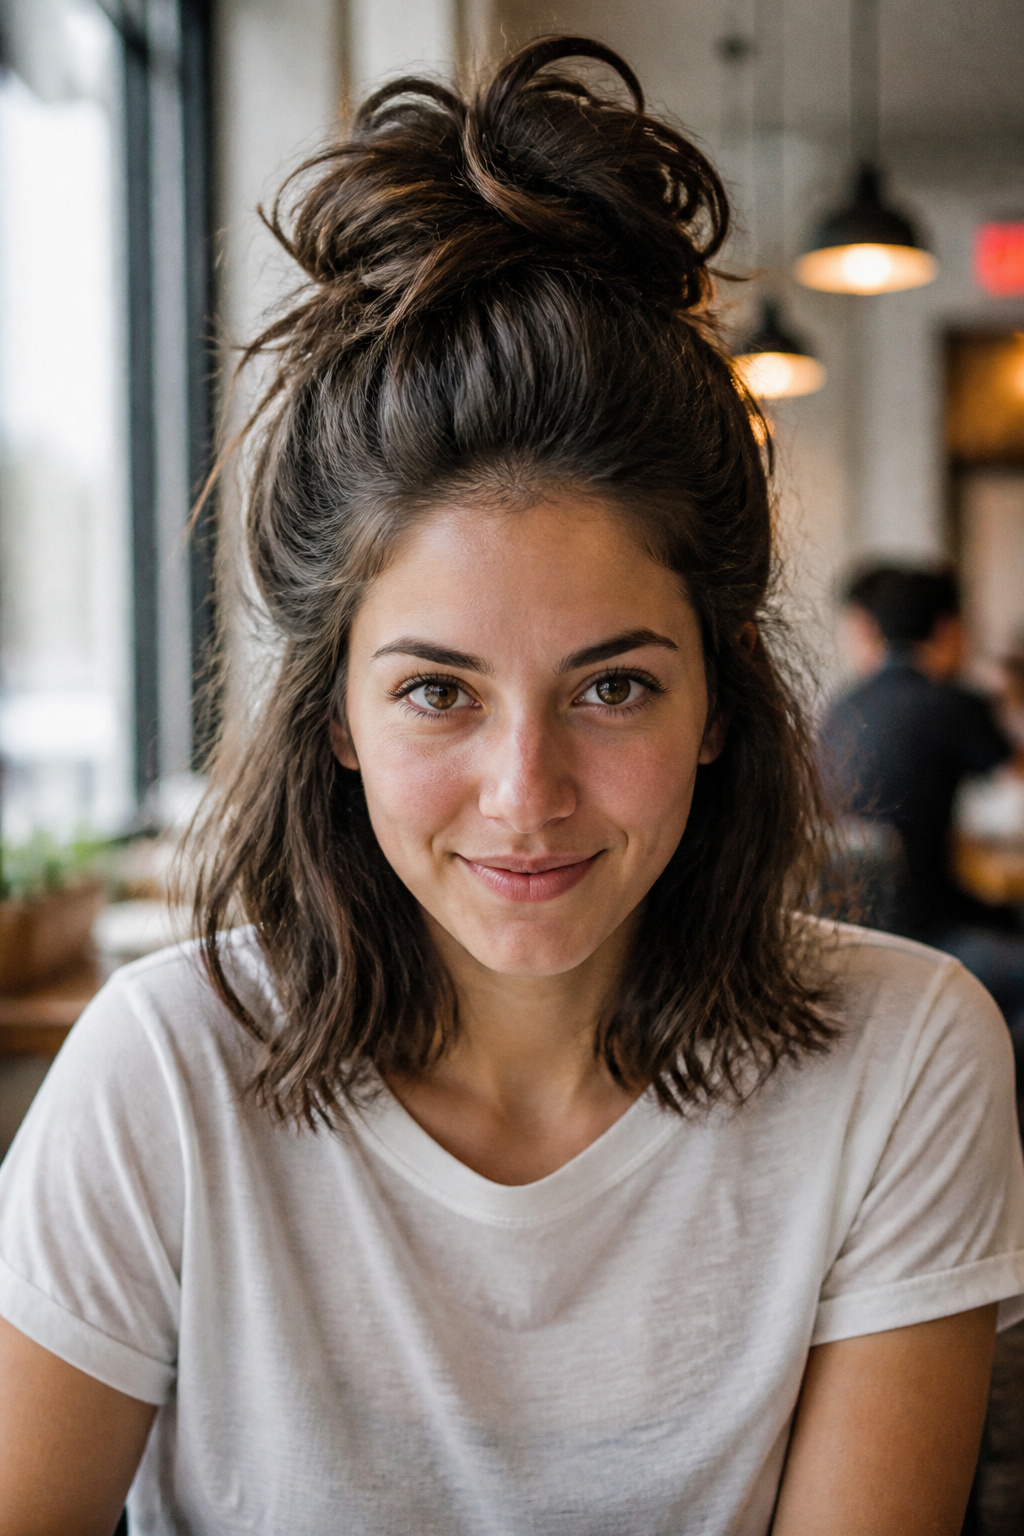

Best for fine to medium hair that needs lift. Tease the crown lightly. Around 12 minutes to build volume.
This leans retro and playful while still being sultry if the crown is polished. Tease the roots, smooth the top layer, and form a knot with two ear-like loops at the front of the bun.
A common mistake is over-teasing until the hair looks matted. Use a soft brush to smooth the top layer without losing volume.
Soft Curly Afro with Metallic Ear Clips
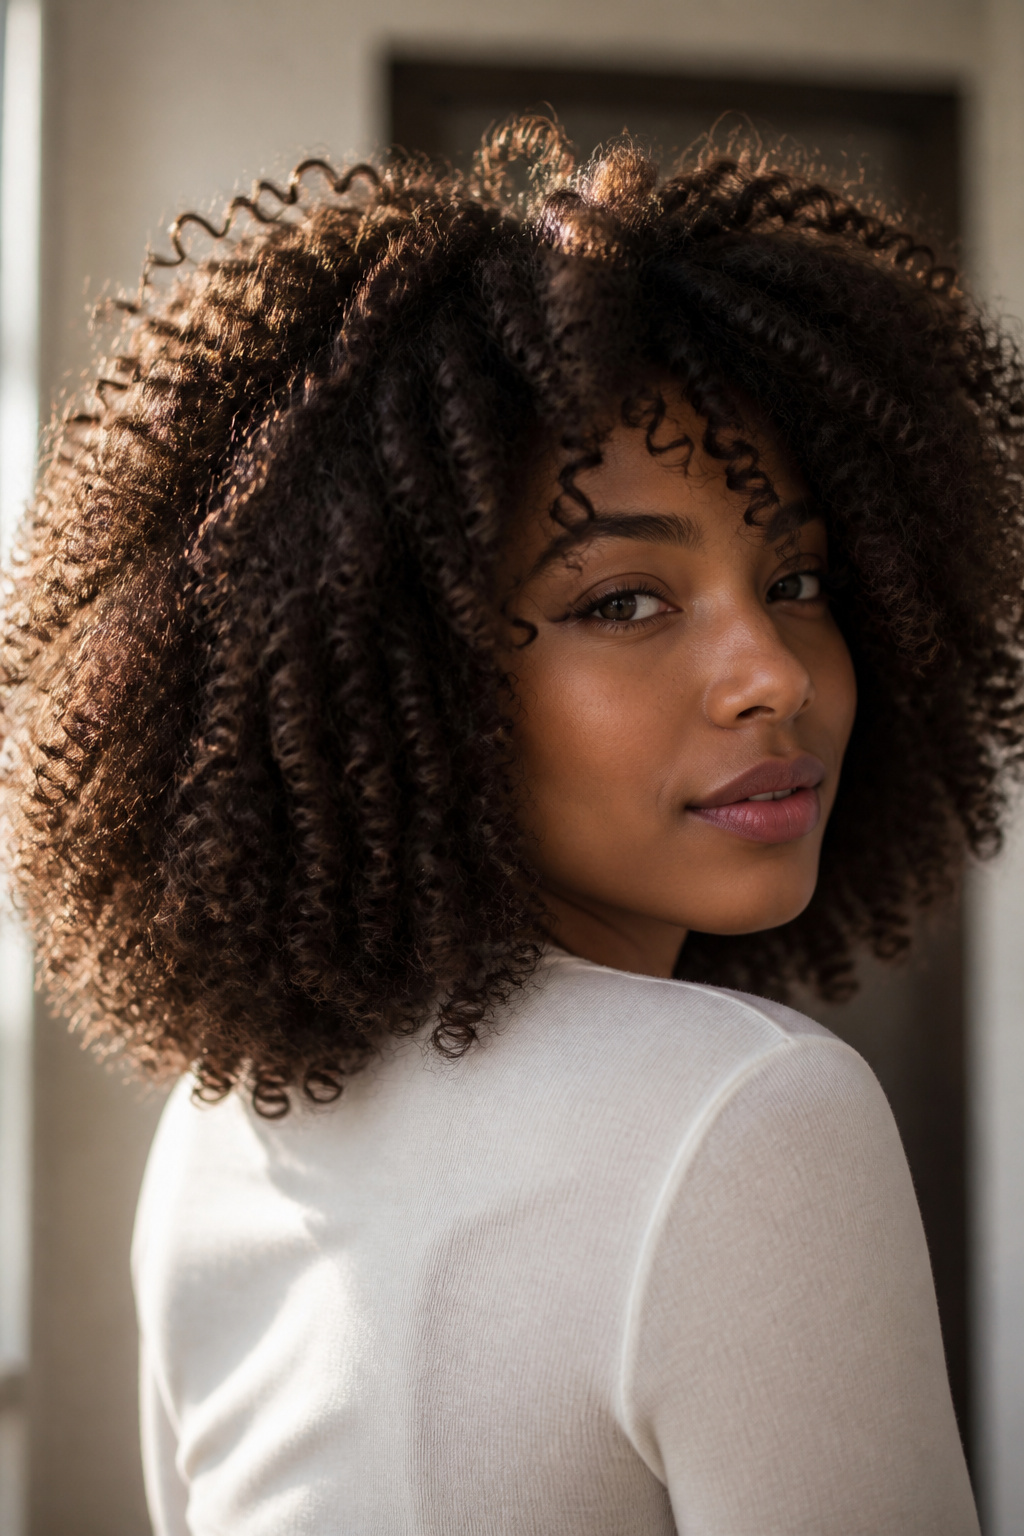

Best for kinky or curly textures. Embrace shrinkage; pin ears into shape. Style in 10 minutes.
This idea celebrates texture. Build two small pinned points at the crown using bobby pins and secure metallic ear clips around them for a refined accent. The result is rich and intentionally sculpted.
Don’t flatten the crown to make the ears; you need volume above and around the points for proportion.
Half-Up Twist with Pearl-Trimmed Ears
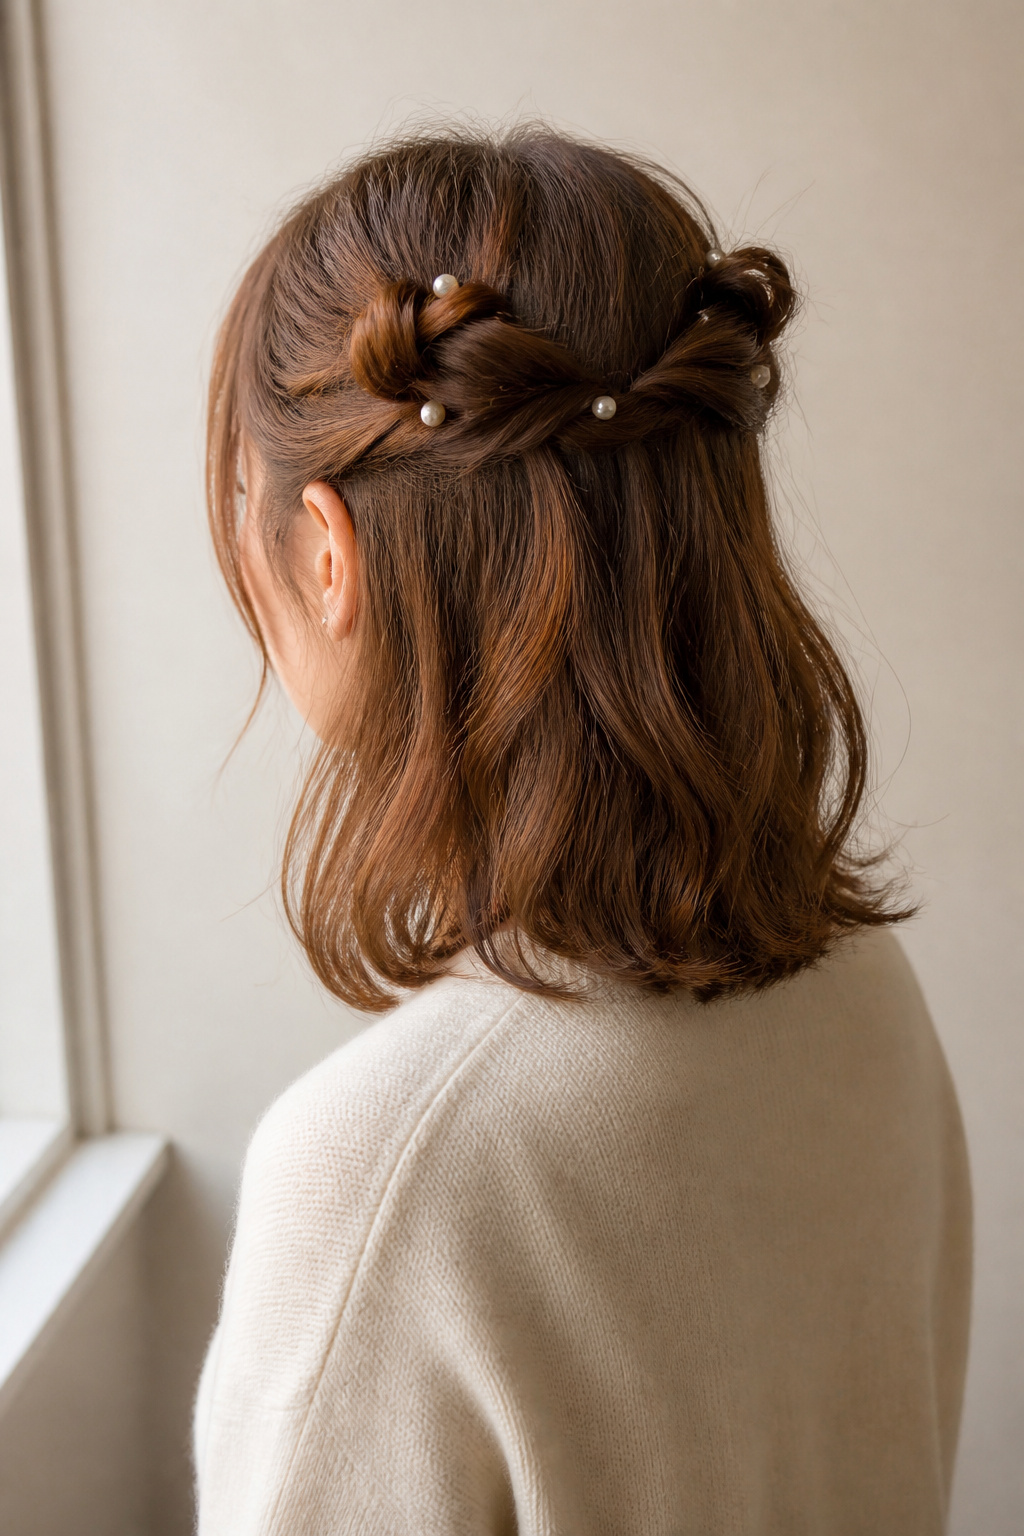

Best for medium density hair. Easy to undo. About 7 minutes to assemble.
If you want a romantic take, twist small sections on each side and pin them into triangular points, then embellish with pearl pins. It reads refined and pairs well with matte lipstick and soft liner.
Avoid pinning too low; ears should start above the temple for the silhouette to read catlike.
Vintage Finger Waves with Velvet Side Ears
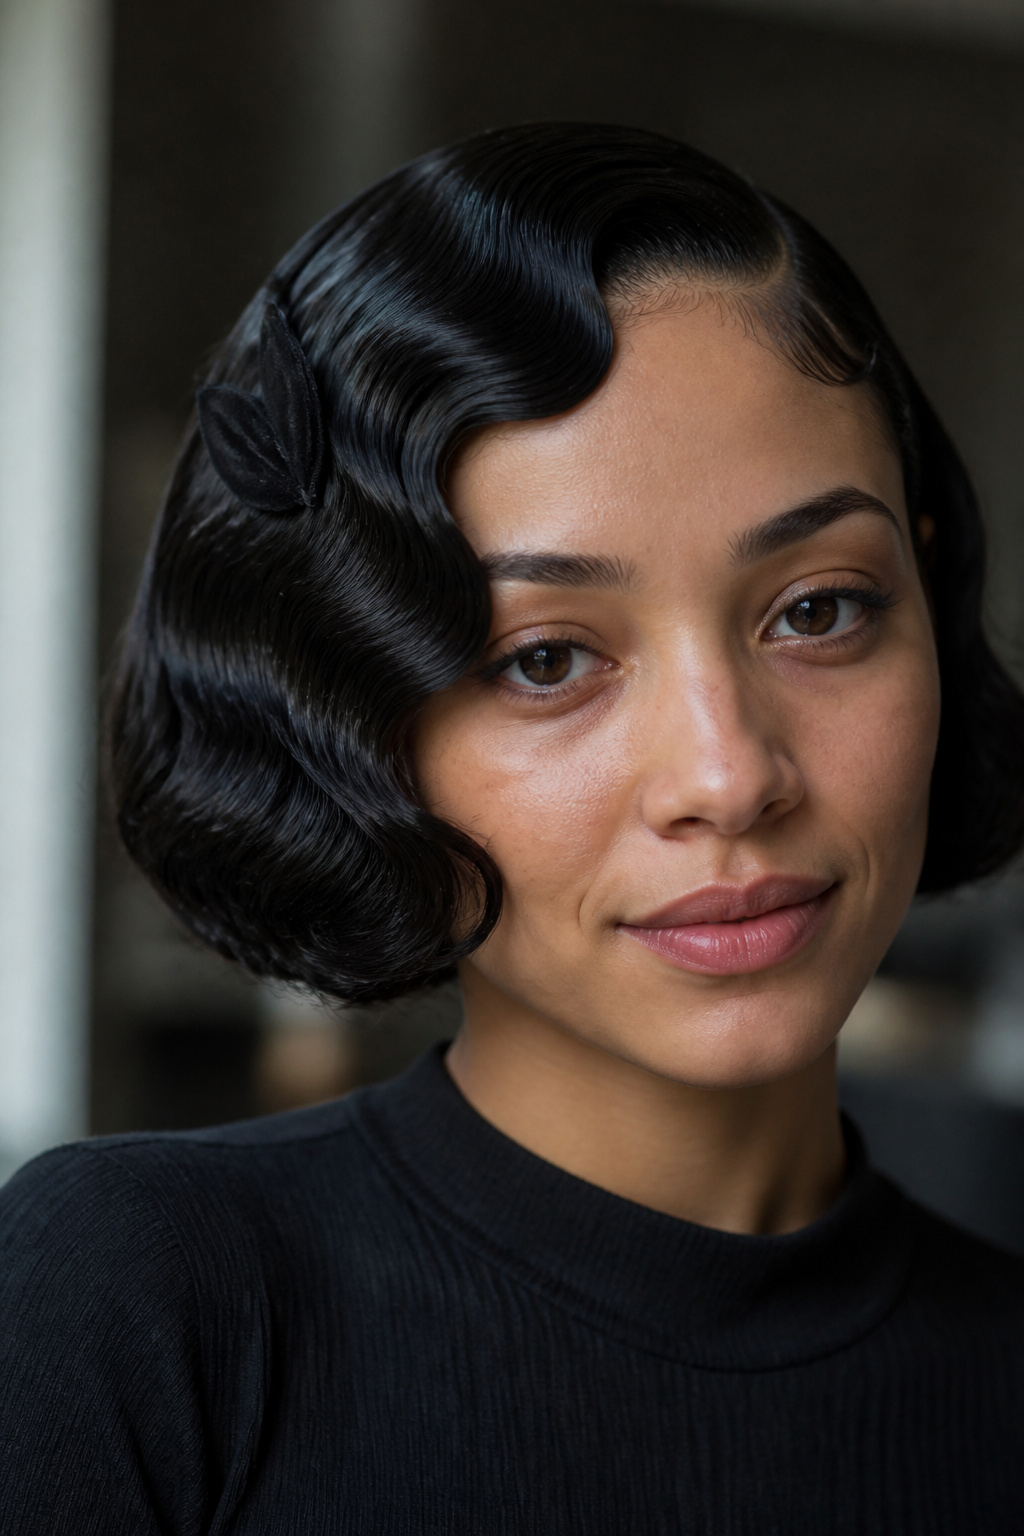

Best for short to mid-length straight hair. Time-intensive but dramatic. Style in 20 to 30 minutes.
This is one of my guilty-pleasure looks for parties. The finger waves make the face look sculpted and the velvet ear is a grown-up nod to costume. Use a comb and setting lotion, then carefully pin the ear to the wave without disturbing the shape.
Finger waves are technical; if you try to rush them they look messy. Book extra time or ask a stylist for help.
Sleek Low Pony with Dramatic Winged Piece
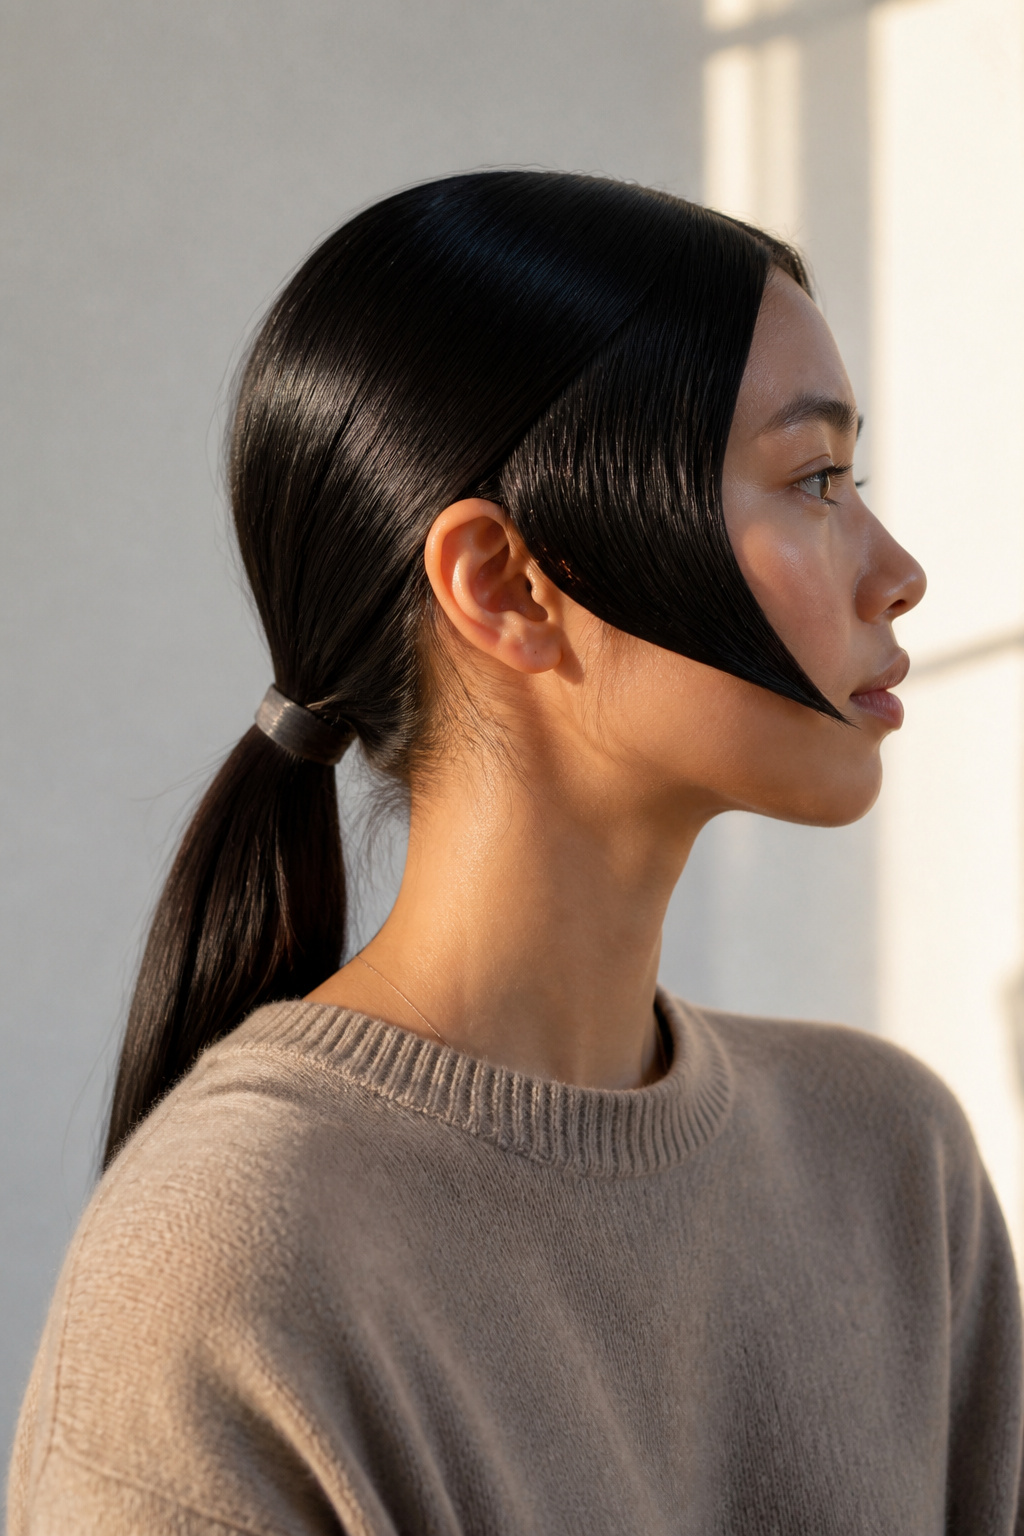

Best for straight and slightly wavy hair. Easy to refresh. About 8 minutes to smooth.
This keeps the back tidy while the long winged piece gives the cat-eye echo in hair. Use a 1-inch flat iron to shape the wing and a light-hold spray to set the angle without stiffness.
People often think more product equals better hold. That just makes the wing stiff and shiny in a bad way. Use a micro-mist.
What You'll Need to Get This Look
Heat Tools
- 1.25-inch ceramic curling wand ($30 to $60)
- 1-inch titanium flat iron ($40 to $120)
- Ionic blow dryer with nozzle ($30 to $100)
Styling Products
- Alcohol-free volumizing mousse, 8oz ($8 to $20)
- Medium-hold non-crunch hairspray, 8oz ($6 to $20)
- Lightweight styling pomade, 1oz ($6 to $18)
Hair Care and Protection
- Thermal protectant spray, 6oz ($10 to $25)
- Silk pillowcase standard size ($15 to $40)
Accessories and Finishing
- Velvet cat ears headband ($8 to $20)
- Pearl hair pins set ($6 to $18)
- Hidden wire craft floral gauges pack for ear shaping ($6 to $15)
Budget Swaps
- Drugstore flexible hold gel, 6oz ($4 to $10) (great if you rarely style)
- Travel-size dry shampoo, 3oz ($4 to $12) (useful for second-day styles)
Shopping Tips for These Looks
Buy tools during holiday sales: Blowout tools drop 20 to 30 percent in November. I waited and grabbed my 1-inch titanium flat iron.
Choose the barrel to match your curl: For loose S-waves use a 1.25-inch wand, for small flicks use a 1-inch wand. I use a 1.25-inch ceramic curling wand.
Drugstore hacks work for trial runs: Try the Drugstore flexible hold gel, 6oz before investing in salon products.
Pick accessories that double as styling tools: A good velvet headband can stay in place all night and saves on pins. I like this velvet cat ears headband.
Protect hair when heat styling: Never skip a thermal protectant. I always mist with Thermal protectant spray, 6oz.
Frequently Asked Questions
How do I make cat ears without a headband?
Start with two small braids or twists at the crown, wrap them into points, and anchor with long bobby pins. Add a clip or pearl pin for polish. For shaping help, use thin floral wire wrapped with hair.
Will these styles work on very curly hair?
Yes. Emphasize volume and pin shaped points into the curl pattern instead of forcing smoothness. A medium-hold gel like the Drugstore flexible hold gel, 6oz helps without crunch.
Can I sleep in any of these looks and refresh them?
The tousled long waves and the crown braid are the easiest to refresh. Sleep on a Silk pillowcase standard size to preserve shape.
What if my hair is too short for ears?
Use decorative clips or small velvet ears pinned to a headband. Micro-pointing at the ends of a bob with a tiny flat-iron bend simulates an ear silhouette.
How do I prevent the slicked styles from looking greasy?
Apply product to the mid-lengths and ends first, then very lightly on the roots. Finish with a light-hold mist like Medium-hold non-crunch hairspray, 8oz.
Where to Start
If you want the fastest transformation, try the slicked-back bun with a velvet headband—polished and forgiving. If you have time, experiment with a half-up twist and pearl pins; it’s my go-to when I want something that feels elevated without a lot of prep. Which look are you most tempted to try this year?