








I used to lose the cone by midafternoon, usually after lunch when the crown flattened and someone called it "a cute Halloween hat." This winifred sanderson hair tutorial is the version that held for a trick-or-treat shift because I learned to build volume from the inside out. The trick is a foam cone plus directional pinning, not endless teasing.
This is the full, wearable Winifred look for shoulder-length to collarbone hair, thick or dense waves, and those with at least medium density. If you already own a 1.25 inch curling wand you can skip buying a new tool and save about $25. My angle: you want controlled structure at the crown with loose texture at the front to read as theatrical but lived-in.
Prep that decides how high the cone will sit
Prep decides whether the cone keeps shape, so I start on dry hair. I work an alcohol-free volumizing mousse into the roots only, about a golf-ball-sized amount for shoulder-length hair, because the cone needs lift while the ends should stay soft. I use Alcohol-free volumizing mousse, 8oz ($12 to $25) for this step.
Next I spritz a thermal protectant like Heat protectant spray, 4oz ($8 to $18) lightly through the mid-lengths and ends. That stops pockets of steam when you touch the hair with a hot tool and helps the outer waves keep shine.
I rough-dry the roots with a round brush until about 80 percent dry. The biggest mistake here is working with damp hair; it shrinks and the cone collapses in an hour.

Build a stable cone core at the crown
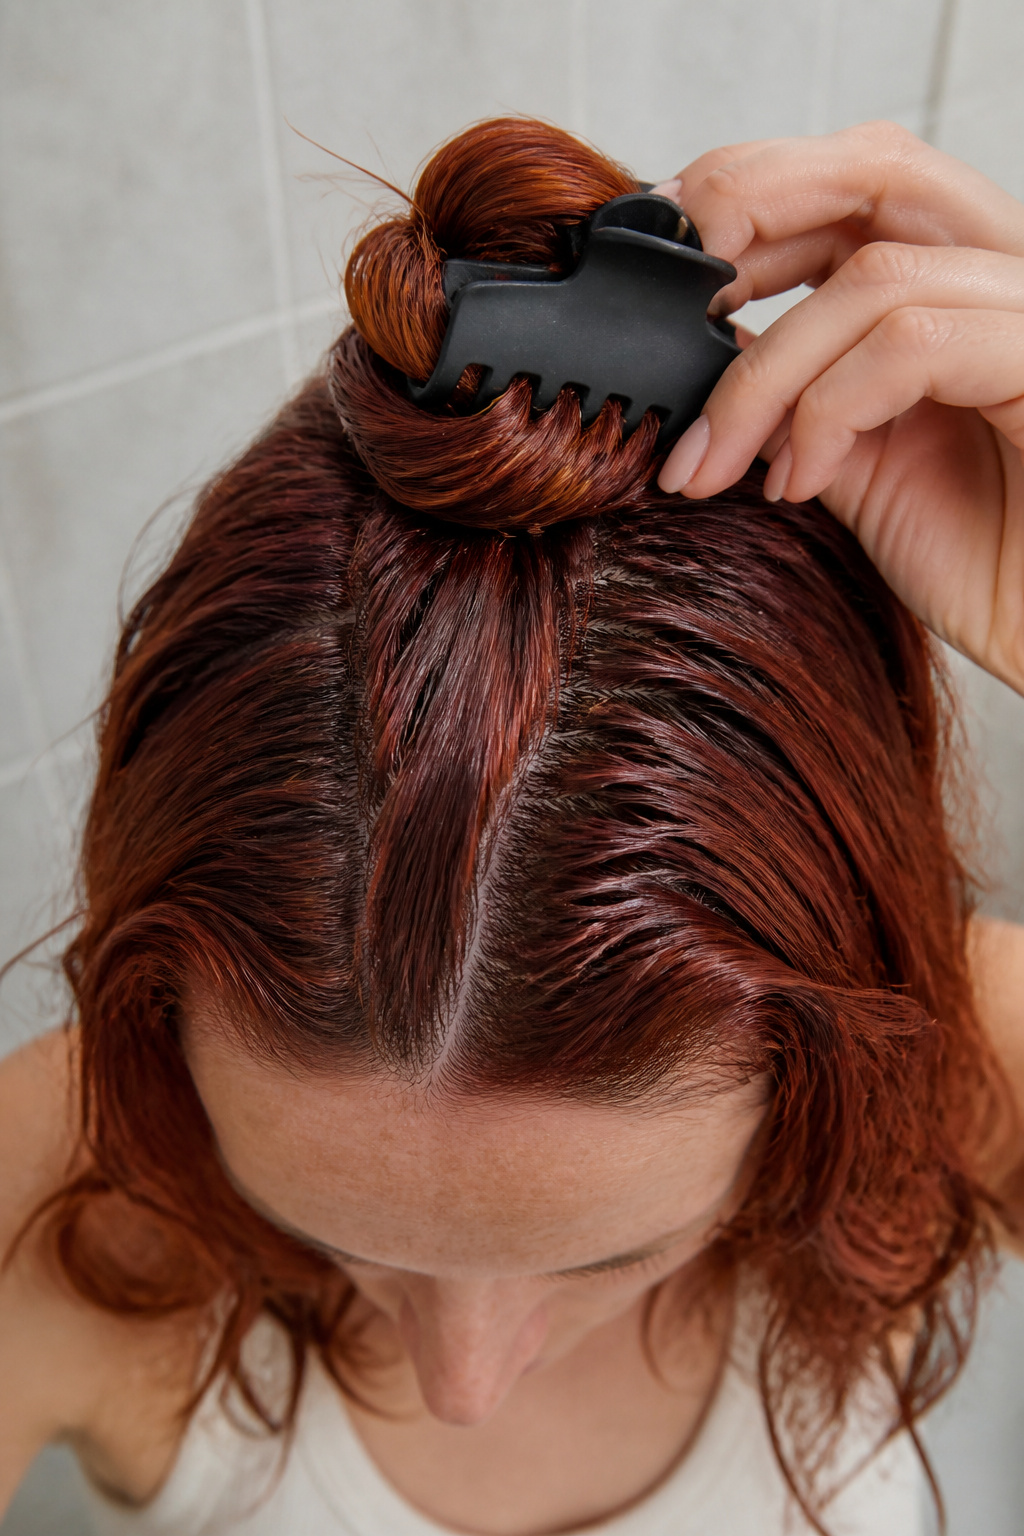
This phase is where structure lives, so I form a core you can pin into. I section a triangular wedge at the crown about 3 inches wide at the hairline and 4 to 5 inches deep toward the back. Keep the sides softer; the cone tapers toward the back of the head.
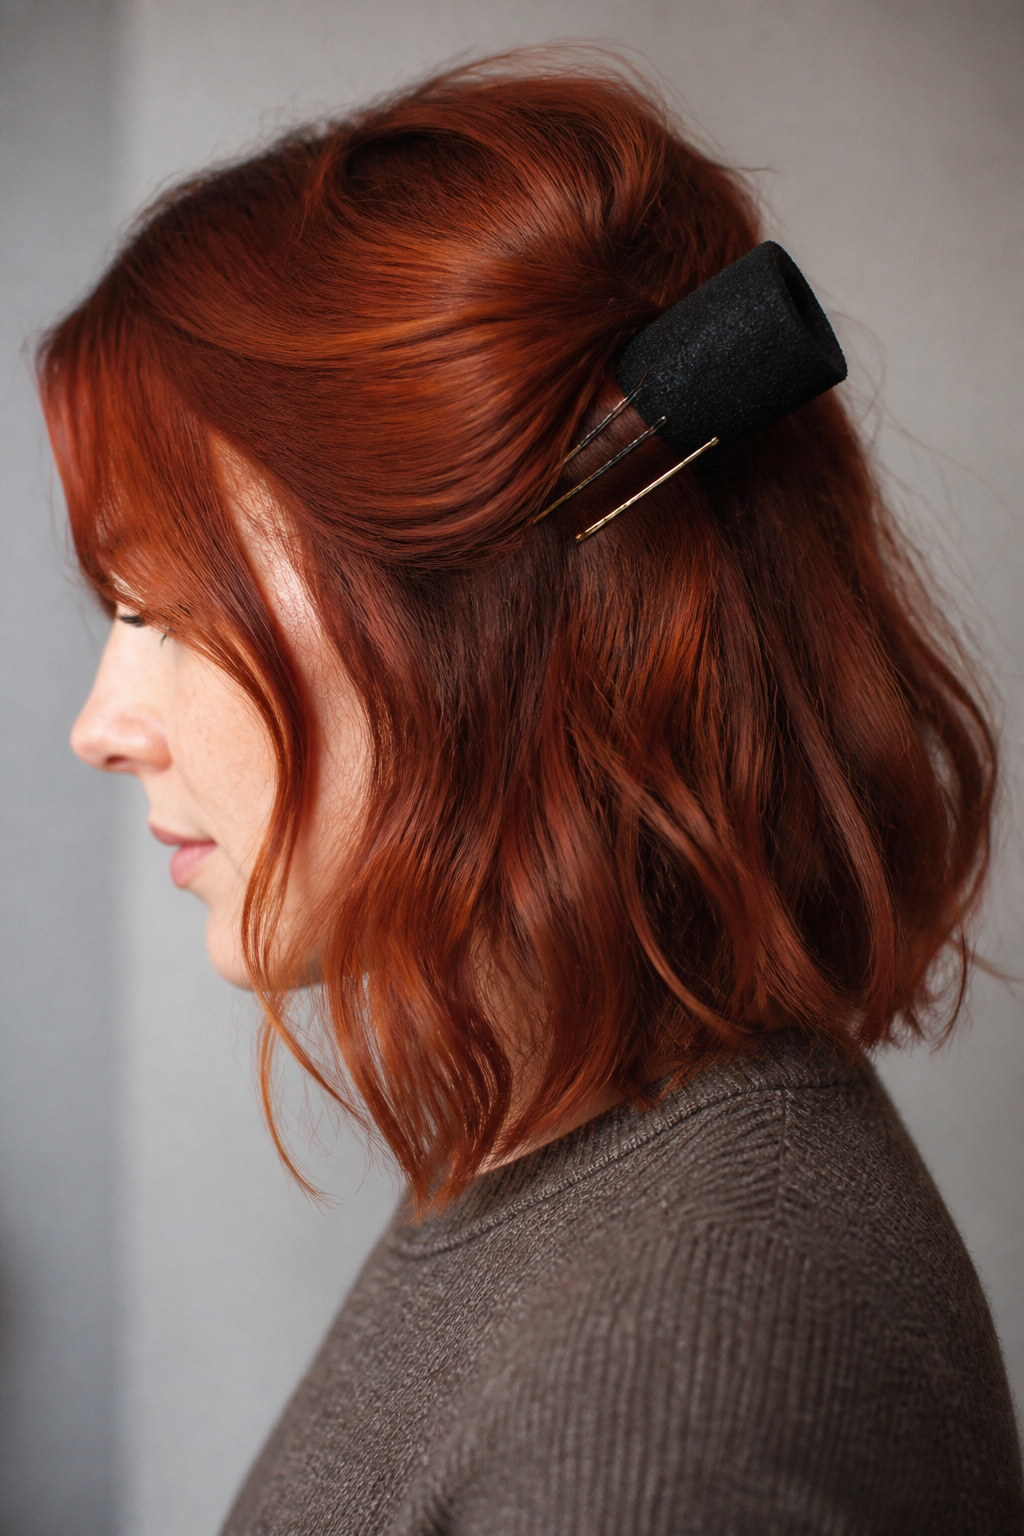
I stuff a wig-style foam cone under that wedge, sliding it forward until the hairline sits where you want the peak to be. I use a medium foam cone that matches the forehead curvature so the shape looks like a smooth dome not a lumpy pile. For thin hair pin the cone closer to the scalp, for thick hair give it a touch more lift.
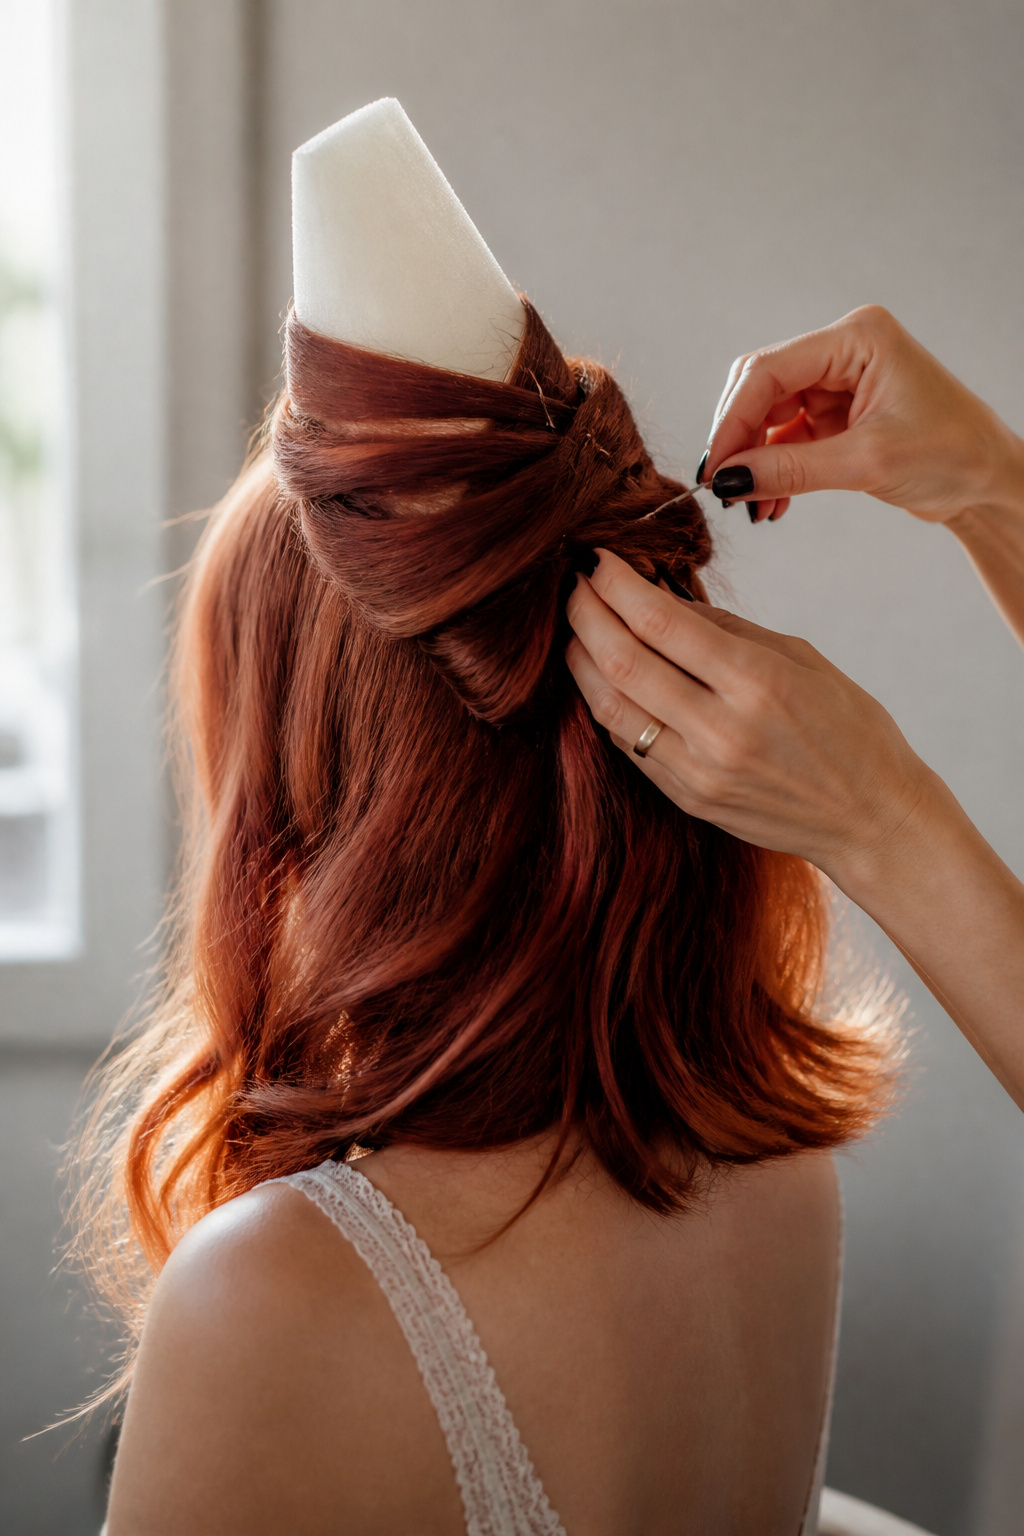
Pin through the hair into the cone with long hairpins, angling them down and inward so the cone feels anchored. Use about eight to twelve pins to start, then test the tilt by shaking your head. If it wobbles add another pair of pins around the base.
The mistake I made early on was using one big top pin instead of many smaller pins. It looked glued but slipped by midday. I swapped to multiple curved hairpins and haven’t had a run since.

Wrap and sculpt the outer hair for Winifred’s silhouette
Now the visible shell is made from wrapped sections. Work in 1.5 to 2 inch vertical sections from the front hairline toward the cone. I wrap each section over the cone, smoothing it with fingers so the hair lies flat but not taut; you want readable bands of wave, not a helmet.
Each wrapped section gets pinned with 2 to 3 bobby pins where it meets the cone base, pointing the pin heads down for security. For the face-framing pieces leave a 1 inch section at each temple to sweep and curl later; that softens the look.
I use a 1.25 inch ceramic curling wand at 320 F for loose S-shapes on the front pieces and lower layers, holding for about 6 to 8 seconds per piece on my dense hair. If your hair is finer reduce the heat to 300 F. I spritz a light flexible hairspray to hold the waves without cementing them.
A popular overdo is backcombing everywhere. It gives bulk but kills smoothness and creates a lumpy silhouette. Instead, limit teasing to a 1 inch strip right at the cone base and rely on pinning for the rest.

Finish texture, color read, and final set
Finish by blending the front sweep into the cone so the forehead reads as one continuous line. I curl the curtain pieces away from the face with the 1.25 inch wand, finger-comb the ends, and tuck the tips under slightly so they rest against the cone rather than stick out.
For shine and hold I mist a medium to strong hairspray about 10 to 12 inches away, keeping the spray moving so it doesn’t leave flakes. I use Medium hold hairspray, 10oz ($9 to $20) for daytime events and step up to a stronger formula for wind or long wear.
Check the silhouette in a three-quarter mirror and add micro-pins where gaps show. I like to leave a couple of intentional flyaways at the hairline to make the look theatrical rather than staged.
One failed experiment I had was overloading the cones with styling paste to sculpt every strand. It read oily and collapsed. Light touch is the trick.

Common Styling Mistakes to Avoid
Overteasing the whole crown. Why it fails: you get volume that looks bulky and frizzy. Better: tease a tiny baseline at the cone edge and build shape with the cone and pins.
Using hairspray too early. Why it fails: it locks in wrong shapes and makes pinning hard. Better: pin first, then mist from a distance for even hold.
Forgetting directionality. Why it fails: hair will push the cone forward or sideways as you move. Better: always pin into the cone at a downward angle so the natural hair tension pulls inward.
Skipping a heat protectant. Why it fails: curls can steam under pressure and turn frizzy. Better: spritz a light Heat protectant spray, 4oz ($8 to $18) before you curl.
How to Make It Last
The cone loses height before the front pieces loosen. By noon the base can compress, so I refresh the cone on day two by slipping two fresh pins into the base and misting the roots with a touch of dry texture spray at the part. I never reheat the whole style; that weakens the set.
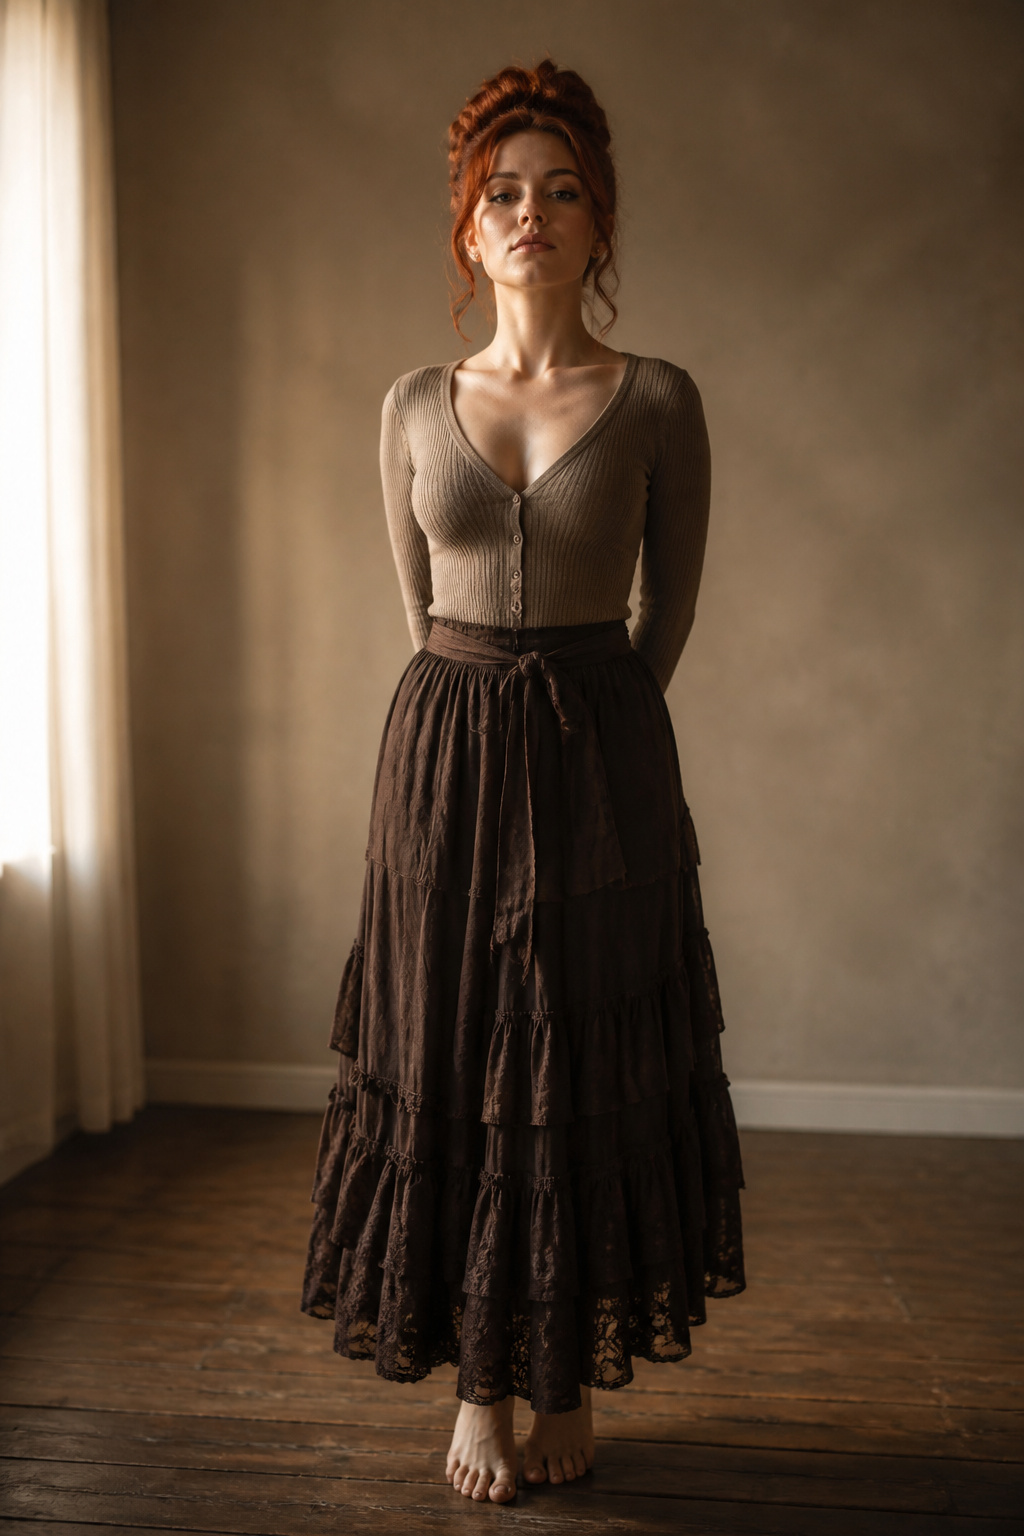
Day three you can loosen the look into a softer, Victorian-inspired updo by removing a few pins and easing down the cone. To revive the shape without restyling, spray a bounceable texture mist at the roots and shake gently at the nape.
If the front pieces drop, re-curl one or two face-framing strands and pin them back over the cone. Two small touchups will usually get me through an evening.
What You'll Need for This Look
Heat tools
1.25 inch ceramic curling wand ($30 to $75) A wand in this size gives the soft S-waves Winifred needs.
Blow dryer with concentrator nozzle ($25 to $120) Spend on the wand first, the dryer can be a budget pickup.
Styling products
Alcohol-free volumizing mousse, 8oz ($12 to $25) Use at roots only.
Heat protectant spray, 4oz ($8 to $18) Light, non-sticky.
Medium hold hairspray, 10oz ($9 to $20) For daytime hold.
Strong hold hairspray, 10oz ($10 to $22) For outdoor or long wear.
Care and protection
Leave-in conditioner mist, 5oz ($7 to $18) Use sparingly on ends.
Dry texture spray, 5oz ($8 to $18) For day-two refresh.
Accessories and finishing
Styrofoam cone wig form, medium ($6 to $15) The cone is the value piece here.
Assorted long hairpins set, 50 pack ($6 to $12) Use curved pins that bite.
Bobby pin assortment, 100 pack ($5 to $10) Keep extra pins in your kit.
Matte large claw clip ($4 to $12) For holding sections while you work.
Rat tail teasing comb ($3 to $10) Use for one small tease strip only.
Budget swaps
If you already own a curling iron around 1 to 1.25 inches, you can skip the wand purchase and use protective gloves for more control. Hairspray and pins are items worth spending slightly more on because they affect longevity.
Where to start if you only change one thing
If you change one thing, buy a medium foam cone that fits your forehead curvature and learn to pin into it. That single swap turned my collapsing crown into the look people noticed at dusk. Try the cone with minimal mousse first, and tell me in the comments whether your cone survived the day.


