








My hair used to develop hard kinks halfway down the strand every time I tried to curl it with a straightener. Learning to keep the iron moving and choosing where the bend starts fixed that overnight. If you want to know how to curl hair with a straightener without leaving crimps, I’ll walk you through the exact section sizes, heat choices, and the one motion that completely changed my finish.
This is a relaxed, brushed-out wave—think soft glam but lived-in. You can do it on shoulder-length to mid-back hair and on most densities; fine hair needs lower heat and a little mousse at the roots, while thick hair needs smaller sections and more patience. You don’t need a salon-grade iron to get the look, but investing in a good 1 to 1.25 inch ceramic plate makes the motion smoother and the result less kinked. Right now, loose, alternated-direction waves are my go-to; they look less “set” and avoid the uniform ringlet trap.
Build hold and lift before any hot tool touches it
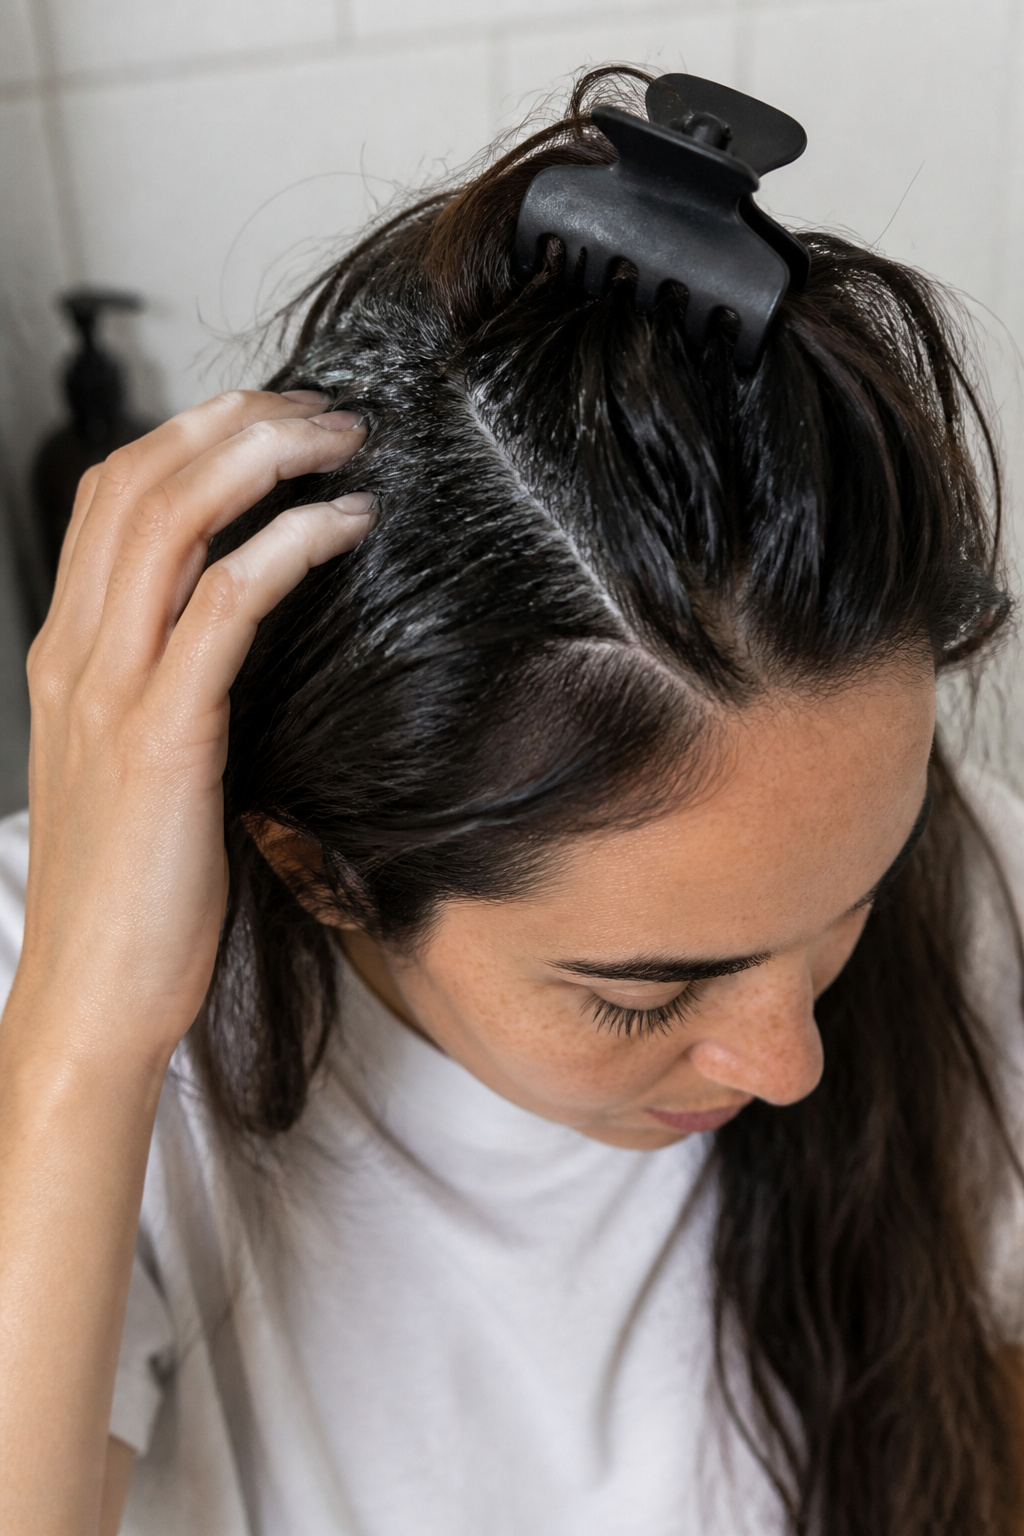

Prep decides whether the curl lasts. I apply an alcohol-free volumizing mousse to the roots only; for shoulder-length hair a golf-ball-sized amount is enough. That gives lift without stiffening the ends that need movement.
Next I spritz a heat protectant lightly from mid-lengths to ends, and comb through once. Put protectant on section by section, not in one cloud over the top, because product massing on the surface leaves the inner strands unprotected.
Rough-dry to about 80 percent so the iron isn’t working on damp hair. If you clap the hair together to check, it should feel warm and almost dry. Styling a still-damp strand is the fastest way to steam the hair, get frizz, and make a bend that will flop flat by midday.
Common mistakes at this stage: too much mousse or spraying protectant only on top. Both make the finish either crunchy or underprotected. I like a lightweight mousse and a silicone-free protectant for shine without weight. If you want my mousse pick, it’s in the shopping list.
Section and set the right heat for your hair
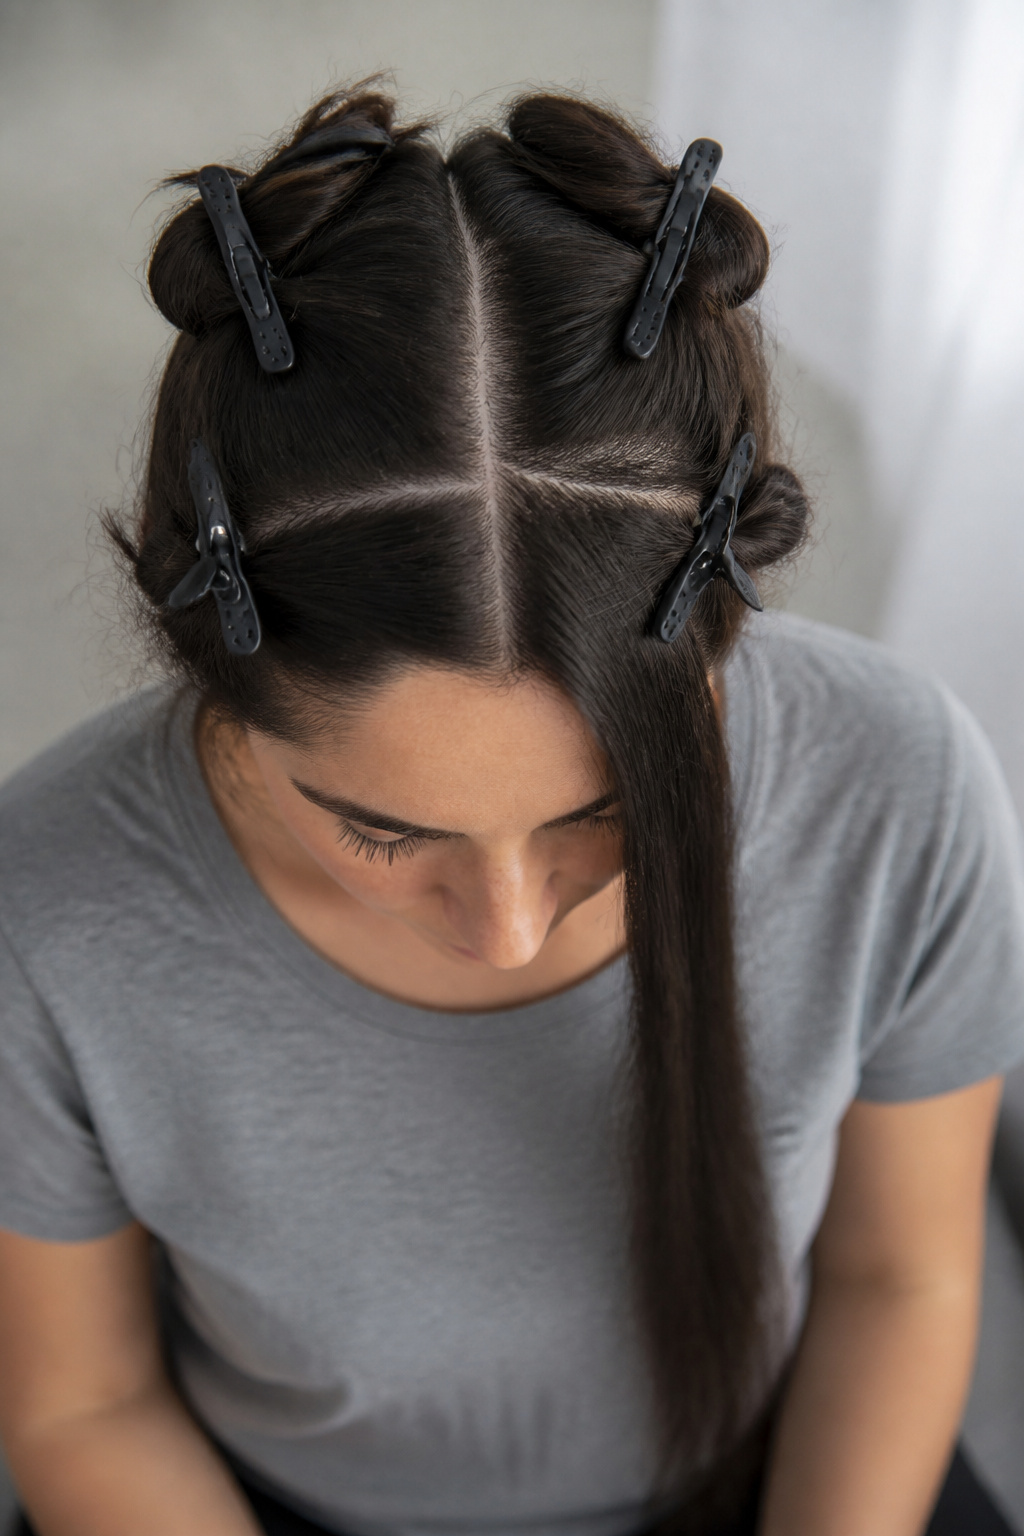

Good sectioning saves time and prevents missed strands. Work in horizontal layers for the back and vertical slices for the front. I take about 1 inch sections for shoulder-length medium-thick hair; reduce to 3/4 inch for very thick hair, or go as wide as 2 inches for looser waves.
Set your straightener to a safe range: about 300 F for fine or chemically fragile hair, 330 F for medium, 350 F for thick or very straight hair. I usually land at 330 F for my medium hair. A ceramic 1 to 1.25 inch plate gives enough surface to shape a smooth bend without gripping too much.
Clamp the section at the root briefly if you want root lift, then angle the iron downwards as you start the glide. The mistake I made early on was taking too-large sections and trying to compensate with extra pressure; that makes an uneven bend and a creased line where the plates hit. Smaller, controlled sections give more consistent motion.
Create a smooth curl with a continuous glide
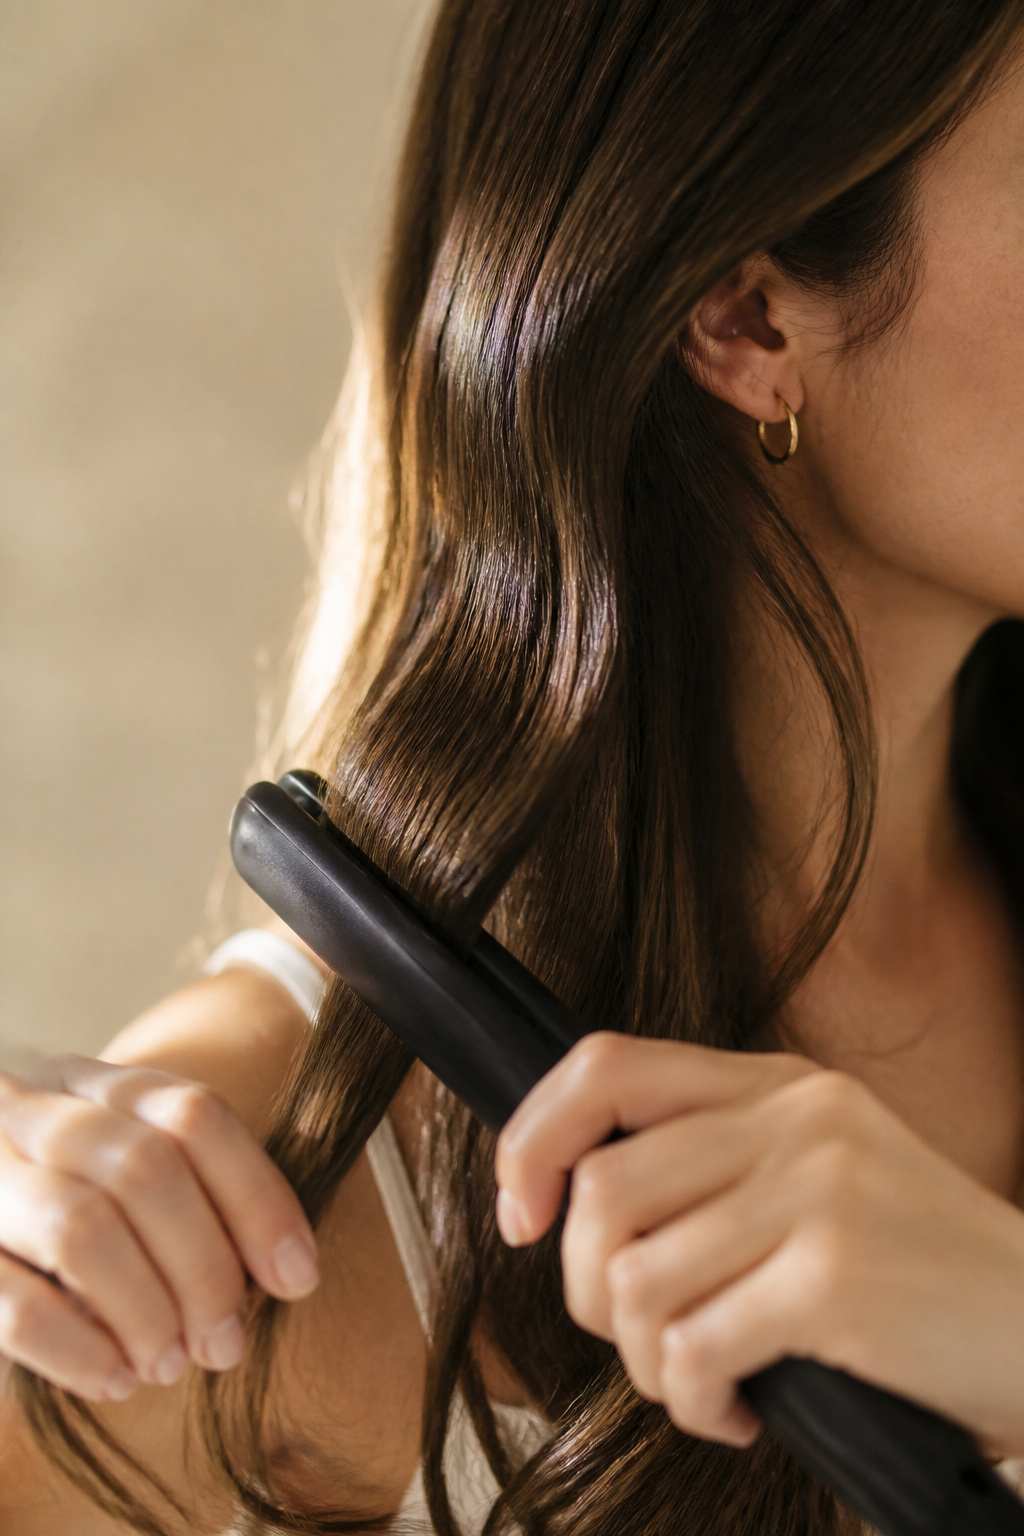

This is where crimps happen or disappear. Clamp at the root or mid-length depending on your start point, then rotate the iron away from your face about 180 degrees and glide it down in one continuous motion. Do not stop halfway. The rotation plus steady downward slide creates a smooth bend rather than a folded kink.
For looser waves, feed the iron through more slowly and release the end before it cools. For defined bends, keep the glide steady and let the curl cool wrapped around the iron for a second before releasing. Alternate direction on adjacent sections to avoid a uniform pattern and to make the style read natural.
I once tried a pause-and-hold method to “set” a curl and ended up with a series of small crimps where the plates pinched. Moving the tool continuously fixed that for good. If your straightener has rounded edges it will be kinder to the hair and reduce clamp lines.
Finish for softness and movement
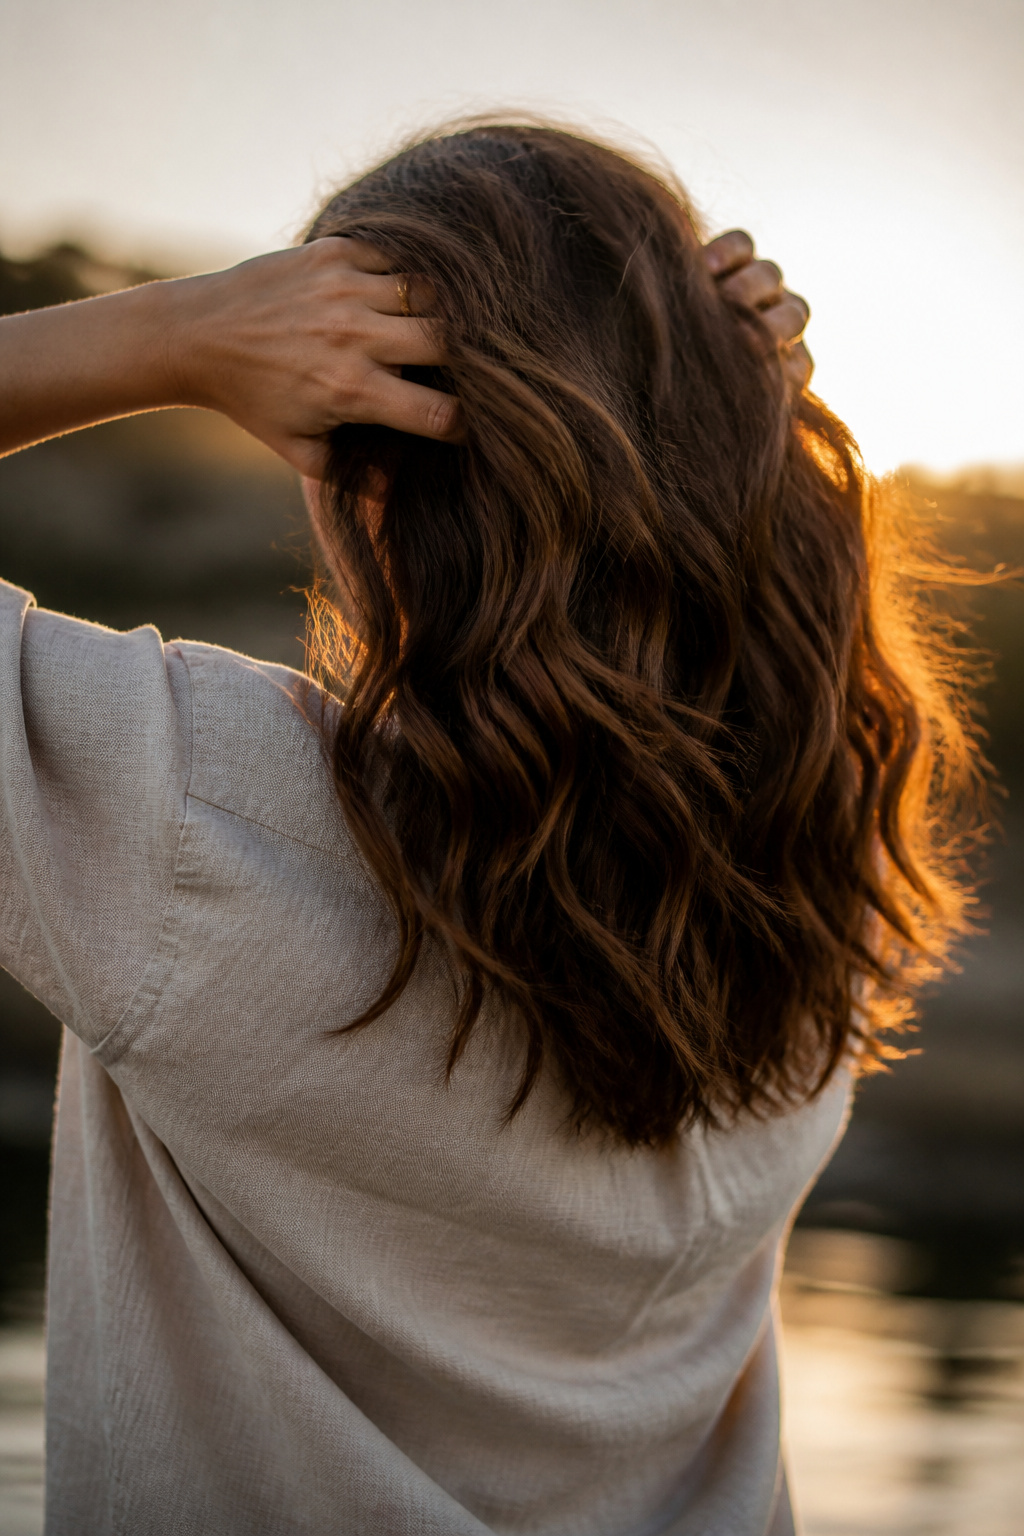

Let each curl cool before touching it. I pin a few curls against the scalp with a clip while I work the rest; cooled curls hold much better. When everything is cool, drop the clips and run your fingers through or use a soft-bristle dressing brush for a blown-out effect.
Add a few sprays of a light texturizing salt spray and scrunch at the ends to break perfect rings. Finish with a mist of flexible-hold hairspray focused mid-length to ends to avoid stiff roots.
One thing I learned: brushing immediately makes the hair frizz or flatten. Patience wins. If a curl looks crisp, gently pull the end down to relax the tip for a modern loose finish.
Common Styling Mistakes to Avoid
Taking giant sections. Large sections make uneven bends and flatten mid-shaft shape. Use 1 inch or smaller slices for consistent results.
Stopping mid-strand. Pausing while you glide creates a clamp mark or kink. Keep a continuous rotation and downward motion to avoid crimps.
Overloading product at the roots. Too much mousse or spray at the scalp turns the root crunchy and prevents movement. Apply mousse sparingly and protectant mid-length to ends only.
Skipping cool-down. Not letting curls set fully before combing or spraying causes them to fall. Clip a few key curls while you finish the rest and wait until fully cool to blend.
For a simple fix to clamp marks, a quick pass with the iron on a low setting while gently pulling the hair straight smooths small lines, but it’s better to prevent them with motion.
How to Make It Last
Curls collapse at the roots first. Bedtime tips: wrap hair loosely in a silk scarf or sleep on a silk pillowcase to reduce friction. On day two, the roots may drop but the body remains—apply a small pump of dry shampoo at the root and tousle to revive lift.
To refresh without restyling, mist mid-lengths with a light texturizer, scrunch, and separate with fingers. If a section really fell flat, reheat just that 1 inch slice and re-glide the iron in the original direction; this takes thirty to sixty seconds and keeps the rest intact.
Avoid re-brushing fully; instead finger-comb or use a wide-tooth comb to maintain the lived-in look. My curls still look presentable by late afternoon when I start with a mousse at the roots and let everything cool properly.
What You'll Need for This Look
Heat tools
- Flat iron, 1 inch ceramic plates ($60 to $180). Good for defined bends and tighter sections.
- Flat iron, 1.25 inch ceramic plates ($70 to $220). Better if you want faster passes and looser waves.
- Ionic hair dryer, 1875 to 2200W ($30 to $150). Useful for rough-drying to 80 percent.
Styling products
- Alcohol-free volumizing mousse, 8oz ($8 to $20). Use at the roots only.
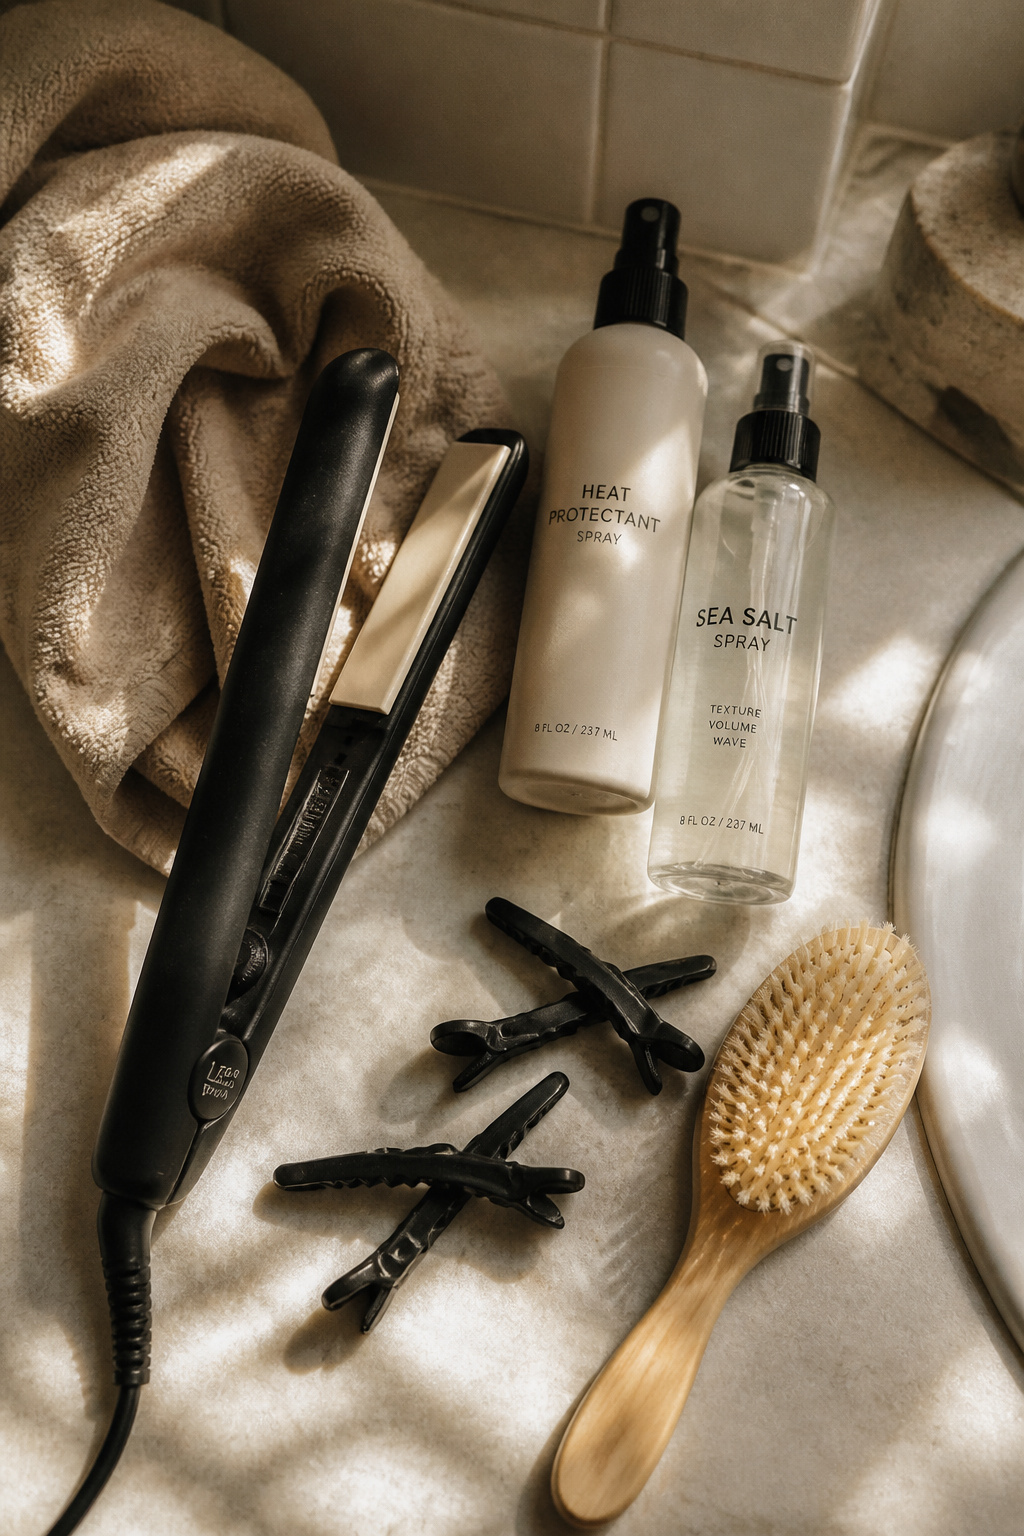
- Heat protectant spray, 6oz ($8 to $25). Light mist mid-lengths to ends.
- Sea salt texturizing spray, 5oz ($8 to $20). For piecey finish.
- Lightweight flexible hold hairspray, 8oz ($6 to $20). Spray after cooling.
Care and protection
- Microfiber hair towel ($6 to $15). For gentle rough-dry.
- Silk pillowcase standard ($12 to $35). Helps hold style overnight.
Accessories and finishing
- Croc sectioning clips, pack of 6 ($6 to $15). For neat quartering.
- Wide-tooth comb ($4 to $12). For gentle separation.
- Soft-bristle dressing brush ($8 to $25). For a blown-out finish.
If you want to save, a basic ceramic flat iron plus a reliable heat protectant gives most of the benefit. The iron is the one tool worth spending on because it lasts for years; sprays and mousse run out and can be bought on sale.

Where to start if you only change one thing
If you do one thing differently, learn to glide the iron in a continuous 180 degree rotation rather than clamping and holding. That single motion removed every kink I used to get. Try it on a hidden section first, then commit to the speed that gives you a smooth fall. Tell me which part gave you the most trouble and I’ll share a quick fix.


