






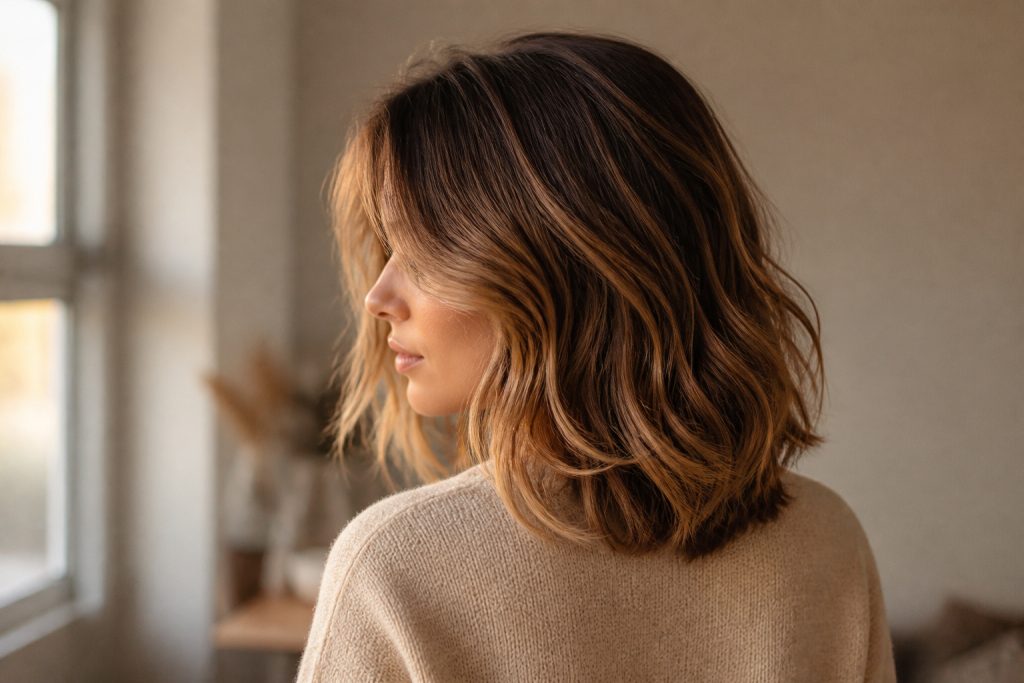

My first wedding guest curled hairstyle was a happy accident: I meant to try a blown-out wave and left the house with S-shaped curls that got compliments all night. This list brings 14 curled looks that photograph well from every angle and fit a range of lengths and textures. I tried most of them at home and at a stylist chair, so you get both quick wins and the looks worth a salon call.
These ideas aim for soft, photographed movement and semi-formal polish. Expect styles for shoulder-length to long hair, straight to coily texture, and three looks that require minimal tools. Most take 5 to 30 minutes; a few need a stylist if you want the exact sculpted finish. Everyone’s moving toward face-framing, textured shapes this season.
14 Wedding Guest Curled Hairstyles That Photograph From Every Angle
Loose Romantic Waves That Float in Photos
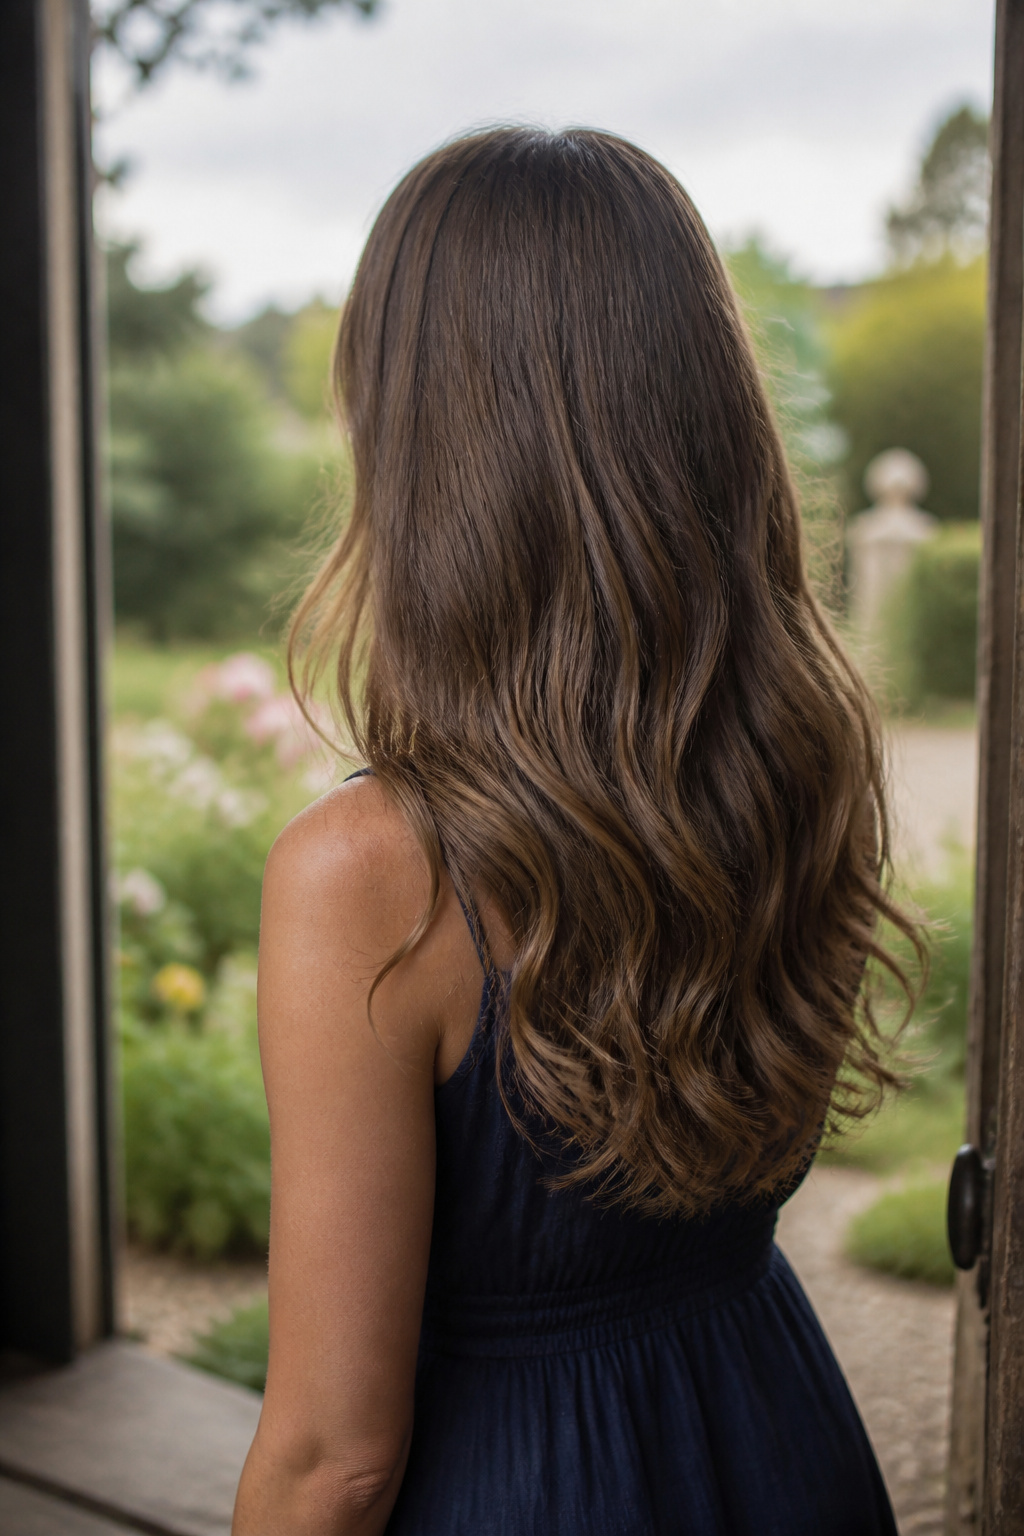

Best for medium to long hair. Trim every 12 to 14 weeks. About 10 to 15 minutes each morning.
These are the waves you see on red carpets that still read natural on camera. The payoff is soft, face-framing movement that flatters round and square faces by softening angles. Curl away from the face on 1.25-inch sections with a 1.25-inch ceramic curling wand, then brush gently for an S-shape. Most people overwork the spray; less is more. The trick is texture, not tightness.
Polished Low Ponytail with Soft Curls
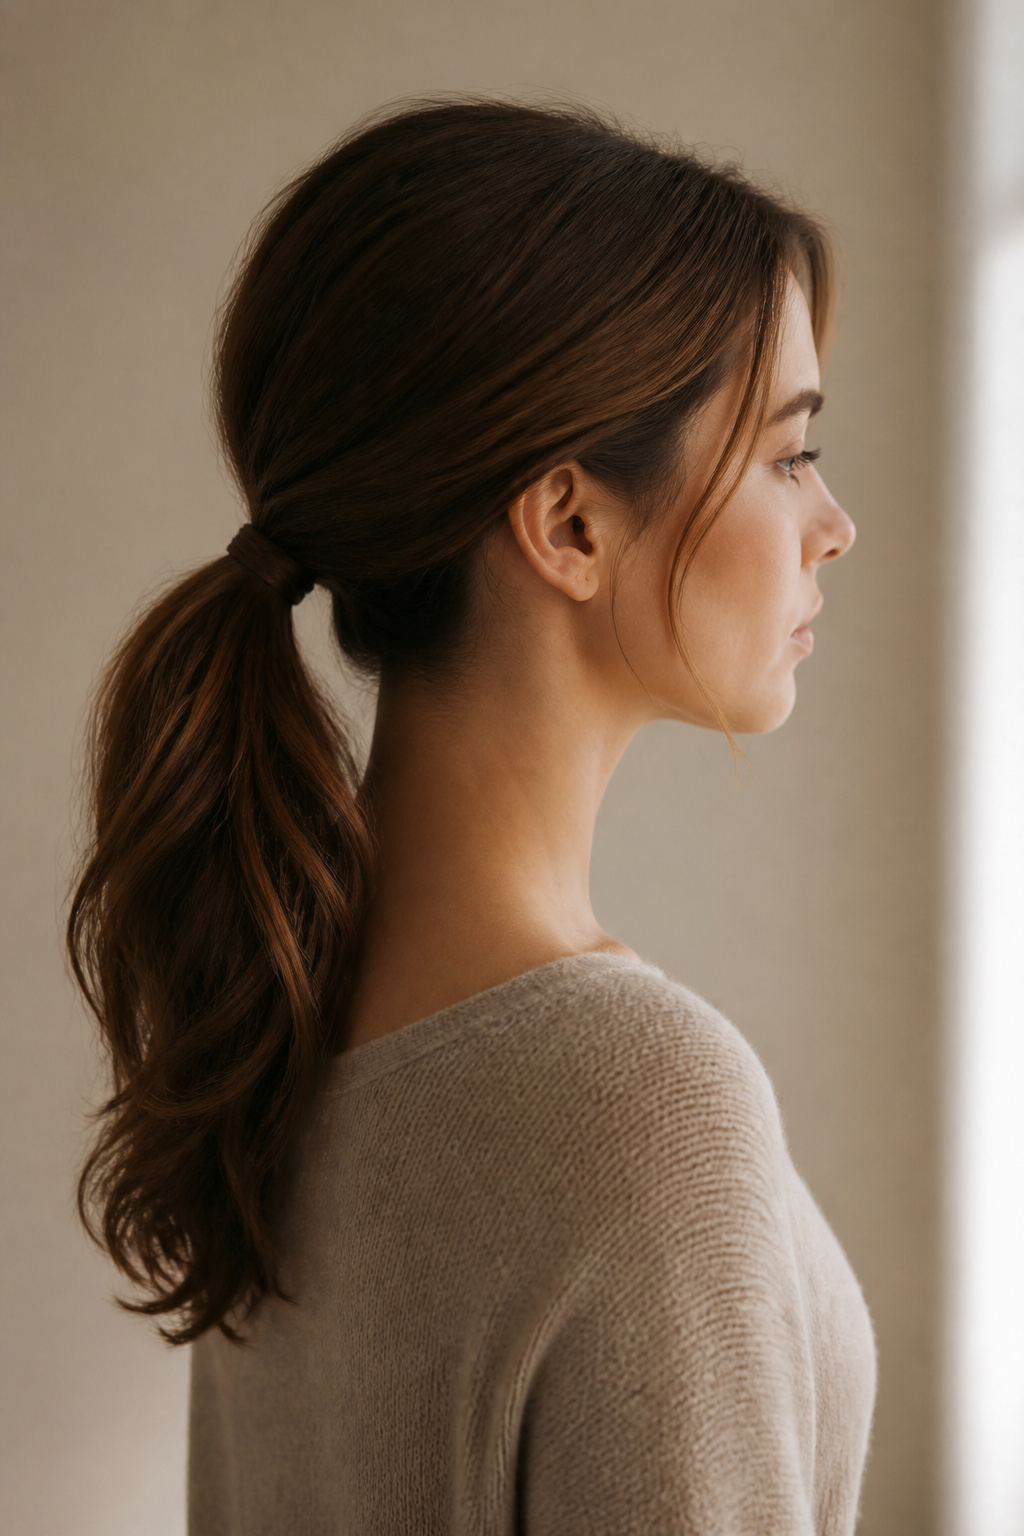

Best for mid-length to long hair. Survives a long reception. About 5 to 12 minutes to style.
This pony reads refined without trying to outdo the bridal updo. Gather hair at the nape, use a smoothing cream on the crown, and curl the tail with a 1.5-inch barrel so the ends have weight. If you’re worried about limp roots, add a light texturizing spray at the crown. Warning: skipping the smoothing step makes the pony look messy in photos, not chic.
Chic Low Chignon with Soft Face Tendrils
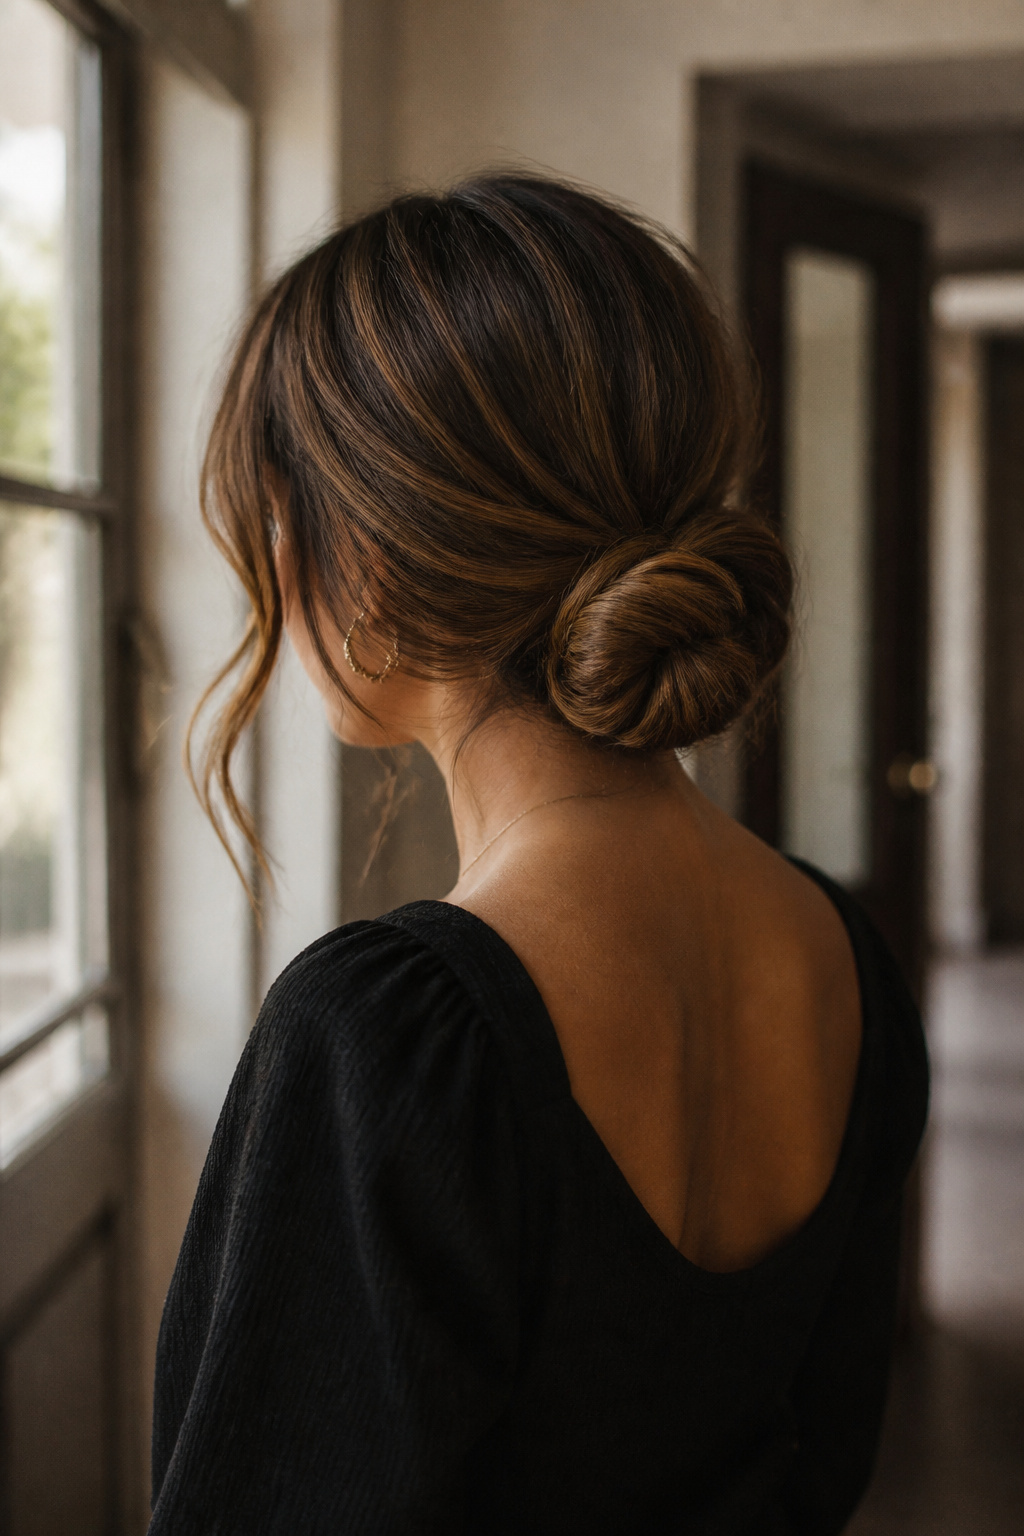

Best for medium to long hair. Trim guides not critical. Allow 15 to 25 minutes if you pin it yourself.
A low chignon stays elegant in portraits and during hugs. Leave two thin tendrils at the temples and curl them slightly toward the face for flattering movement. The technique is to curl mid-lengths before pinning so the knot has texture. Most guests overuse pins; one secure loop and hidden bobby pins beat a clumsy crown of pins.
Half-Up Twist That Keeps Your Face Open
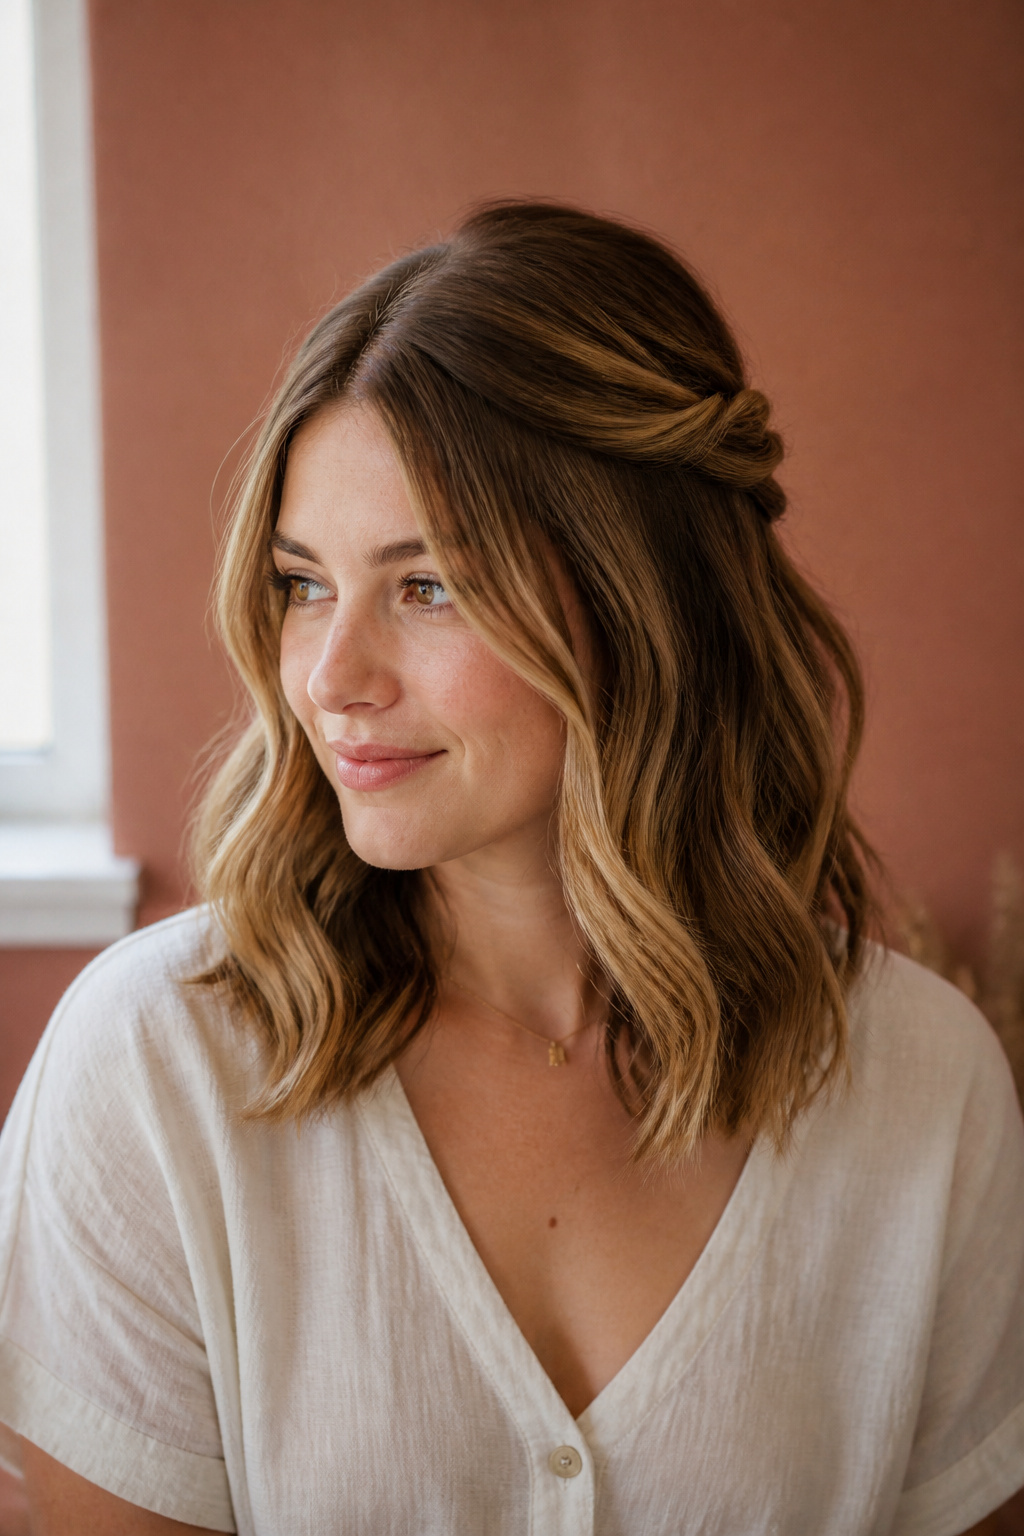

Best for shoulder-length to long hair. Grows out softly. About 8 to 10 minutes to do at home.
This is my go-to when I want done-but-not-done. Pull two sections from the temples, twist toward the back and secure with two pins, leaving layers loose. Use a 1-inch barrel for the face-framing pieces to avoid a heavy curl. Do not pull the twist too tight; that flattens the crown and reads severe in photos. It pairs well with a deep side part for instant glamour.
Braided Crown That Still Looks Effortless
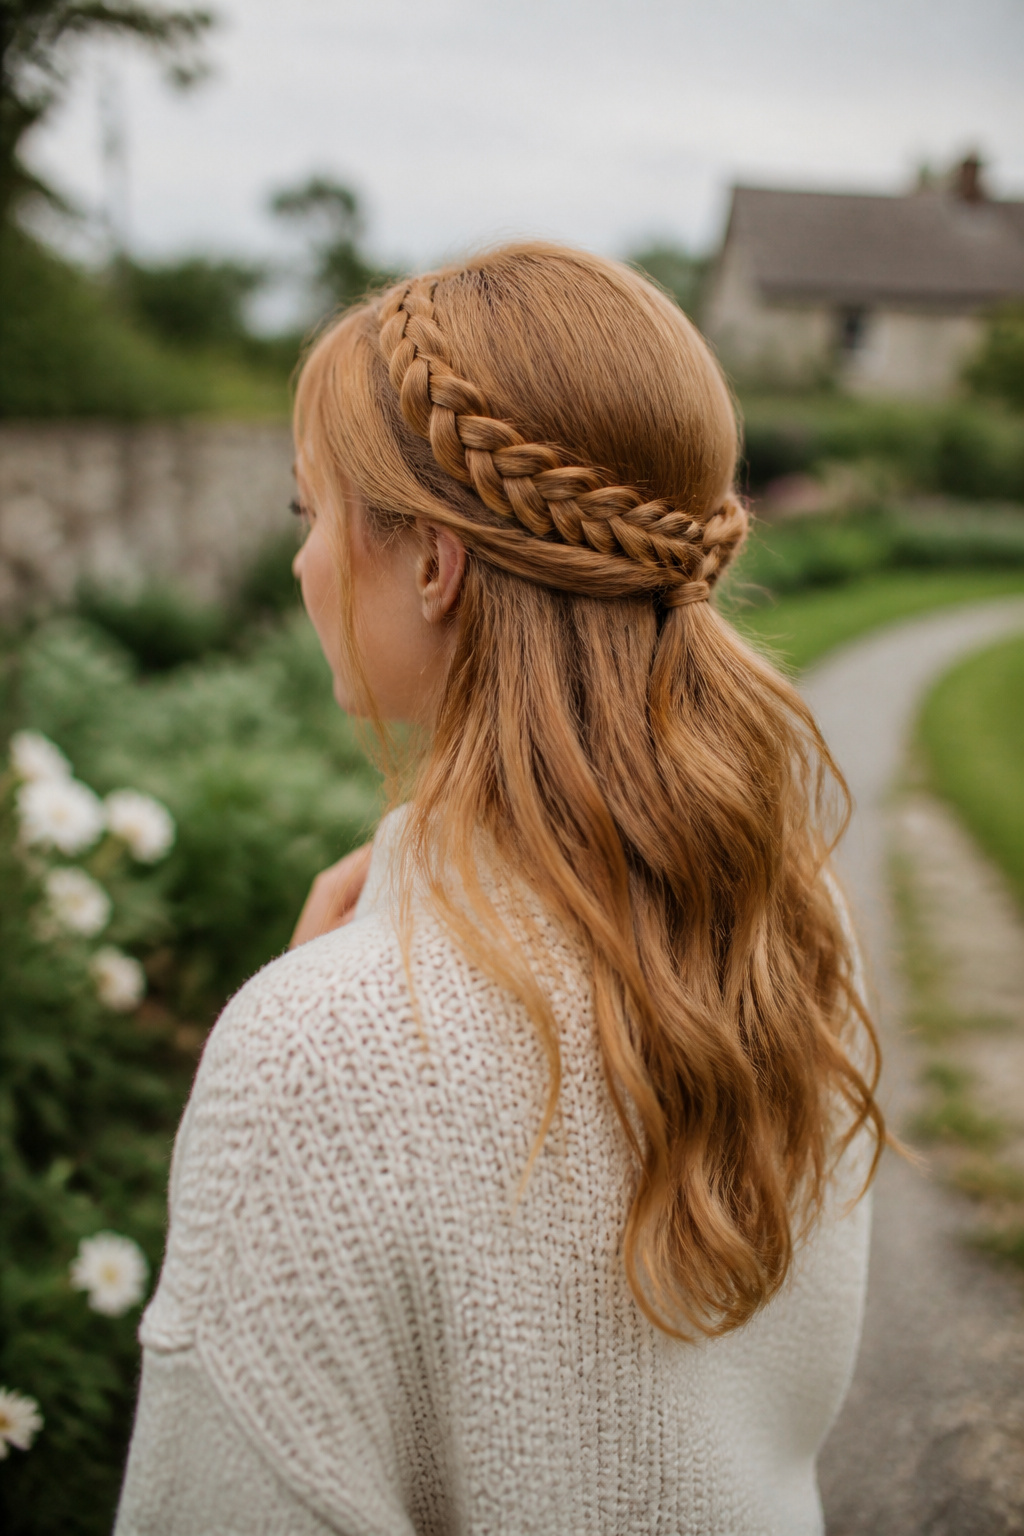

Best for medium to long hair. Keeps hair secure all day. Allow 20 minutes if you braid it yourself.
A crown braid adds structure for outdoor or country weddings and looks great from back and side angles. Braid loosely along the hairline and tuck the ends, so the profile keeps soft movement. Ask your stylist for a loose Dutch braid to avoid a flat crown. Honest moment: my first tight crown looked severe in photos—loosen it and pull small pieces free for a softer result.
Loose Waves with Trendy Clips
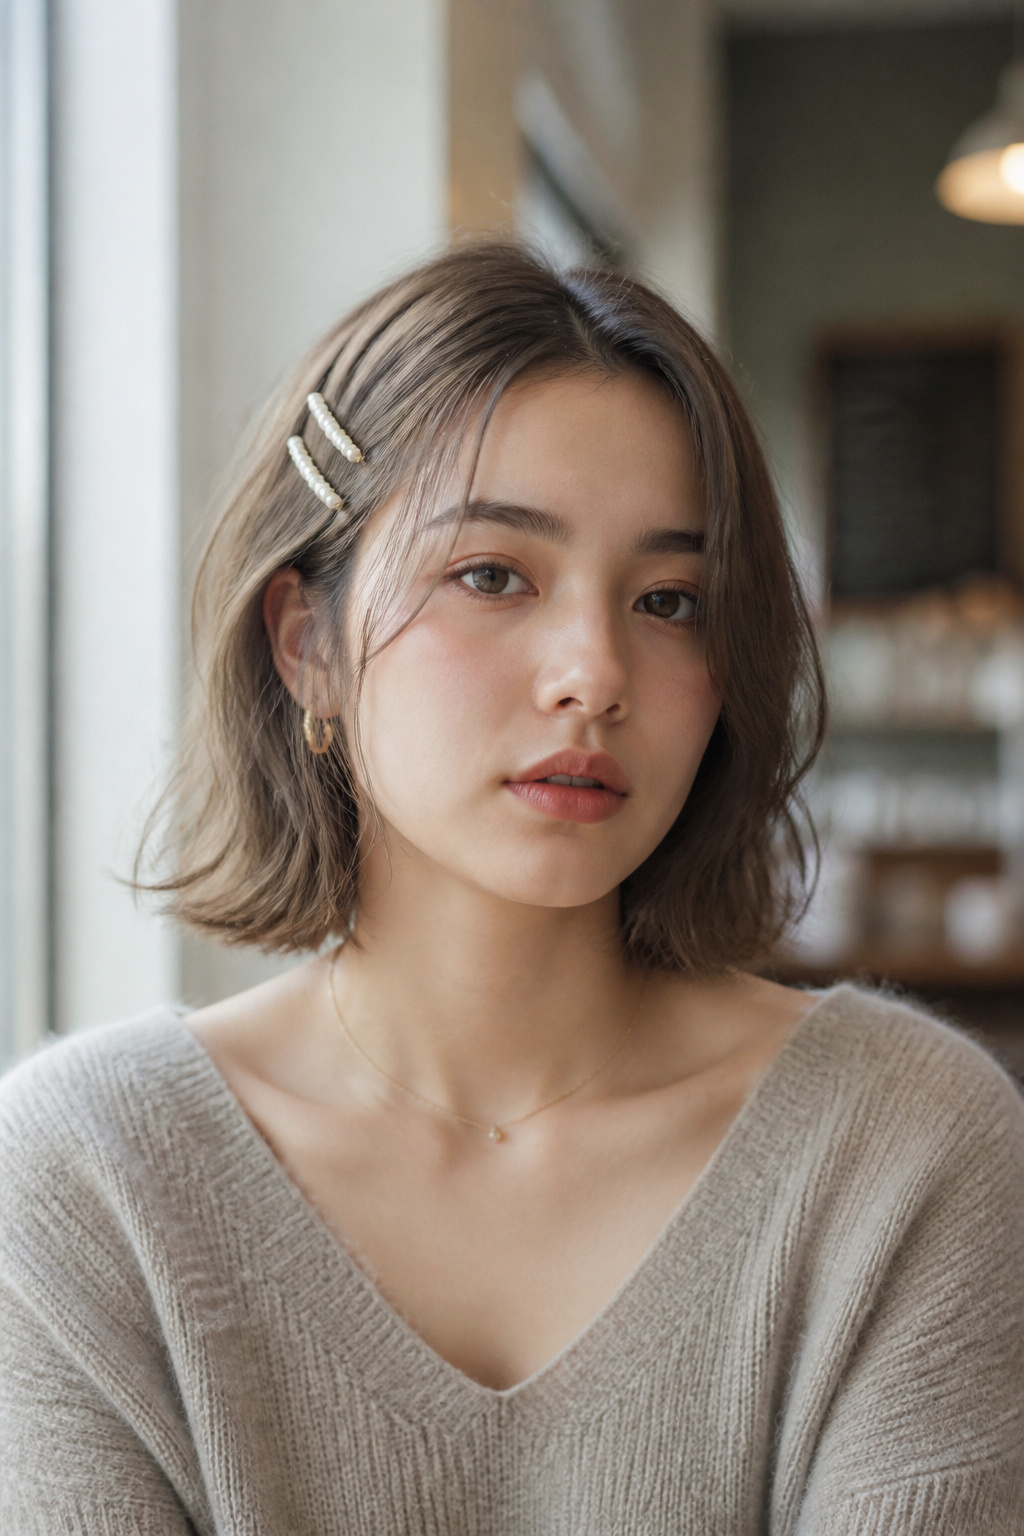

Best for short to medium hair. Trim every 8 to 10 weeks. About 6 to 10 minutes to finish.
Clips add a modern, photographed focal point while keeping the look soft. Curl in alternating directions on 1-inch sections and secure a single decorative clip near the temple. Avoid tiny clips on thick hair; they disappear. The photographic trick is to place the clip so it catches light when you turn your head.
Deep Side Part Textured Waves for Retro Vibes
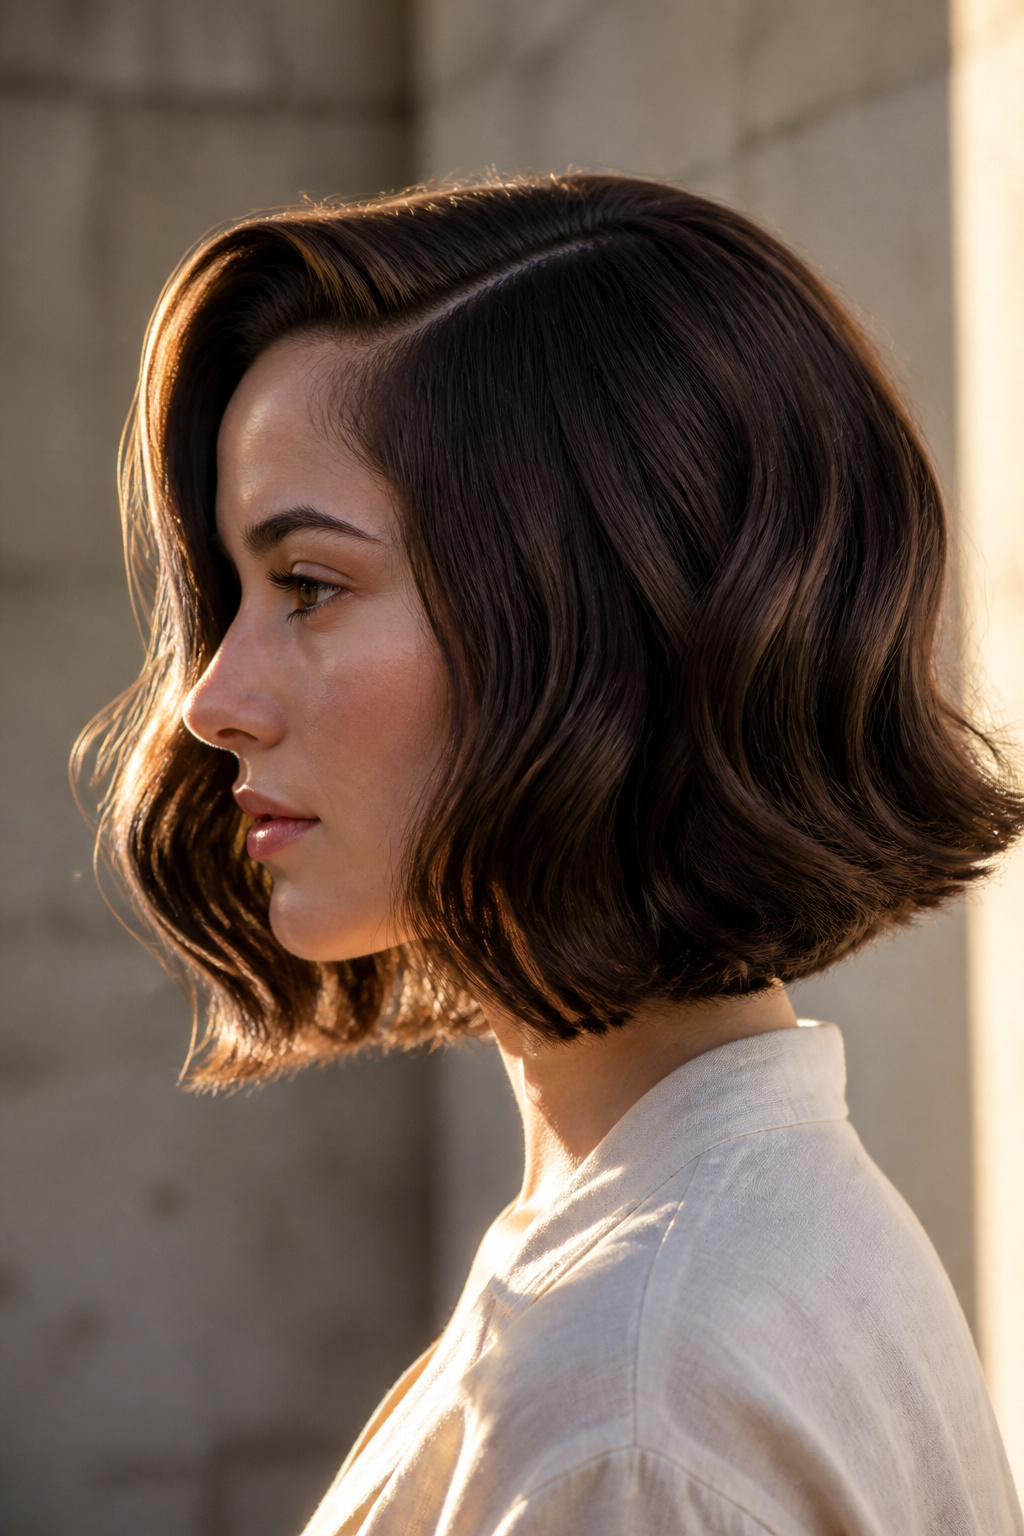

Best for bob lengths and short hair. Trim every 8 weeks. About 10 minutes to style.
This creates old-Hollywood shape without stiffness. Use a 1.25-inch barrel, curl the top sections toward the face for a sculpted wave, then brush to soften. Most people forget to set the direction, which makes the waves fall flat. A light setting spray keeps the arc intact for photos.
Pineapple Updo That Preserves Curly Shape
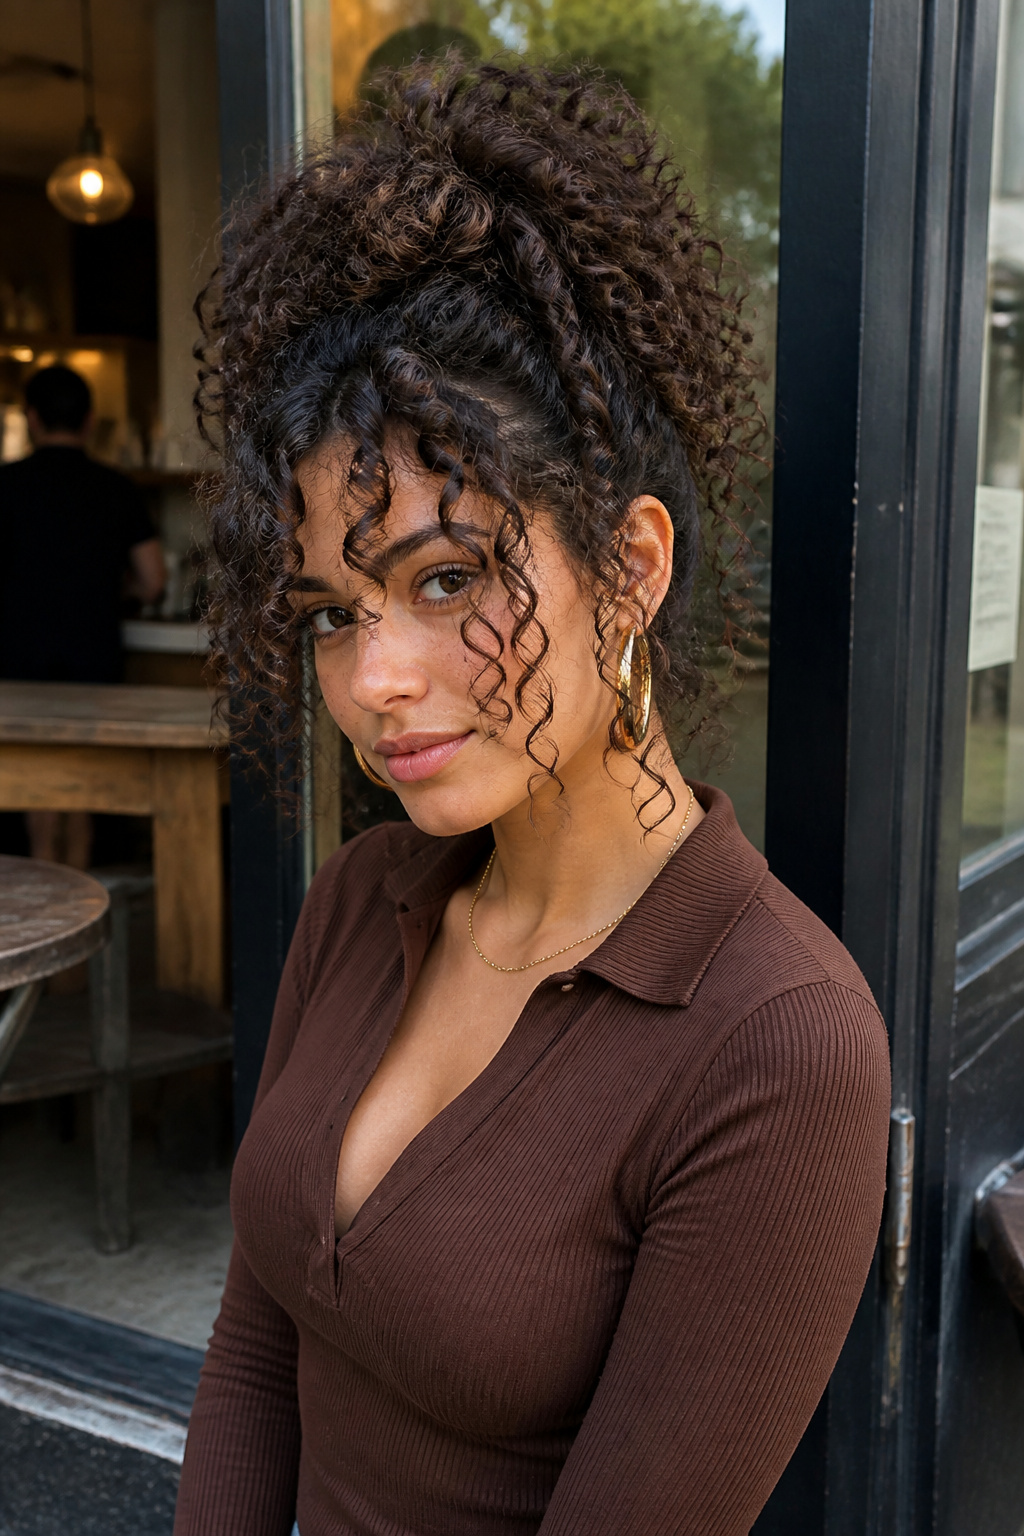

Best for curly to coily hair. No trim needed before the event. About 5 minutes to arrange with a scrunchie.
For textured hair, the pineapple gives lift and keeps curls intact all night. Apply a curl cream and gel when damp and diffuse first if you can. Use a silk scrunchie so the curls do not frizz. People who flatten their curls before an event regret it; embrace the volume and shape instead.
Half-Up Curly Clip Style for Volume Control
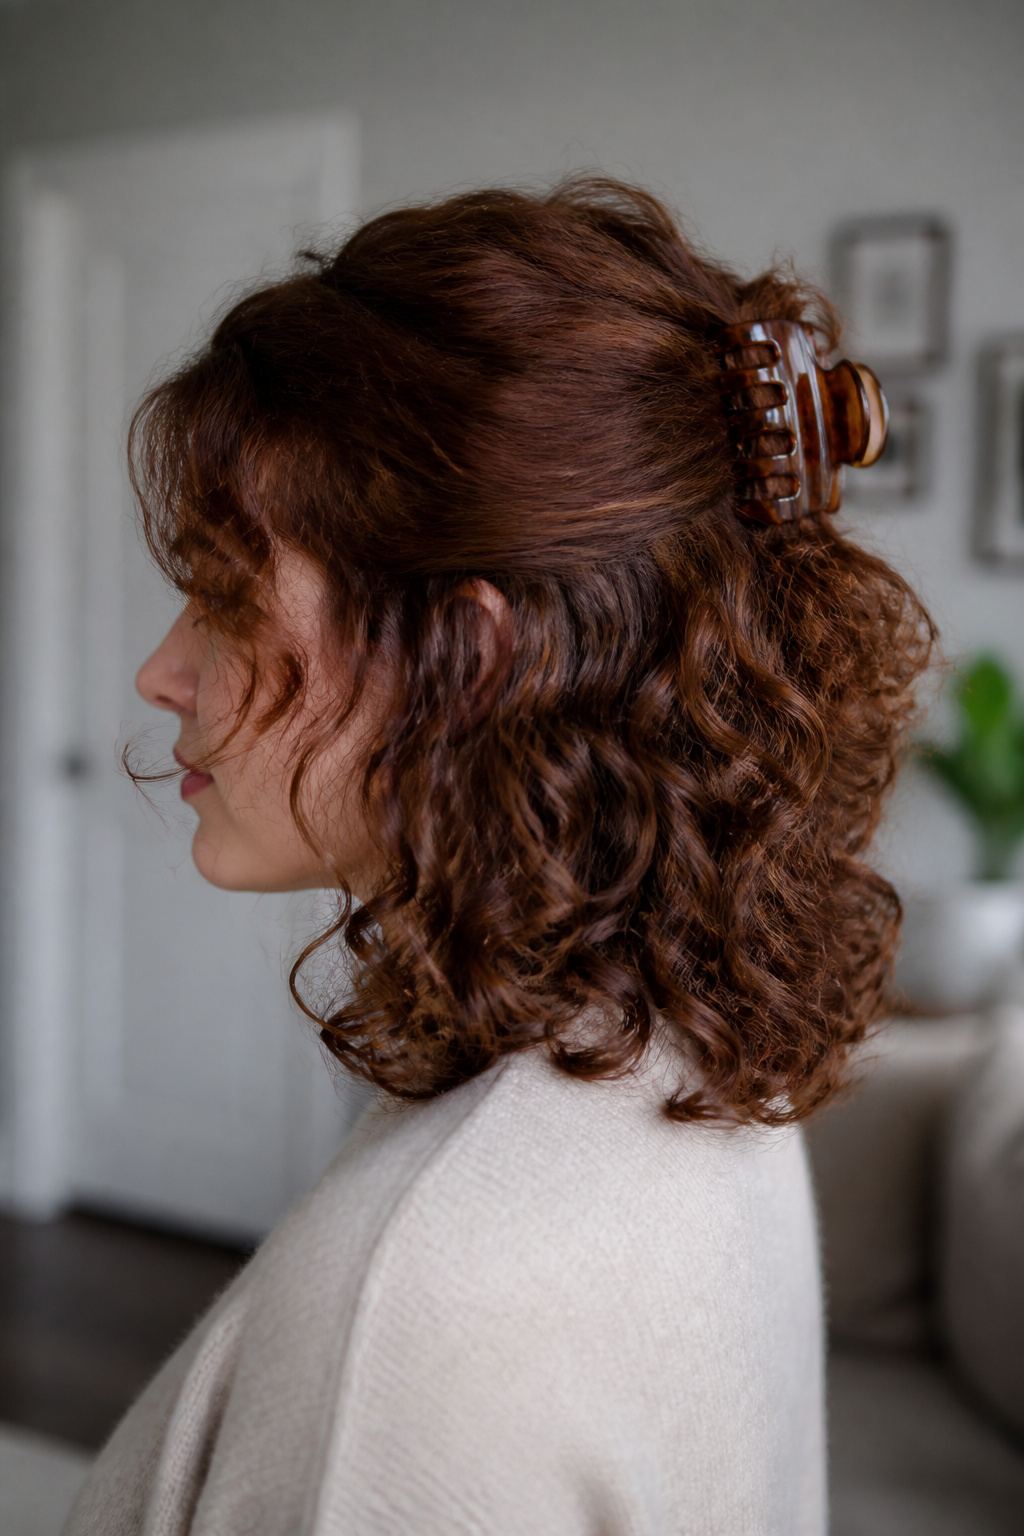

Best for thick curly hair. Will last through hours of dancing. About 3 to 5 minutes to clip up.
This controls the top without losing curl fullness. Section the top third, lightly define curls with a gel-cream, and secure with a large claw clip. Hair.com taught me that clip size matters; use a larger clip on dense hair. Mistake to avoid: clipping too low flattens the crown.
Two-Sided Mini Half-Pigtail for Symmetry
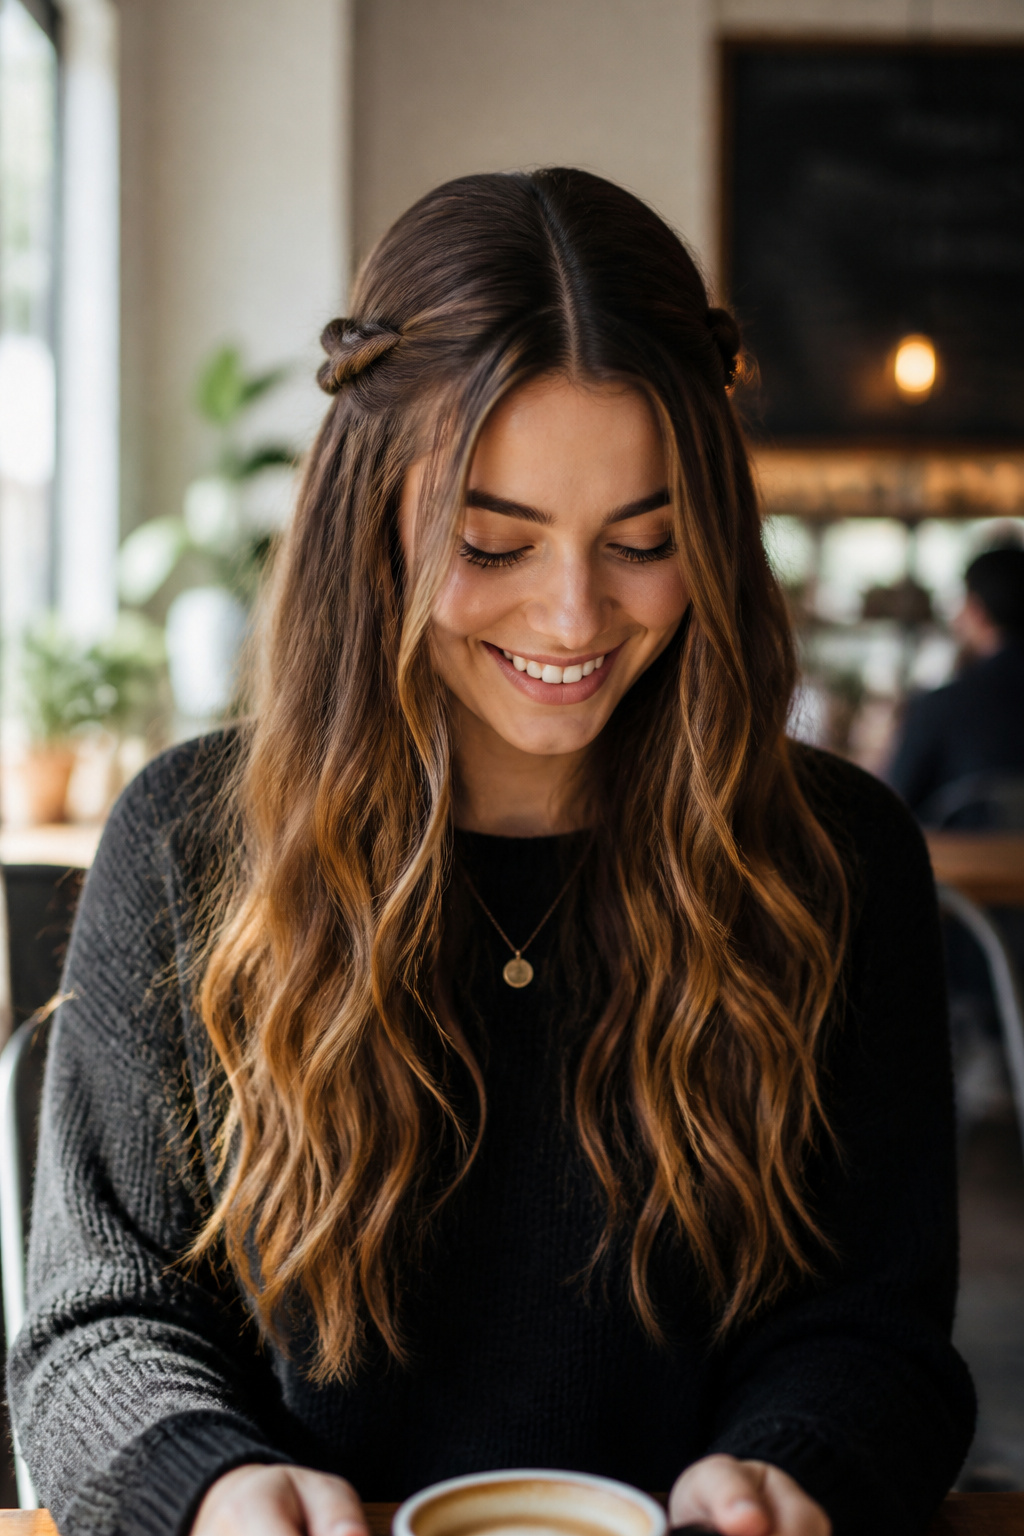

Best for medium to long hair. Grows out gracefully. About 6 to 10 minutes to create.
This youthful but tidy style photographs well head-on. Take small sections from either side and secure at the back with pins so the silhouette stays even. The secret is matching the twist tension; mismatched sides show in photos. This is a fun boho-leaning alternative to a full updo for daytime ceremonies.
Low Pony with Loose Waves and a Ribbon
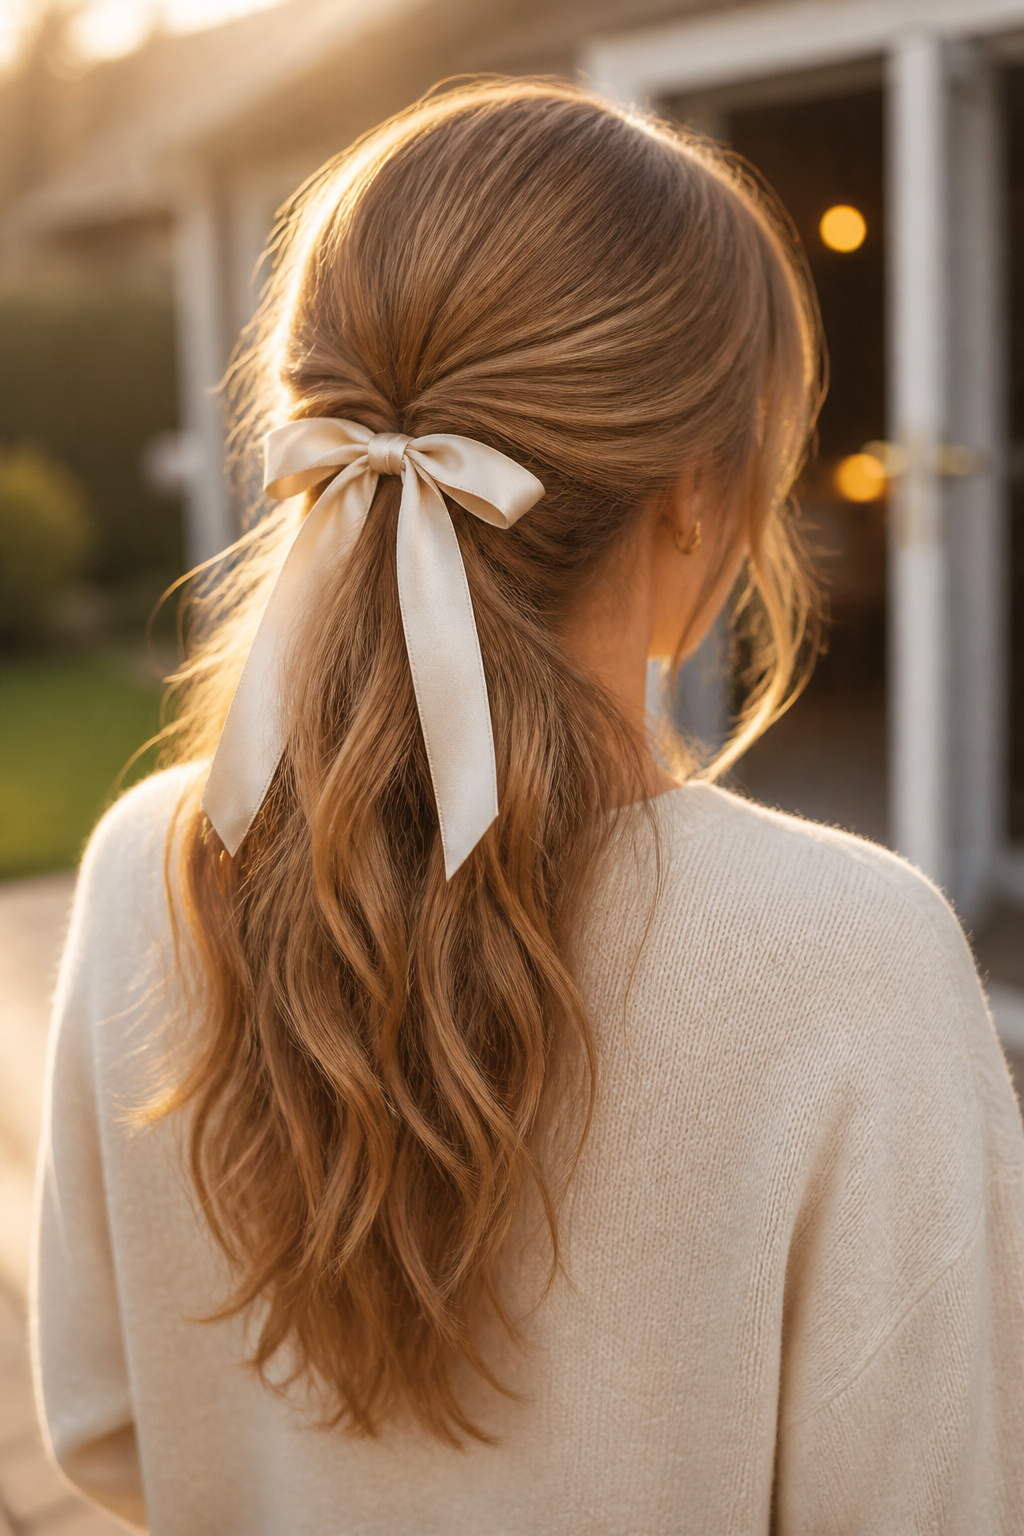

Best for mid-length to long hair. Stays soft through dinner. About 8 to 12 minutes to style.
A ribbon instantly softens a simple low pony and looks lovely in movement shots. Curl the lengths with a 1.25-inch wand, gather loosely at the nape, and loop a satin ribbon around the elastic. Don’t use a stiff ribbon that fights movement. This is a low-effort retro detail I find myself returning to.
Textured Low Bun with Tendrils That Flatter the Neck
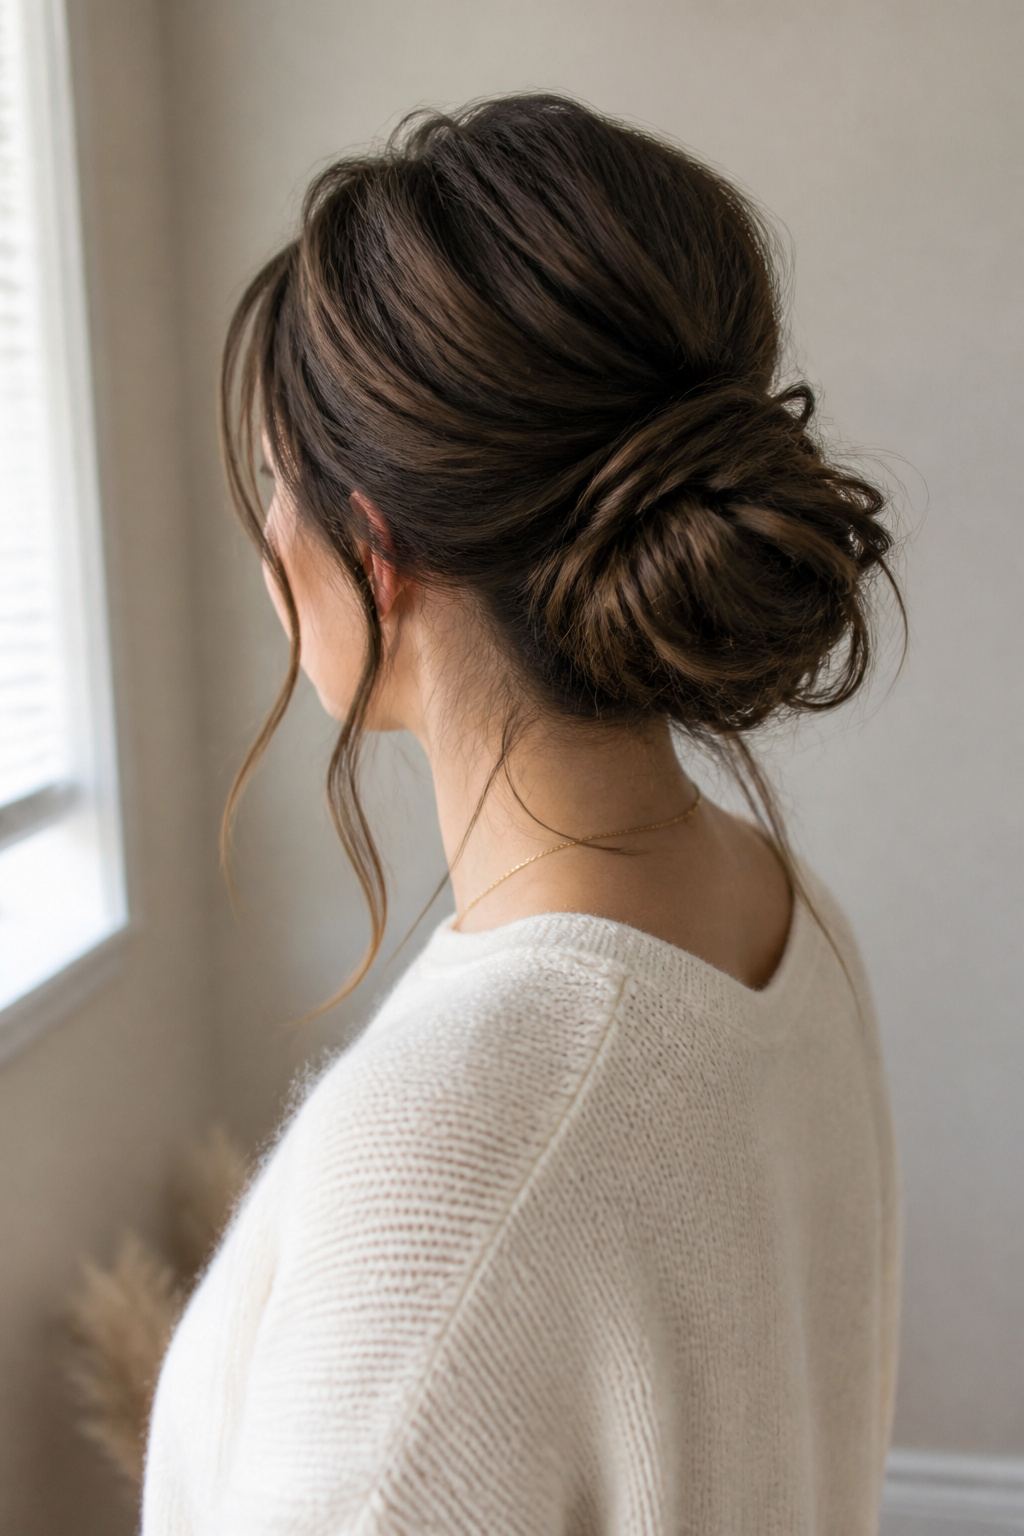

Best for medium-thick hair. Lasts through dancing. About 12 to 18 minutes to pin and texturize.
A pulled, textured bun gives you a formal silhouette with flattering soft pieces that move. Curl mid-lengths first and then loosely pin into a low bun so the texture reads in photos. Overpinning makes the shape look heavy; aim for airy volume. If your hair is fine, tease the roots lightly for lift.
Architectural Bun with Slight Height for Sculpted Photos


Best for medium to long hair. Ask a stylist for the exact shape. Allow 30 to 45 minutes at the salon.
This look is trend-forward and photographs dramatically from the rear. It’s about structure more than loose texture, so a stylist can sculpt the clean lines and controlled volume. Honest moment: when I tried a DIY version, it collapsed within an hour. If you want the sculpted silhouette, book a pro.
Hollywood Curls for Silver-Screen Presence
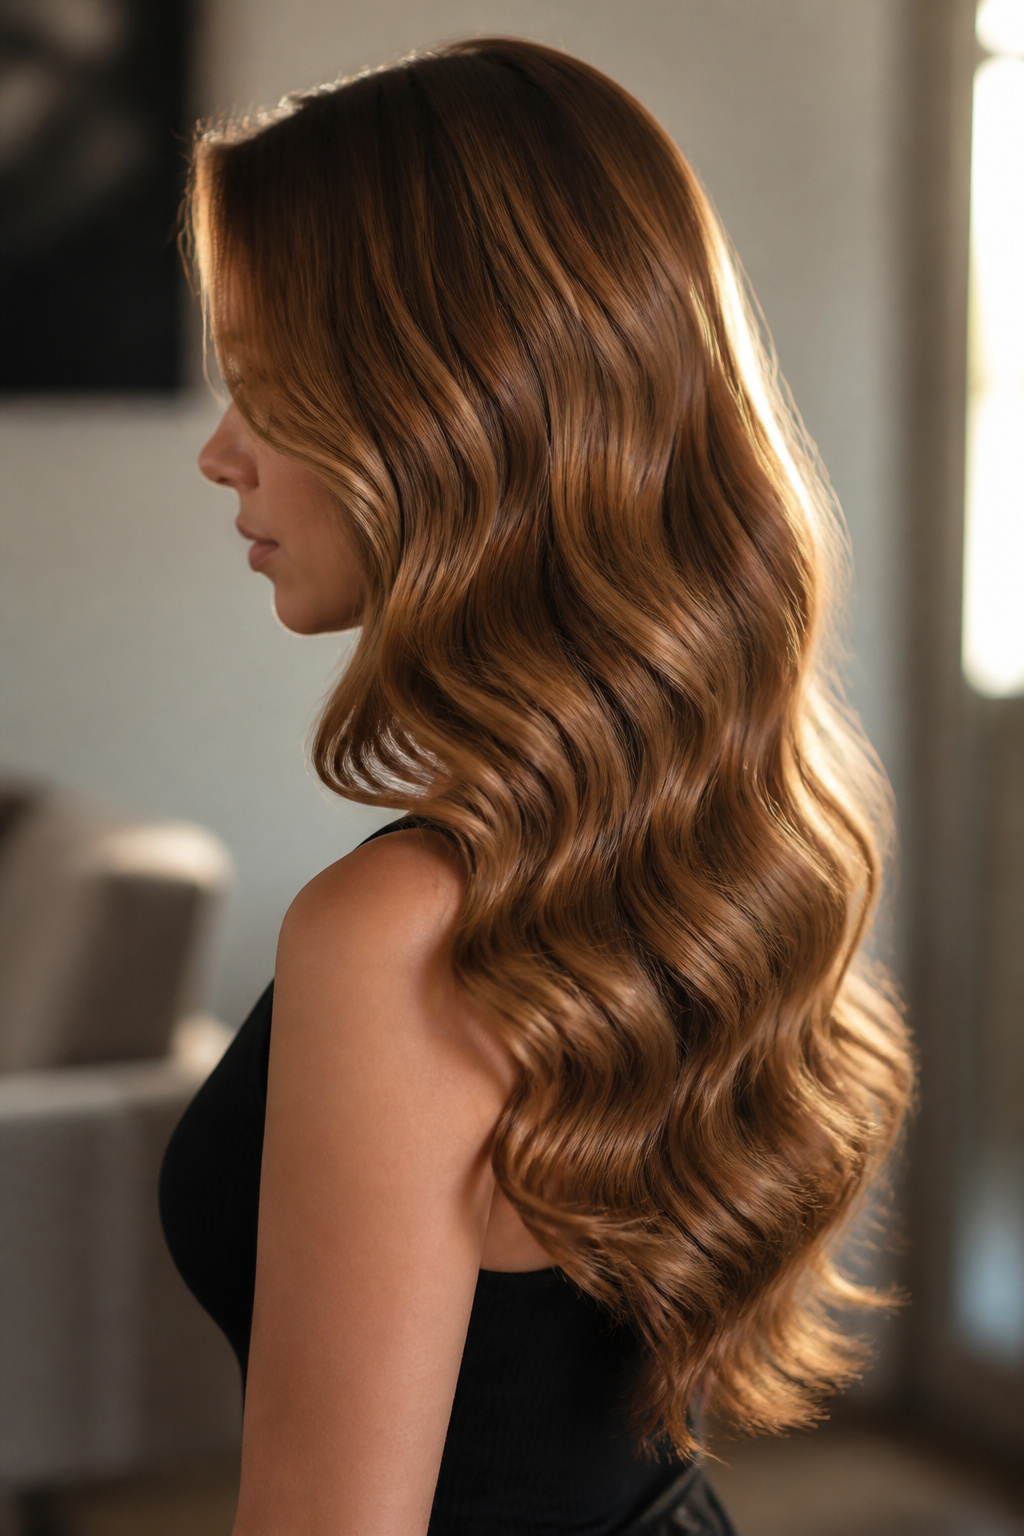

Best for medium to long hair. Brushed finish holds better when set. Allow 30 to 40 minutes for polished set.
These are larger, directional curls that read glamorous in portraits. Use a 1.25 to 1.5-inch barrel, curl in the same direction on each row, cool completely, then brush through for that glossy wave. Don’t skip the setting time or the result will relax unevenly. This is higher-maintenance but worth it for formal evening weddings.
What You'll Need to Get This Look
Heat Tools
- 1.25-inch ceramic curling wand ($25 to $40)
- 1.5-inch titanium curling barrel tong ($40 to $80)
- Diffuser attachment for hair dryer universal fit ($10 to $25)
- 50mm clipless curling wand ($30 to $60)
Styling Products
- Kérastase Gelee Curl Contour gel-cream, 150ml ($25 to $45)
- Flexible hold texturizing spray, 200ml ($10 to $25)
- Light-hold setting spray, travel size 100ml ($8 to $20)
Hair Care and Protection
- Silk scrunchies pack ($8 to $20)
- Microfiber hair towel wrap ($6 to $15)
Accessories and Finishing
- Large claw clip for thick hair ($6 to $15)
- Satin hair ribbon 2-pack ($6 to $12)
Budget Swaps
- Drugstore alcohol-free volumizing mousse, 8oz ($6 to $12)
- Budget curl cream 6oz ($5 to $12)
- Value hairspray, 10oz ($4 to $10)
Shopping Tips for These Looks
Buy tools during holiday sales: Blowout tools drop 20 to 30 percent in November. I waited and grabbed my 1.25-inch ceramic curling wand at a sale price.
Choose a wand size for the result: Wider barrels create loose romantic waves, smaller barrels make tighter retro curls. If you want versatility, a 1.25-inch wand covers most looks.
Use drugstore dupes for travel: A budget curl cream and travel-size setting spray work fine for one night. I bring a budget curl cream 6oz when I travel.
Match your clip size to your density: Thick hair needs larger claw clips. A small clip in dense hair will slip and ruin your silhouette.
Frequently Asked Questions
How do I make curls last through the ceremony and reception?
Start with dry, cool-set curls and use a light-hold setting spray before brushing. Pin the curls to cool for five minutes, then release and set with a light spray for longer hold.
Can I achieve Hollywood curls at home without a stylist?
Yes, with a 1.25 to 1.5-inch barrel and patience. Curl in one consistent direction, cool fully, then brush through. If you want the super-sculpted look, book a stylist.
What are low-effort wedding guest curled hairstyles for short hair?
Short bobs photograph well with a deep side part and textured waves. Use a 1-inch wand and a flexible texturizing spray for hold and movement.
How should I prep curly hair to keep its shape for a wedding?
Define curls on damp hair with a curl cream and gel-cream, diffuse until 80 percent dry, then arrange into your chosen style. A silk scrunchie helps if you pineapple for transport.
My hair is fine and falls flat. Which styles add the most lift?
A deep side part and textured waves add instant volume, and low ponytails benefit from backcombing at the crown. Use a volumizing mousse on damp roots before drying.
Final Thoughts
Start with the look that feels easiest to you and one small upgrade, like a ribbon or a clip. If time is tight, loose romantic waves or a half-up twist are reliably flattering and quick. Which of these styles would you try first for an upcoming wedding?


