






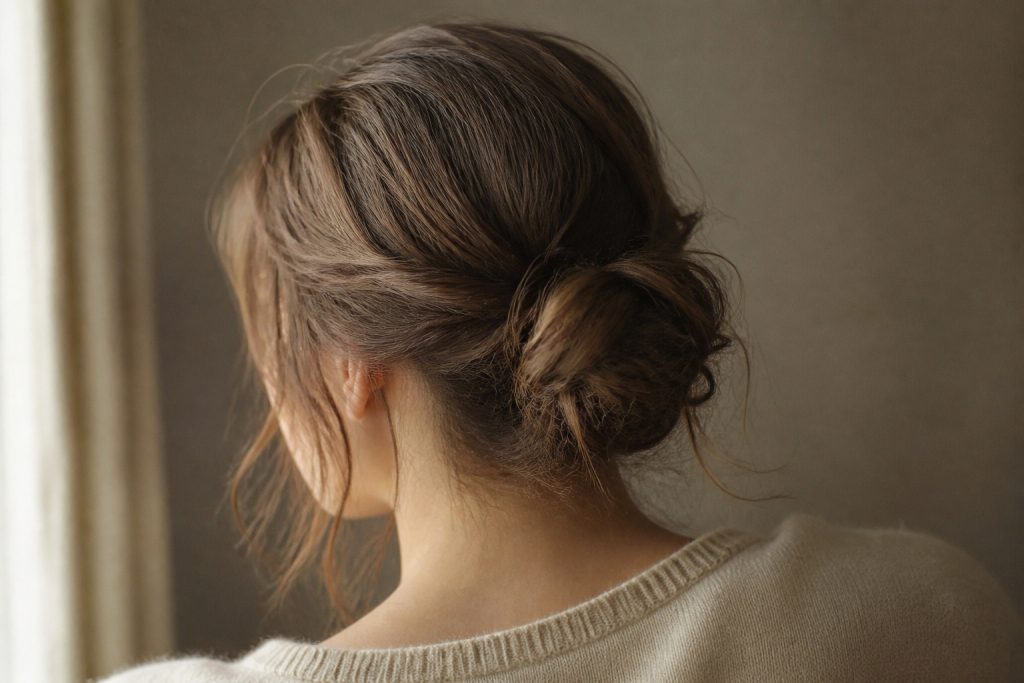

My bun used to collapse by lunchtime unless I kept retying it in the bathroom. Learning how to do a cute bun hairstyle that survives meetings and walks to the subway changed that. The trick was not to fight my hair texture but to use it: lift at the crown, a secure base, and tidy tucks for the ends.
This is a wearable bun that reads intentional not overdone. It works best on medium to long hair and on medium-density waves or straighter hair. If you have very tight curls, the steps still apply but expect more pinning. Budget path: use what you already have—a regular hair tie and bobby pins—and add one product that gives root lift.
Prep that decides how full and lasting the bun looks
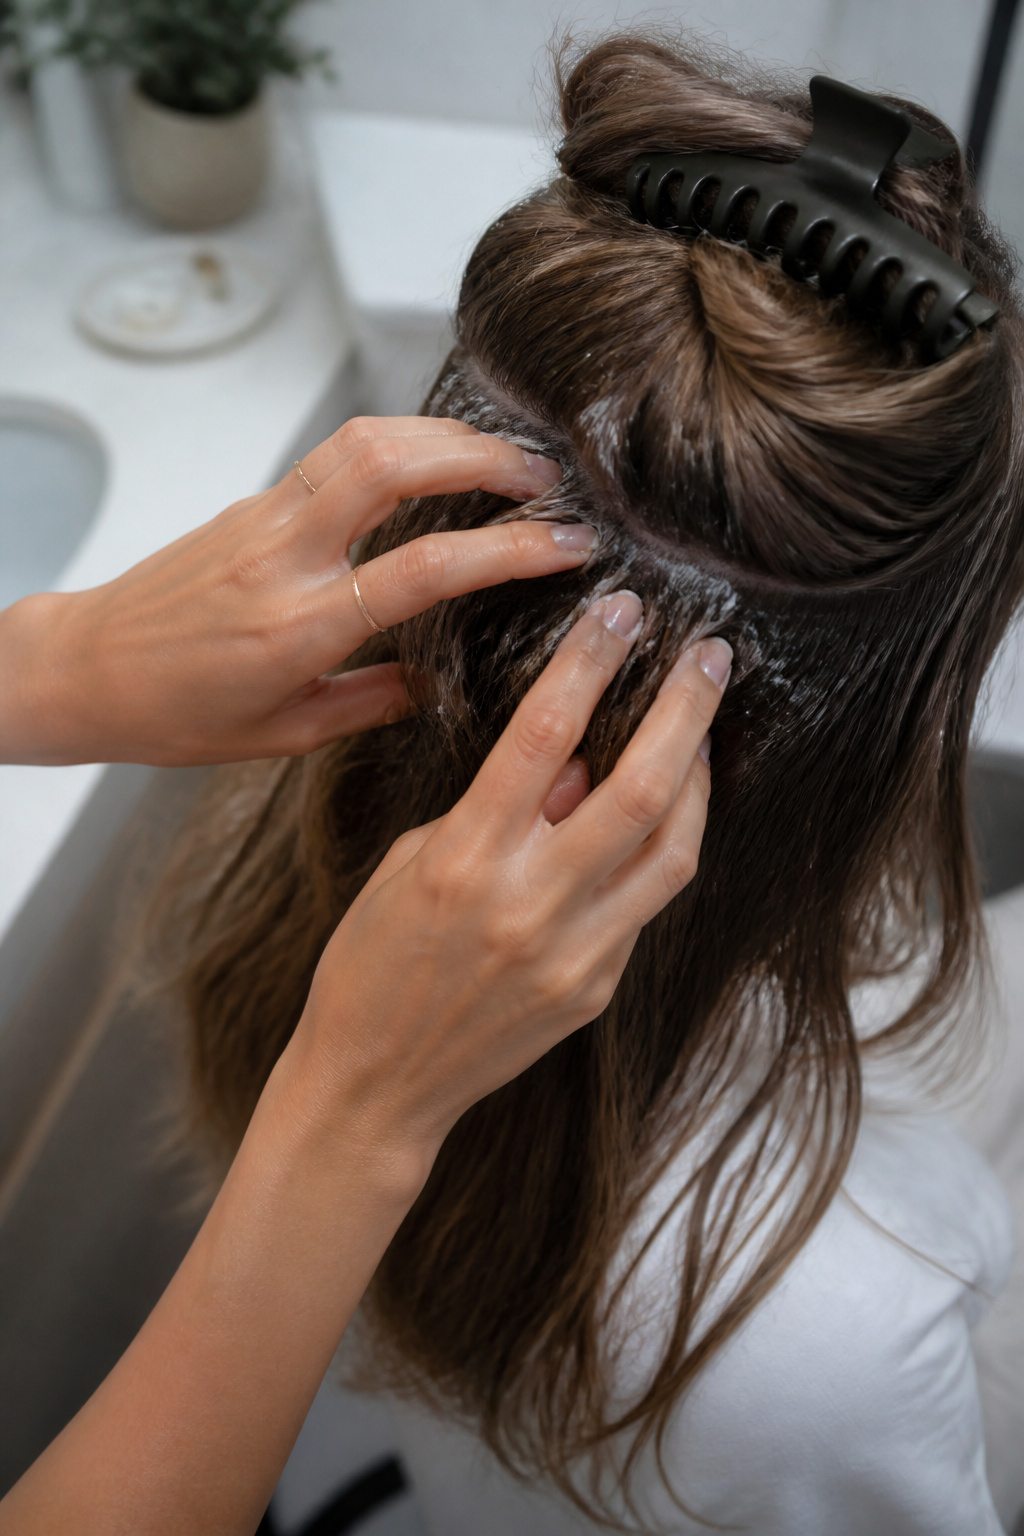
Prep decides everything, so I start on towel-dried hair. I work an alcohol-free volumizing mousse into the roots only, about a golf-ball-sized amount for shoulder-length hair, then smooth a coin-sized drop of lightweight oil through the ends to avoid frizz. The mousse gives lift without crunch; the oil keeps the wrapped ends soft.
Blow-dry on medium heat with a round brush or your fingers until hair is about 80 percent dry. I set my dryer to about 300 F on the nozzle and point airflow down the hair shaft to limit frizz. If you own a crimper and want long-lasting crown lift, lightly crimp a 1.5-inch section at the top; that texture helps the bun hold through movement.
Big mistake here. Styling hair that is still damp makes the wave drop and creates steam frizz. Dry enough so the roots feel warm, not wet. I once used too much mousse; my bun went stiff and looked like a helmet. Less product, more placement.

A bouncy, lifted base that keeps its shape
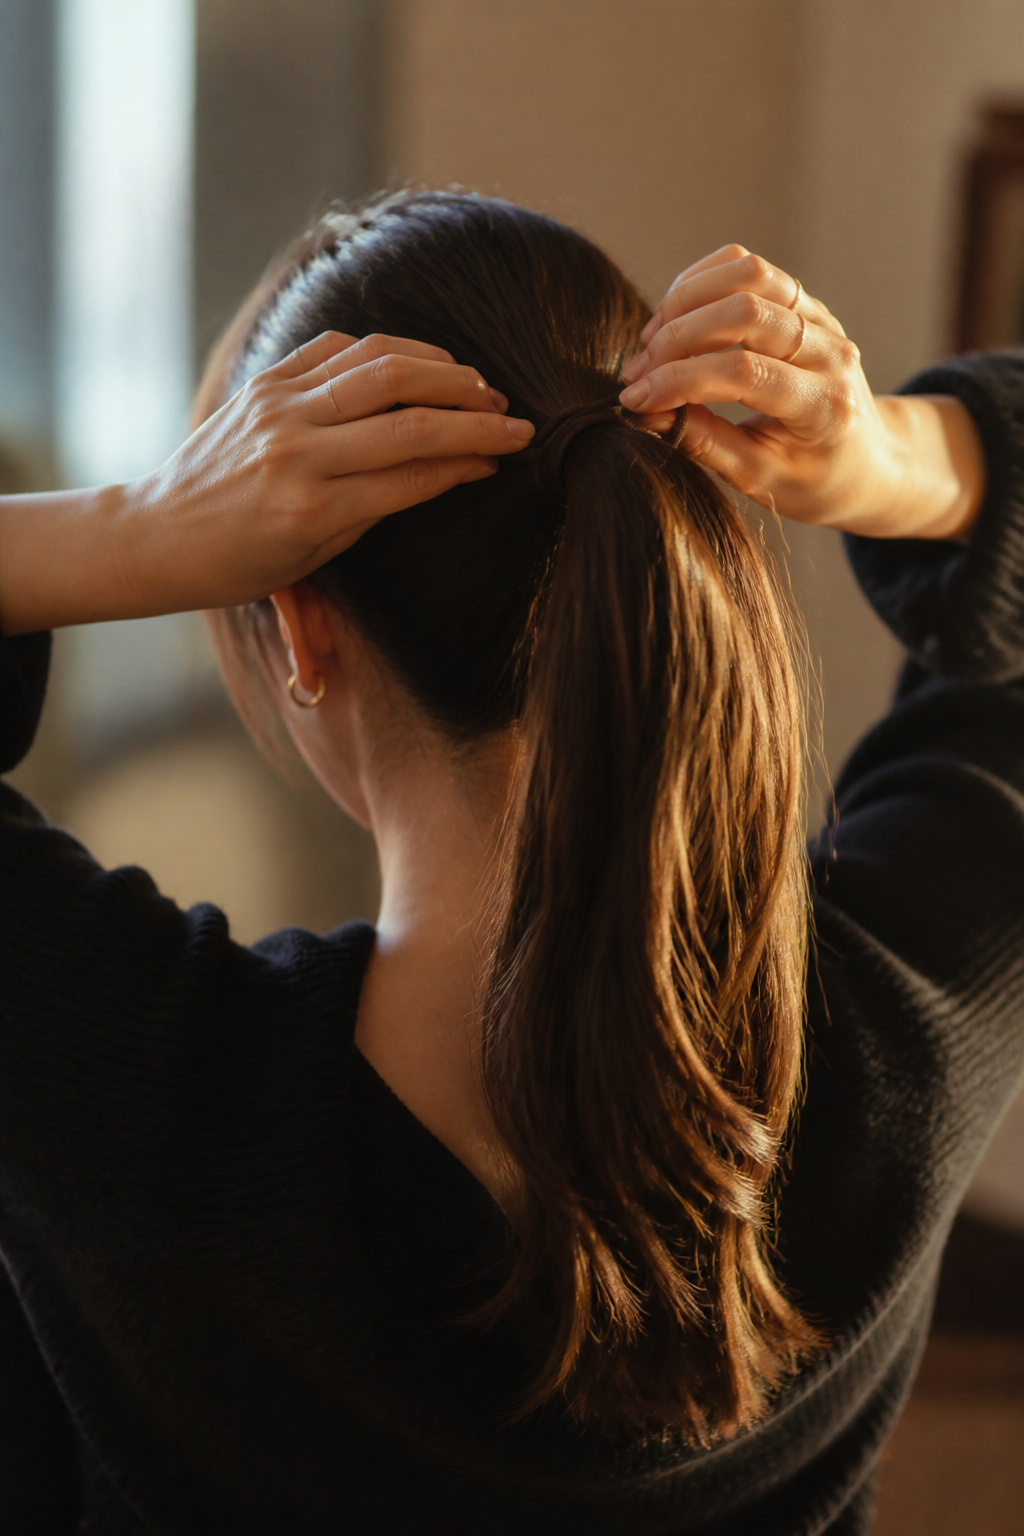
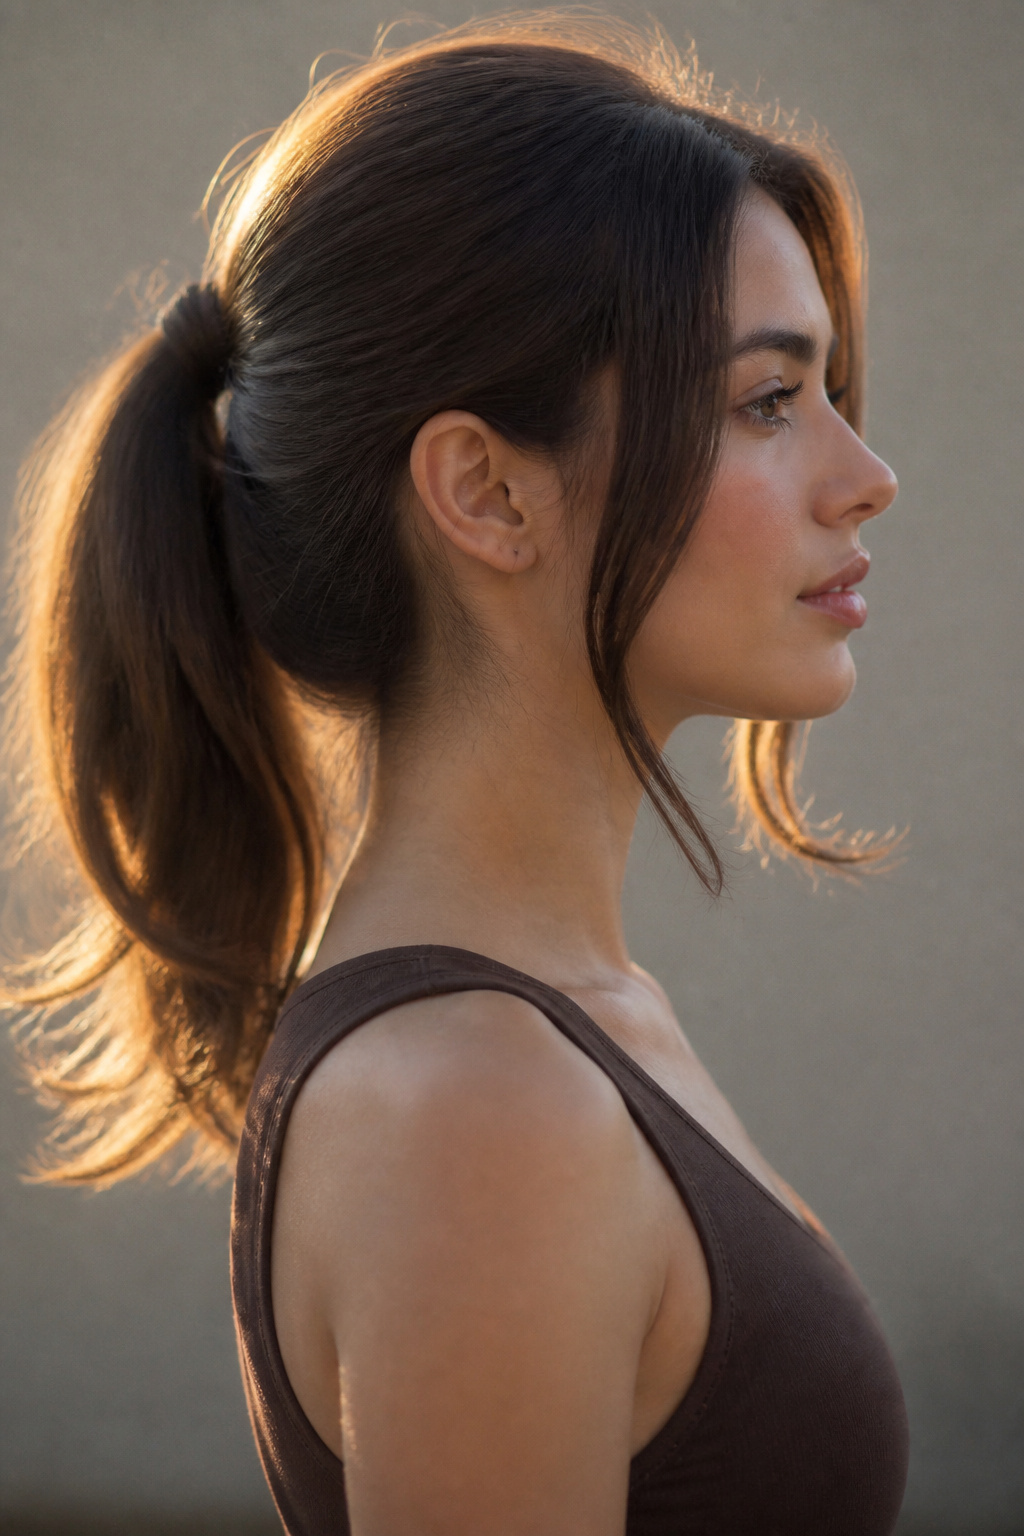
This phase is about where the bun lives and how it reads from distance. Gather hair into a ponytail at your chosen placement. For a cute, playful look place it at the crown; for a polished daily bun place it just above the nape. I split my hair with ears as my midline so the front sits softer.
Make a firm ponytail with a no-slip hair tie, wrapping twice for medium-hold. If you want volume, tease the hair at the base with a fine-tooth comb using 1-inch sections, backcombing two strokes per section. Alternatively, slide a bun platform or donut over the ponytail for extra fullness.
Common error. Starting with a loose, low pony means the bun will sag. Secure the base now. I also loop the tail once through the elastic and hold the loop while pinning to create a partial bun that’s easier to shape.

A tidy tuck that hides ends and looks intentional
This is the shaping phase that makes messy look engineered. If you used a platform, fan the tail hair around it clockwise, then pin through the hair and platform into the base until secure. If no platform, twist the tail loosely and wrap it around the base, tucking the ends under the bun so no tips poke out.
Use long bobby pins inserted with the opening toward the scalp, crossing them like an X to lock sections. For medium-length hair I use six to eight pins around the perimeter and another two to three inside. Pin close to the scalp so the pressure holds the hair, not the surface strands.
A helpful visual rule. Keep the outer shape you want before you pinch and pull. Loosening too early spreads the pins and makes the bun floppy. I once pulled the bun apart first and then tried to re-pin; it looked unbalanced. Pin first, then sculpt.


Soft face-framing and texture so the bun reads cute, not severe
Release two small face-framing pieces, about finger-width each, and lightly curl or smooth them toward the face. For a lived-in finish, pinch the bun gently at the crown to create an eyebrow-width lift and pull a few outer strands free. Finish with a light mist of flexible hairspray to hold the movement.
If you prefer a sleek finish, use a smoothing brush and a pea-sized spray wax over the surface and set with hairspray. But beware heavy products at the front; they make bangs look glued. My favorite is a light mist first, then targeted spritz where flyaways show.
A mistake people make is overpinning the face-framing pieces. That flattens the style. Keep the front soft; anchored pins should be hidden behind the ear line where they do structural work.

Common styling mistakes to avoid
You are not building a sculpture. Overloading mousse or wax makes the bun stiff and heavy, which causes sagging. Use small amounts and distribute them where needed.
Pinning only at the top. If you rely on a single decorative pin or one elastic, the bun will slide. Layer the hold: elastic, then bobby pins under the bun, then crossing pins around the perimeter.
Ignoring texture at the crown. A flat crown makes the bun read small. Add subtle backcombing or light crimping to give bite so the bun looks fuller without extra product.
Forgetting to tuck the ends. Visible tail tips make the style look unfinished. Tuck, wrap, and pin firmly; then soften the surface with targeted pulls.
How to make it last
What collapses first is crown lift and the bun perimeter. To keep lift, refresh the roots with a one-spray shot of volumizing dry shampoo at the base and pinch the crown upward. Midday, re-tighten by inserting a bobby pin through the elastic and the hair underneath to lock it.
If the bun loosens, you can remake it in two minutes: pull the tail out of the elastic, twist it into a new tuck, and re-pin. For day two, sleep on a silk pillowcase and wrap the bun with a thin scarf. That reduces frizz and preserves shape without redoing everything.
If humidity is the problem, trade flexible hairspray for a light hair lacquer around the bun perimeter only. Over-spraying the face ruins the softness.
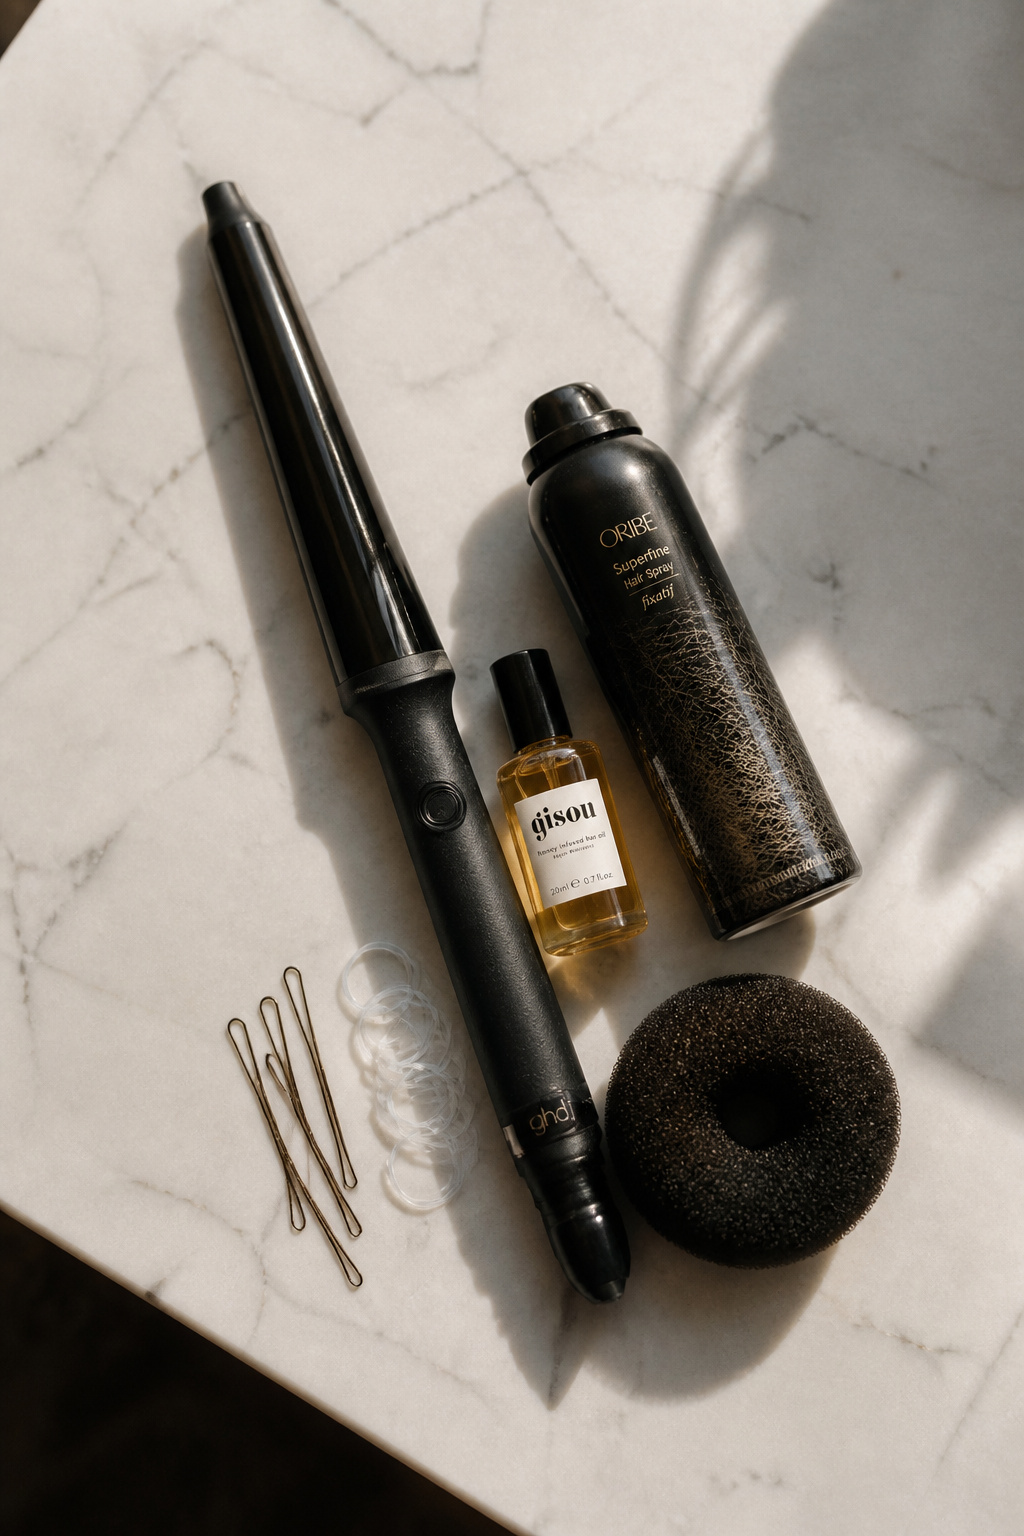
What you will need for this look
Heat tools
- 1.25 inch ceramic curling wand ($25 to $60). Good for soft bends on face pieces.
- Lightweight blow dryer with nozzle ($30 to $120). A reliable dryer speeds drying and reduces frizz.
Styling products
- Alcohol-free volumizing mousse, 8oz ($12 to $18). Use at the roots only.
- Heat protectant spray, 4oz ($8 to $20).
- Flexible hairspray, 10oz ($10 to $18).
- Spray wax, small bottle ($8 to $15). For sleek finishes only.
- Lightweight argan oil, 1oz ($6 to $20). A coin-sized drop smooths ends.
Accessories and finishing
- Long bobby pins, 100 pack ($6 to $12). Use lots of them.
- Clear elastic hair ties, pack ($4 to $10). Invisible option for neatness.
- Medium bun form/chignon insert ($5 to $12). Beginner-friendly fullness.
Budget swap
- Matte claw clip, medium ($4 to $10). Use instead of pins for quick holds.

Where to start if you only change one thing
If you only change one thing, focus on the base. Make a firm ponytail in the exact spot you want the bun, and pin into that solid anchor before you sculpt. That single habit upgraded every bun I tried and made them last through a full workday. Will you try crown placement or a low nape next? Share which one you pick and how it holds up.


