








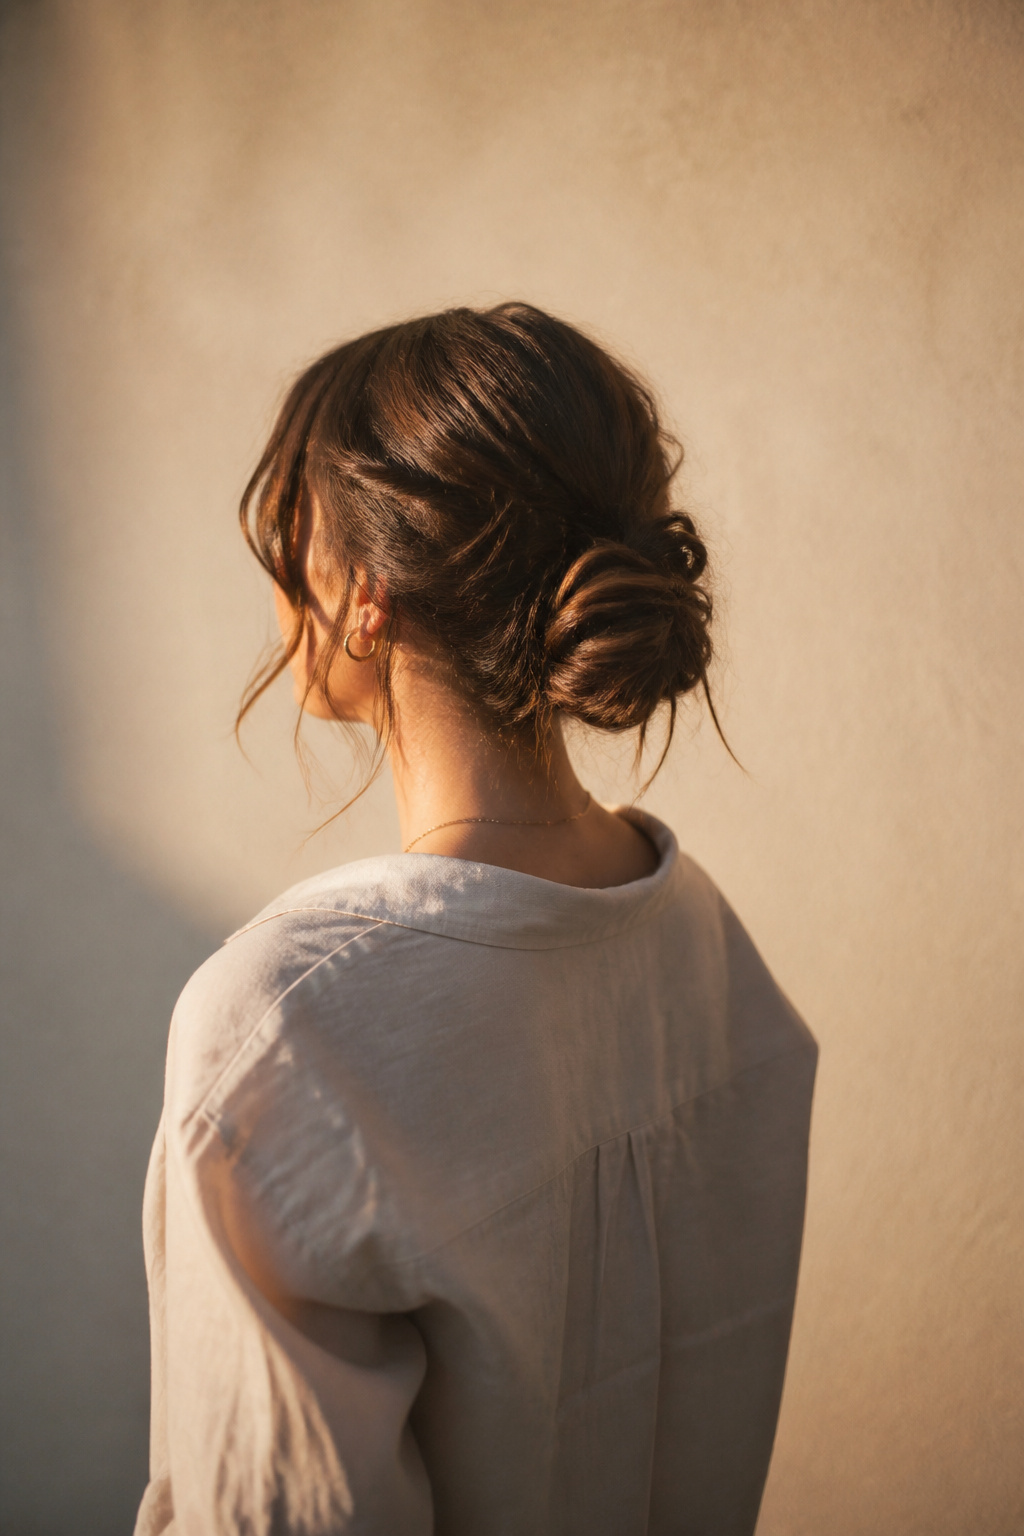
I learned how to make a messy bun look cute the hard way. One morning my bun had collapsed by 10am and a coworker said I looked like I just woke up. Switching where I placed the knot and adding texture before I tied it changed everything. This guide walks through what I do now so the bun reads styled, not sleepy.
This is the “easy, lived-in” messy bun I wear when I am rushing, teaching, or meeting friends. It works best on shoulder-length to long hair and adapts for fine, thick, or slightly curly textures. You can do the core version on a shoestring budget with elastics and dry shampoo, or add a wand and texture spray if you want more polish.
Prep that gives texture and hold
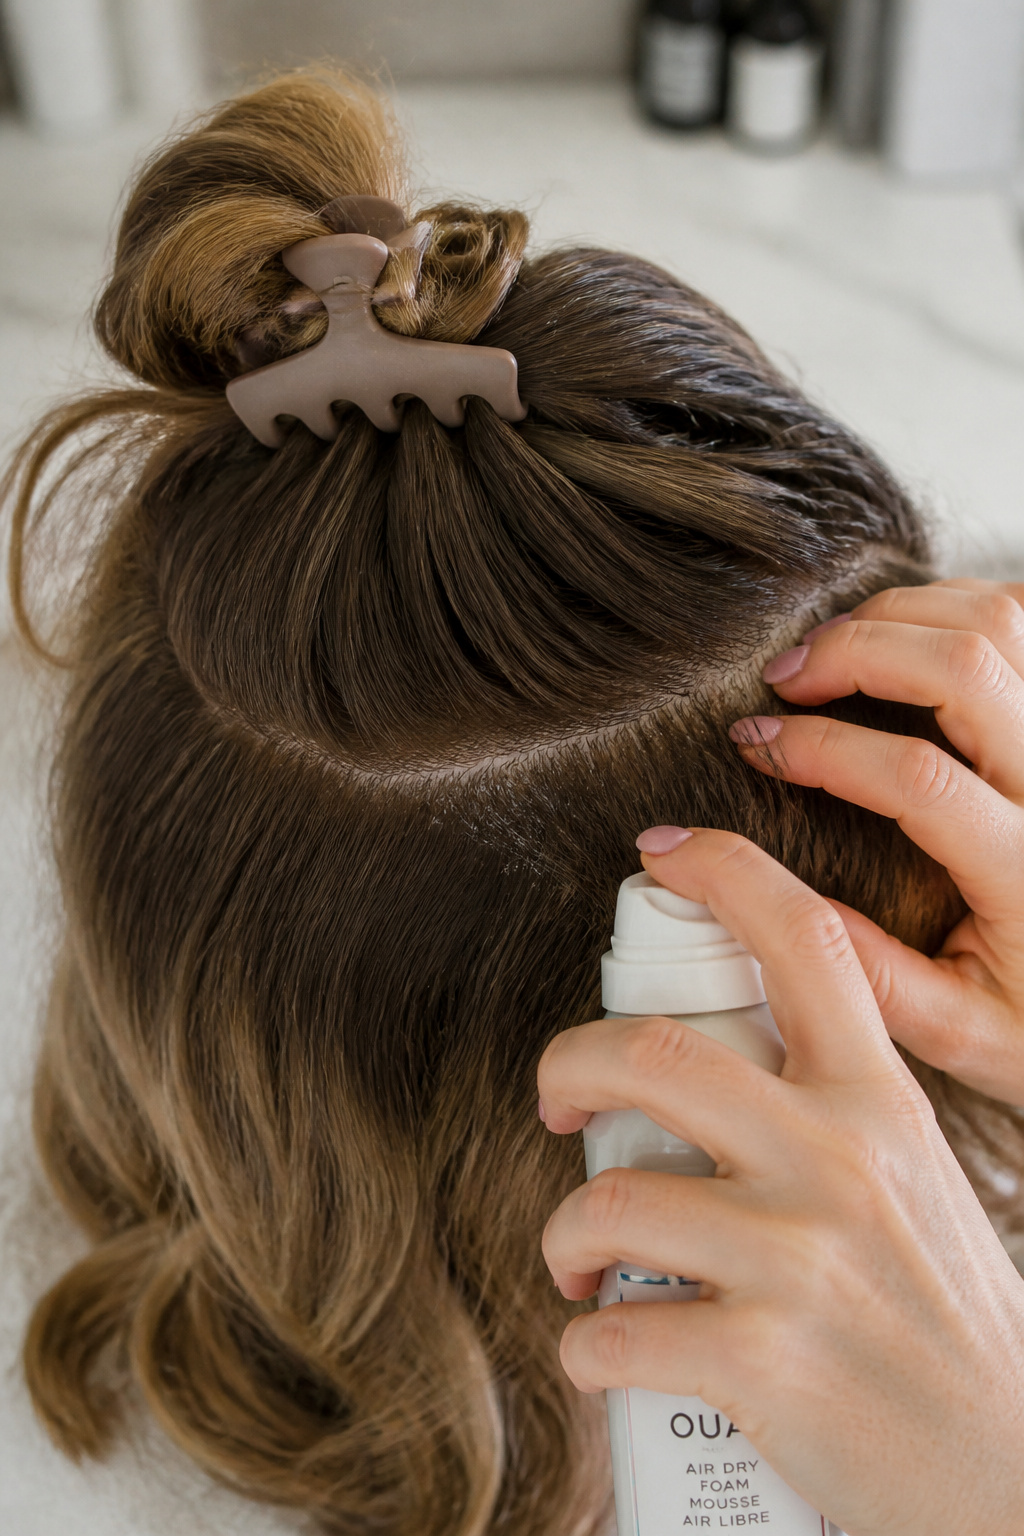

Prep decides how long a messy bun looks intentional, so I do this first. I work product into the roots, not the ends, to create grip and lift. For my hair I use a golf-ball-sized amount of volumizing mousse applied at the roots only; it lifts without weighing the ends down.
If your hair is freshly washed and silky, spray a light layer of texture spray through the mid-lengths and roots so the elastic holds. I like to rough-dry on medium heat to 80 percent dry. Too much heat or wet hair will melt the volume by midday.
A common mistake here is over-brushing. If you brush the texture out you lose the lived-in effect. Finger-comb instead and clip the top section while you finish other steps.
Build a lifted base at the crown
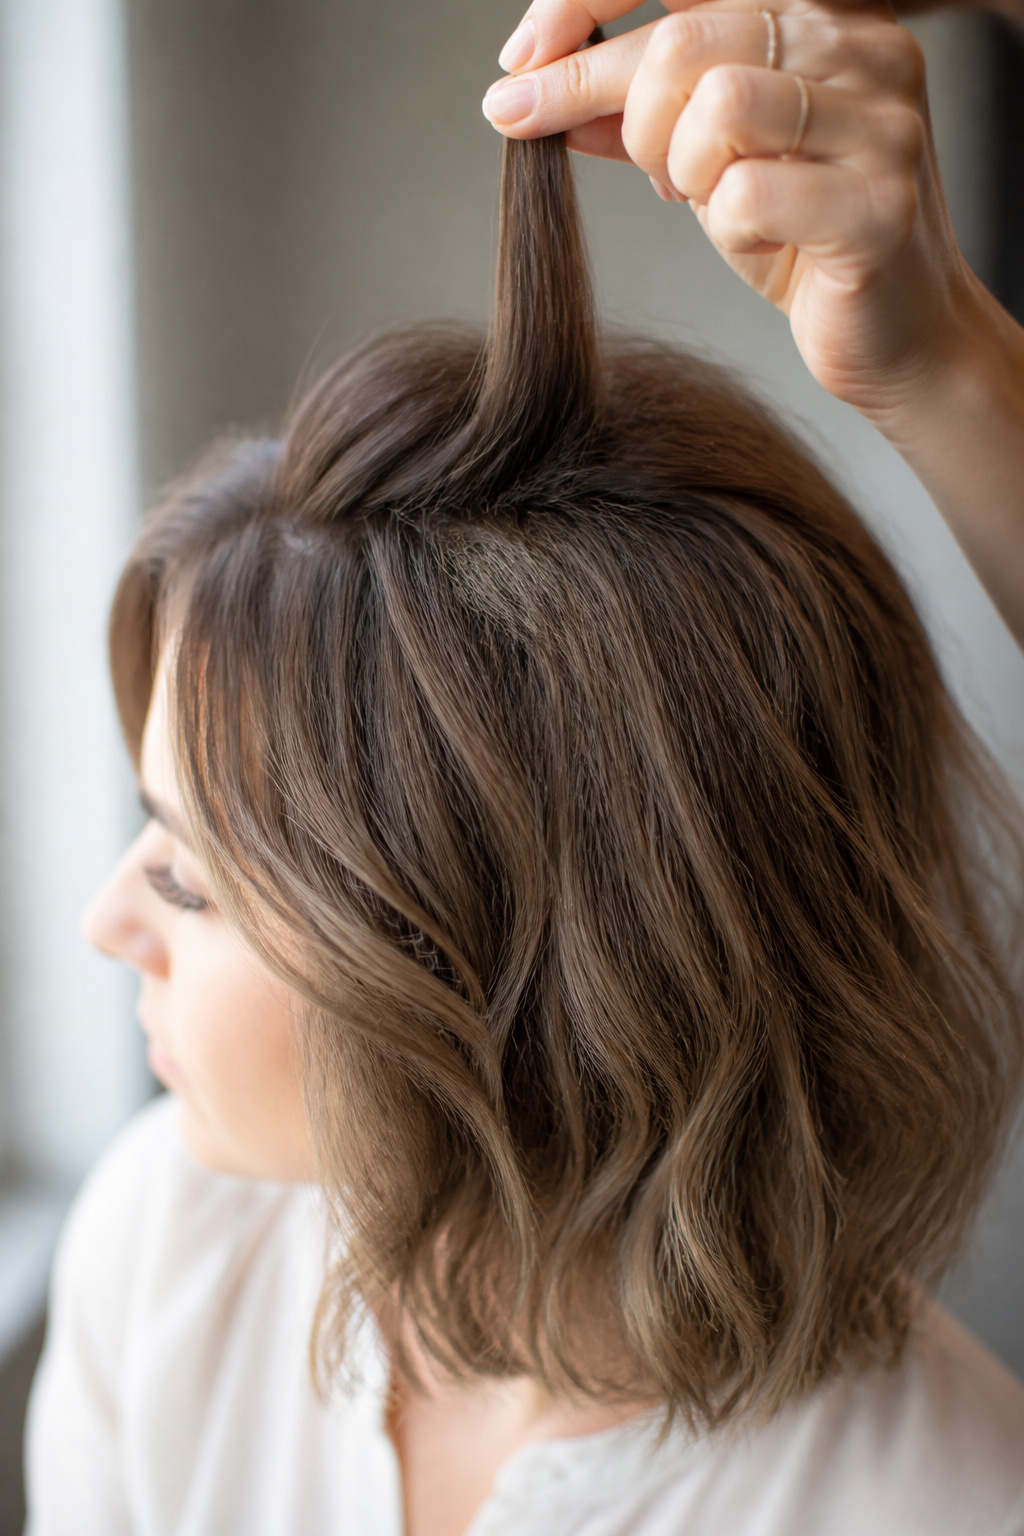

Lift at the crown sets the silhouette. I drop a 1.5-inch section at the very top where my cheekbones sit and lightly tease that section with a teasing comb to produce a soft mound. For teasing, I take 1-inch wide subsections and backcomb two to three short strokes near the roots. That build creates the “bump” that reads intentional.
After teasing, smooth the surface with fingers, not a brush, to keep texture while avoiding frizz. I anchor the teased top with a loose elastic at cheekbone height. If you have fine hair, split the ponytail and loop it half-through to fake volume; it looks like a full bun without lots of length.
Avoid over-teasing. If the teased base is too stiff the bun looks fake; aim for soft lift and a natural fall.
Form a purposeful messy knot
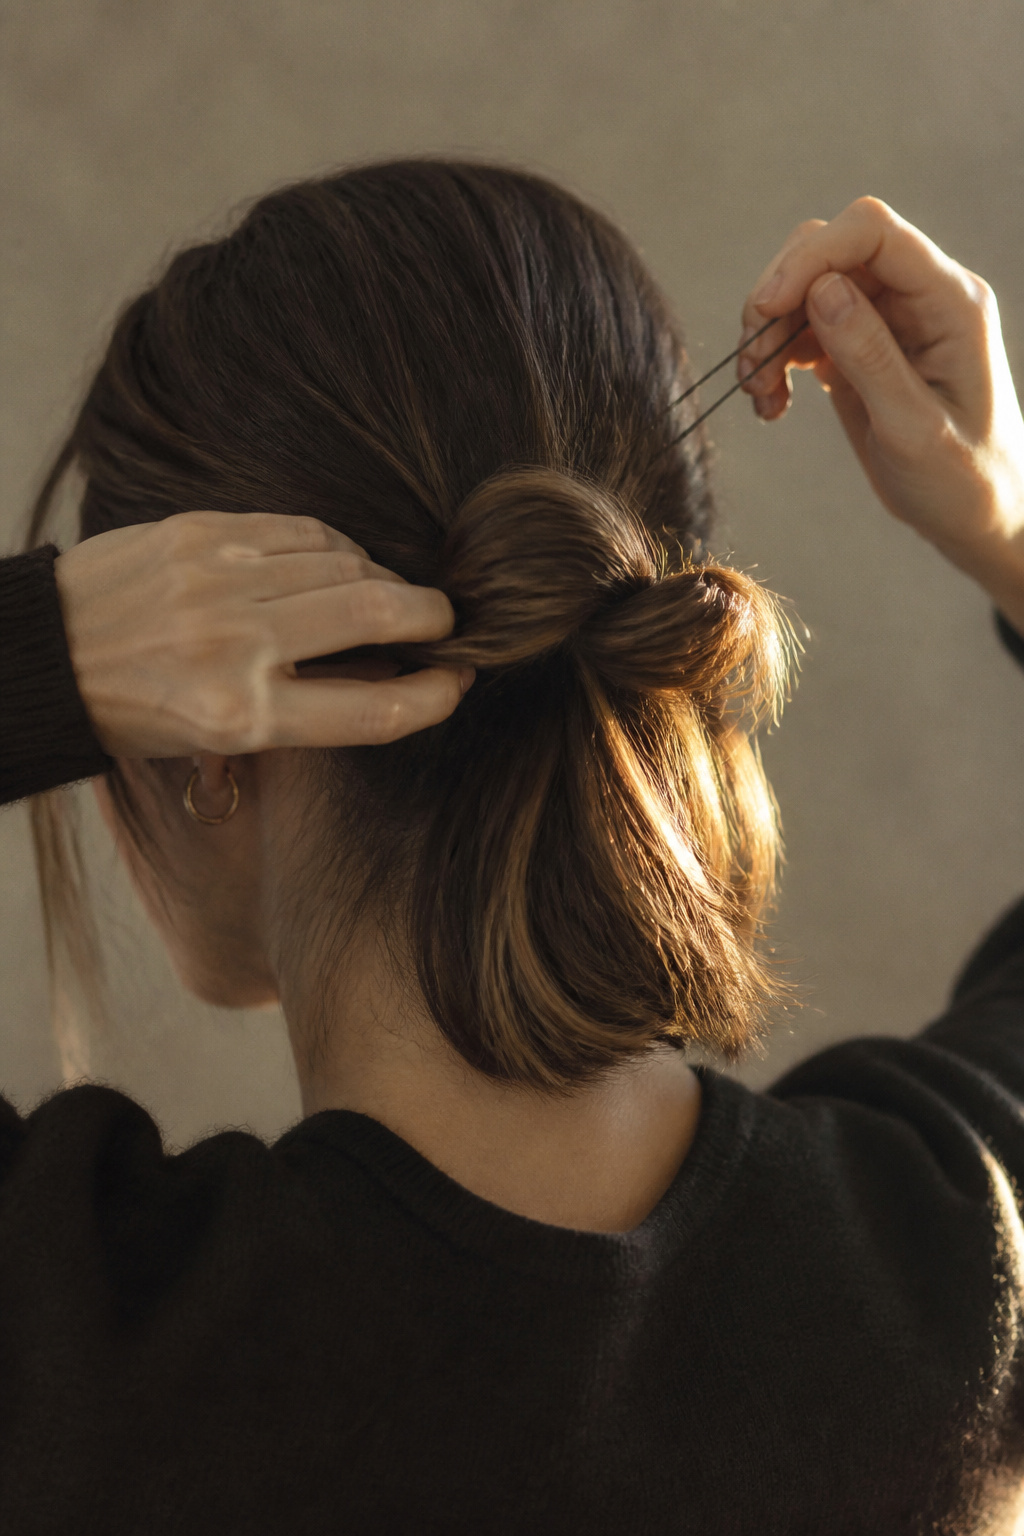

Now the construction. I loosely gather hair into a ponytail at the anchored height and secure with an elastic. For a chunky look I split the ponytail into two halves, scrunch them together and twist the halves around the elastic, pinning as I go. For the half-through loop method, I loop the ponytail through once and leave the ends out to create the imperfect knot.
Use bobby pins to lock the bun where it feels delicate, crossing two pins for added hold. For thick hair I pin in sections: pin the underlayer first, then the outer shell so the shape stays rounded instead of bulging.
I once wrapped every strand tightly and the result looked too tight and matronly. Leaving ends out and tugging small pieces gives a softer, cuter finish.
Pull, shape, and add face-framing pieces
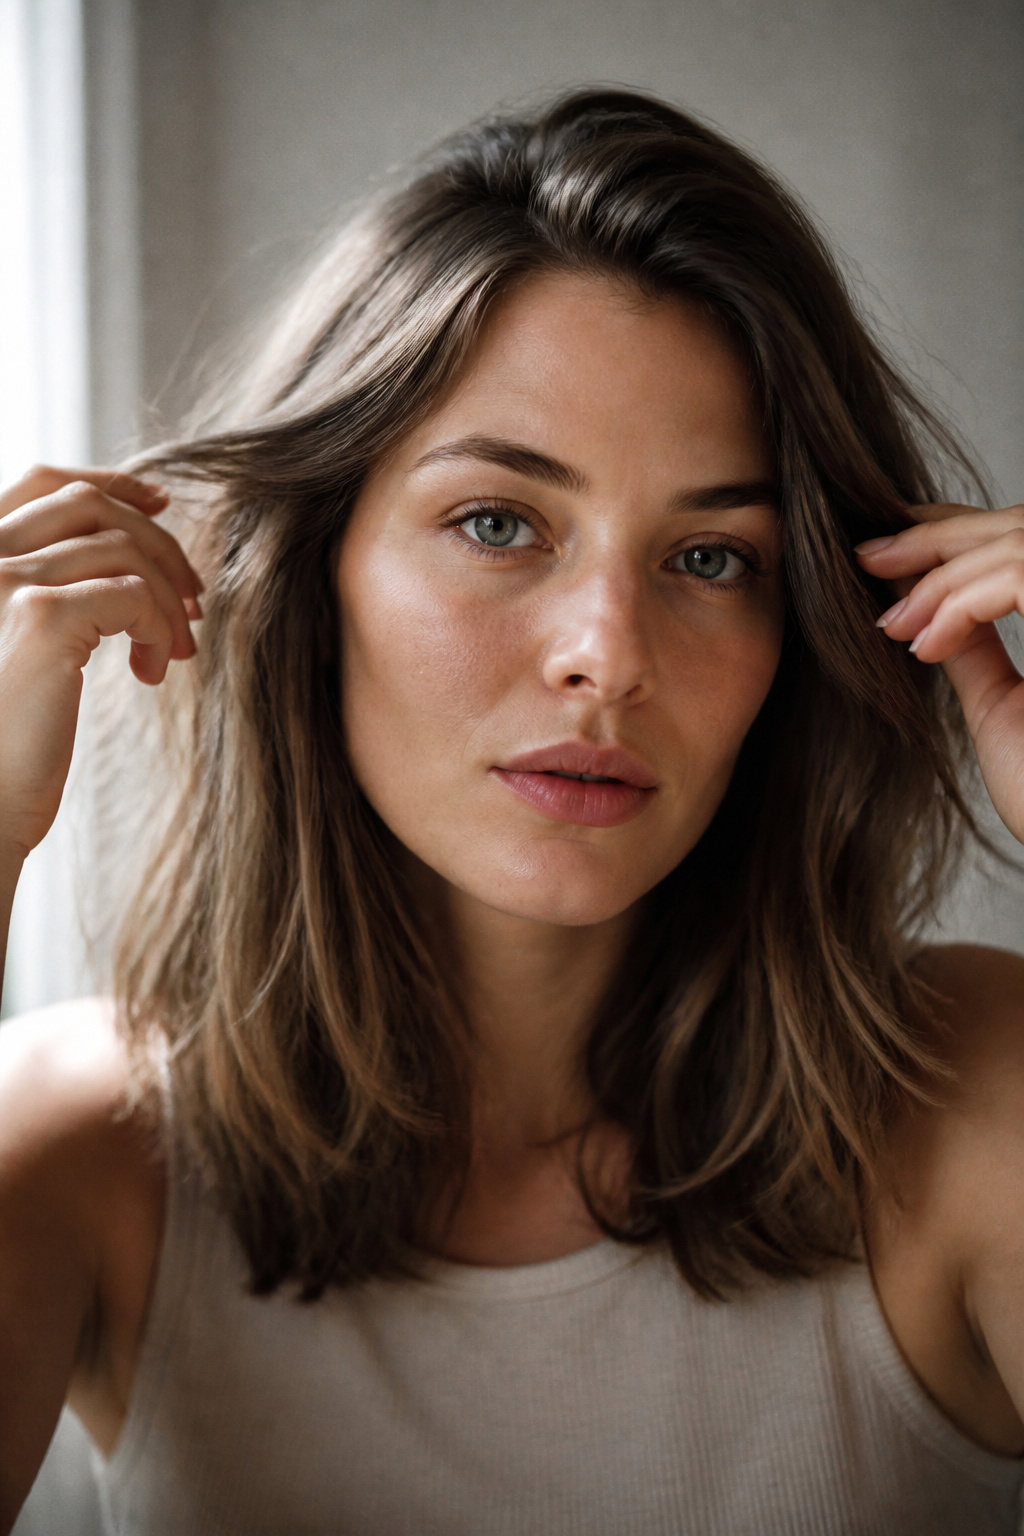

Shaping is where “messy” becomes cute. After the bun is secure, I gently pinch and pull the bun perimeter to create soft texture and a round silhouette. I always release two or three face-framing pieces at cheekbone and jawline height; they soften the hairline and make the style deliberate.
A coin-sized drop of finishing salve on my fingertips smooths flyaways around the face without weighing down the bun. Lightly mist the whole head with a quick-dry flexible hairspray to lock the shape while keeping movement. If your curls lose their definition when tucked up, let them fall where they want and pin only the base loosely.
The mistake here is over-sculpting. If every stray is pinned the style reads tight. Aim for selective messiness.
Common styling mistakes to avoid
Pulling everything into one tight knot. That makes the bun look like you force-pulled your hair. Leave ends out and tug the outer shell so the bun reads soft and intentional.
Teasing into a helmet. Backcomb only small 1-inch sections where you want lift. Over-teasing creates a brittle, crunchy look. Use a texture spray like Texture spray for grit, 5oz ($12 to $25) before teasing so you need fewer strokes.
Brushing face pieces flat. Smooth them with a fingertip and a coin-sized amount of finishing salve instead of a brush. I use Finishing salve stick, travel size ($8 to $18) for this; it tames frizz but keeps shape.
Starting with bone-dry, silky hair. A little second-day texture helps. If you must style fresh hair, use a small amount of volumizing mousse at the roots to create grip.
How to make it last
Day two is the best time for this bun because natural oils add grip. If the bun falls flat by midday, lift sections at the crown, mist roots with a little dry shampoo, and re-pin the outer shell to recreate volume.
To refresh face pieces, warm them briefly with a 1.25-inch wand at 300 to 325 F and reshape with fingers. Avoid heavy products at the roots on day two; a light spray of Dry shampoo for second-day volume, 6oz ($8 to $20) works well.
When humidity hits, touch the sides with a dab of finishing salve rather than reapplying a heavy hairspray. The bun holds best when you accept small movements rather than over-fixing them.
What you'll need for this look
Heat tools:
1.25 inch ceramic curling wand ($30 to $70). I use 300 F for loose waves that blend into the bun.
Travel hair dryer, 1875W ($25 to $60). A medium-heat rough-dry speeds the prep.
Styling products:
Alcohol-free volumizing mousse, 8oz ($12 to $25). Works at the roots only.
Texture spray for grit, 5oz ($12 to $25). Use sparingly for hold and grip.
Quick-dry flexible hairspray, 8oz ($10 to $22).
Care and protection:
Heat protectant spray, 6oz ($8 to $20).
Dry shampoo for second-day volume, 6oz ($8 to $20).
Accessories and finishing:
Pack of metal bobby pins, 100 count ($6 to $12).
Elastic hair ties, no snag, 12 pack ($6 to $12).
Large matte claw clip ($6 to $18).
Teasing comb with tail, black ($5 to $15).
Finishing salve stick, travel size ($8 to $18).
Budget swap: If you want to skip heat tools, a $6 claw clip plus textured dry shampoo will still give a cute, lived-in bun.

Where to start if you only change one thing
If you only change one thing, add texture at the roots before you tie the bun. That single step stops a flat, sloppy knot from happening and makes every other move easier. Try rough-drying on medium heat with a dime-size of mousse at the roots, then see how the bun holds by lunchtime. What part of the messy bun do you struggle with most?


