






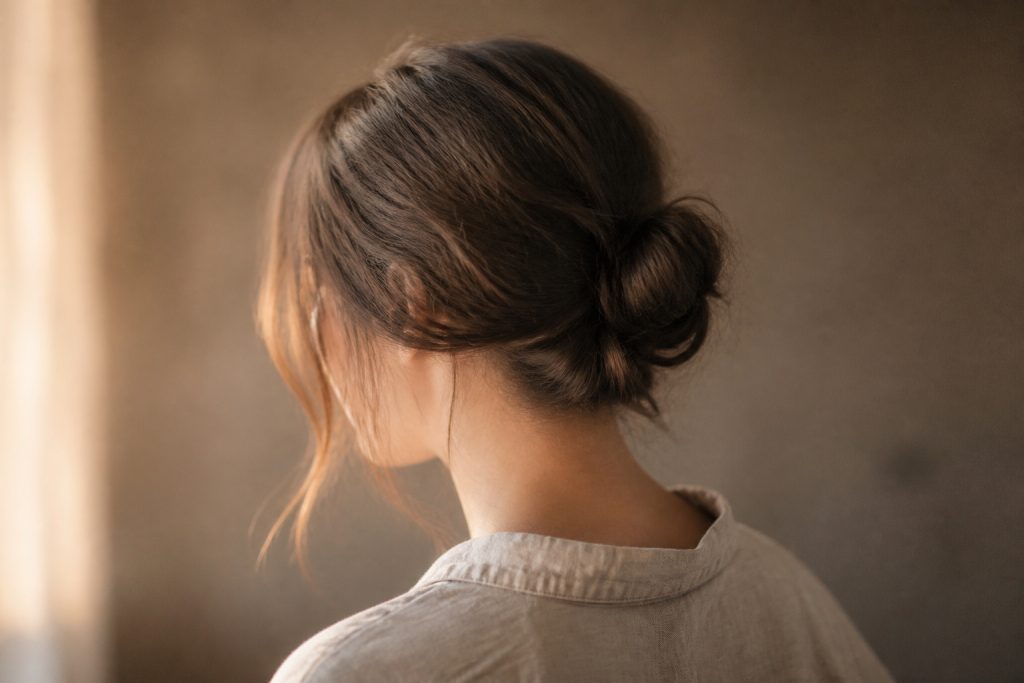

The first time I tried to make a bun out of my chin-length hair it collapsed by the subway stop at 8:15 a.m. I learned fast what works and what does not. This guide shows how to do a cute bun with short hair that survives the commute and still looks intentional by midday.
This is a low-to-mid crown bun built with two tiny elastics, pins, and texture for grip. Expect a realistic budget: under $40 if you already own a curling wand, cheaper if you skip heat. This method suits chin-length to shoulder-skimming hair, straight or softly wavy, medium density. If your hair is very coarse or tight-curled, use this for inspiration and add more pins.
Prep for hold and shape
Prep decides whether the bun looks full or flat, so this always comes first. I apply a coin-sized amount of alcohol-free volumizing mousse into the roots only. That gives lift without weighing my ends down.
On medium-length short hair I rough-dry to 80 percent. A one-inch ceramic wand at 300 to 320 F makes soft bends on pieces that end at the jaw. I curl away from the face in alternating sections so the ends tuck easier. Heat protectant goes on each section, not sprayed over the whole head.
Mist with a light dusting of dry shampoo at the roots for texture and slip control. The biggest mistake here is skipping texture; short hair needs grip or elastics and pins will slide all day.


Build the secure base in sections
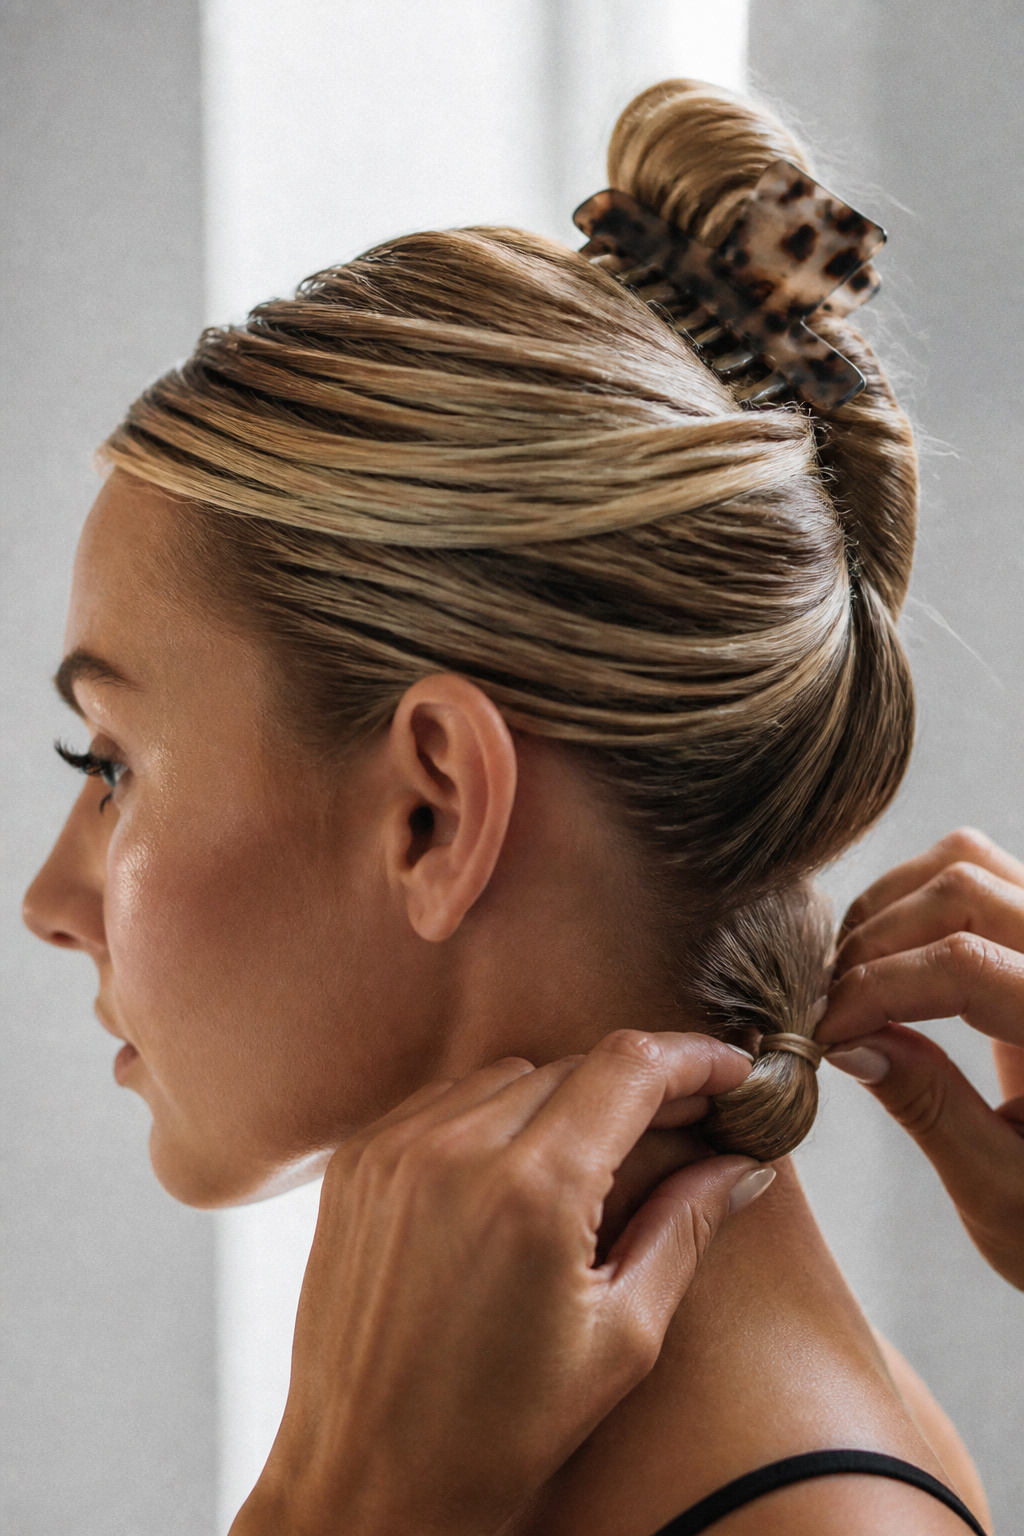
Sectioning changes a tiny ponytail into a shape that reads like a real bun. I split my hair horizontally: a top crown section about two fingers wide, clipped out of the way with a small matte claw clip, and the bottom section from the earline down.
I gather the bottom section into a small ponytail at the place where I want the bun base. Use a tiny elastic and loop it twice so the loop is compact but not painful. Then take the top crown section and smooth it back over the base, securing it with the second tiny elastic into a ponytail that sits directly on top of the first loop. The visual trick is stacking; two short loops read as one fuller knot.
Tease the little loop lightly with a teasing comb or fingertips to open it into a small donut. If your hair is fine, a touch of texturizing powder between the elastics gives immediate lift. People often try to make one big ponytail and fail. Short hair wants controlled sections.

Form the bun and tuck the ends
Now the two-loop trick becomes the bun. Take the bottom loop and fold it toward the base, pinning the loose ends inward under the loop with U-pins or long bobby pins inserted toward the scalp. Work clockwise, placing three to four pins spaced evenly. The goal is to hide ends, not wrap them fully.
Next, open the top loop slightly and sweep it over the pinned base to conceal seams. Use pins to anchor the top layer into the base, inserting pins under the bun and pushing them toward the crown so they bite. If you have short layers that poke out, tuck them into the gap between the two loops and secure with a pin.
A common slip-up is using too few pins. Short ends need bite. I prefer 50mm bobby pins for the base and standard pins for fine tuning. If the bun looks too small, gently pull the outer edges of the loops to broaden the silhouette.


Finish for polish and longevity
Smoothing the perimeter and placing a face-framing piece makes the bun look deliberate. I use a pea-sized amount of smoothing serum on the side sections, running it along the hair in one direction to create a sleek face frame. For the crown I tap in a hair powder if I need more lift.
Lock the shape with a flexible-hold hairspray sprayed from about 8 inches away. For stubborn flyaways I wet a clean toothbrush with a dab of gel and brush edges into place. If you want it softer, pull out two small face-framing pieces and curl their ends lightly for movement.
I once tried bungee ties alone thinking they would replace pins. They slipped by noon. Pins are the unsung hero. A small bow clip or decorative pin at the base is optional and hides any visible elastics.


Common Styling Mistakes to Avoid
Trying to wrap too many ends into one loop. Short hair does not wrap; it tucks. Use stacking loops and pins instead. The visual fail is a collapsed, messy knot.
Skipping texture at the roots. Smooth hair will slide out of small elastics. Add a light dry shampoo or texturizing powder at the roots so pins can grip.
Overusing product on the ends. Too much cream or oil makes ends heavy and flat. Treat only the face-framing pieces and the outer surface for shine.
Relying on one pin. Short layers need multiple pins placed toward the scalp. Insert them so they cross under the base for a stronger hold.

How to make it last
The crown collapses first, so refresh the root with a short blast of dry shampoo and pinch the roots between finger and thumb to rebuild lift. If the bun loosens, slide one long pin beneath the base and rotate it so it locks into the scalp.
Day two, you may only need to re-tuck a few pieces and add a light mist of hairspray. For humidity, add one more pin at the lower seam. I carry two spare tiny elastics and three bobby pins in my purse. By late afternoon my bun still reads intentional if I started with teased roots and at least four pins.
If the bun is limp because you used too much smoothing product, spritz salt spray at the base and roughen with fingertips, then press a pin under the loosened loop.
What You'll Need for This Look
Heat tools
1-inch ceramic curling wand, medium barrel ($25 to $60). Worth spending on because it lasts for years.
Heat protectant spray, 4oz ($8 to $18)
Styling products
Alcohol-free volumizing mousse, 8oz ($8 to $20)
Texturizing powder, travel size ($6 to $18)
Flexible-hold hairspray, 10oz ($6 to $20)
Smoothing serum, 1oz ($7 to $25)
Care and protection
Dry shampoo, travel size ($5 to $12)
Sea salt spray, 4oz ($7 to $18)
Accessories and finishing
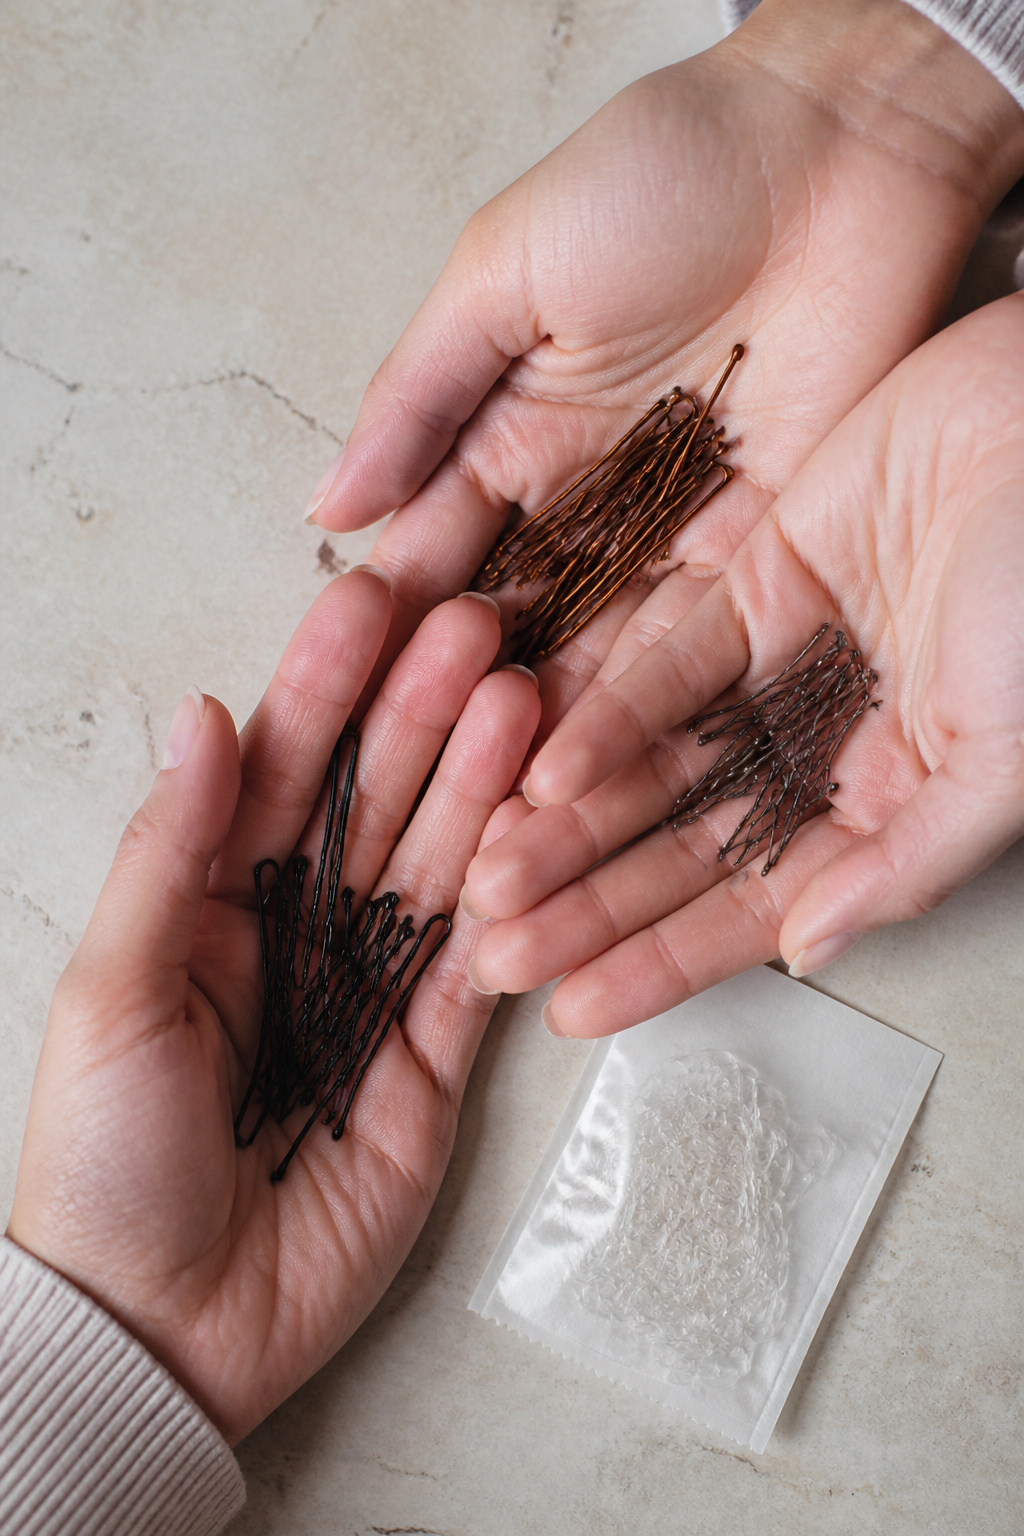
Pack of tiny clear elastics, 100 count ($4 to $10)
50mm long bobby pins, 50 count ($6 to $15)
U-pins, 12 count ($5 to $12)
Small matte claw clip ($3 to $10)
Boar bristle toothbrush for edges, single ($3 to $8)
Where to start if you only change one thing
If you do one thing differently, add texture at the roots before you touch an elastic. Grip is the difference between a bun that lasts and one that collapses. Try a quick spritz of dry shampoo or a pinch of texturizing powder and start from there. What short-hair bun challenge do you keep running into? Tell me and I will troubleshoot it with you.


