






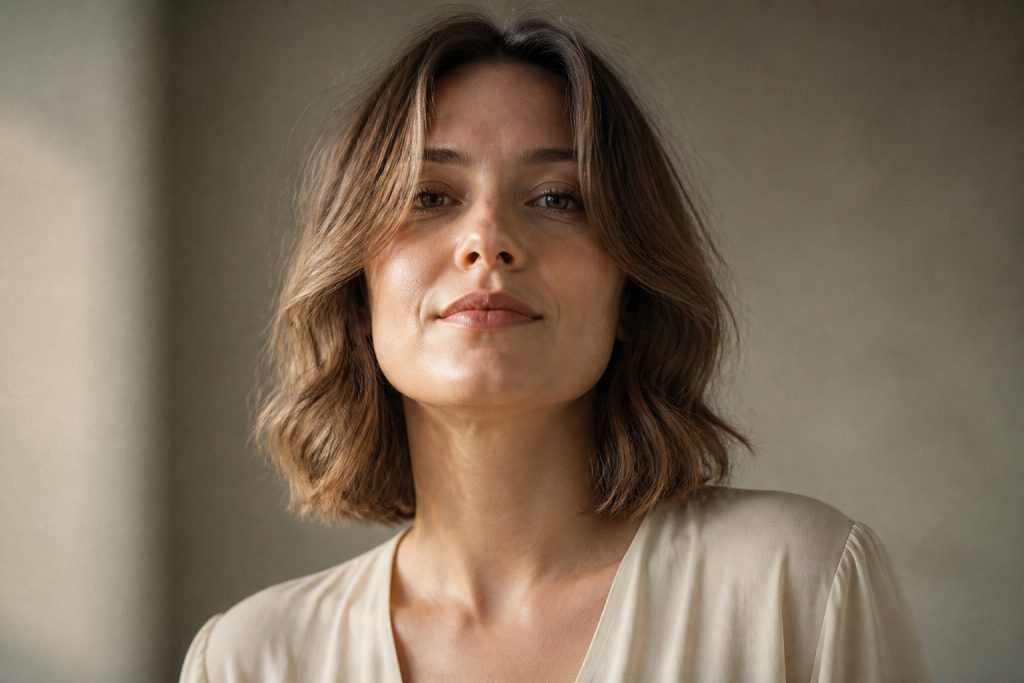

I used to curl short hair the same way I do long hair and ended up with floppy bends and weird straight ends by lunchtime. Learning to leave the last inch out and to alternate curl directions solved that for me; it stopped the helmet effect and made the hair read as lived-in rather than staged.
This is a practical short-hair routine for chin-length to collarbone bobs, fine to medium density, straight-to-wavy texture. If you already have a 1 inch iron, you can do this without buying anything new. I prefer a 1.25 inch wand for looser bends, and I always aim for lower heat to reduce damage while still getting shape.
Setup: root lift before shape
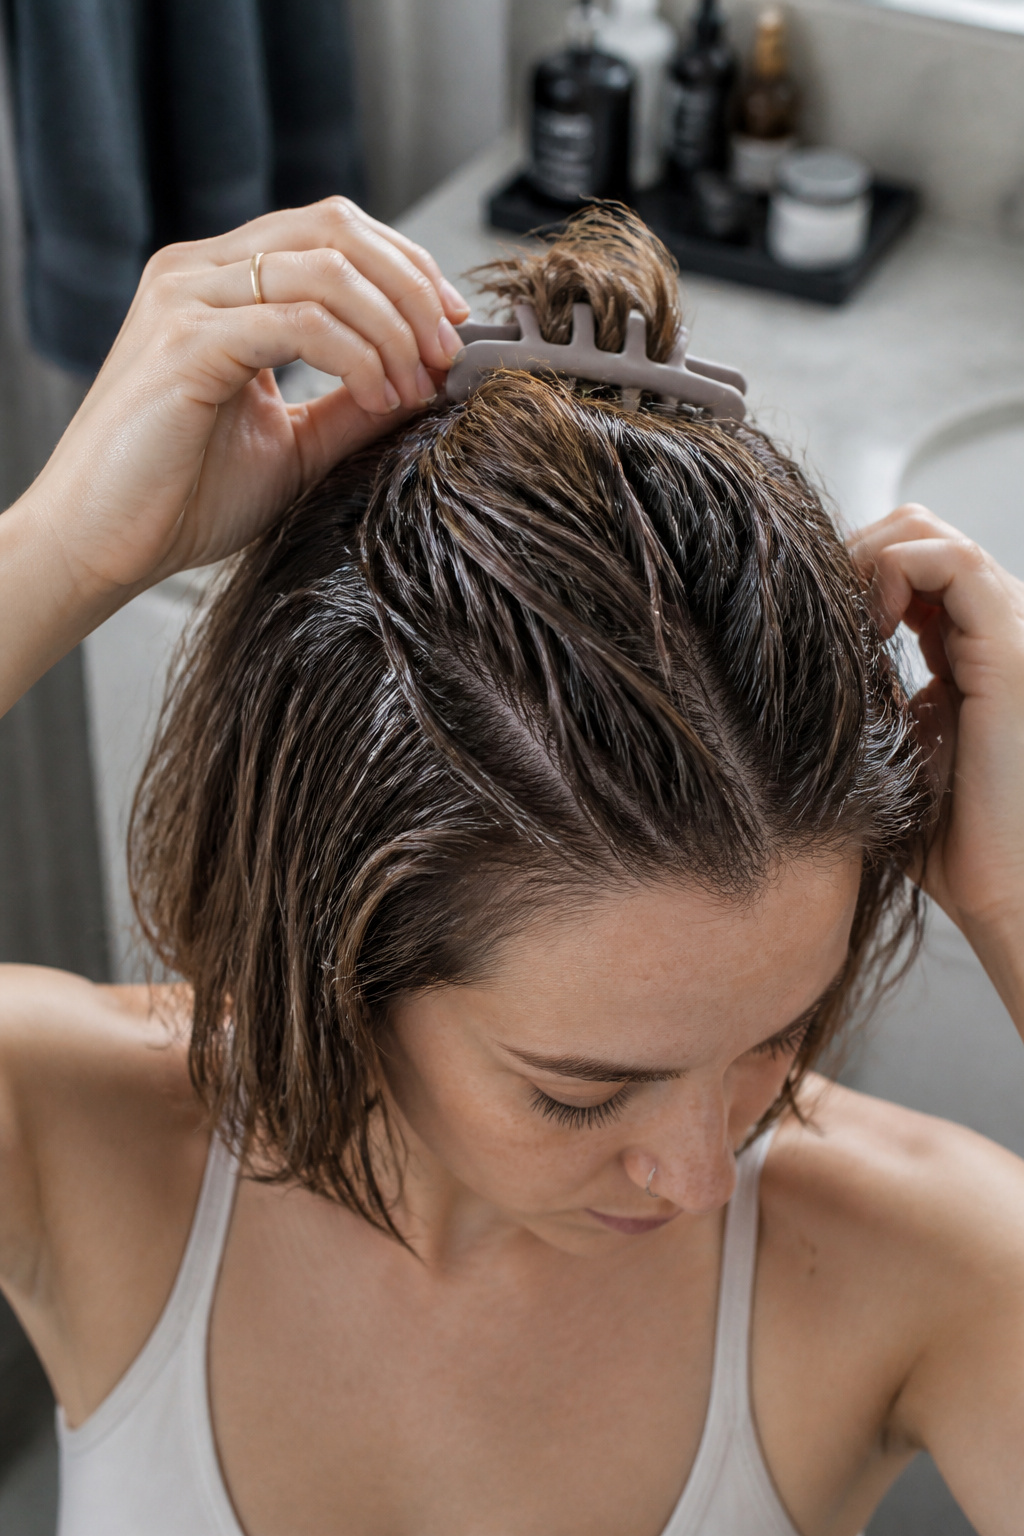
This look depends on where the hair sits at the roots, so I prep there first. On towel-dried hair I work a walnut-sized amount of alcohol-free volumizing mousse into the roots only; the mid-lengths and ends do not need stiffness, they need movement.
Follow with a light mist of heat protectant section by section. I spray into my palm and smooth through the top layer rather than blasting the whole head so the product reaches the areas that will take the most heat.
Rough-dry to about 80 percent dry on a medium setting, aiming the dryer at the roots with your head flipped forward for extra lift. The biggest setup mistake is curling hair that is still damp. It will steam and drop, leaving frizz instead of shine.

Build the bend without crowding the crown
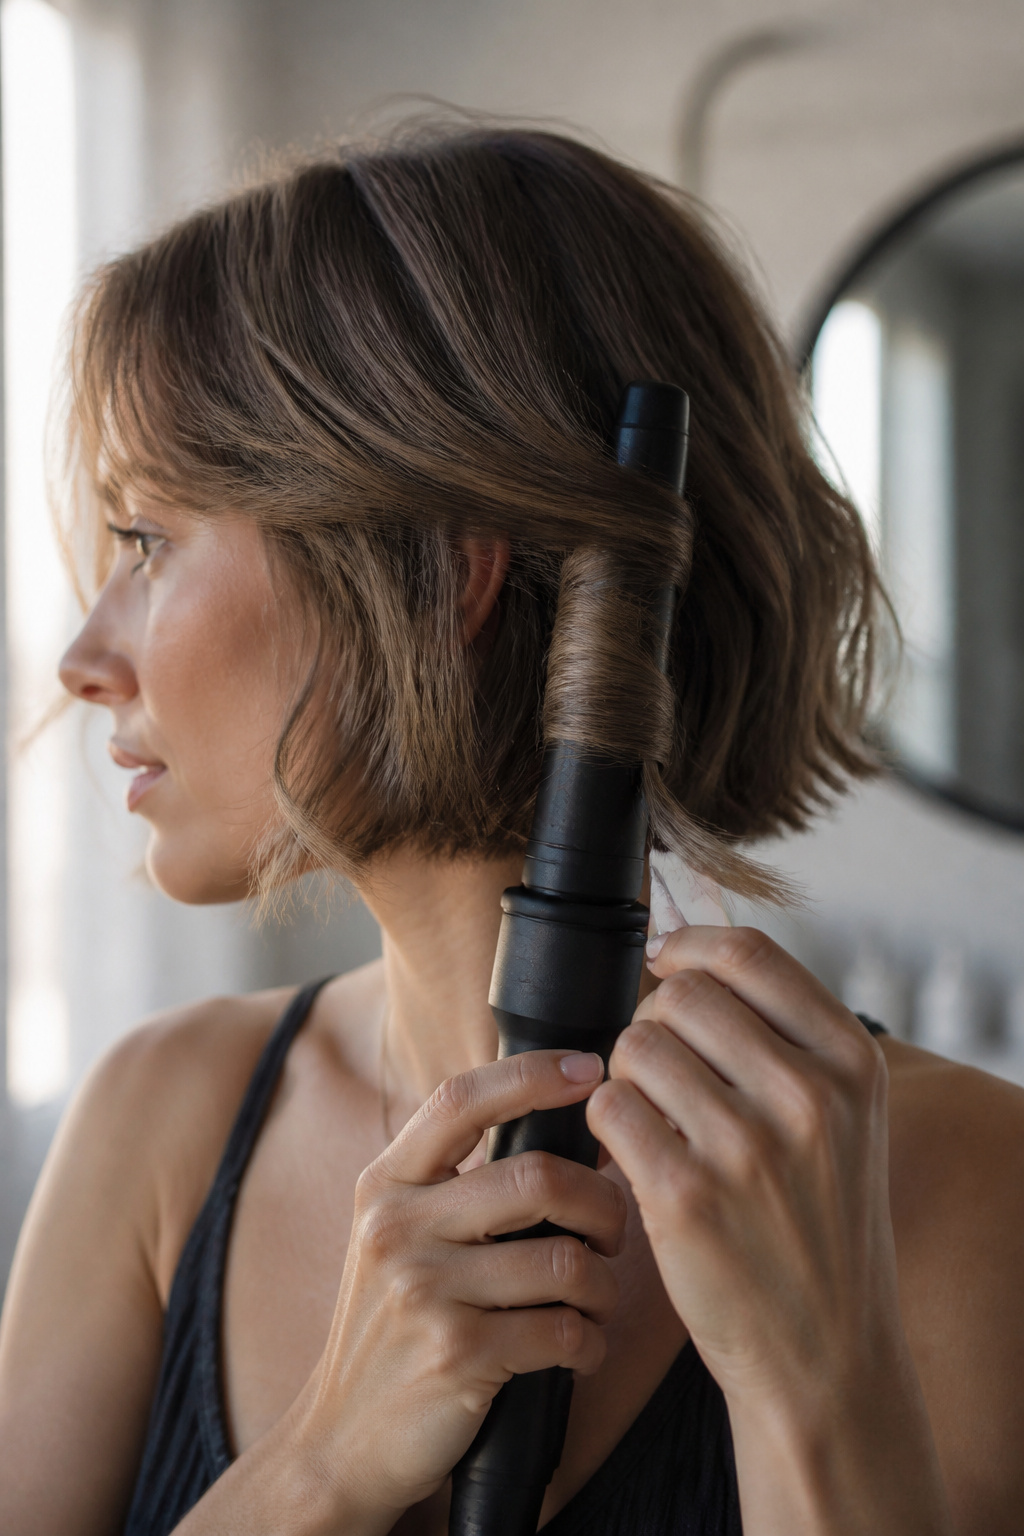
This is where you choose the barrel and the section width that control the whole look. I set my iron to 350°F for fine to medium hair; that gives reliable shaping without pushing damage. Use a 1 inch or 1.25 inch tool depending on how tight you want the bend.
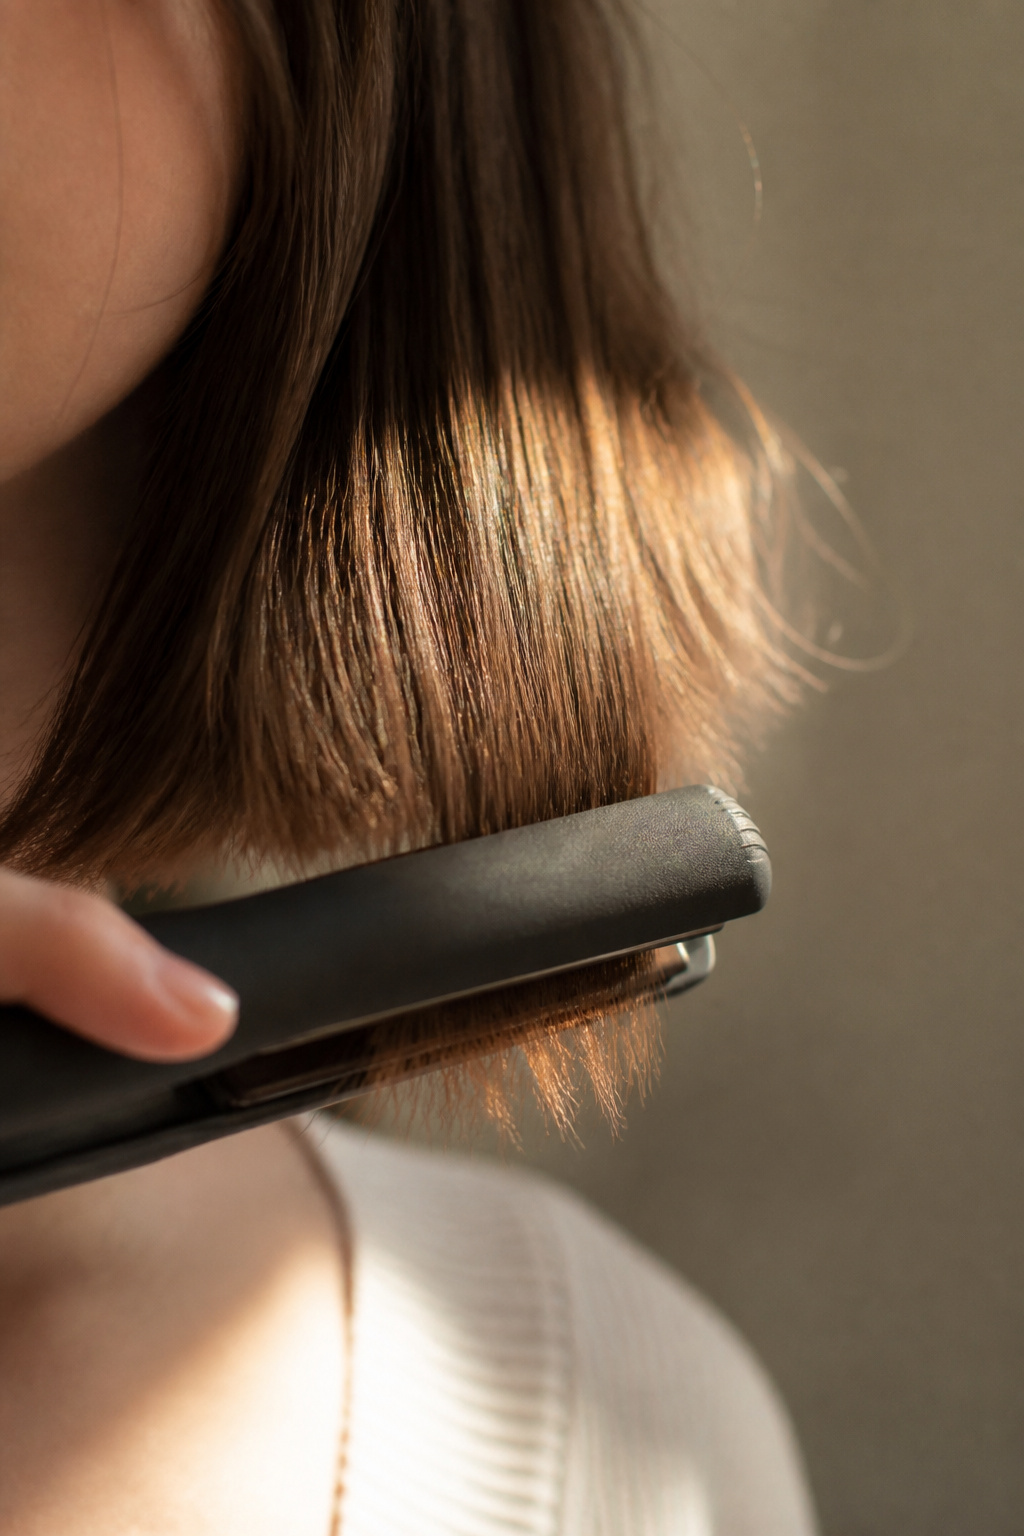
Work in 1 inch sections. Clamp or wrap with the wand starting about 1.5 to 2 inches from the root, wrap toward the mid-shaft and stop with the last 1 inch of hair free. Leaving the ends out keeps the style modern and prevents that pinched, bendy end you hate.
Alternate direction as you go: curl the first section away from your face, the next toward your face, and keep alternating. That prevents stacked curls and gives a more natural, piecey finish. For very short nape pieces that are too short to wrap, use a mini flat iron held diagonally and twist through the section once to create a small S-bend.
A common error here is using a large barrel. I tried a 1.75 inch once and my hair just folded into a limp wave with heavy ends. The smaller barrel and the end-left-out trick saved it.

Lock the shape so it lasts all day
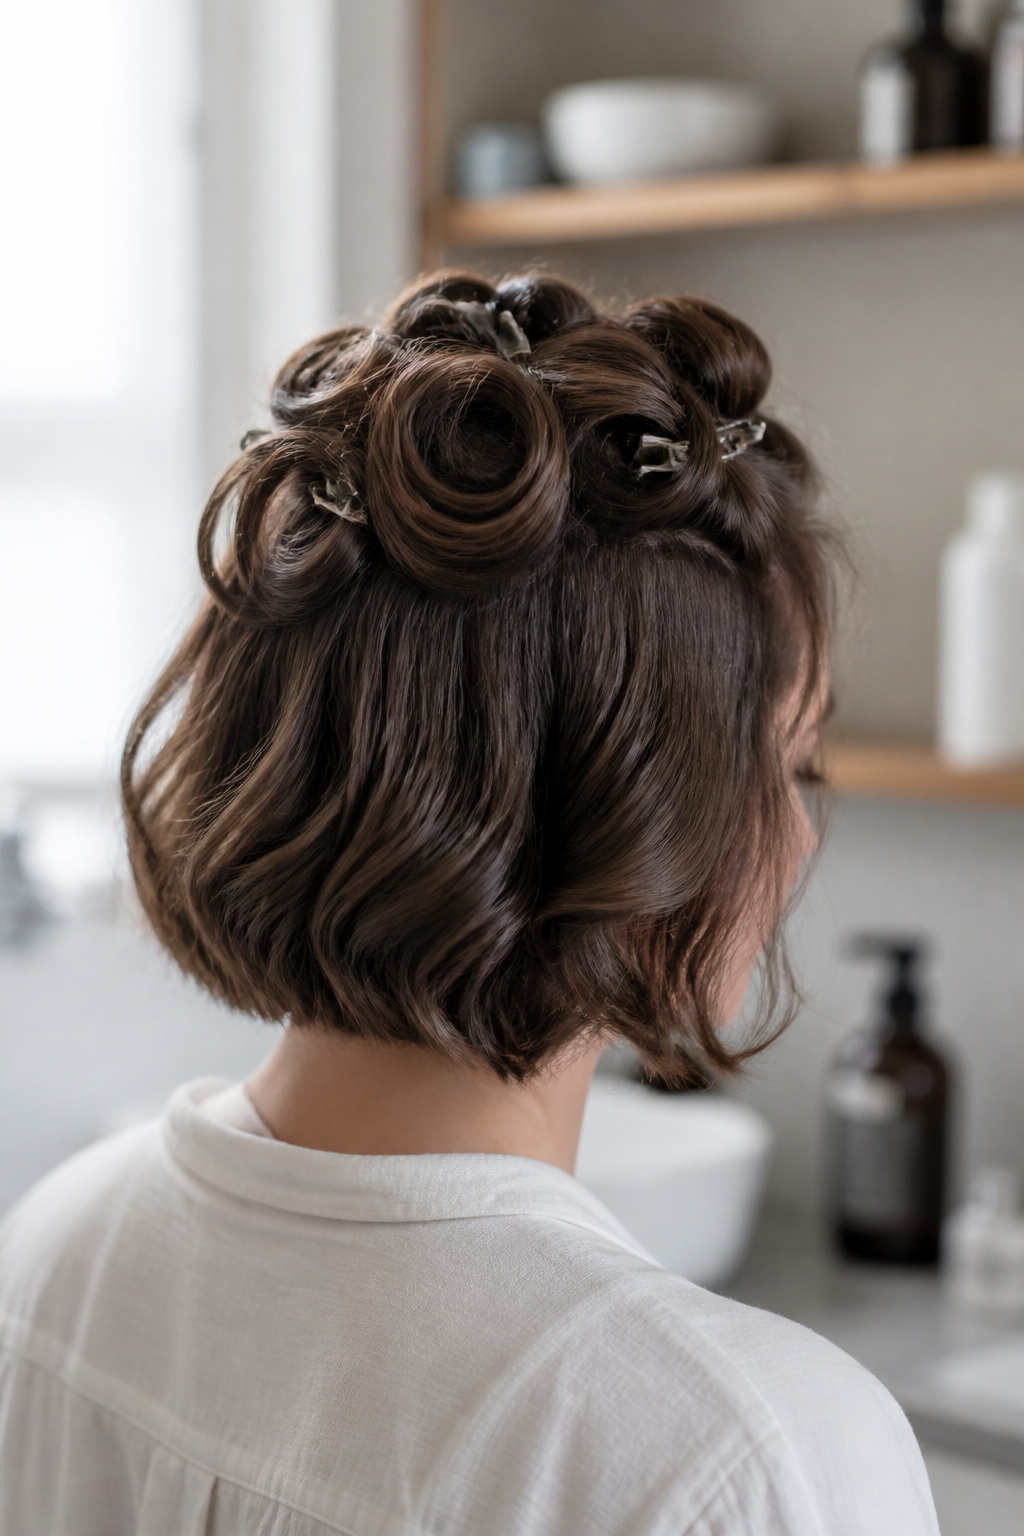
Letting curls cool in place is the single biggest longevity move. After you curl a section, roll it into a small loop and pin flat to the scalp with a bobby pin or clip. Work around the head this way. When everything is pinned, mist lightly with a flexible-hold hairspray.
Leave the pins in until the hair is cool to the touch, at least 10 minutes. For event styling I let them cool for 20 minutes. Removing pins too soon flattens the curl and gives you limp ends.
After release, finger-comb rather than brushing. Use your fingers to break the curl clusters and encourage separation. A dime-sized drop of lightweight serum on the palm rubbed through the ends tames frizz and adds shine without weighing the root lift down.
One technique I overused early on was sweeping hairspray all over while the curls were still warm. That made the hair look crunchy and caused early breakage of the shape. Wait until cool.

Finish the look and refine the ends
Once the curls are released and separated, smooth the last inch for a modern finish if you prefer a sleeker end. I run a flat iron at low heat once through the very ends, held horizontally to avoid creating a new bend.
If you want softer waves instead, skip the flat iron and brush gently with a wide-tooth comb then touch only the front face-framing pieces with a 1 inch barrel. Add a light mist of sea-spray for grit or a coin-sized drop of serum to the palms for shine.
For day two, spray roots with dry shampoo and rework the front pieces only. Avoid re-curling the whole head; short hair benefits from targeted touch-ups.

Common Styling Mistakes to Avoid
Curling dry hair without root prep. Why it fails: the hair lies flat at the crown and the bends collapse. Better: mousse at the roots, rough-dry to 80 percent, then curl.
Curling every section the same way. Why it fails: stacked, helmet-like volume and one uniform curl line. Better: alternate direction and leave the ends out.
Using too large a barrel. Why it fails: big irons fold short hair and create floppy bends. Better: use a 1 inch to 1.25 inch barrel or a mini flat iron for nape pieces.
Over-spraying while hot. Why it fails: crunchy, stiff finish that breaks natural movement. Better: pin to cool, then mist flexible-hold hairspray.
How to Make It Last
What drops first is the root lift and then the front pieces. To revive on day two, flip your head over and spritz roots with dry shampoo, then massage to rebuild lift. For the front, I spot-heat the problematic piece with a 1 inch iron for about three seconds; a quick pass is all it needs.
If the whole shape needs help, twist damp front pieces into two heatless twists overnight for a soft refresh. For humidity days, a light anti-frizz serum on the mid-lengths helps keep the bend readable without weighing the roots.
If you pinned while cooling the first time, you already have a good chance it will last into the evening. I can usually keep this look until 4pm without a full redo, and touching the front and roots gets me through dinner.
What You'll Need for This Look
Heat tools
- 1.25 inch ceramic curling wand ($30 to $120). My go-to for loose short waves; worth spending a bit for temperature control.
- 1 inch curling iron for short hair ($25 to $80). Best for tighter, face-framing bends.
- Mini flat iron for precision smoothing ($20 to $70). Useful for very short nape pieces and for finishing ends.
Styling products
- Alcohol-free volumizing mousse, 8 oz ($10 to $25). I apply a walnut-sized amount at the roots only.
- Light heat protectant spray, 6 oz ($8 to $20). Spray into palms and smooth through sections.
- Flexible hold hairspray, 8 oz ($8 to $25). Use after cool-down for movement plus hold.
- Light finishing serum, 1 oz ($8 to $30). Coin-sized amount rubbed through the ends.
Care and protection
- Dry shampoo for root refresh ($6 to $18). Day-two revival without re-curling.
Accessories and finishing
- Matte claw clip, medium ($6 to $15). Useful to pin the crown while you curl.
- Bobby pins, pack of 50 ($4 to $12). Pin curls flat to the scalp while cooling.
Budget swap
- If you already own a standard curling iron, set it to the lower heat listed and use 1 inch sections rather than buying new. Save on an extra tool and invest in a better heat protectant instead.

Where to start if you only change one thing
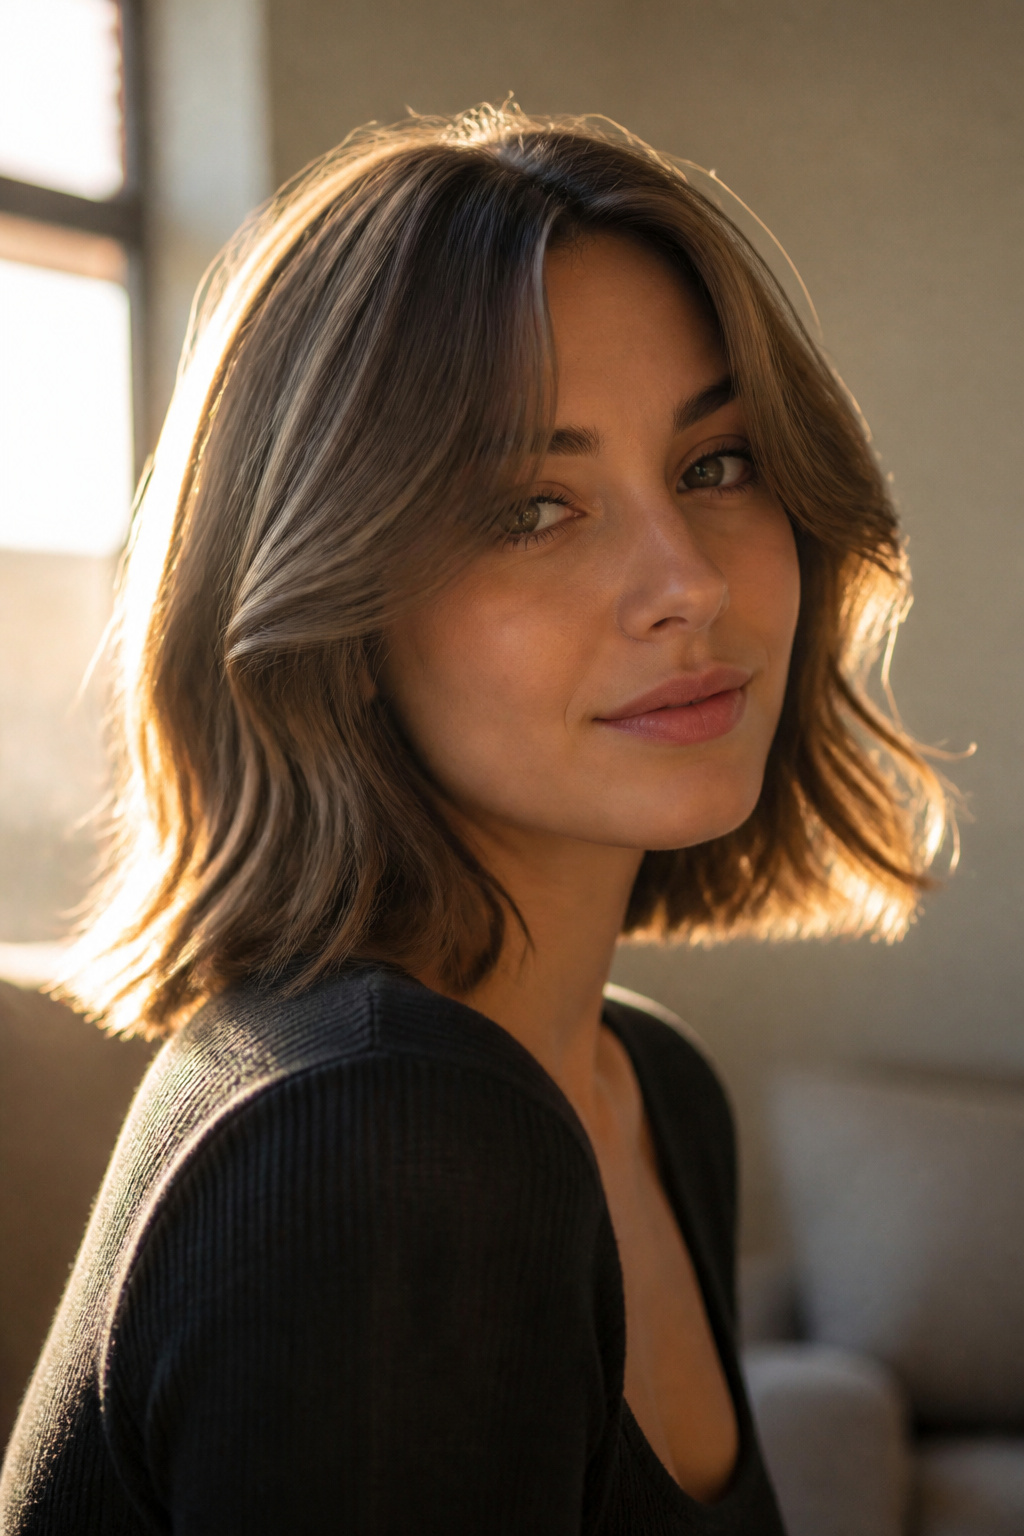
If you do one thing, leave the last inch out when you curl and alternate directions. That single adjustment stopped my weird bendy ends and made short curls look modern instead of helmet-like. Try that for a week and tell me which section gives you the most trouble—I’ll suggest a fix.


