








The first time I cut my own bangs I sliced them too short while the mirror steamed from my shower. Months of awkward grow-out followed. Learning to cut wispy bangs at home stopped that panic because I started long, worked in tiny increments, and learned to point-cut the ends for softness. This guide shows the exact section sizes, the safe starting length, the snip angle, and how I finish for a lived-in look that still sits by late afternoon.
This is a soft, face-framing wispy fringe for collarbone-length to shoulder-length hair that is straight or slightly wavy. I assume medium density; if your hair is very fine or very thick, the method still works but you may want to alter section width. The plan is budget friendly. If you already own sharp shears and a round brush, you will not need anything more expensive. A recent trend I like is the tiny center triangle for a natural breakup toward the temples.


A tidy triangle that protects the rest of your hair
Start with dry hair. Dry hair shows the length you will actually wear, so you avoid the common mistake of cutting too short after shrinkage. Part your hair how you normally wear it, then make a triangle from the center of your hairline back about 2.5 to 3 inches toward the crown. The base of the triangle should sit roughly from temple to temple.
Comb the triangle straight down and clip the rest back. I sweep the side pieces behind the ears and secure with a matte claw clip so I cannot accidentally nick them. The triangle width controls how face-framing the fringe will be; wider equals more presence, narrower yields a lighter curtain.
If your hair has a natural wave, smooth the section with the comb so you cut the true fall. The biggest prep mistake is starting with a wet, heavy section; I once cut damp bangs and they tightened up into an unwanted micro fringe. Keep it dry, or only give a gentle mist if your hair is wildly frizzy.


A safe first cut that prevents shocking shortness
Decide your target length and start longer. I aim for eyebrow level, so my first cut is at nose level. Hold the section between index and middle finger, leaving about 1.5 to 2 inches protruding if you are aiming for brow length. Make a straight-across snip to remove bulk, but do it conservatively.
Stand a foot from the mirror and cut vertically into the section with the scissors tip pointing up to take out 1/4 inch at a time. This gives a soft curved base rather than a blunt plateau. Keep your fingers parallel to the floor so the center stays a touch shorter than the sides, which helps the bangs blend.
If you feel unsure, stop and check. I check from different angles and in another mirror to confirm symmetry. The common error here is rushing and cutting across the whole width in one pass. Small cuts, eye-level checks, and patience are the proper approach.
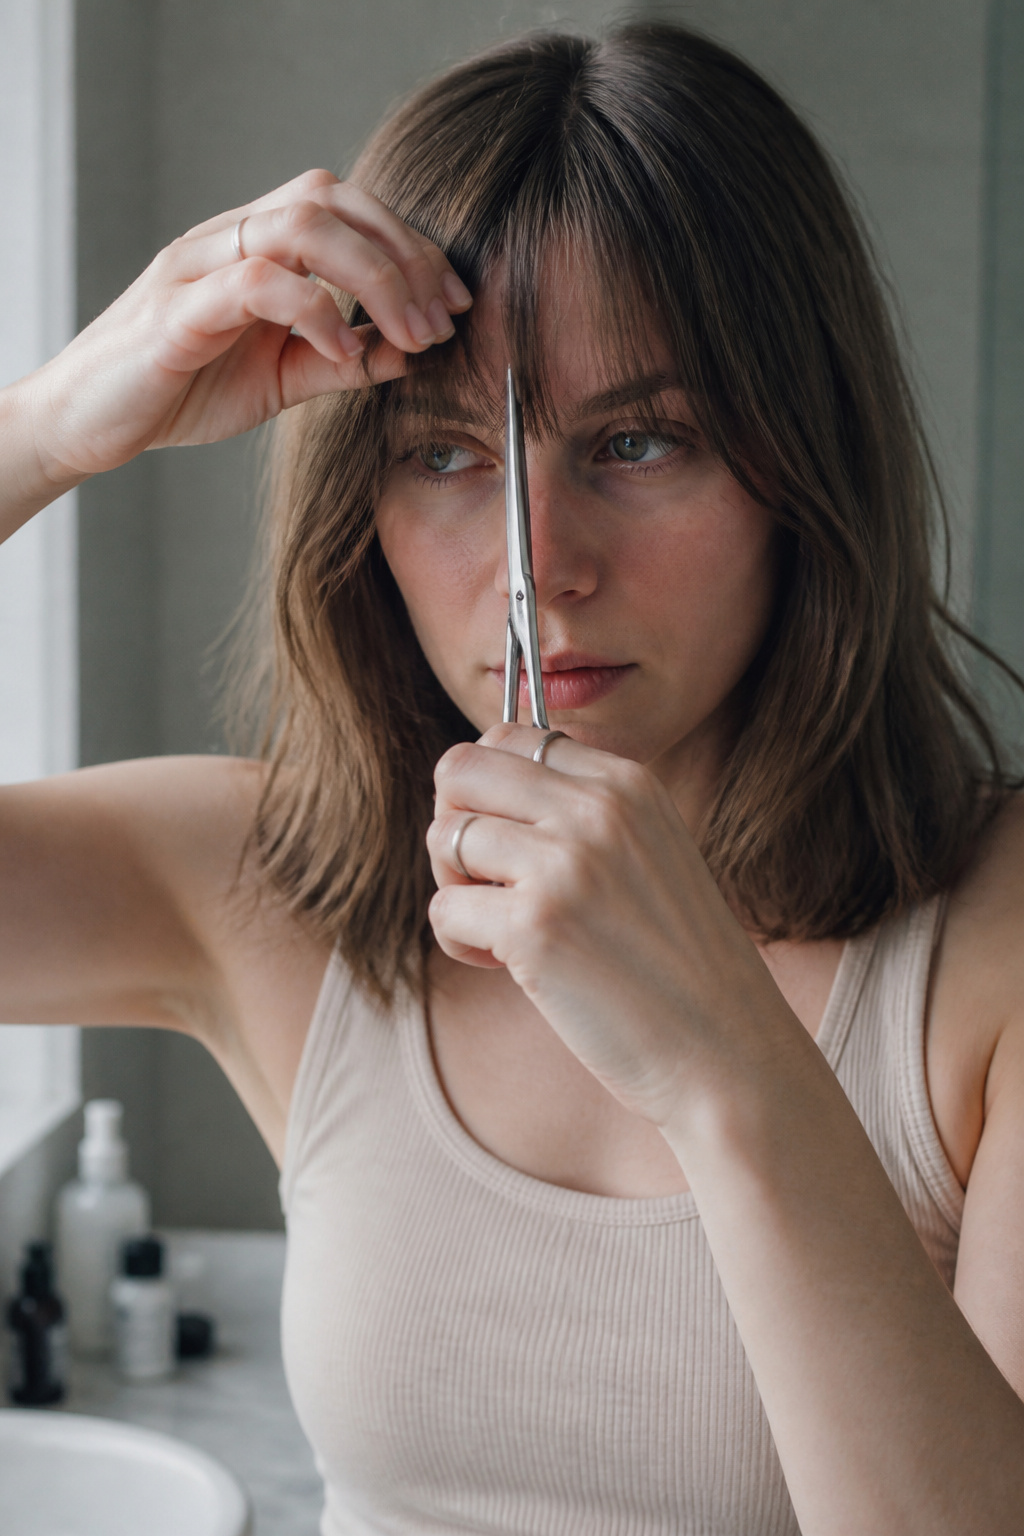

Feathered point cuts for that airy fringe
Point-cutting creates the wispy edge. Working in 1-centimeter wide vertical subsections, hold a small piece between your fingers and snip upward into the tips with the scissors held vertically. Use tiny 2 to 3 millimeter snips and alternate the angle slightly every two snips to avoid a repeating notch. This breaks up the hem so the bangs read lightweight.
For a Korean-style bite at the center, take the center 1 inch and make slightly shorter, delicate snips to form a shallow triangle that softens toward the sides. If you want a rounded look, leave the corners a touch longer so the fringe arcs into face-framing pieces.
The worst mistake in this phase is over-texturizing. Too many aggressive upward cuts leave sparse, frizzy tufts. Stop often and comb the section down to read the line. I keep a pair of thinning shears in reserve but rarely use them because light point-cutting gives a more natural result.


A round-brush finish that sits all day
A quick round-brush set calms the cut and gives shape. Spray a light mist of heat protectant on the fringe only, then use a 1.5 inch round brush to bend the bangs under while directing warm air down the hair shaft. I dry on medium heat; for my hair that is 320 to 350 F if my tool has numbers. One pass per subsection is enough.
If you prefer volume, lift at the roots with a little mousse applied to the root area only. Use a golf-ball-sized amount for collarbone-length hair and smooth it with fingers. Finish with a light mist of flexible hold hairspray, held 8 inches away, to preserve movement.
The common styling mistake is over-brushing into a blunt line. Keep strokes gentle and follow the natural fall. If pieces pop out during the day, a single pass with a small round brush while warming them for a few seconds resets the shape without restyling.
Common styling mistakes to avoid
Cutting wet hair. Wet hair appears longer and springs shorter. Cut dry or only lightly mist to control flyaways. The fix is the nose-level first cut and tiny upward snips.
Blunt horizontal cutting. A straight-across snip gives a heavy line that ages the face. Point-cut vertically in small increments to feather the edge.
Over-texturizing. Too many aggressive cuts create thin, frizzy patches. Pause and comb through to read the shape after every few snips.
Skipping a mirror check. Bangs can appear even when they are not. Use a hand mirror to view from different angles and correct in 2 millimeter steps.
How to make it last
Day one the fringe will sit best after a proper round-brush set. By day two the roots may flatten and the ends can clump. Refresh by roughing the roots with a palm-sweep of dry shampoo at the root zone and a quick 10 to 20 second warm pass with a round brush over the bangs.
If the ends look heavy, a single micro point-cut of 2 to 3 millimeters on the densest center piece is enough. Avoid repeating large cuts; frequent small trims keep the wispy texture. By late afternoon I sometimes touch the roots with a coin-sized drop of a lightweight cream to tame flyaways, applied sparingly.
What you'll need for this look
Heat tools
1.25 inch ceramic curling wand, 1.25 inch ($25 to $70). Useful if you want to touch in soft waves.
Lightweight hairdryer, travel to full size ($25 to $120). Spend more if you dry daily.
Styling products
Alcohol-free volumizing mousse, 8oz ($8 to $20). Use a golf-ball-sized amount at the roots.
Lightweight heat protectant spray, 4oz ($7 to $20). Spray the bangs only before hot styling.
Flexible hold hairspray, 6oz ($6 to $18). Keeps movement without stiffness.
Dry shampoo, 5oz ($6 to $18). Refreshes roots on day two.
Care and protection
Salon haircutting shears, 6.5 inch ($15 to $45). Sharp shears are worth the price over kitchen scissors.
Thinning shears, 6 inch ($10 to $35). Optional if your hair is very thick.
Accessories and finishing
1.5 inch round brush, boar mix ($8 to $30). The tool I use most for bangs.
Fine-tooth comb, rat tail ($3 to $10). For neat sectioning.
Matte claw clip, medium ($5 to $12). Keeps side pieces safely away.
Budget swaps
If you own only one tool, a decent pair of shears and a round brush beat a cheap dryer for bangs upkeep. Buy the shears from a local beauty store if you want to test weight in hand.


Where to start if you only change one thing
If you do one thing differently, cut on dry hair and start longer. Cutting at nose level first gives you time to refine and prevents panic shortness. Try that on a lazy Sunday and you will see why I stop beginners from cutting wet. Did you try this method before or cut wet by mistake once like I did? Tell me what happened.


