






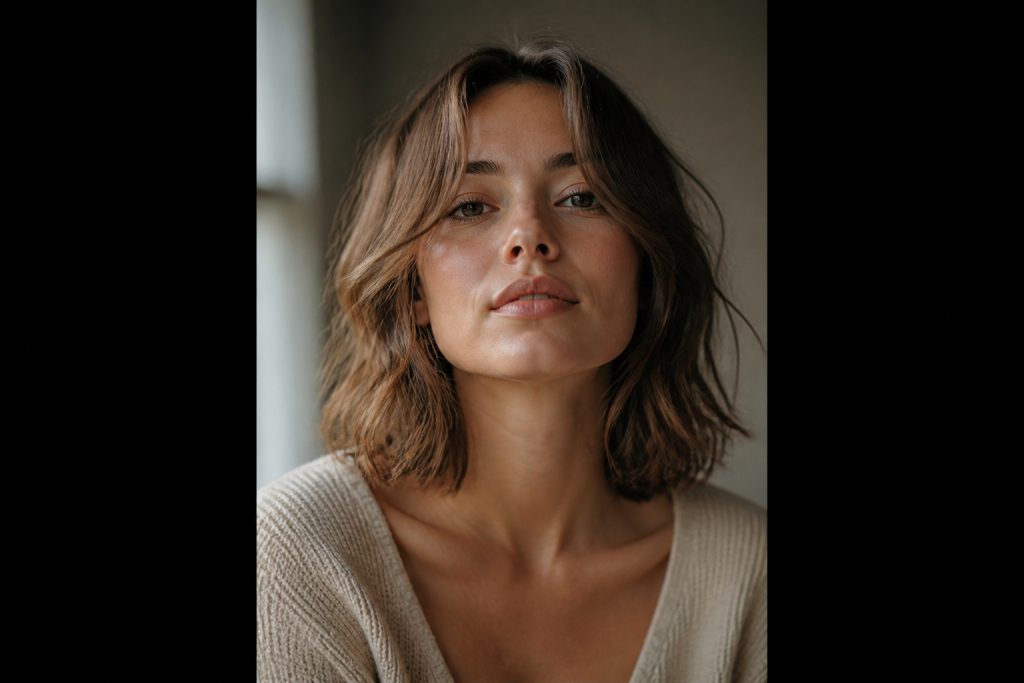

My curtain bangs styling used to split right down the middle by 10 a.m. I tried heavy pomades, overblown roots, and a salon miracle blowout that lasted two hours. What finally stopped the split was changing the direction I applied lift, setting the curve while it cooled, and using less product at the ends. Now my fringe swoops away from my face until evening.
I’m showing a realistic routine that takes 5 to 10 minutes on most mornings and an alternate for textured hair that only needs fingers. This works on collarbone-length to shoulder-grazing hair, medium density, and fine to medium textures. If you only have a blow dryer, you can get a polished swoop; if you already own a round brush, this is the faster path.

Prep and root lift that decides the shape
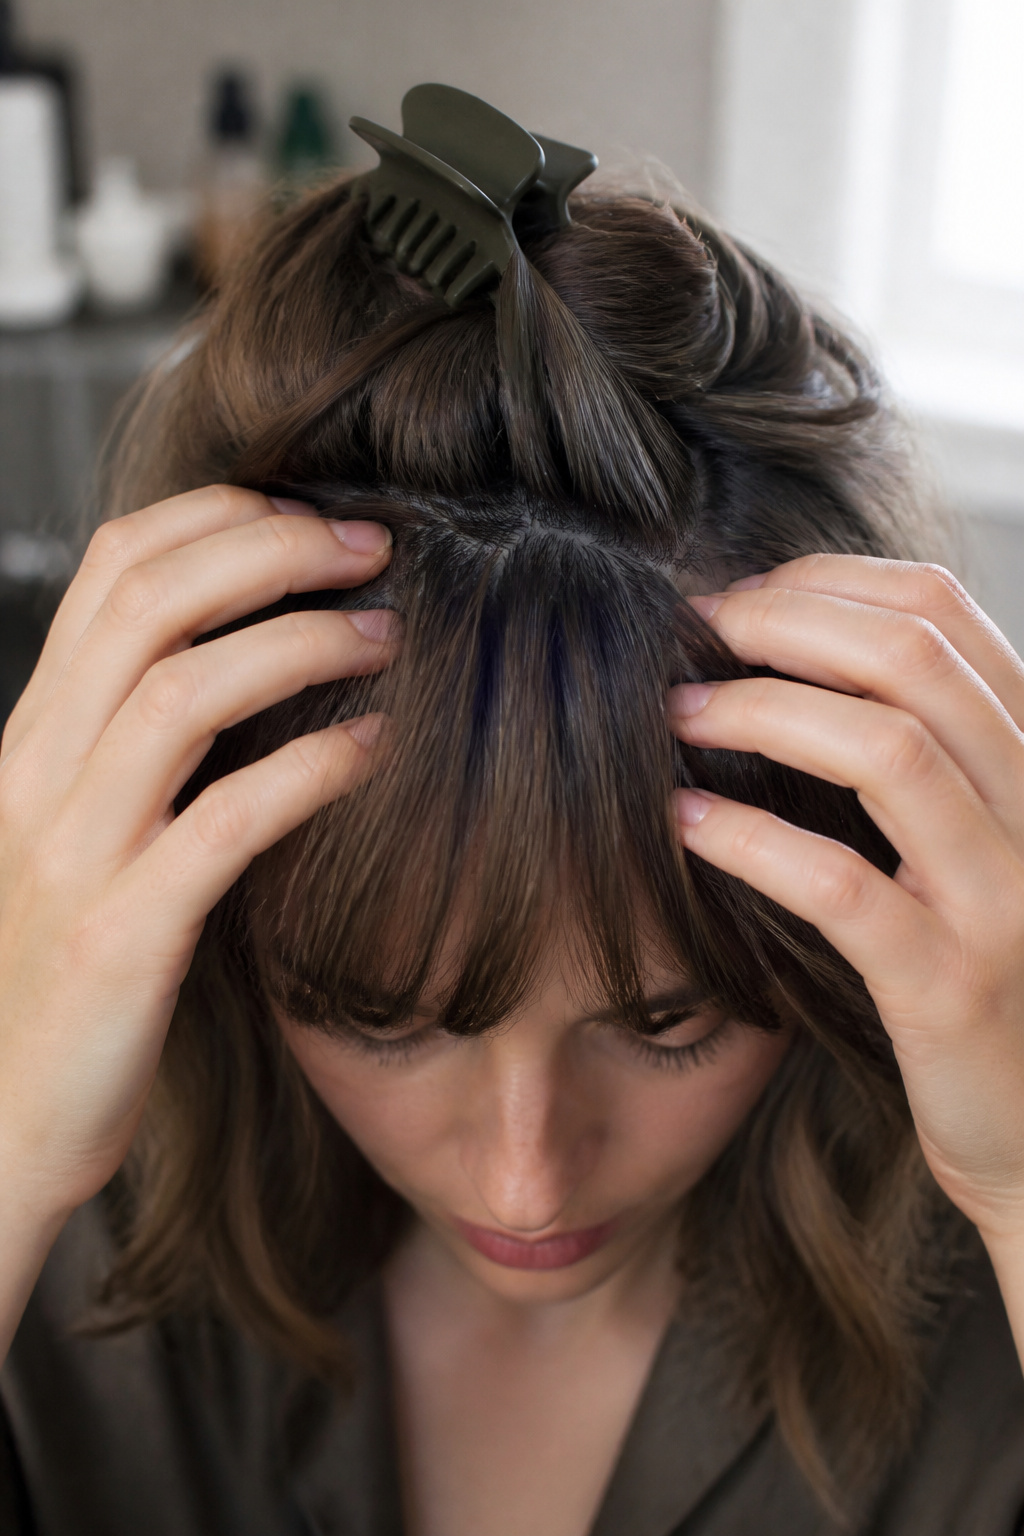
Prep decides how long the swoop holds, so I start with damp, towel-squeezed hair. I use an alcohol-free volumizing mousse at the roots of the fringe only. A golf-ball-sized amount is plenty for my collarbone-length hair; any more makes the ends stiff.
Work the mousse into the base with your fingertips, then comb the fringe forward so the roots are directed toward your opposite eyebrow. This diagonal launch angle is the trick that makes the bangs travel off-center instead of falling flat. Clip the rest of the hair away with a matte claw clip.
Blow-dry the fringe to about 80 percent, pointing the nozzle slightly down and across from root to mid-length so the root dries lifted and the mid-lengths get gentle direction. The biggest mistake here is starting hot-tool shaping on hair that is still too wet. It seams and collapses; rough-dry first. If you have a heat protectant spray, mist lightly now.

Round-brush blowout that builds a consistent arc
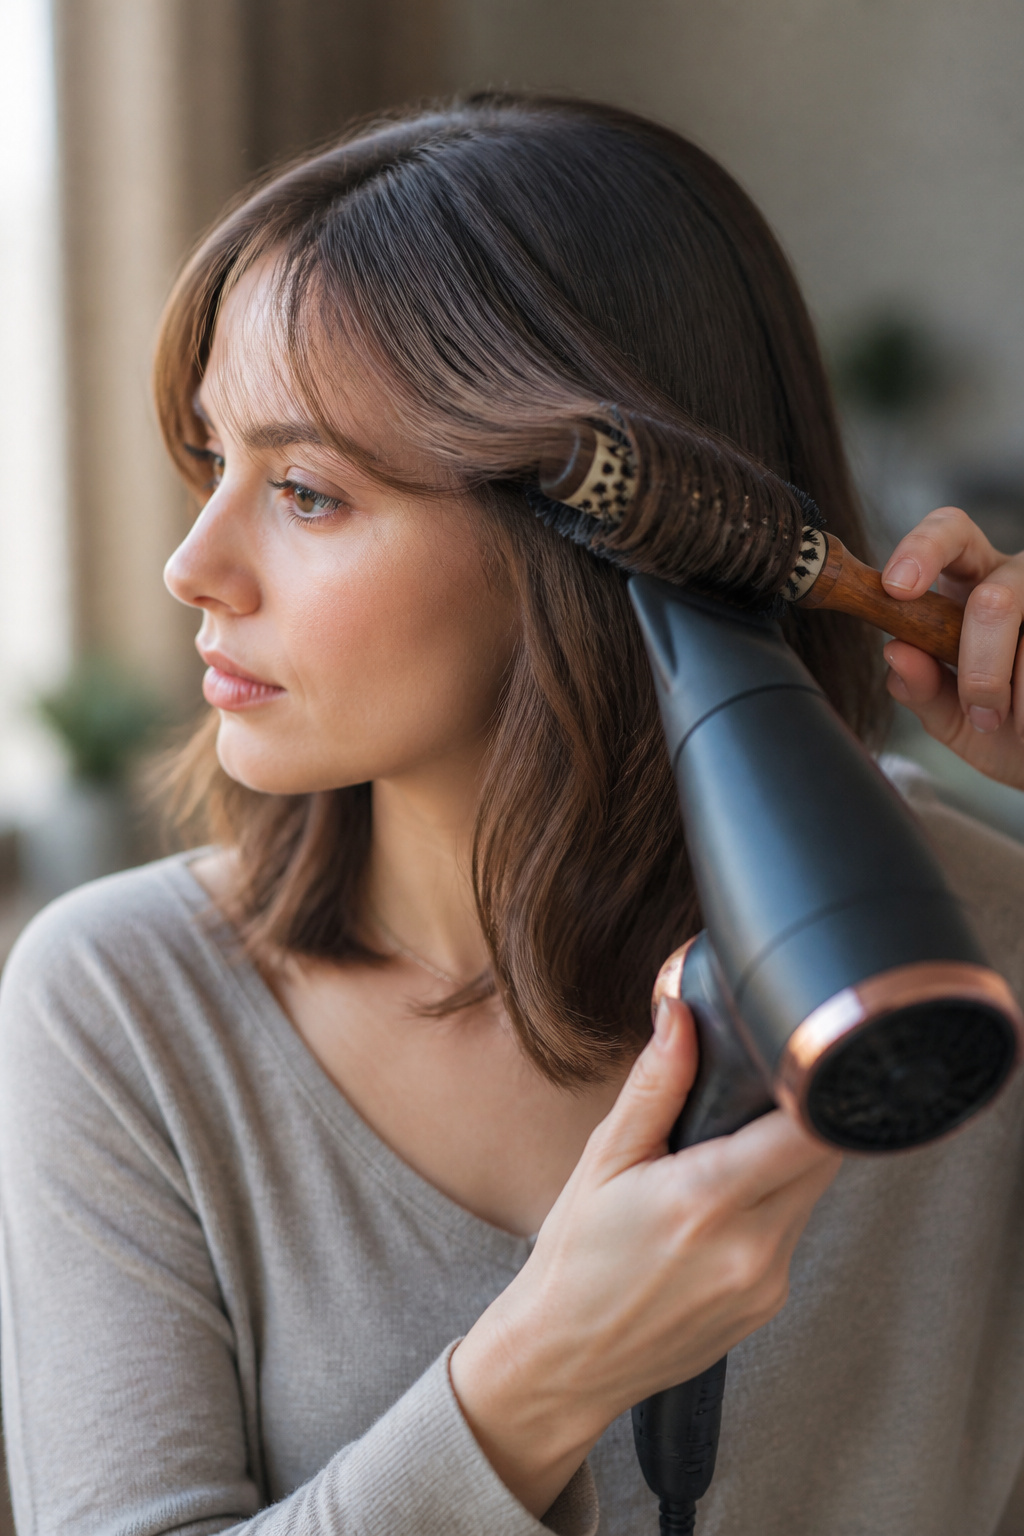
This is where you build the visual. I use a medium-barrel round brush, about 1.25 to 1.5 inches, because it makes a soft, salon-ish curve without an exaggerated curl. Place the brush under the fringe at the root and pull it out and across toward the cheekbone, aiming the airflow slightly down to smooth cuticle while rotating the brush to bend the hair outward.
Work in small sections, about thumb-width each, so you shape each piece deliberately. Keep the dryer on medium heat and medium speed to avoid overcooking the strand. When the section feels warm, flip the cool shot on to lock the bend, then release the hair into place and rest your hand to let it cool.
A common error is using a brush too large; a big barrel lifts but leaves a bubble at the root and no defined sweep. If you only have a blow dryer and a paddle brush, still dry the fringe forward and then sweep it outward with your fingers while cooling. I link my favorite brush in the shopping list below.

Hot-tool finish or heatless bend for a controlled swoop
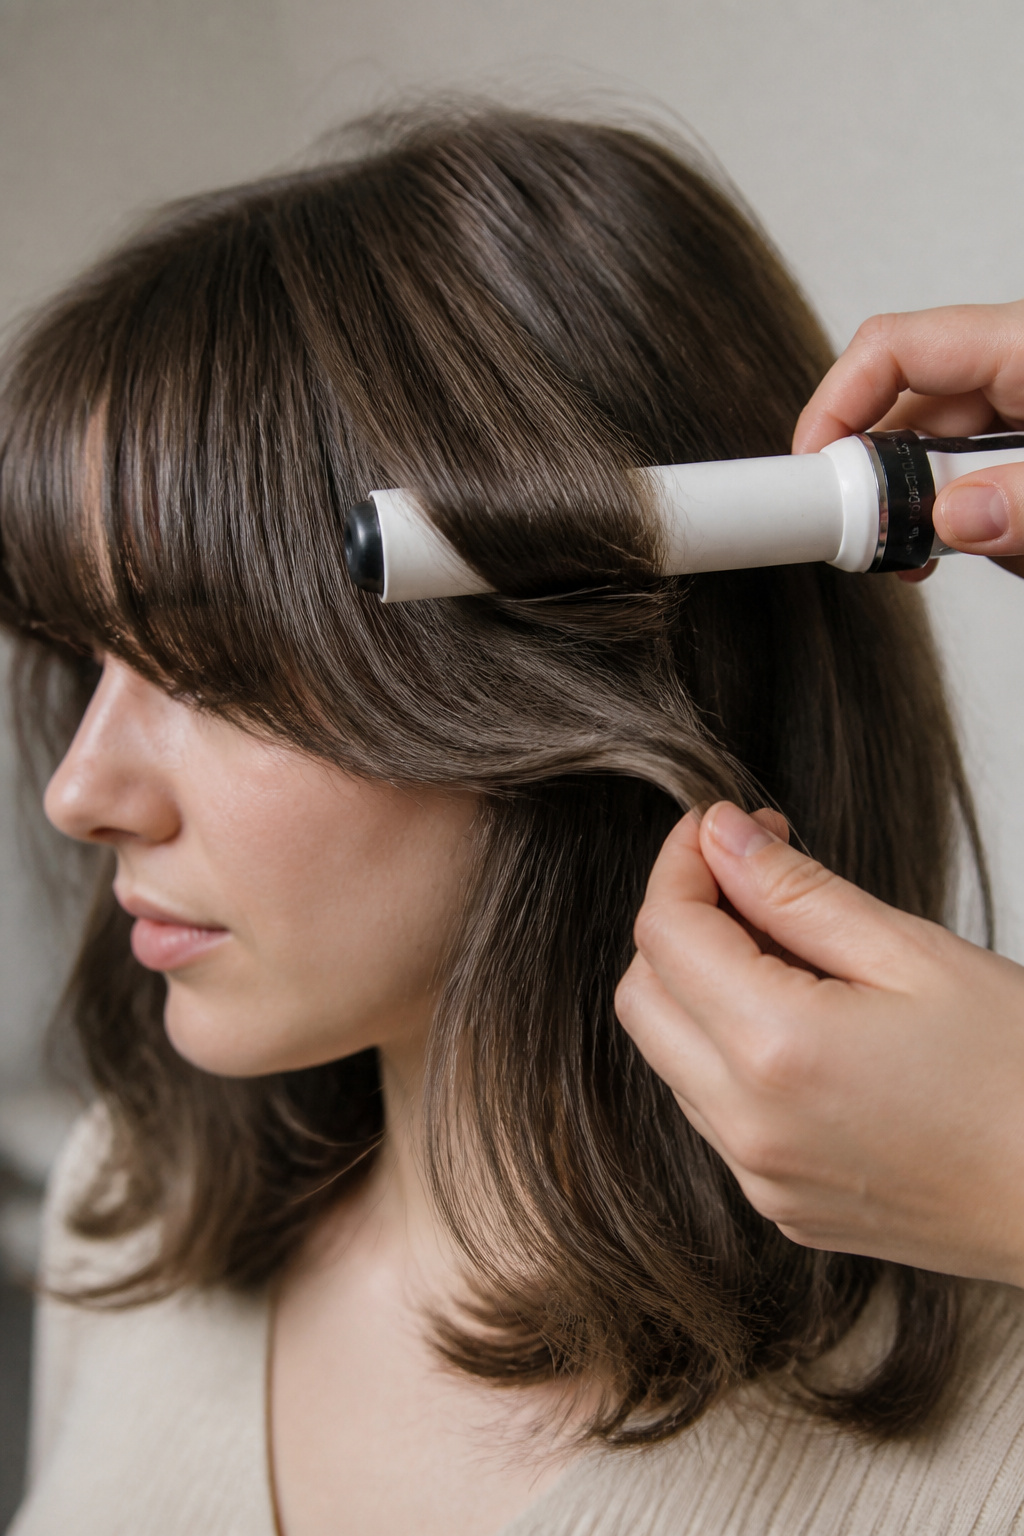
If you want a sleeker arc, finish on dry hair with a 1.25 inch ceramic curling wand or a 1 inch flat iron. Clamp the tool near the root, rotate away from the face then glide outward to create a subtle S-shape. Keep the iron at 300 to 350 F on my medium-density hair; higher temps flatten the movement later on.
For a low-heat alternative I learned to like, clamp the fringe in a single two-strand twist on each side while it cools and then open with fingers. For wavy or curly textures, rough-dry and finger-stretch the fringe across the face, coaxing a diagonal curve rather than forcing a full flip.
I failed early on by over-smoothing the ends with heavy serum. The look went limp by lunchtime. Now I use a coin-sized drop of lightweight pomade at the tips only, pinching pieces so they read defined without weight. If you prefer no heat, this phase can be a finger-style step.

Set and finish so it moves all day
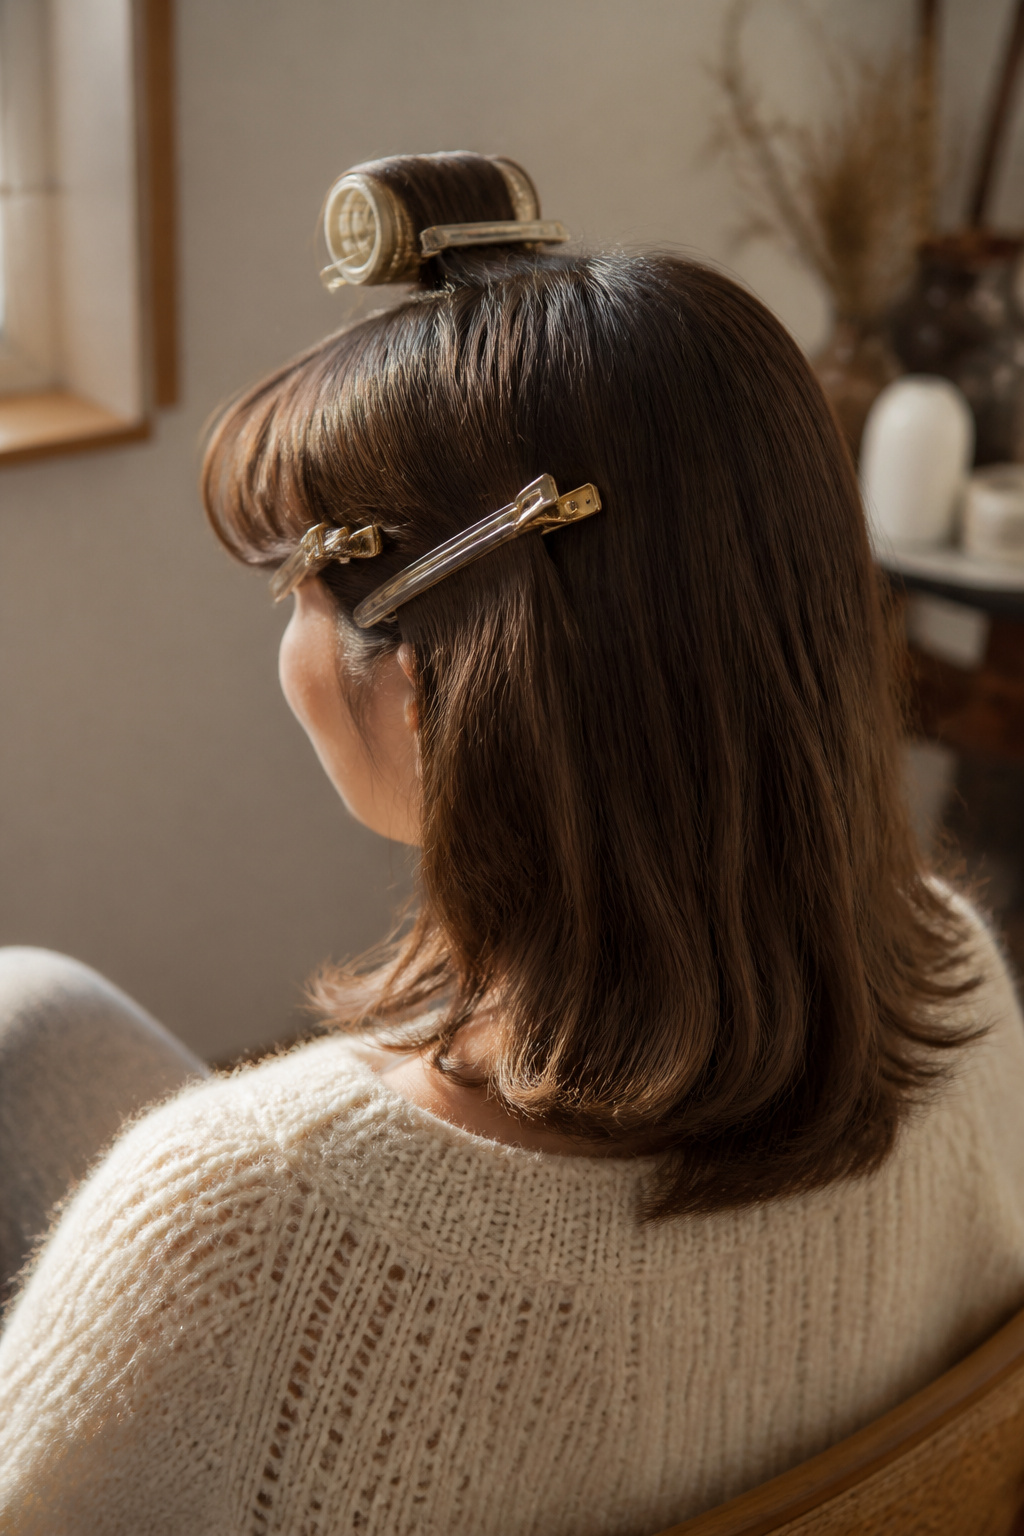
Setting while the hair cools is the make-or-break move. Use no-crease clips or a small Velcro roller at the part to preserve lift and the outward arc while the hair returns to room temperature. Let each side cool fully for 60 to 90 seconds before releasing.
Finish with a spritz of flexible hairspray held about 10 inches away and then pinch the ends into the final curve with your fingers. For day-two texture, a couple of finger-touches with dry texturizing spray at the roots revives lift without stiffness.
A finishing error I see often is using heavy pomade across the whole fringe. That flattens the base and makes the ends clump. Instead, apply a pea-sized amount only to selected strand ends or use a light texturizing mist for separation. I link the sprays and clips in the shopping list.
Common Styling Mistakes to Avoid
Starting hot on fully wet hair. Why it fails: the strand steams and loses shape. Better: rough-dry to 80 percent and then shape.
Using a huge brush for the whole fringe. Why it fails: you get volume without a clear curve. Better: a medium barrel, thumb-width sections.
Smothering the ends in oil or heavy cream. Why it fails: weight collapses lift. Better: a coin-sized drop of lightweight pomade on tips only, or texturizer for piece-y definition.
Letting the hair cool while loose. Why it fails: gravity resets the roots. Better: clip or roll each side while cooling to lock the direction.
How to Make It Last
The first thing that collapses is the root lift. In the morning I refresh by blasting the roots with a short warm-to-cool shot and pinching with my fingertips to reset direction.
On day two, spritz dry shampoo at the roots and finger-comb to reactivate texture. I avoid redoing the whole blowout; instead I smooth the mid-lengths with a 1.25 inch wand held briefly and pinch the ends back into the arc.
If humidity arrives, a light veil of flexible hairspray reduces splitting while keeping motion. Avoid heavy anti-frizz serums at the root; they heal frizz but remove lift.

What You'll Need for This Look
Heat tools
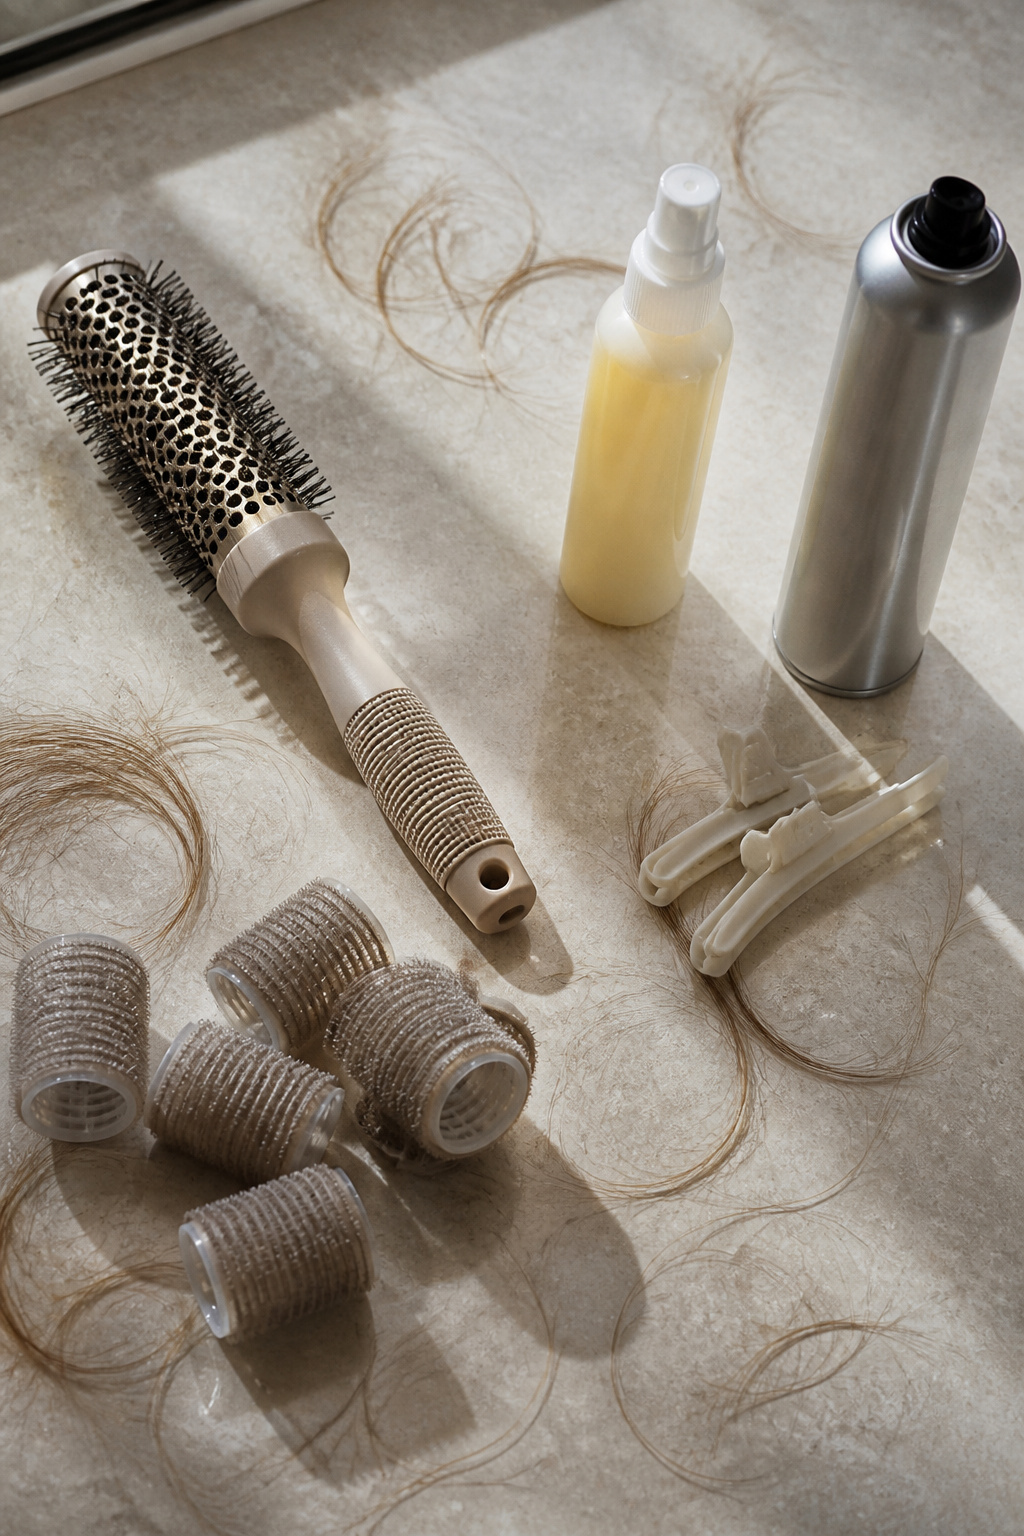
- Medium-barrel round brush, 1.5 inch ($18 to $45). Worth spending on if you blow out often.
- Blow dryer with nozzle ($30 to $200). A nozzle concentrates airflow for smoothing.
- 1.25 inch ceramic curling wand ($20 to $70). For soft outward flicks.
- 1 inch ceramic flat iron ($25 to $150). Use for sleeker bends.
Styling products
- Alcohol-free volumizing mousse, 8oz ($8 to $20). Apply at the root only.
- Heat protectant spray ($7 to $25). Spray before any hot tool.
- Flexible hairspray ($6 to $25). Keeps movement without crunch.
- Texturizing spray ($8 to $25). For piece-y finish and day-two refresh.
Care and quick fixes
- Leave-in conditioner spray ($8 to $30). For textured or frizzy hair.
- Dry shampoo for fine hair ($6 to $18). Revives root lift without weight.
Accessories and finishing
- Velcro rollers medium set ($8 to $20). Use at the part for added lift.
- No-crease hair clips pack ($5 to $15). Clip while cooling to preserve shape.
If you need to save, the wand or a good round brush is the one splurge I recommend; hairspray and clips are cheap and effective.


Where to start if you only change one thing
If you only do one thing, change how you set the root direction: blow the fringe toward the opposite eyebrow, then out. That diagonal launch plus cooling while clipped will stop the center split far more reliably than extra product. Try that for a week and tell me how your bangs behave by afternoon. How long do yours usually hold?


