








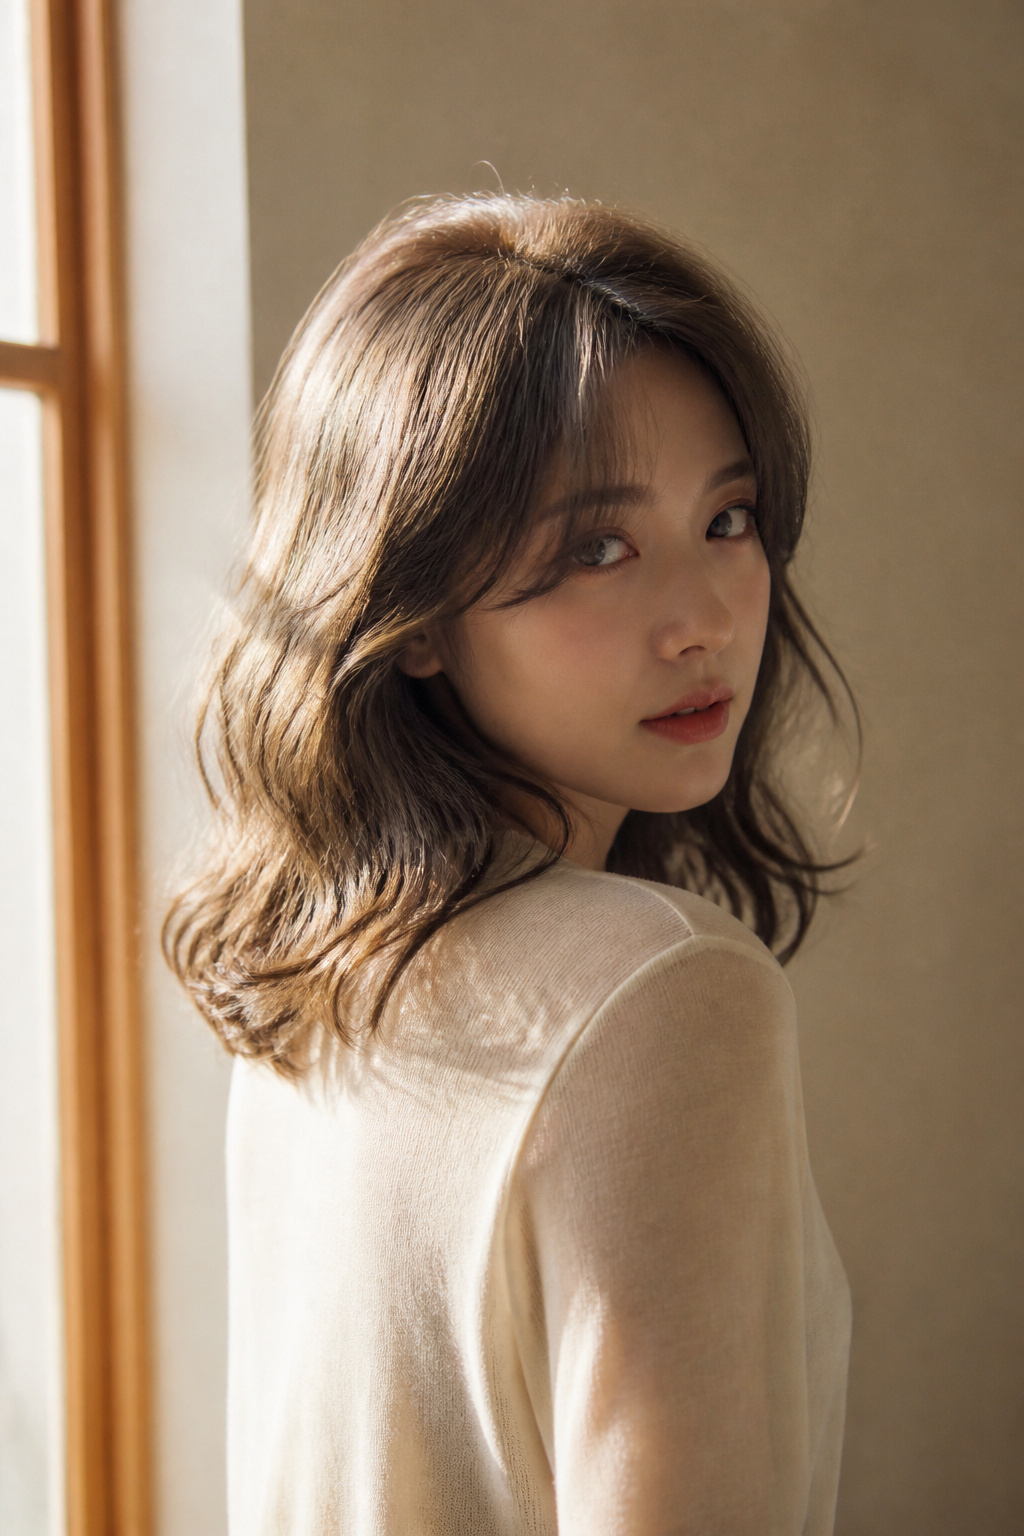
I used to rush out of the house and by 2pm my curls had collapsed into a limp wave. Learning how to do a curled hairstyle that looks salon-made but lived-in fixed that for me, and it starts with three small choices you can make every morning. This guide walks through my routine for soft, loose curls that hold through coffee and meetings.
This is the soft, natural wave I wear when I want polished hair without looking overdone. It works best on shoulder-length to mid-back cuts, and on straight to slightly wavy textures. If you already own a flat iron, you can skip buying a wand and still get the shape I show here. Trend note: I focus on root lift and face-framing pieces last, because that is what keeps the style from deflating by late afternoon.
Build the base so curls set and last
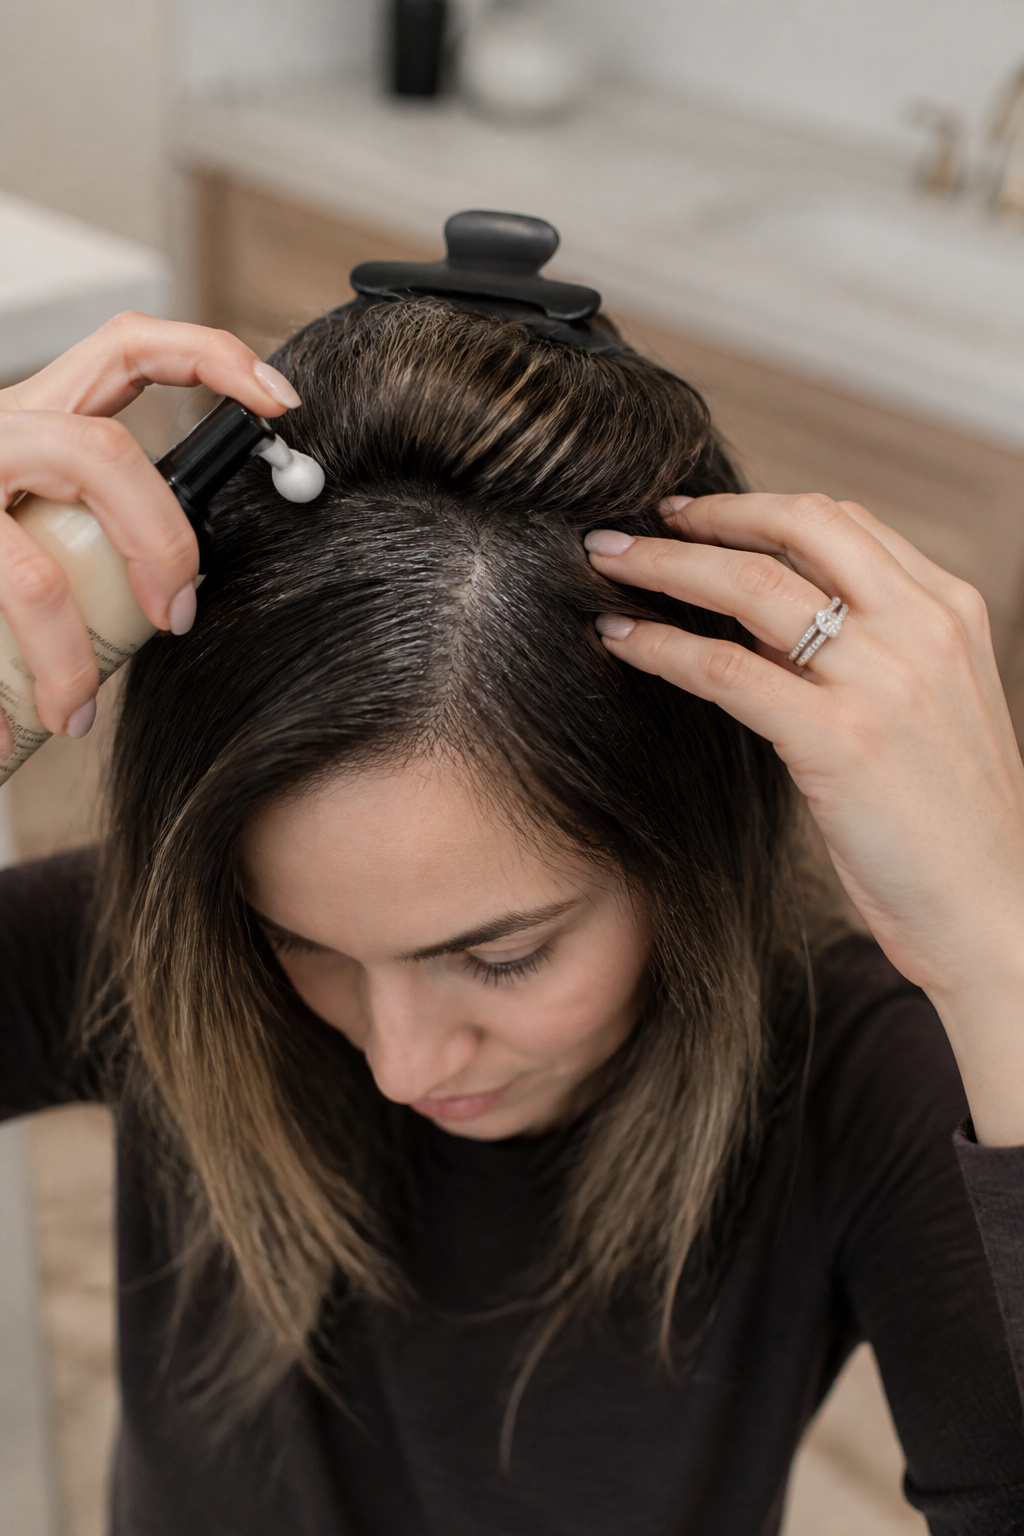

Prep decides how long the style holds, so I start on clean, towel-dried hair. I use an alcohol-free volumizing mousse on the roots only, because the ends should stay soft and move. For shoulder-length hair I use a golf-ball-sized amount and distribute it with my fingers at the crown and along the part.
Next I mist a heat protectant section by section. Spraying once over the top layer leaves a film that cooks the strand beneath. I comb through each section with a wide-tooth comb so the protectant is even and the hair detangles before any heat touches it.
Rough-dry to about 80 percent dry, focusing the blow dryer at the roots for lift while leaving the ends just warm. The biggest mistake here is starting with damp hair. If hair steams when you curl it, the wave falls apart and frizz appears.
Create root lift and set the section plan
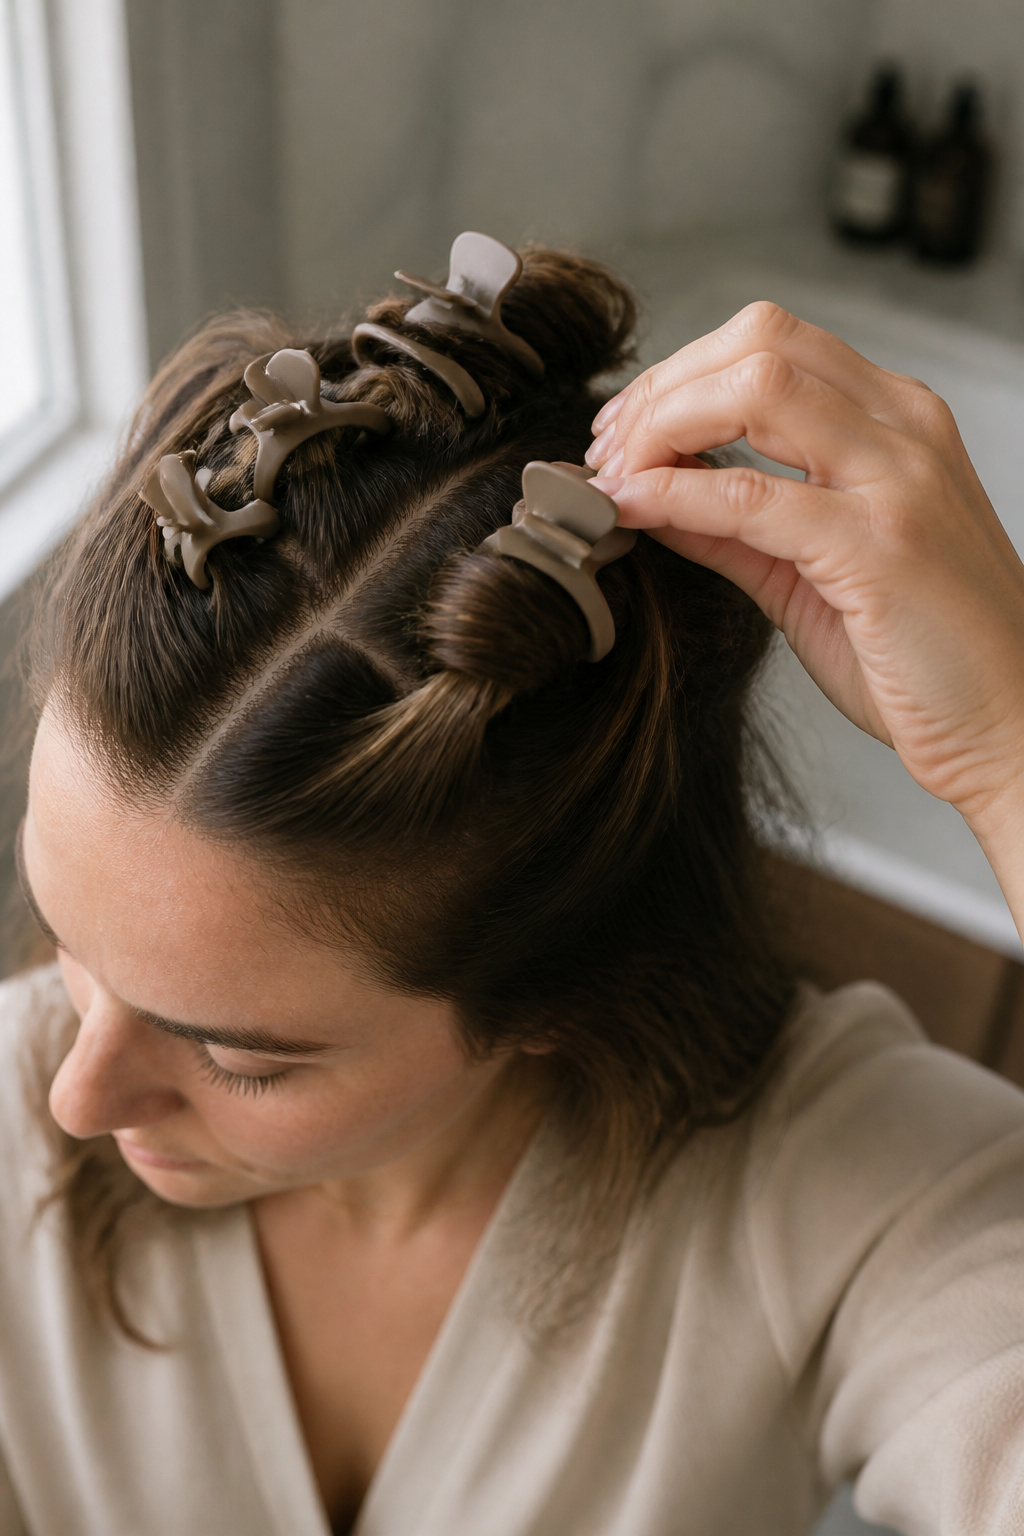

Volume begins before the wand appears. I section the top half away and clip at the crown so the weight of the lower hair does not pull down the lift. I work with 1-inch sections for shoulder-length hair. If your hair is long or thick, make the sections slightly smaller.
For root lift, I point the hairdryer nozzle at the roots while lifting each section with my fingers, then blast briefly with cool air to lock the base. That small cool burst helps set the direction. Clip each cooled section flat against the head so it rests in the lifted shape while you curl the lower layers.
People often curl everything and leave the crown untrained. That is why the whole style looks flat at 4pm. Training the roots first keeps your silhouette from collapsing.
Shape the waves for a natural, lived-in finish
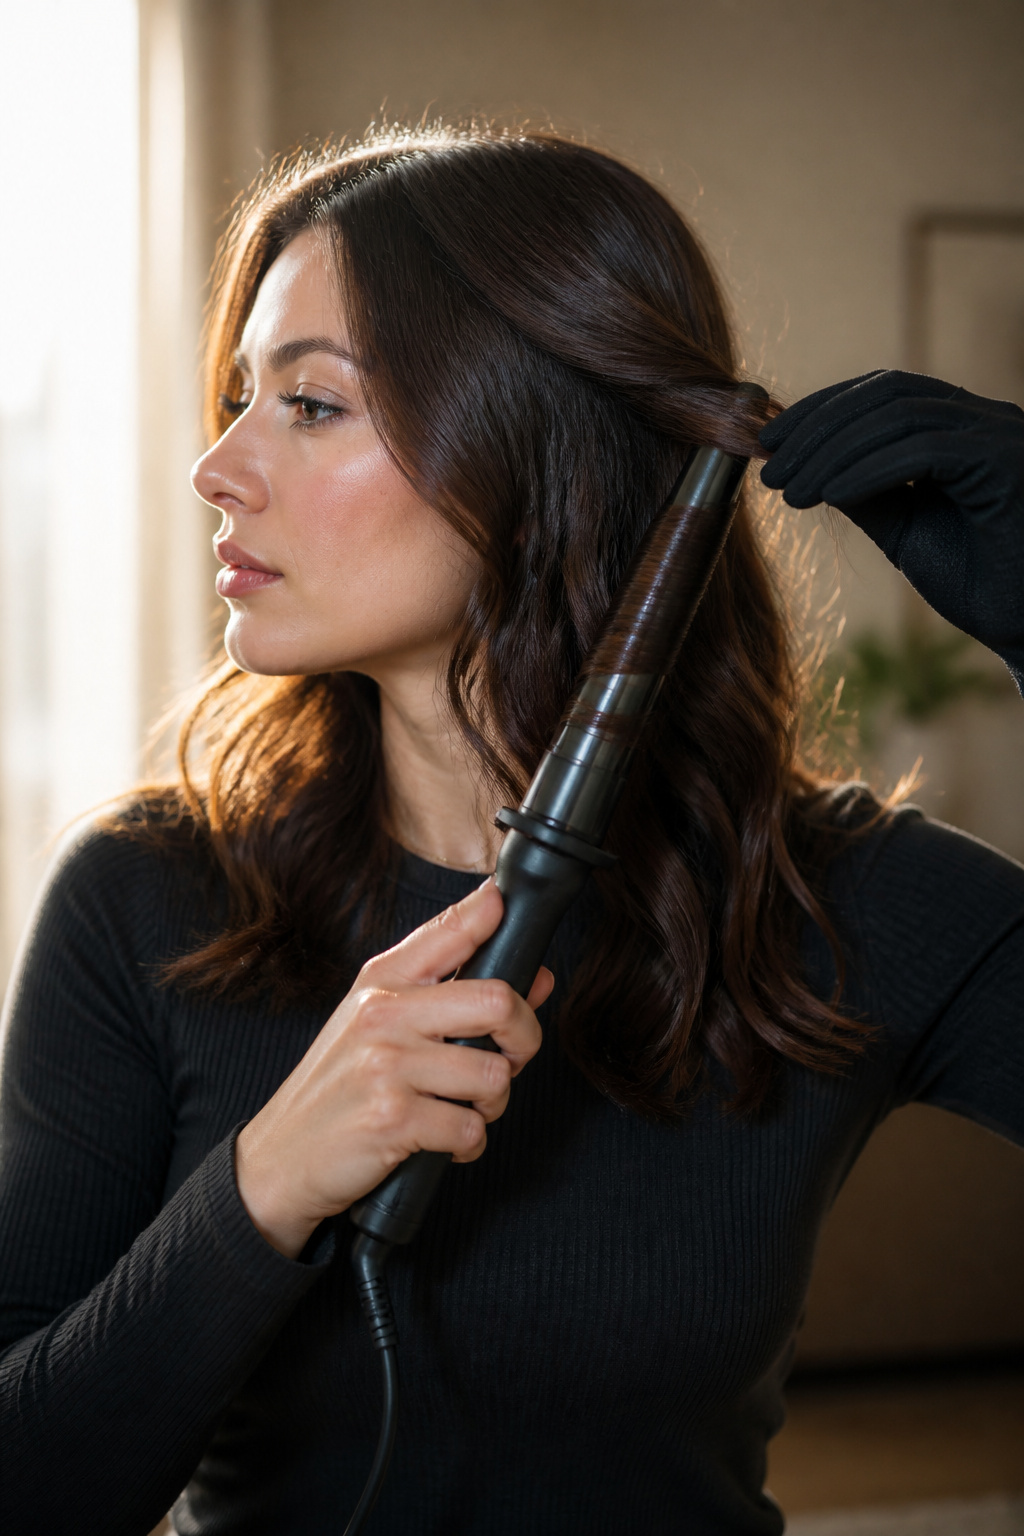

This is the part that makes most of the difference. I use a 1.25 inch ceramic wand on medium heat. For fine hair I set the tool to about 320 F, for medium to thick hair I use 350 F. Wrap each 1-inch section around the barrel starting about an inch below the root, and keep the last 1.5 to 2 inches free. Hold for 8 to 10 seconds, then drop the curl into your palm and pin it against the scalp to cool for 10 to 15 seconds if you want extra hold.
Always curl away from your face on the two front pieces for an open, face-framing look. For the rest of the head alternate directions, wrapping one section toward the face and the next away. That avoids a barrel effect and reads natural.
If you only own a flat iron, clamp the mid-shaft, twist the iron 180 degrees away from your head, and pull through slowly to create a ribbon curl. A heat-resistant glove helps you work confidently with a wand and prevents burns.
Finish by loosening for a soft, modern wave
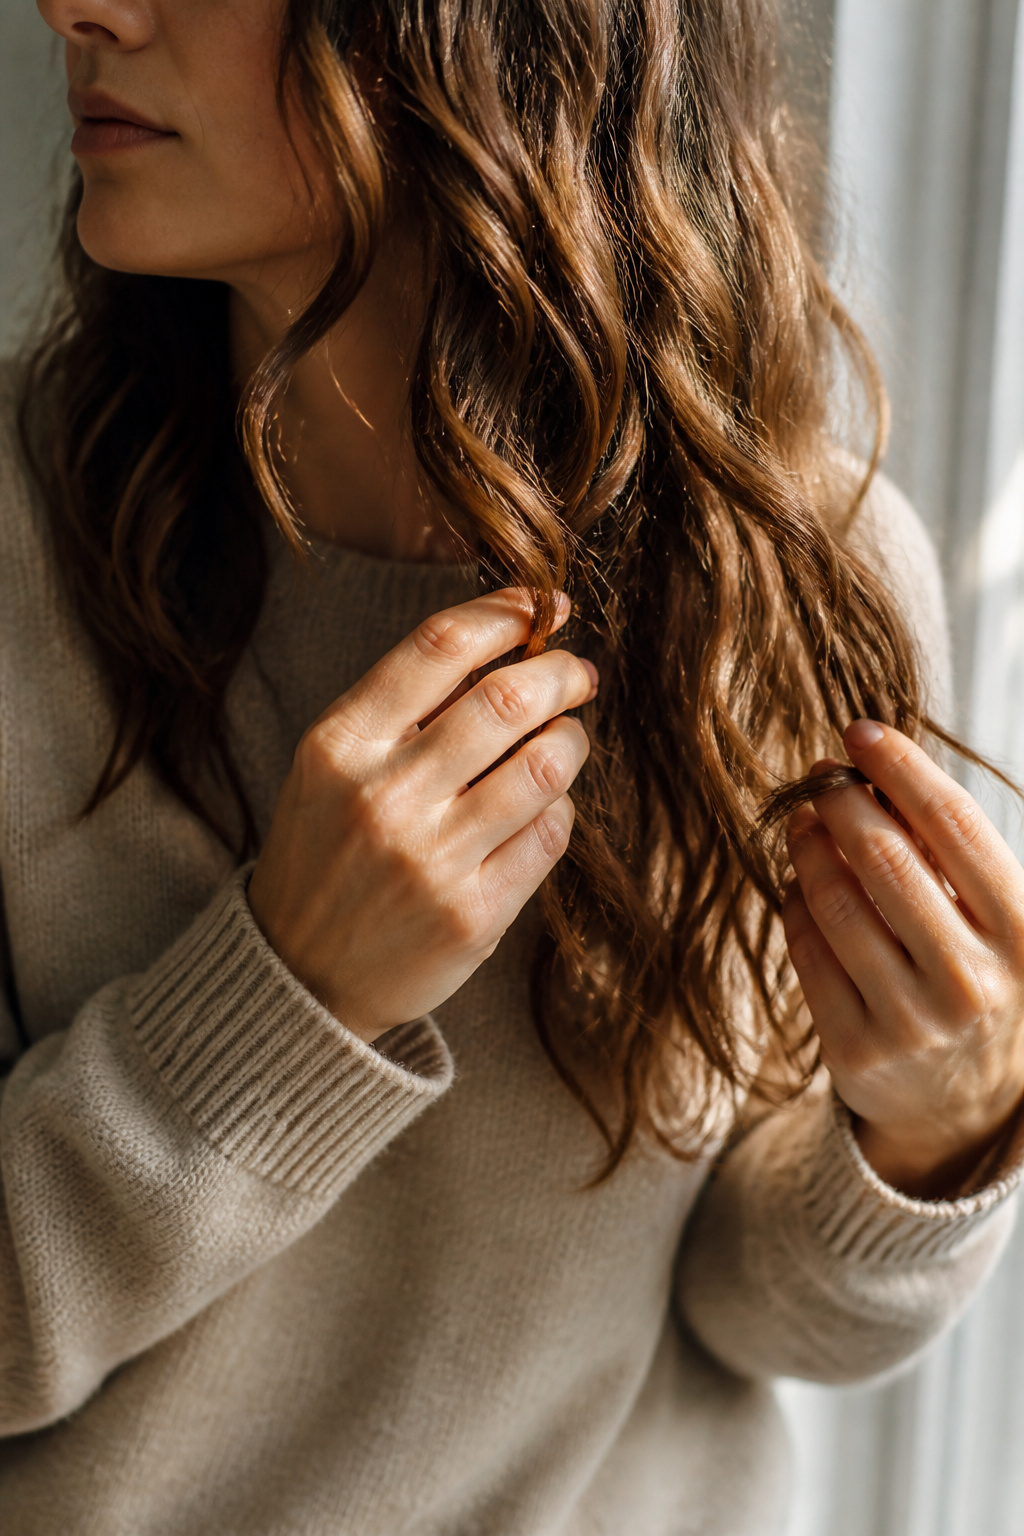

After every curl cools, I remove pins and let the head settle for a minute. Then I finger-comb by running my fingers gently through the mid-lengths to break the uniform rings into ribbons. I never brush out with a boar brush; that makes the style puffy and unnatural.
A light mist of flexible-hold hairspray at arms length keeps shape while allowing movement. I finish with a tiny coin-sized drop of lightweight serum applied only to the ends to smooth any frizz and add a soft sheen. Over-spraying is what makes curls look stiff, so less is better.
I used to overwork the front pieces and ended up with tight curls by the cheek. Curl those last, and sweep them away from your face for a softer effect.
Common Styling Mistakes to Avoid
Curling damp hair. If you curl before hair is dry the strand steams and the curl will fall. Rough-dry to 80 percent and only then use hot tools.
Using big, sloppy sections. Large sections give uneven heat and a chunky look. Stick to 1-inch sections for shoulder-length hair, smaller for thinner hair.
Curling everything in the same direction. That creates barrel-like uniformity. Alternate directions and curl away from the face on front pieces for natural movement.
Heavy product at the roots. Too much mousse or oil at the scalp makes curls slide out. Apply volumizing mousse to the roots only and any oil or serum to the ends.
How to make it last
On day two the crown tends to go first. I refresh roots with a few sprays of dry shampoo and gently lift with my fingertips. If a few front pieces have lost shape, I touch them with a 1-inch barrel for 3 to 5 seconds rather than redoing the whole head.
To sleep, I put my hair in a loose, low bun on a silk pillowcase. That reduces friction and keeps the wave intact. If you need an emergency quick fix, mist a bit of water on the mid-lengths, scrunch with a tiny amount of styling cream, and let it air-dry for fifteen minutes.
What you'll need for this look
Heat tools
- 1.25 inch ceramic curling wand ($30 to $80)
- 1.25 inch flat iron, ceramic plates ($25 to $120)
Styling products
- Alcohol-free volumizing mousse, 8oz ($8 to $20)
- Light flexible hold hairspray, 8oz ($6 to $18)
- Lightweight hair serum for ends, 1oz ($7 to $25)
Care and protection
- Heat protectant spray ($8 to $25)
- Dry shampoo for root lift, 6oz ($6 to $20)
Accessories and finishing
- Heat-resistant glove, single ($6 to $20)
- Matte claw clip set, 3 pack ($7 to $18)
- Wide-tooth comb ($4 to $12)
Budget swap. If you are keeping costs down, prioritize the wand and the heat protectant. A decent wand lasts years, while hairspray and mousse are consumables you can buy cheaper.

Where to start if you only change one thing
If you do only one thing, set the roots first. Training the crown with a tiny bit of mousse, a quick root blast of the dryer, and clipping the cooled section changes how the whole style reads by late afternoon. Try that for a week, and tell me what held best for you. Which part of your curl routine gives you the most trouble?


