






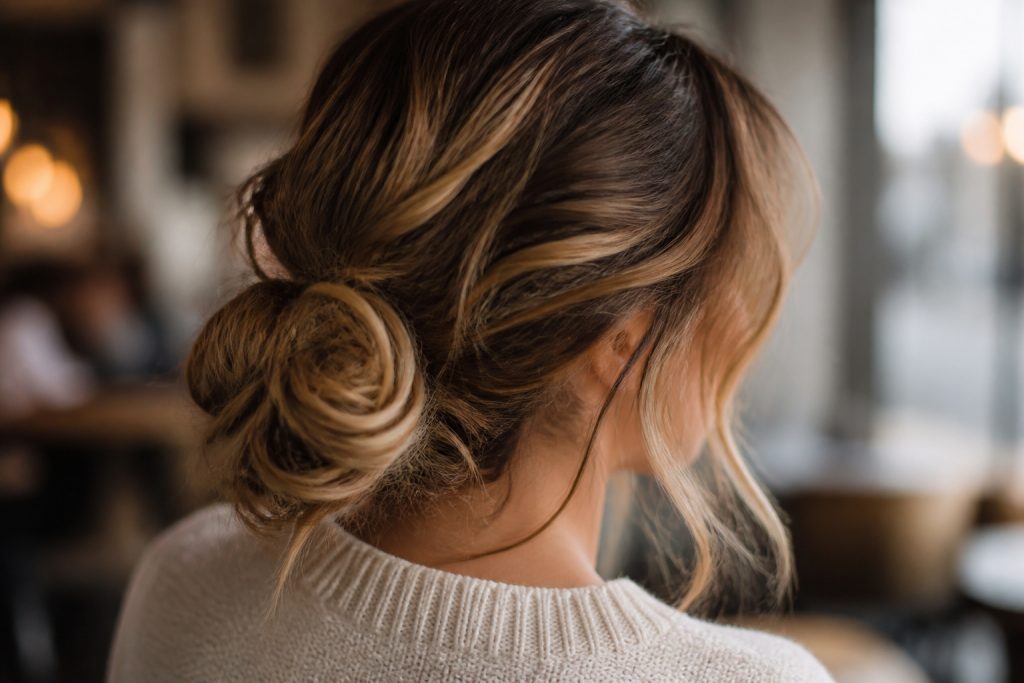

I swore I could never make a bun look intentional until one rushed morning when a loose knot on day-two hair earned a compliment at work. Cute bun hairstyles became my go-to after that. Below are 17 easy knots and twists that read tidy, not try-hard, and most take about five minutes once you know the tricks.
These are relaxed, lived-in, and work best on shoulder-length to long hair, straight to wavy. I include quick fixes for fine hair, a few braid-forward options, and a couple of looks to ask your stylist about. Most of these are no-heat or low-effort and built for mornings that start with snooze.
Cute bun hairstyles you can do in 5 minutes
Messy Low Bun with Face-Framing Pieces
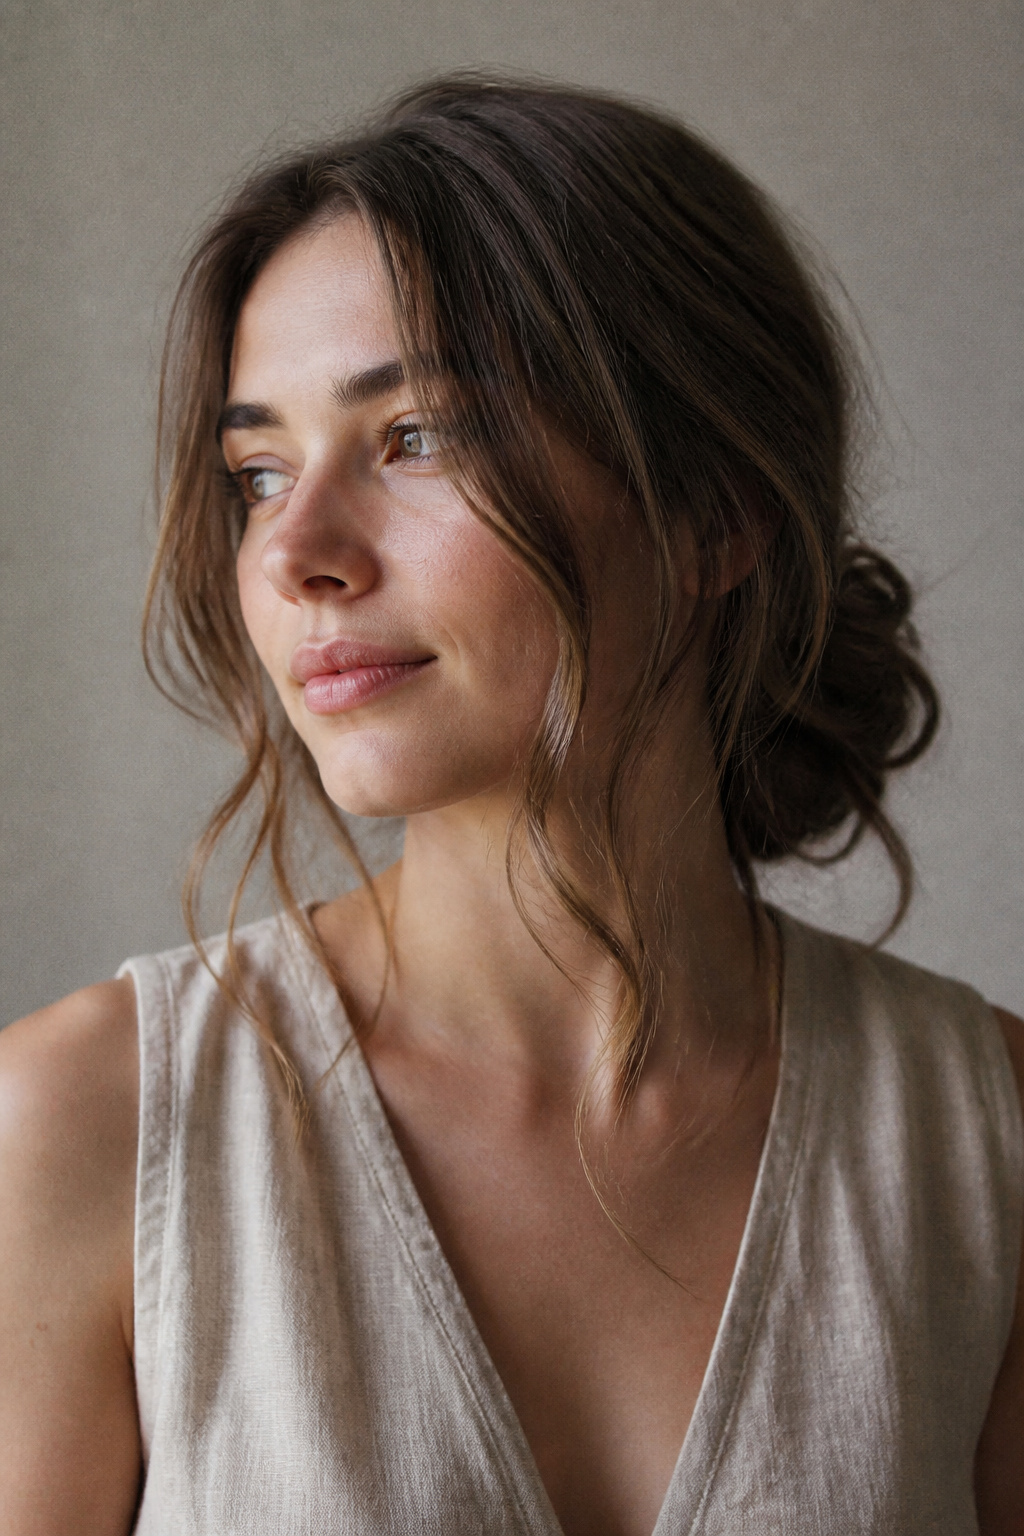

Best for medium to long hair. Trim every 10 to 12 weeks. About 5 minutes each morning.
This is the one I reach for when my hair feels flat but I still want a soft, undone look. The payoff is a knotted silhouette that reads intentional because of the two curtain-like pieces left at the temples. To get volume, lightly tease the ponytail before wrapping it into a low knot and pull small sections loose after pinning. Mistake to avoid: leaving too many random flyaways; loosen the bun in controlled sections so it looks designed, not messy.
Sleek Low Bun for a Polished Finish
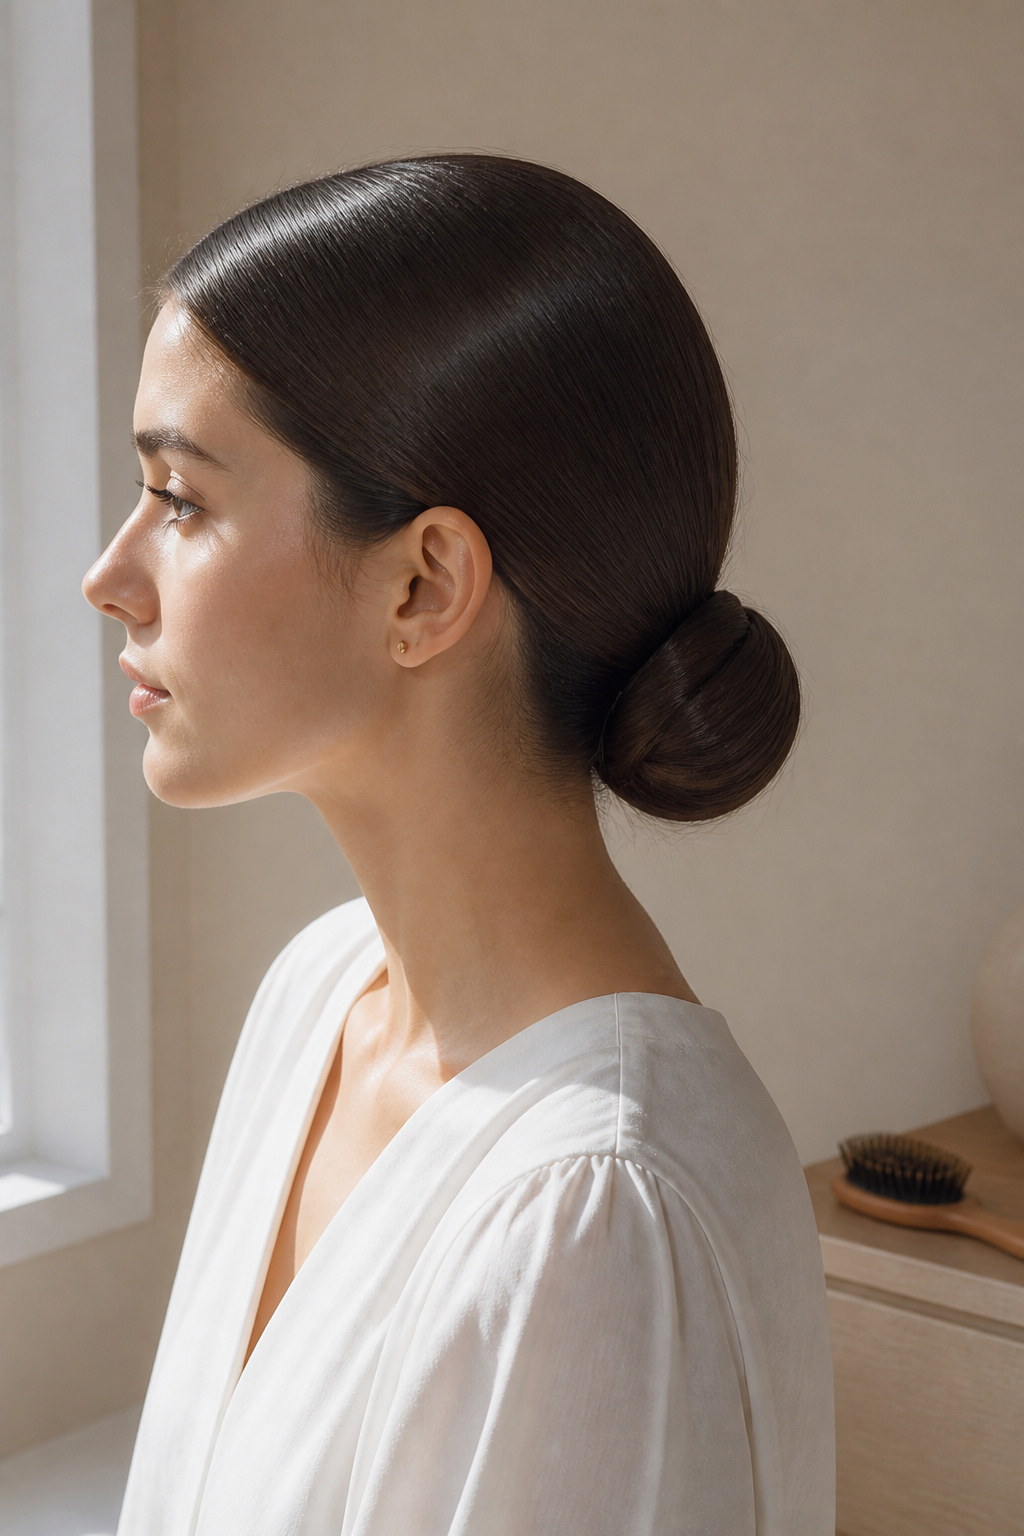

Best for medium to long hair. Touch up roots as needed. About 8 minutes with prep.
If you need a humidity-proof work look, this one holds up. The visual payoff is a glassy, compact knot that puts the face in focus. Apply smoothing balm from roots to mid-lengths, brush into a low pony, and wrap tightly. The trick is smoothing the crown without flattening the ponytail, so use a small amount of gel at the hairline and a light serum on the bun’s surface. Honest moment: I used too much gel once and it looked lacquered. Less is better.
Cashmere Chignon for Soft Elegance
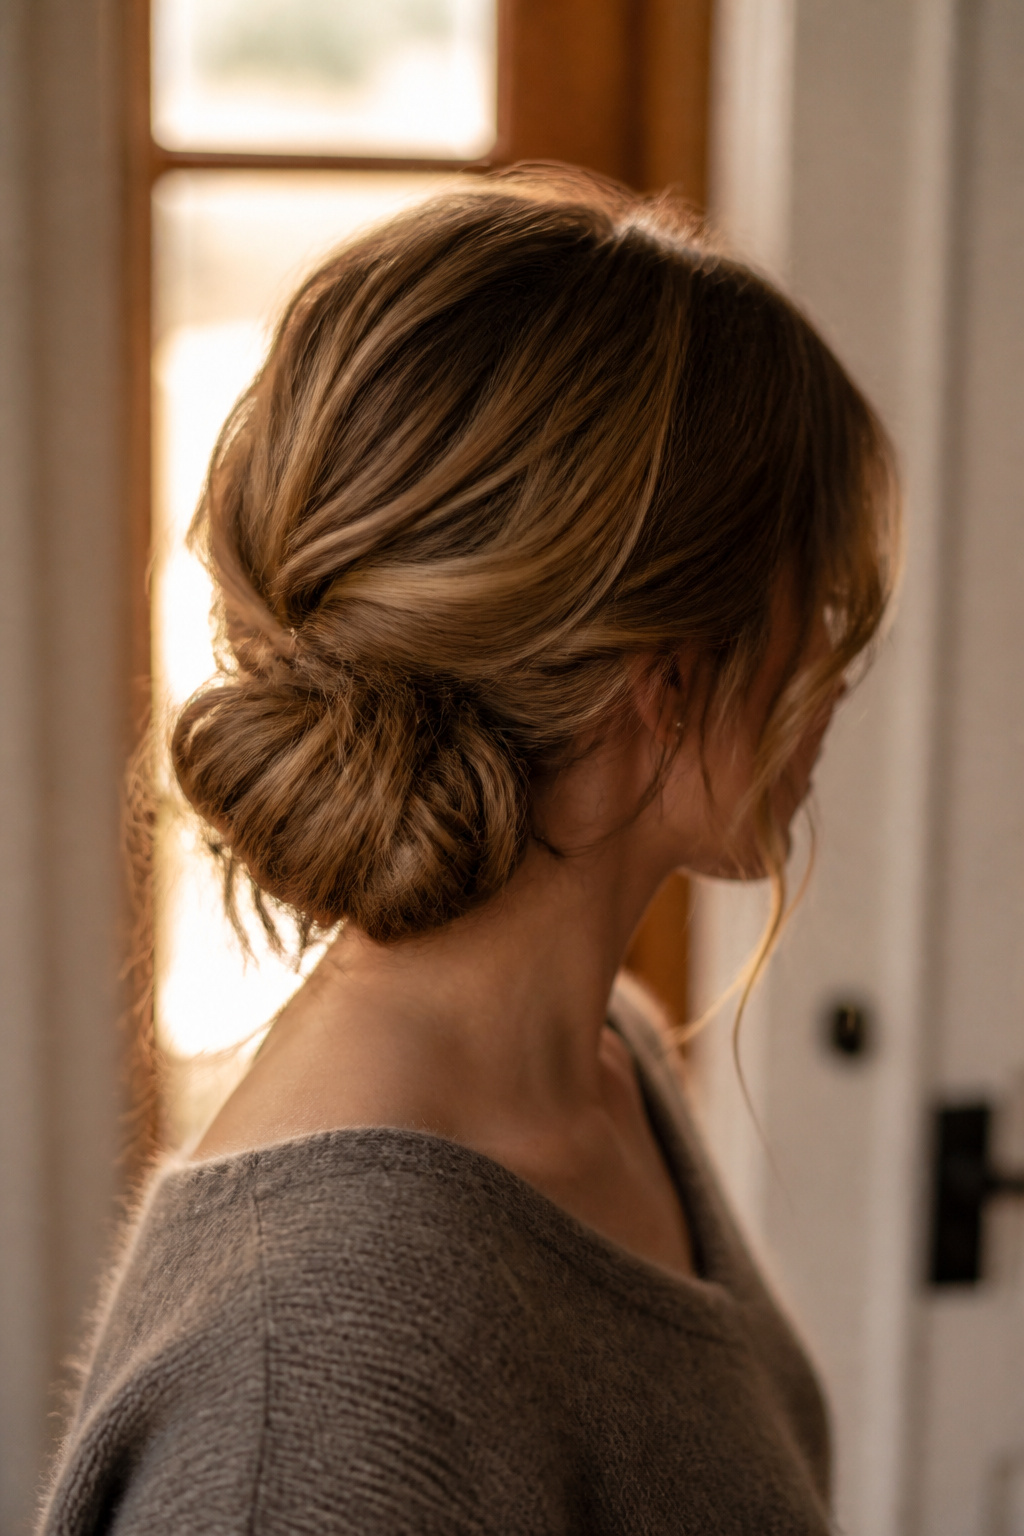

Best for medium to long hair. Ask stylist for soft shaping. About 6 to 10 minutes for careful pinning.
This softened chignon reads elevated without feeling formal. It flatters oval and heart shapes because the softness around the neck and temples softens angles. The technique is to loosely twist sections into a low knot and tuck ends under rather than wrapping tight. Common mistake: pinning too many tight bobby pins so the chignon looks armored. Tip your stylist toward “soft cashmere finish” rather than a hard shell. No product links here; this is a style ask more than a tool list.
Butterfly Bun with Winged Side Volume
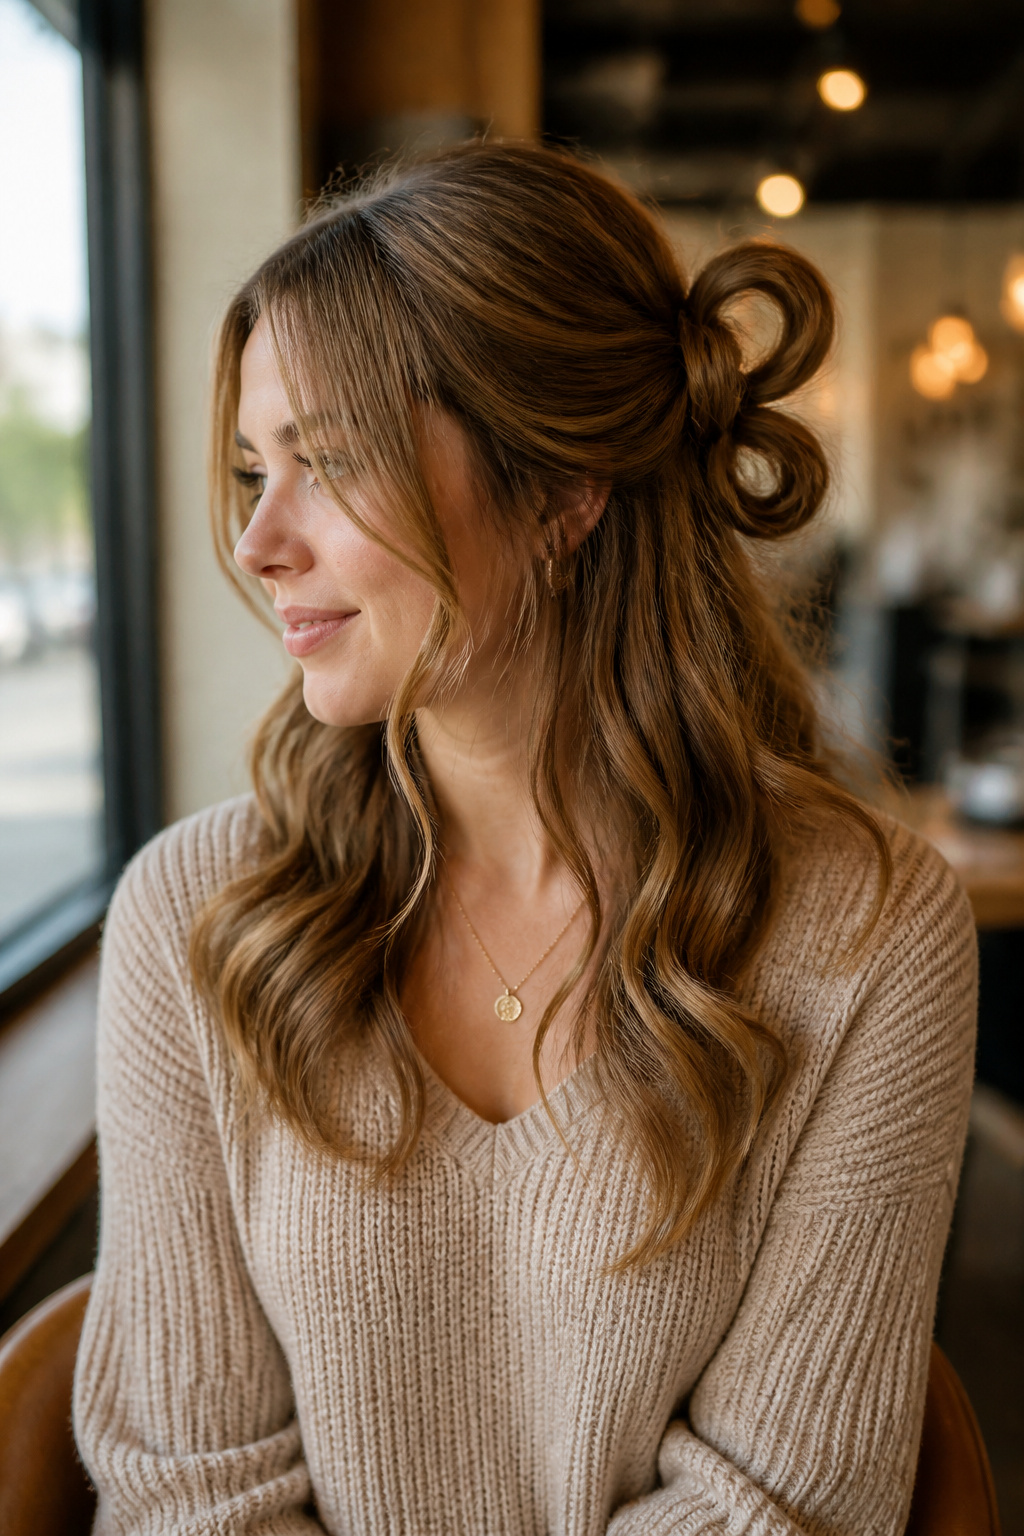

Best for medium to long wavy hair. Touch-up with pins as needed. About 5 minutes.
This playful shape immediately reads youthful and social-media friendly. The payoff is outward-flaring loops that frame the head like wings. Section the hair into three parts, loop the side sections outward before securing the central knot, and spray mid-hold texturizer into the loops for piecey separation. People often over-tease the wings; keep the loops airy so the shape looks deliberate, not bulky.
Double Buns That Stay Cute, Not Costume
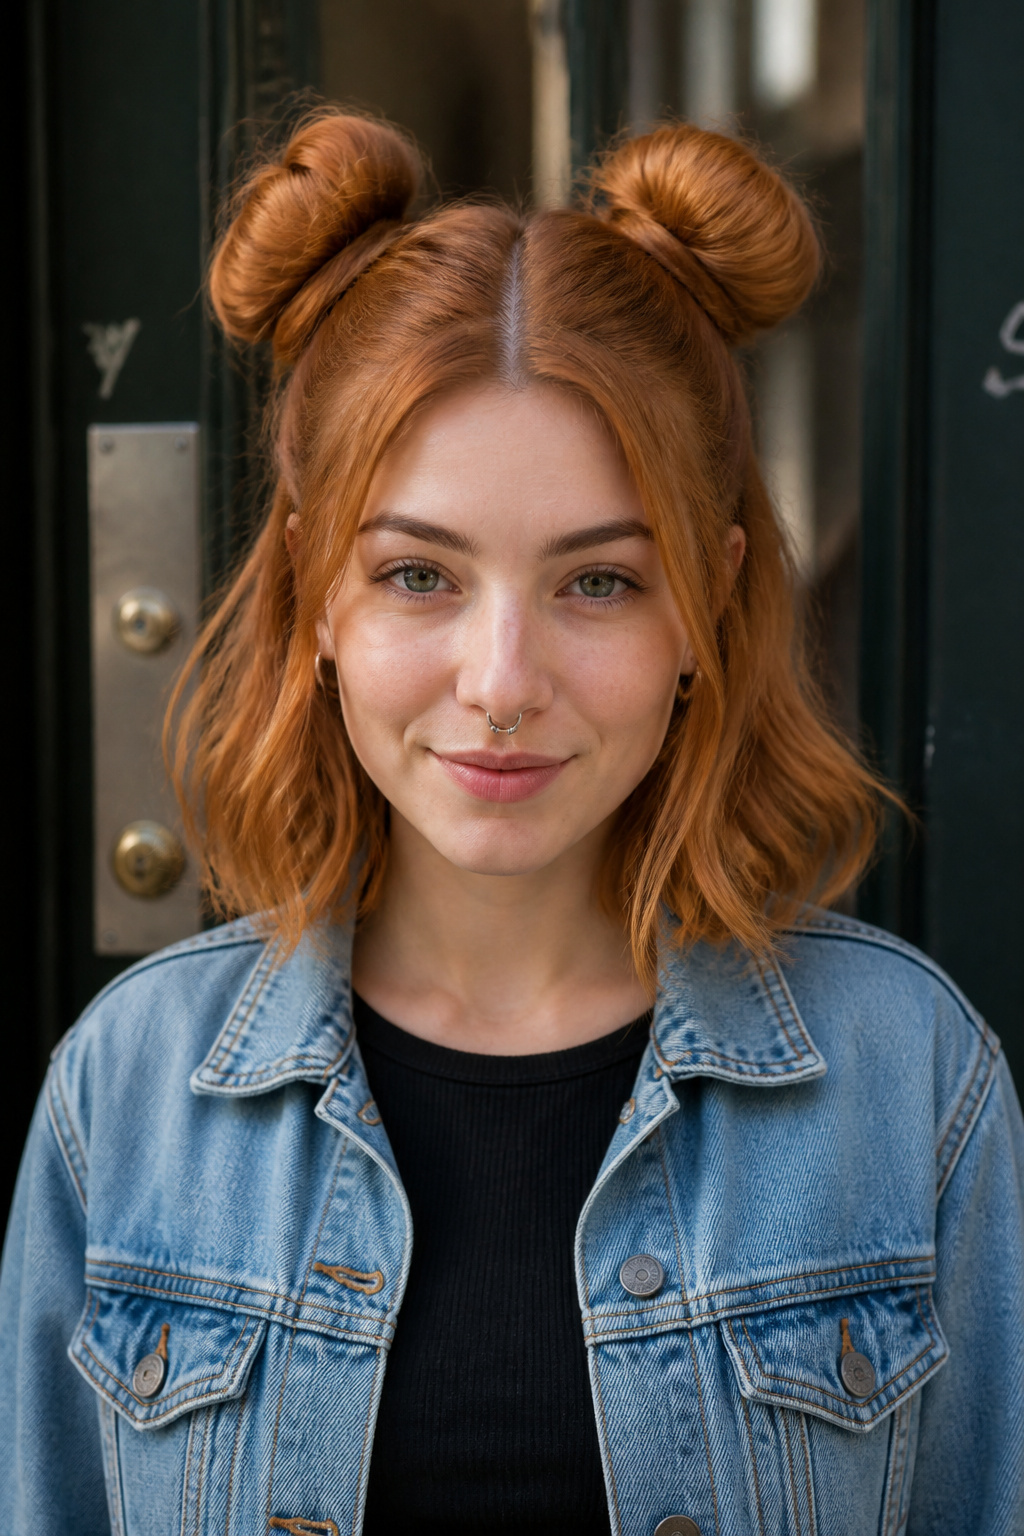

Best for short to medium hair. Reposition every few hours if loose. About 5 minutes.
Double buns read playful and modern when spaced correctly. The payoff is a balanced, face-opening silhouette. Make two small high ponytails, twist each into a compact knot, and leave a few short pieces loose to soften. Mistake to avoid: placing buns too close to the hairline, which can look juvenile. Move them slightly back for a more grown-up finish. Texturizing spray helps grip.
High Bun Top Knot for Instant Lift
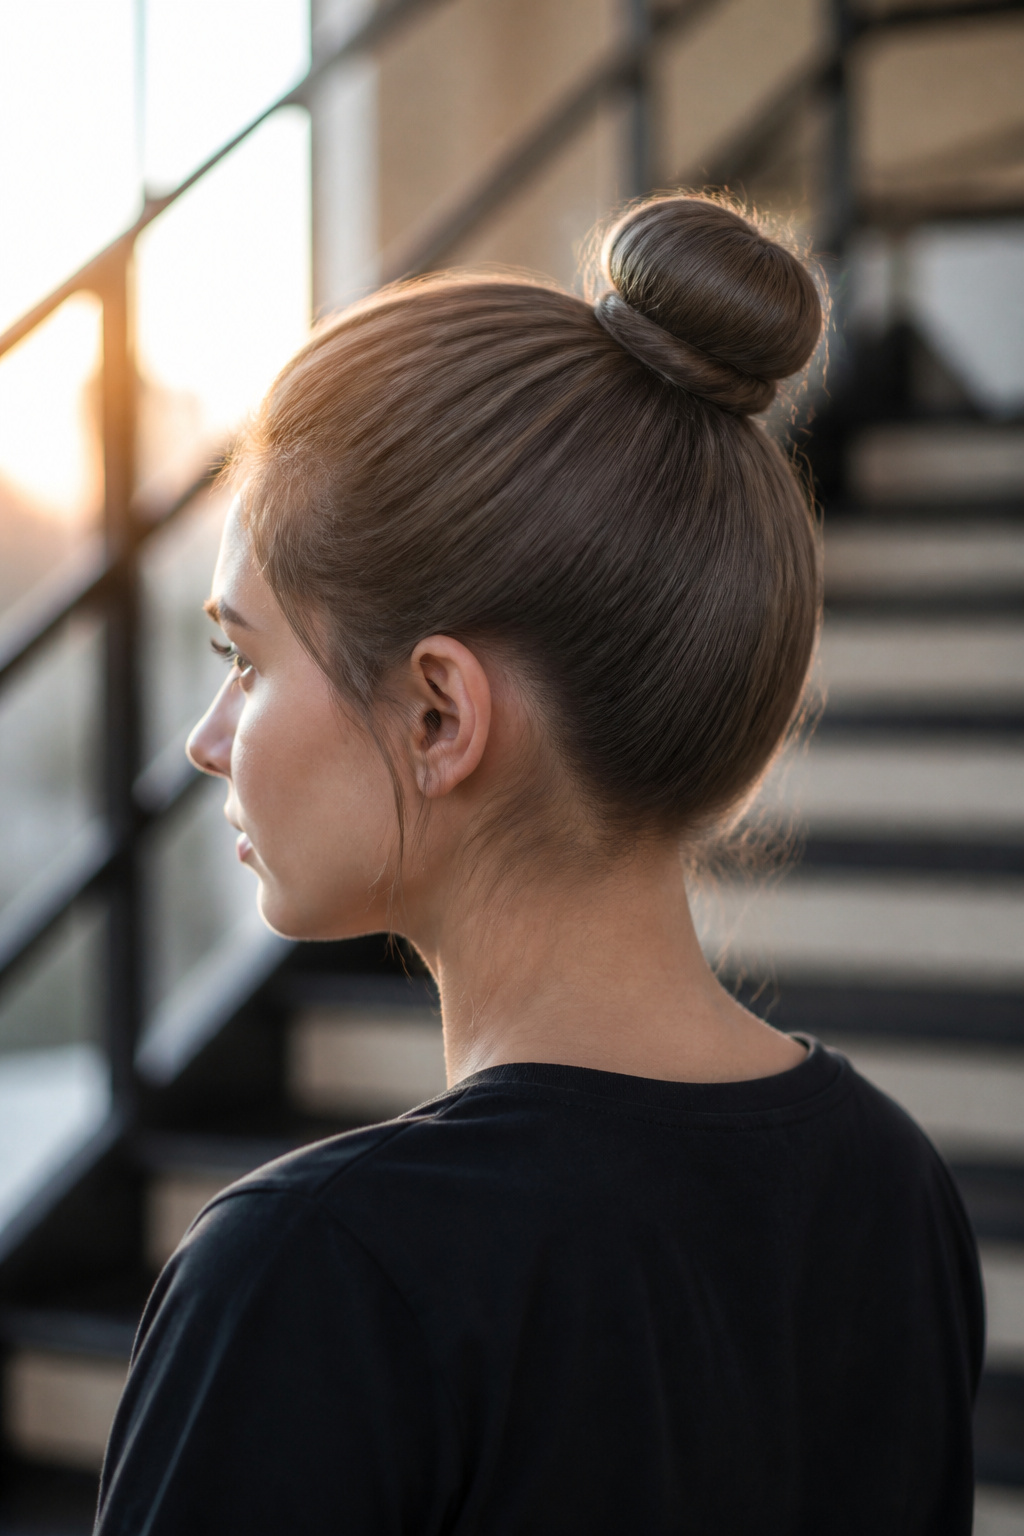

Best for medium to long hair. Reties better on day two hair. About 4 to 6 minutes.
A top knot gives immediate lift and keeps hair off the face. The visual is a raised knot that elongates the neck. Use a boar-bristle brush for a smooth crown and secure with strong pins. If your hair is fine, tease the base of the ponytail for volume before wrapping. Honest moment: my first polished top knot betrayed every flyaway; adding a tiny dot of smoothing balm fixed it instantly.
Dutch Braid Low Bun for a Braided Accent
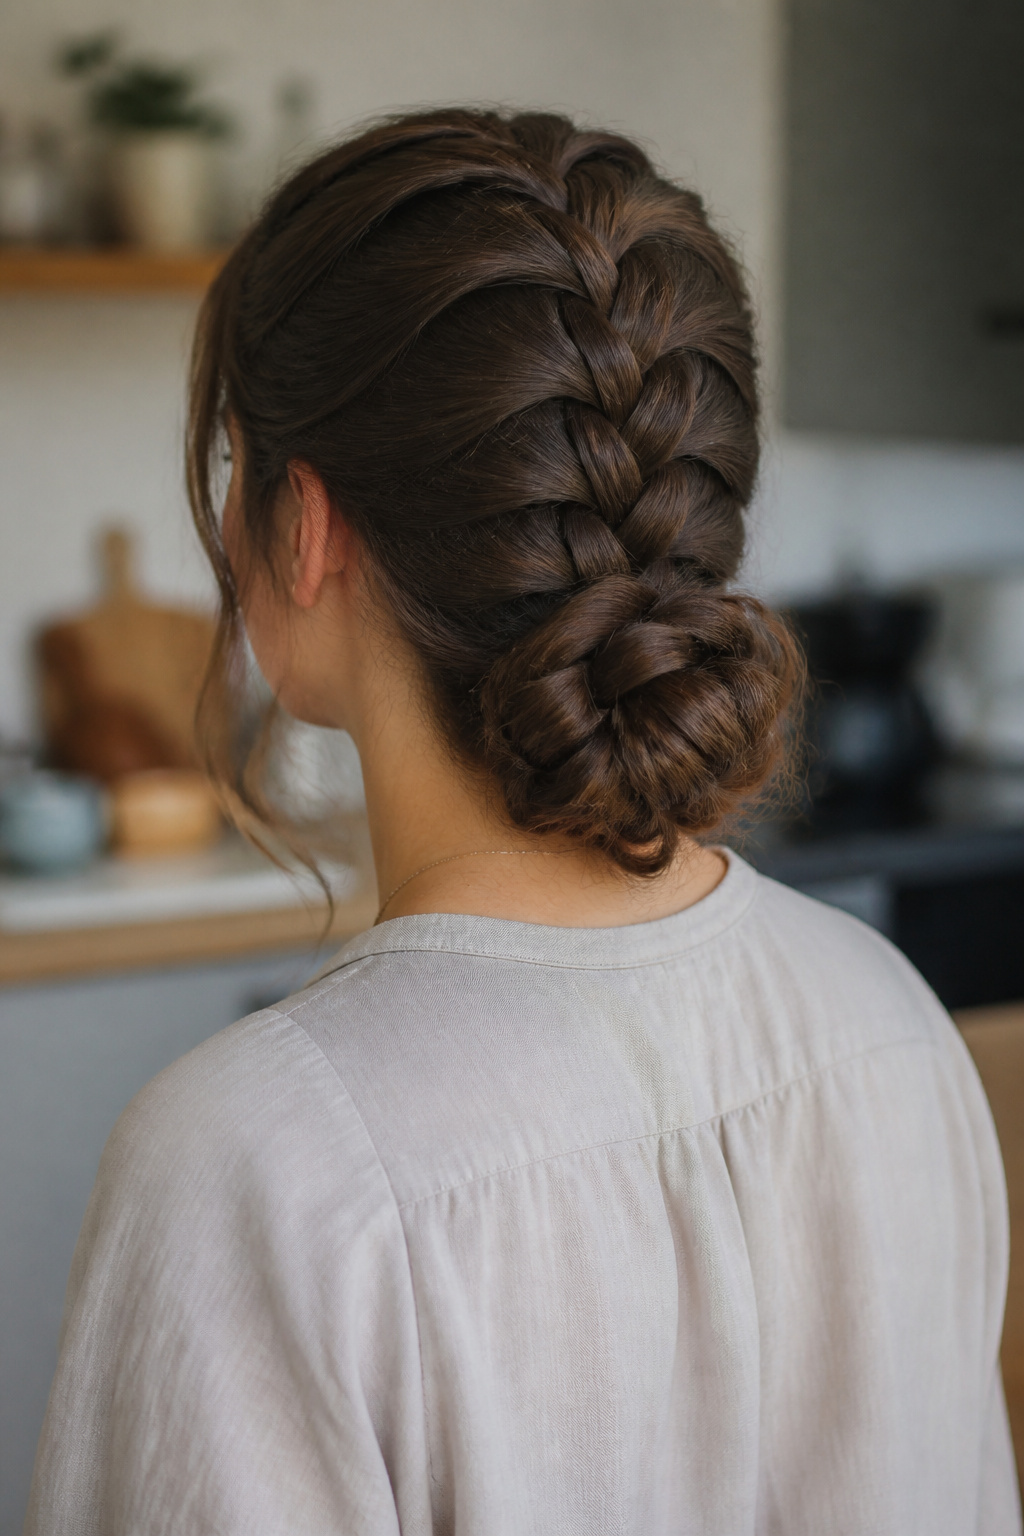

Best for medium to long hair. Braid holds well for all-day wear. About 7 to 9 minutes.
This bun feels structured because the Dutch braid anchors the shape. The payoff is a textured back with braid rails that add interest. Start two Dutch braids along the hairline and wrap them together into a low knot. Mistake to avoid: making the braid too tight, which reduces the soft, modern look. Pull gently on the braid edges to pancake them for a lived-in finish.
Braided Low Bun with Rope Twist
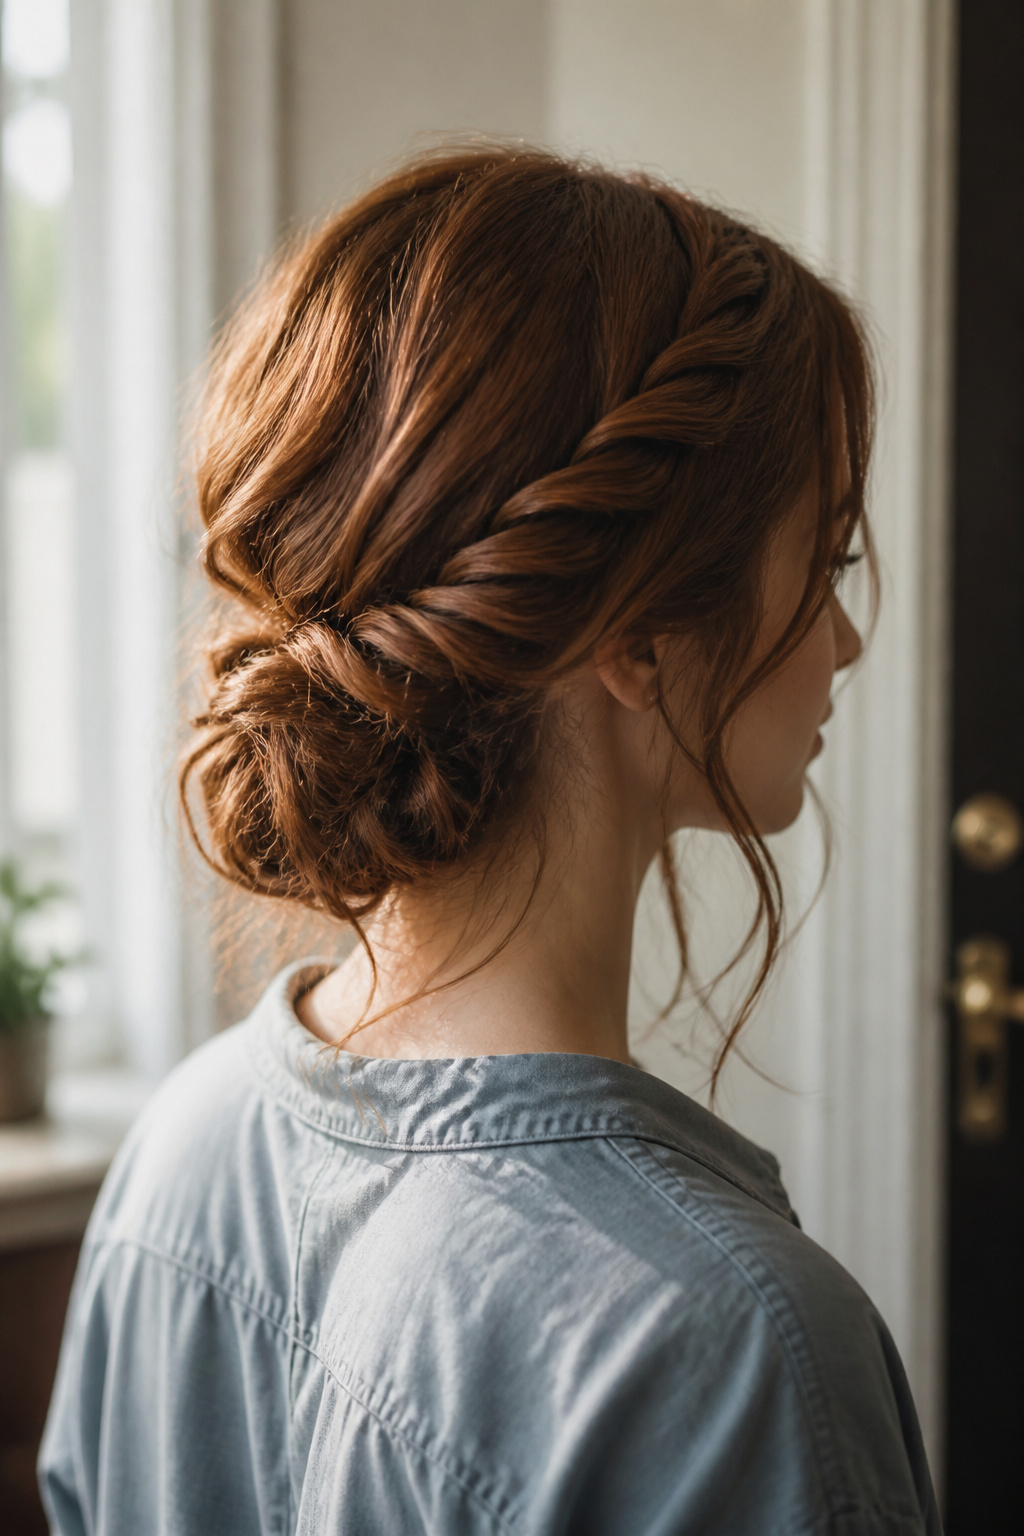

Best for long hair. Secure with pins. About 6 to 8 minutes.
A rope twist gives a tiny bit of structure while staying soft. The visual payoff is a wrapped, rope-like line tracing into the bun. Split a low ponytail into two, twist each away from the center, then wrap them together around the base. The common error is using skinny sections that look fiddly; use medium-thickness sections for an effortless effect. Texturizer keeps the twist from unravelling.
Twisted Three-Section Bun That Looks Intentional


Best for medium to long hair. Stays neat through a workday. About 6 minutes.
This creates a layered, wrapped look without complicated braiding. The payoff is a clean geometry of folded panels. Divide hair into three wide sections, twist each toward the back, and pin them sequentially to form a single knot. People often over-loosen the sections; keep controlled folds and tug only the outermost pieces for softness. It reads polished but not severe.
Korean Messy Bun for Soft, Youthful Shape
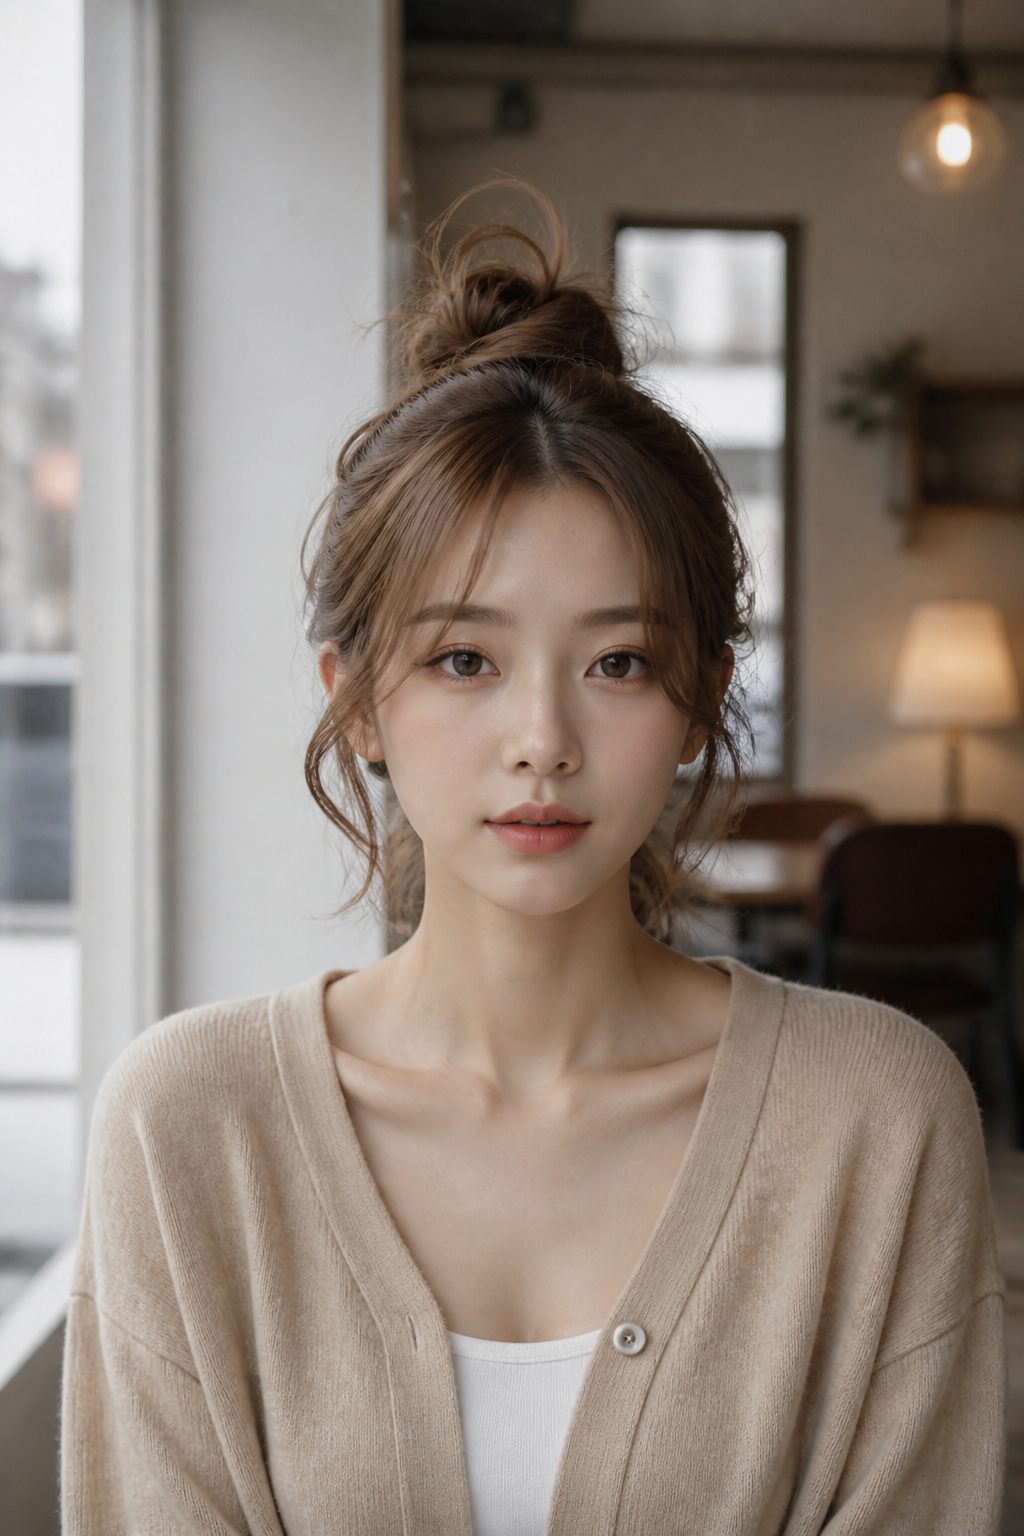

Best for short to medium hair. Intentionally undone. About 4 to 6 minutes.
This style lives in the relaxed, soft glam lane. The payoff is a gentle knot with airy temple strands that frame the face. The trick is to keep the bun compact and let the front pieces do the work at softening the look. Mistake to avoid: pulling too many strands from the knot, which can make it look accidental. A little light hairspray keeps the framing pieces in place.
Spiky Low Bun for Edge and Texture
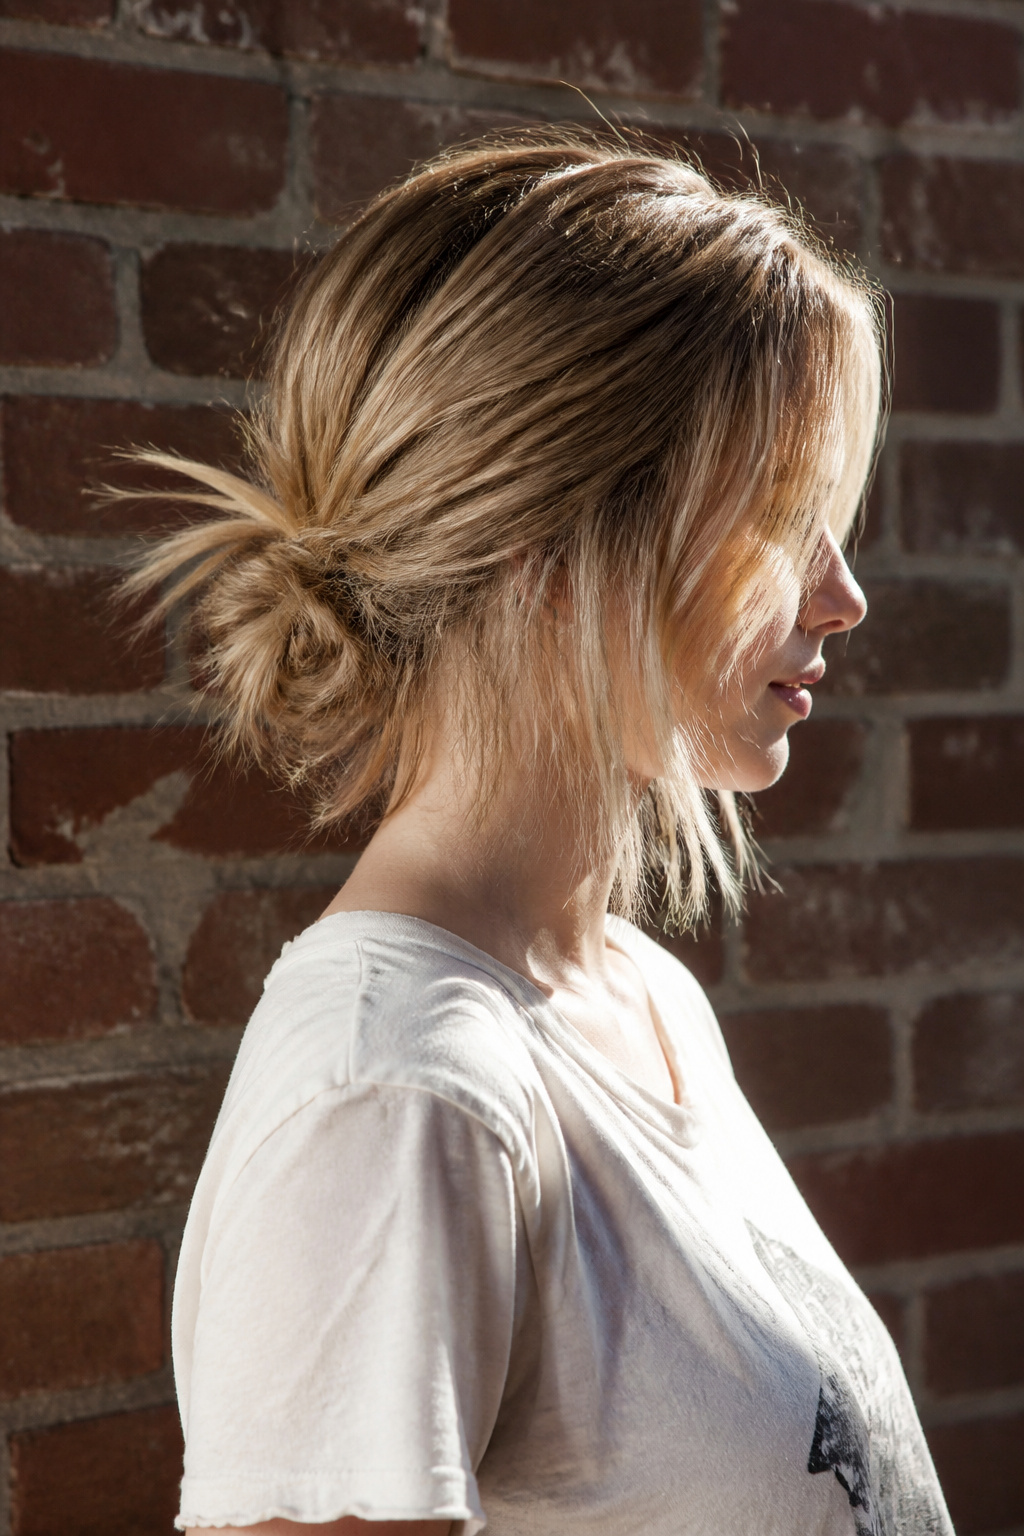

Best for medium hair with layers. Embrace the texture. About 5 minutes.
This one reads fashion-forward because of the intentional spikes. The payoff is a compact knot with separated, short pieces poking out for attitude. Use a pinch of matte paste on the ends before pinning to create separation. Most people try to smooth the spikes away; that kills the look. Let them stand out.
Low Bun with Deep Side Part and Lift


Best for oval and heart faces. Holds well with hairspray. About 6 to 8 minutes.
The side part and lifted front bring a retro modern energy. Visual payoff is a flattering face-opening curve above the brow and a neat knot at the nape. Tease the root only in the lift area, smooth over lightly, and secure the bun under the lifted section. Over-teasing flattens the crown later, so tease sparingly.
Half-Up Bun for Medium Hair That Still Looks Put Together
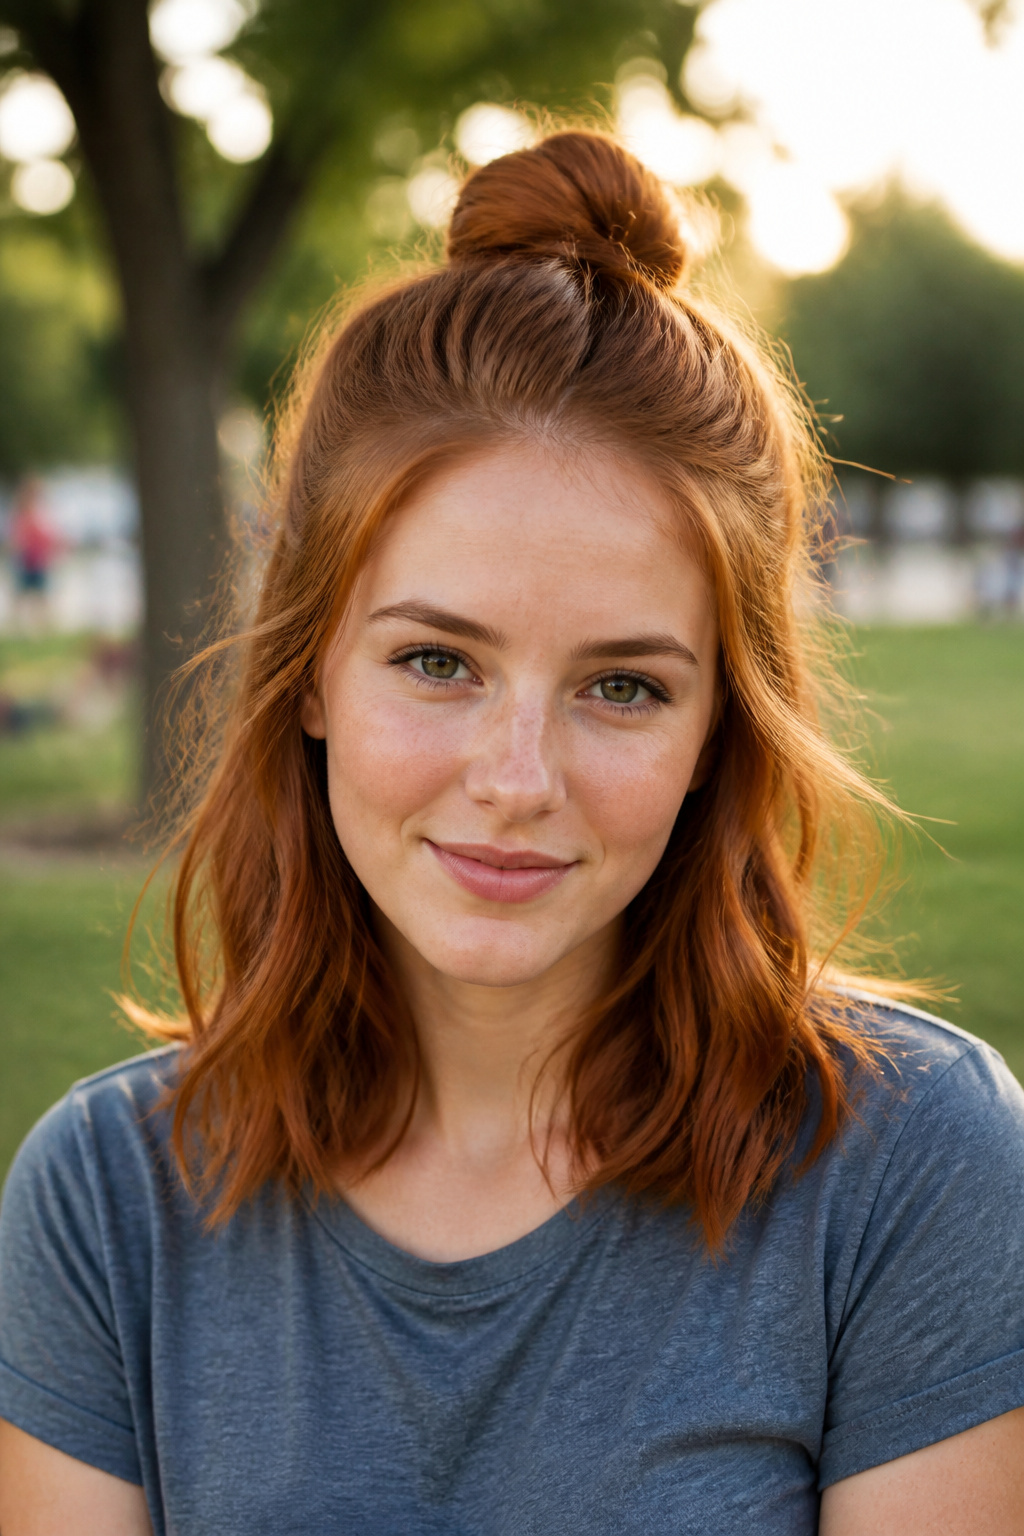

Best for shoulder-length hair. Grows out well. About 3 to 5 minutes.
Half-up buns are the easiest way to look styled with minimal effort. The payoff is a face-framing top knot while leaving movement below. Take the top third of your hair, twist into a small knot, and secure with a silk hair tie to avoid dents. Mistake to avoid: using a thick elastic that creates a bulky base; silk ties read softer.
Braided Bun with Face-Framing Pieces
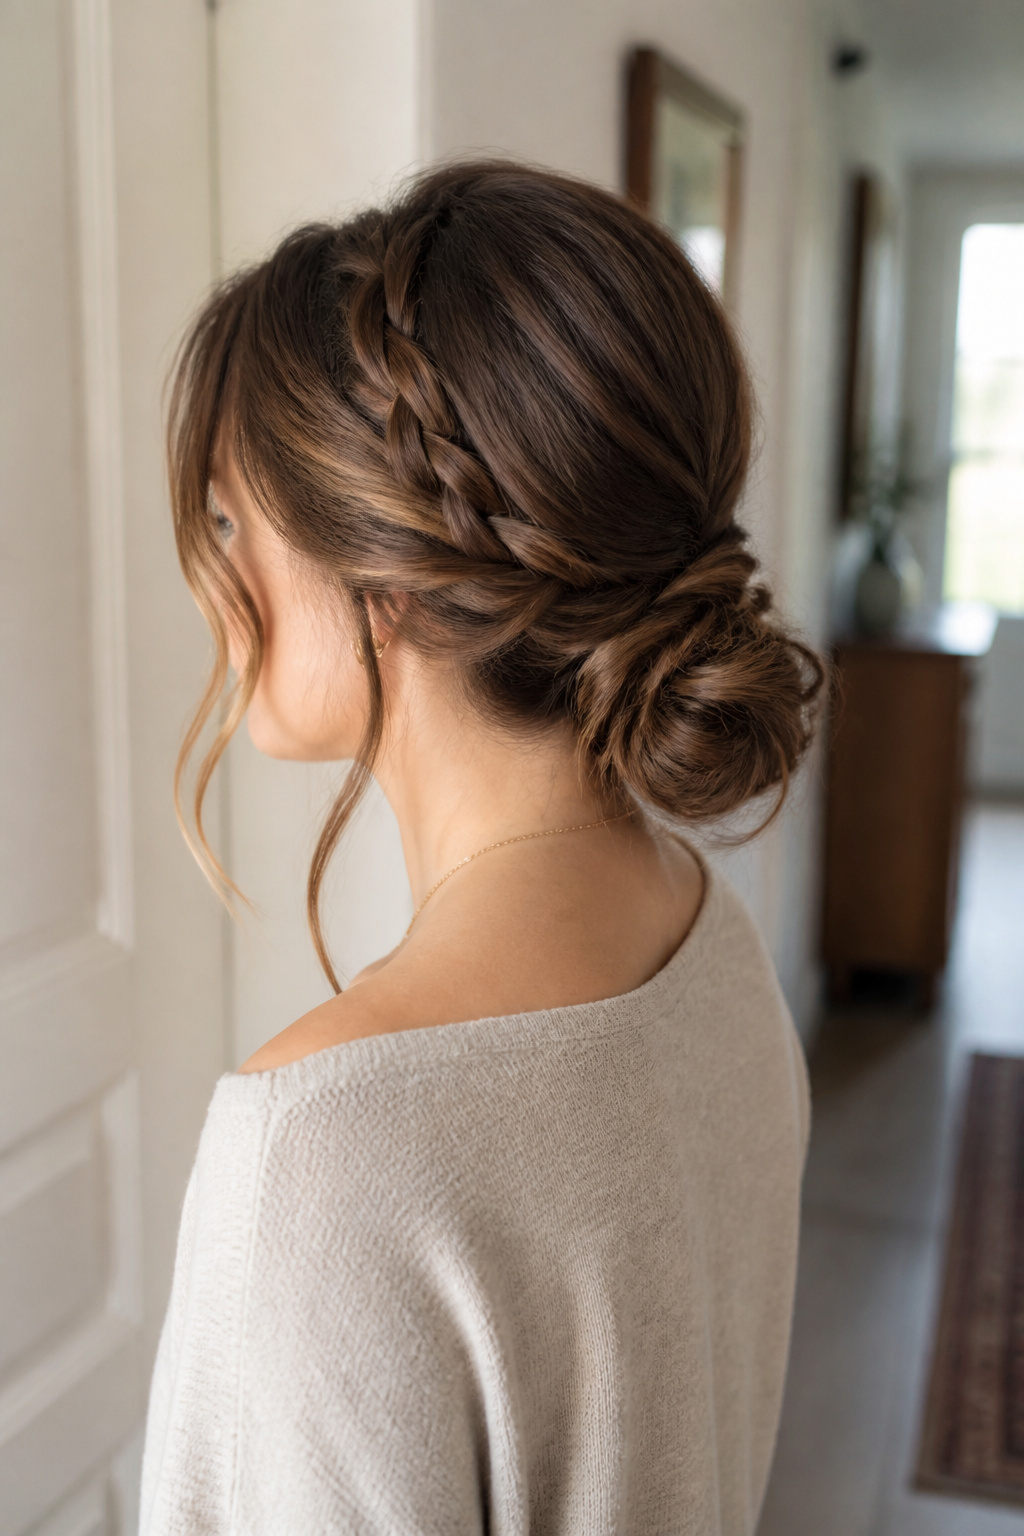

Best for medium to long hair. Braids help it last a full day. About 7 to 9 minutes.
This blends structure and softness in one. The payoff is a braid that anchors the back while the face stays soft. Start a loose three-strand or Dutch braid from the crown and wrap it into a low bun. The common misstep is braiding too tightly so the look loses its lived-in charm. Gently pancake the braid for width.
Low Bun for Fine Hair with Teased Base
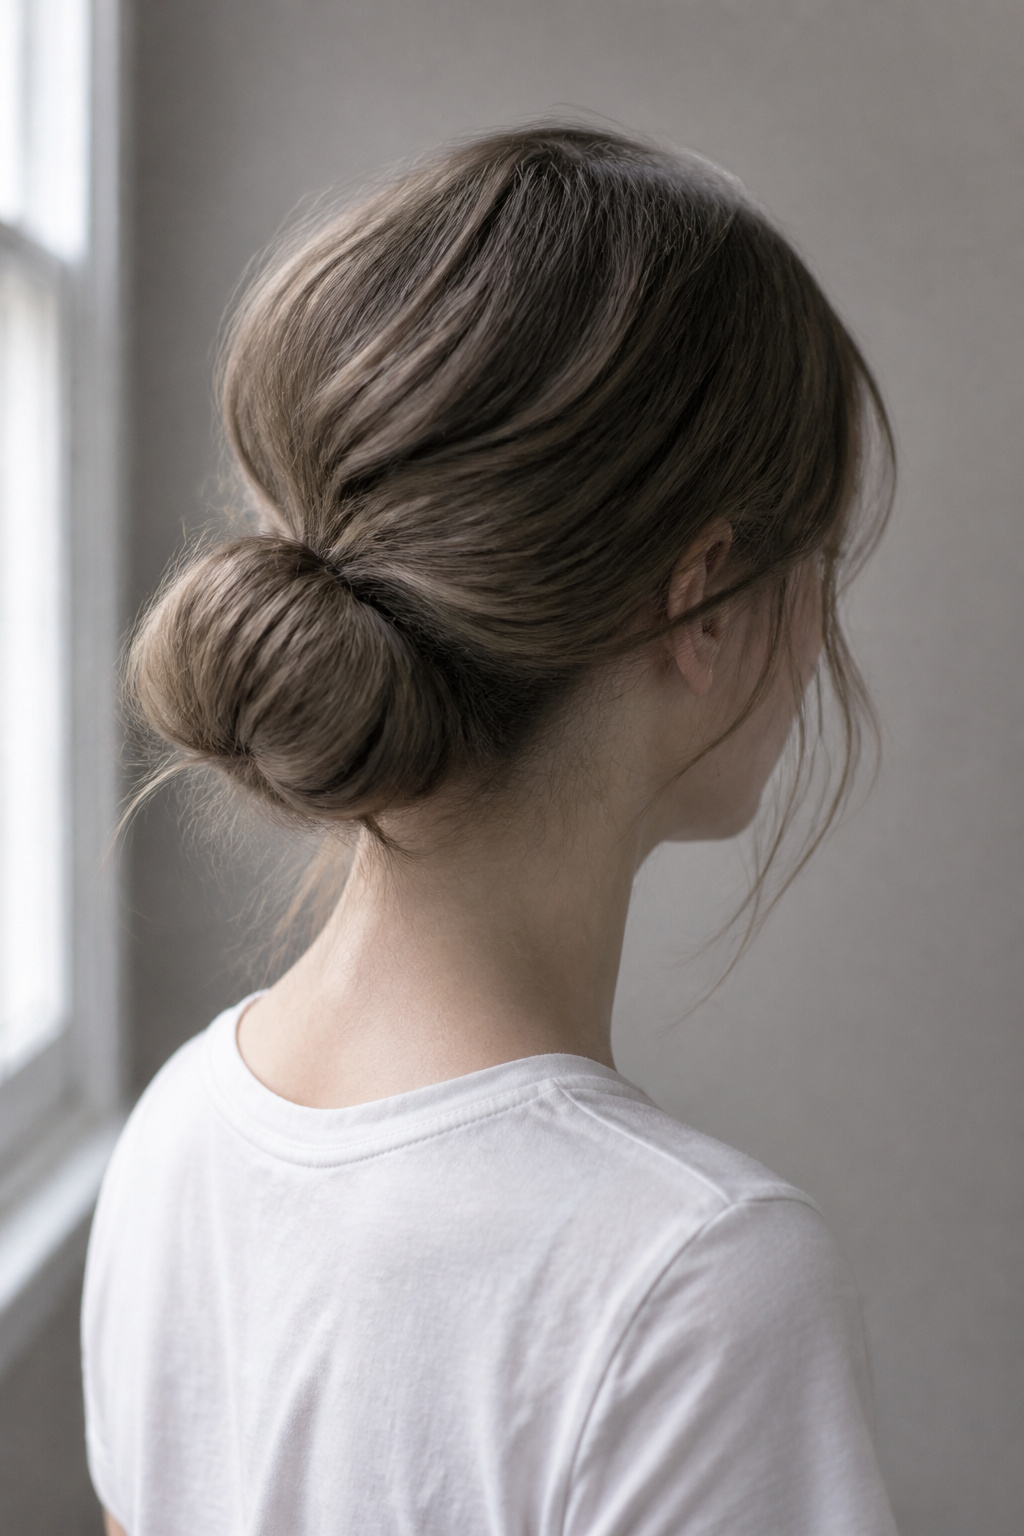

Best for fine hair. Tease the ponytail base. About 5 minutes.
This technique actually makes fine hair look fuller. The payoff is genuine-looking volume without extensions. Backcomb the hair where the ponytail sits to create a cushion, then smooth the outer layer and wrap into a low knot. The mistake I made was over-teasing the crown and creating a halo of frizz. Tease the ponytail base, not the hairline.
Low Bun Anchored with U-Shaped Pins
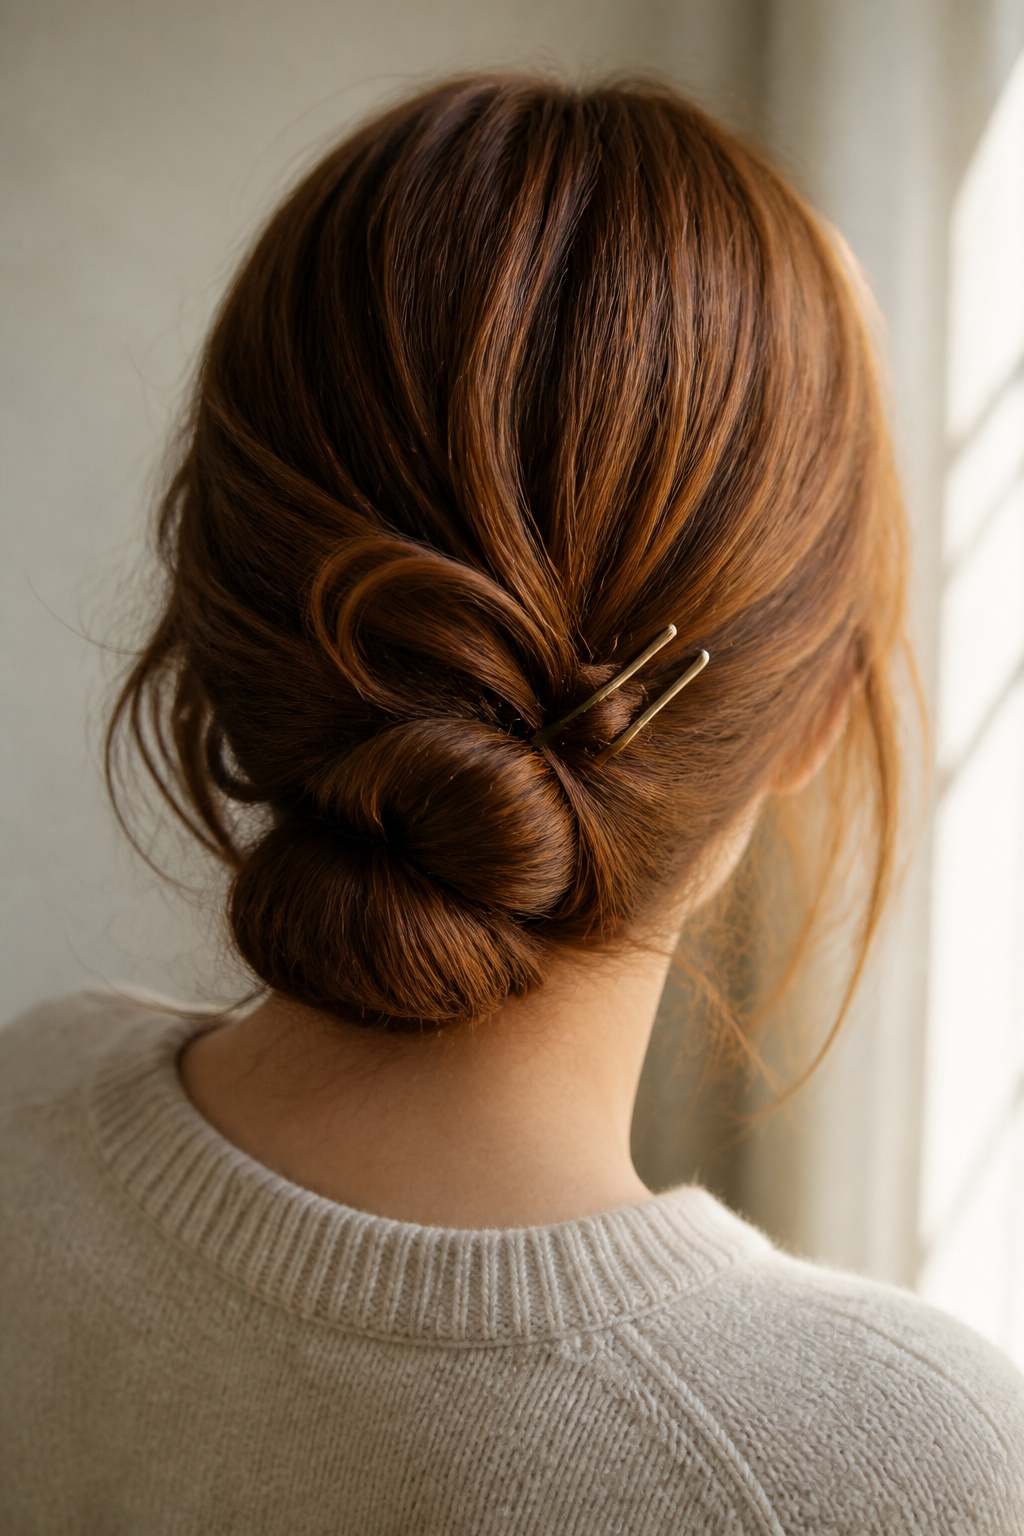

Best for medium to long hair. Pins add a modern touch. About 6 minutes.
U-shaped hair pins are a subtle accessory that also do real work. The payoff is a sleek or soft bun with an editorial edge. Pin the bun with three to four U-pins in a woven pattern so they sit flush and look deliberate. Overloading with decorative pins can read fussy; use them as accents. No product links here; this is a stylistic accessory tip.
Sculptural Updo Bun for Event-Ready Hair
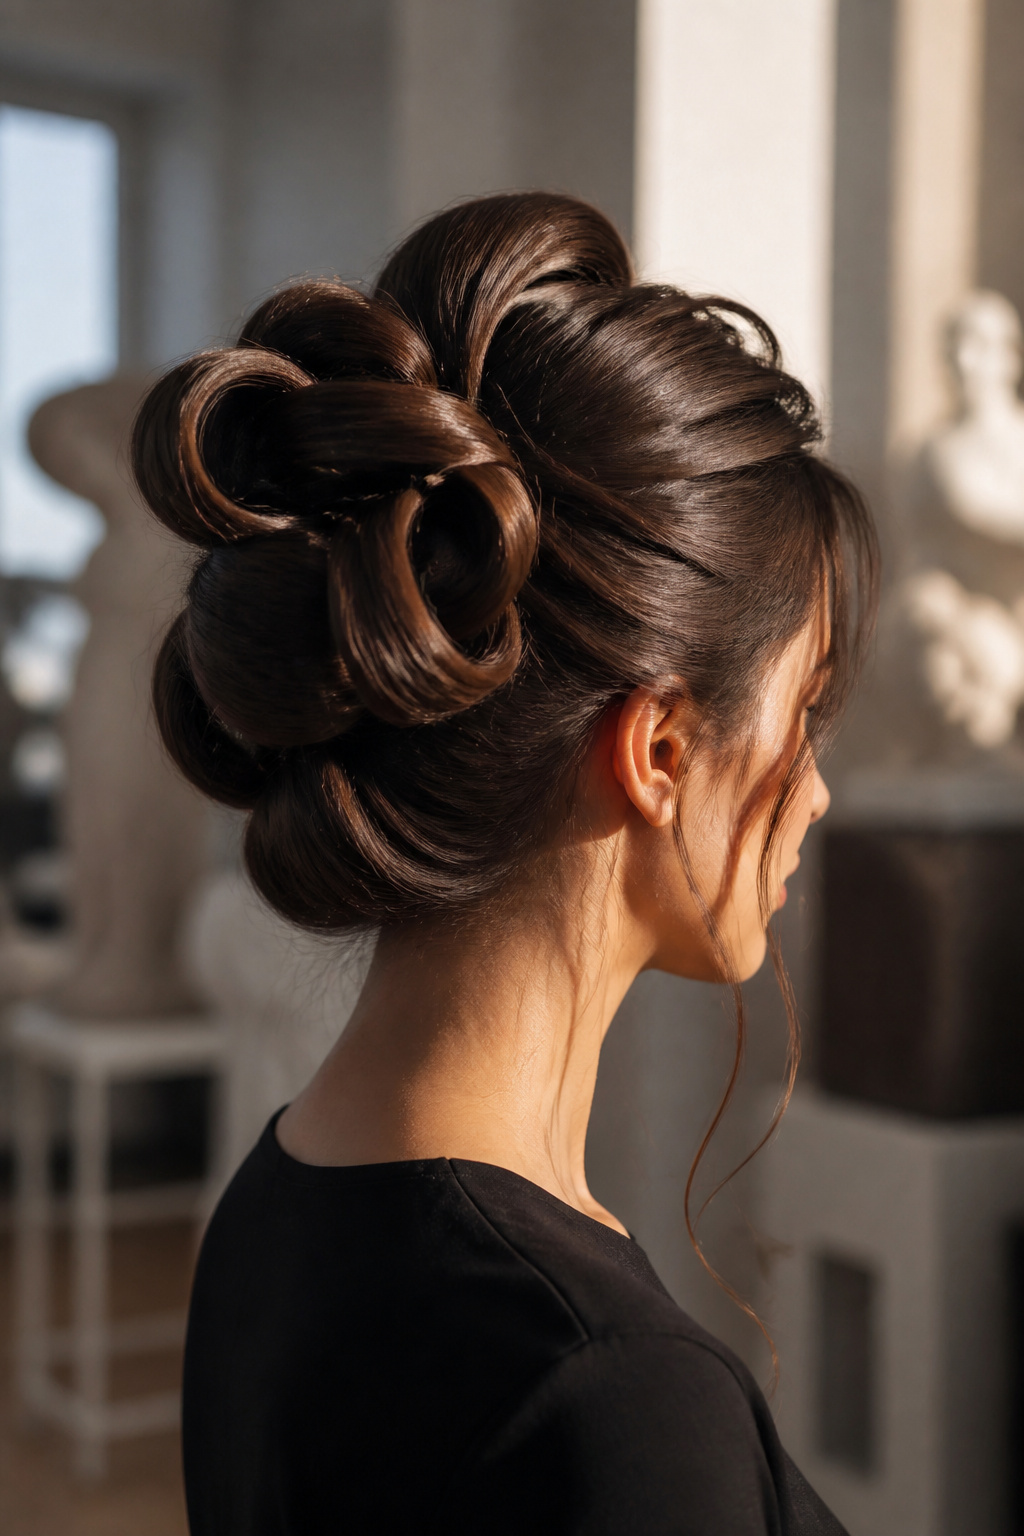

Best for medium to long hair. Higher maintenance. Allow 10 to 20 minutes at first.
This is a statement bun that reads fashion-forward rather than casual. The payoff is an architectural silhouette with intentional negative space. Tell your stylist you want sculptural placement and clear contouring rather than random twisting. Warning: this one can take longer to pin into place, and it is better as an occasional look. No product links here; book a styling consult.
What You'll Need to Get This Look
Heat Tools
- 1.25-inch ceramic curling wand ($30 to $60)
- 1-inch titanium flat iron ($40 to $120)
- Boar-bristle smoothing brush ($12 to $35)
Styling Products
- Texturizing spray, 4oz ($8 to $20)
- Strong-hold hairspray, 8oz ($8 to $25)
- Smoothing balm, 3oz ($10 to $28)
Hair Care and Protection
- Heat protectant spray, 6oz ($7 to $20)
- Dry shampoo for texture, 5oz ($6 to $20)
Accessories and Finishing
- Silk hair ties, 6-pack ($6 to $18)
- Assorted bobby pins, 500-pack ($5 to $15)
- U-shaped hair pins, 12-pack ($6 to $18)
Budget Swaps
- Drugstore texturizing spray, 4oz ($6 to $12)
- Drugstore strong-hold hairspray, 8oz ($5 to $10)
Shopping Tips for These Looks
Buy tools during holiday sales: Blowout tools drop 20 to 30 percent in November. I waited and grabbed my 1.25-inch ceramic curling wand.
Choose products by hair density: Heavy smoothing balm works for thick hair but will flatten fine hair. Try the smoothing balm, 3oz in a sample size first.
Drugstore dupes are fine for texture: A budget texturizing spray often matches salon options for messy buns. I keep the drugstore texturizing spray, 4oz in my gym bag.
Invest in silk ties for damage control: They are cheap and save breakage. The silk hair ties, 6-pack are worth it.
Frequently Asked Questions
Can I make these buns work on fine hair?
Yes. Tease the ponytail base for volume, use a light texturizing spray for grip, and anchor with silk ties. Try the texturizing spray, 4oz.
How do I keep a bun from falling apart in humidity?
Smooth the crown, use a strong-hold hairspray on the finished bun, and tuck stray pieces with bobby pins. I recommend the strong-hold hairspray, 8oz.
Which buns are best for second-day hair?
Top knots and half-up buns. Day-two texture gives grip and hides oil, so skip a full wash and use dry shampoo for lift. Try the dry shampoo for texture, 5oz.
How many face-framing pieces should I leave out?
Two to four thin pieces, one on each temple and maybe a short one at the nape. Keep them balanced and intentionally placed for a soft finish.
Are U-shaped pins really necessary?
They are trendy and functional. U-pins sit low and secure sculpted shapes better than standard bobby pins. Use the U-shaped hair pins, 12-pack if you experiment with sculptural buns.
Where to Start
Pick one bun and try it on a weekday morning when you have five minutes to spare. If you have fine hair, begin with the teased low bun; if you want a softer vibe, try the butterfly or Korean messy bun. Which look are you trying first this week?


