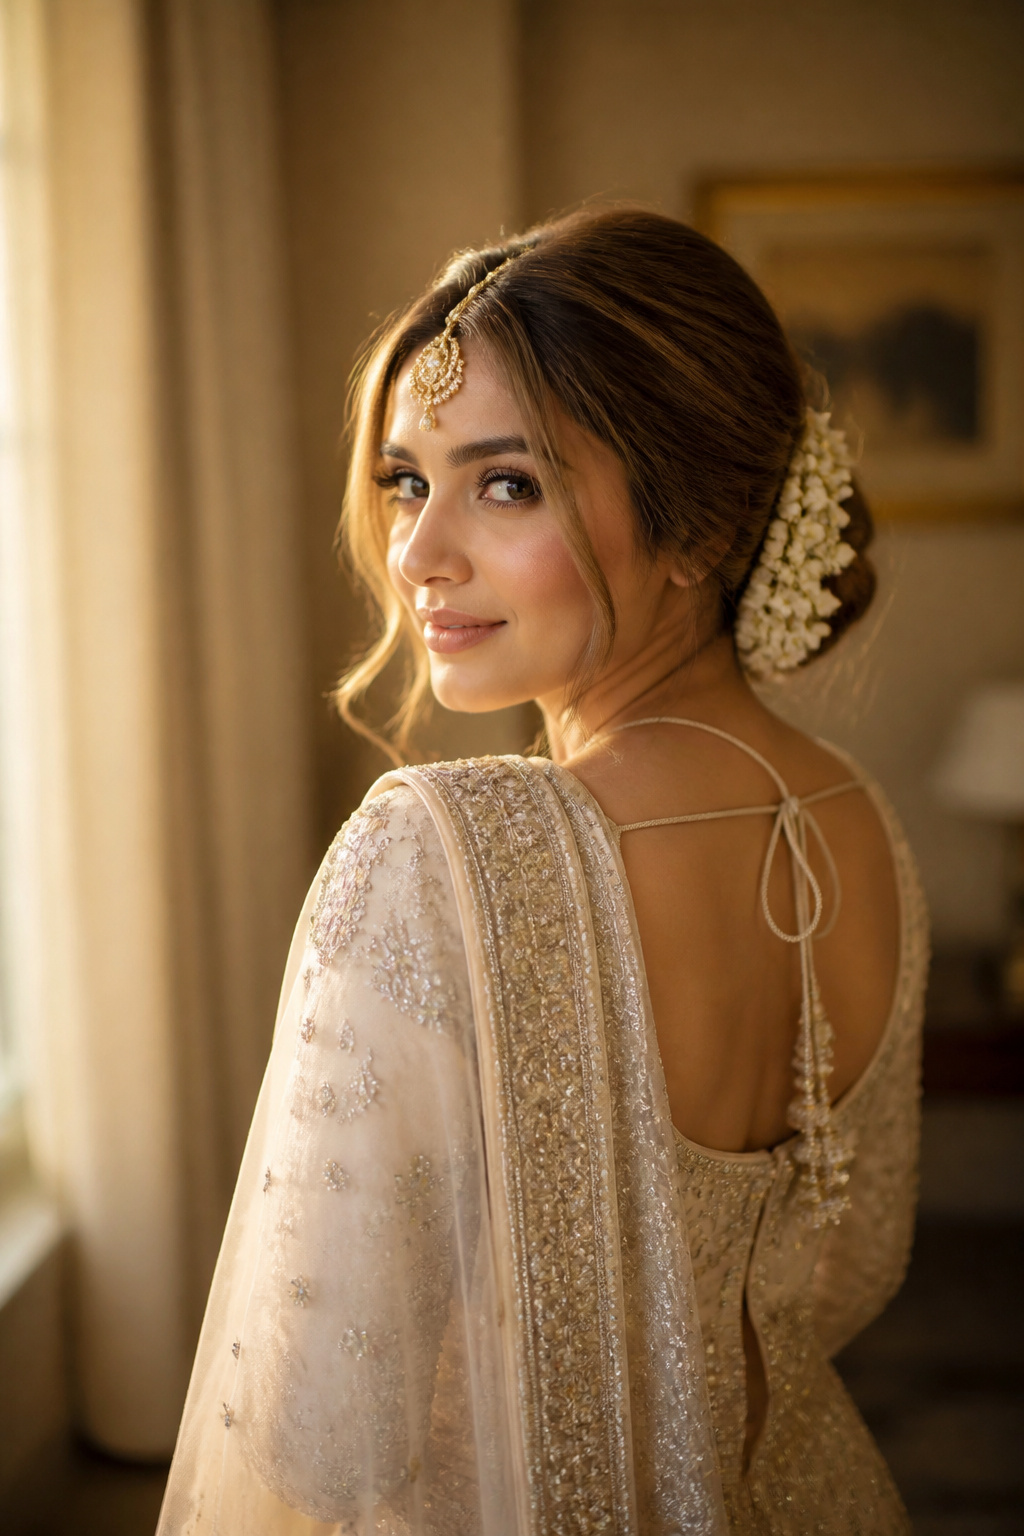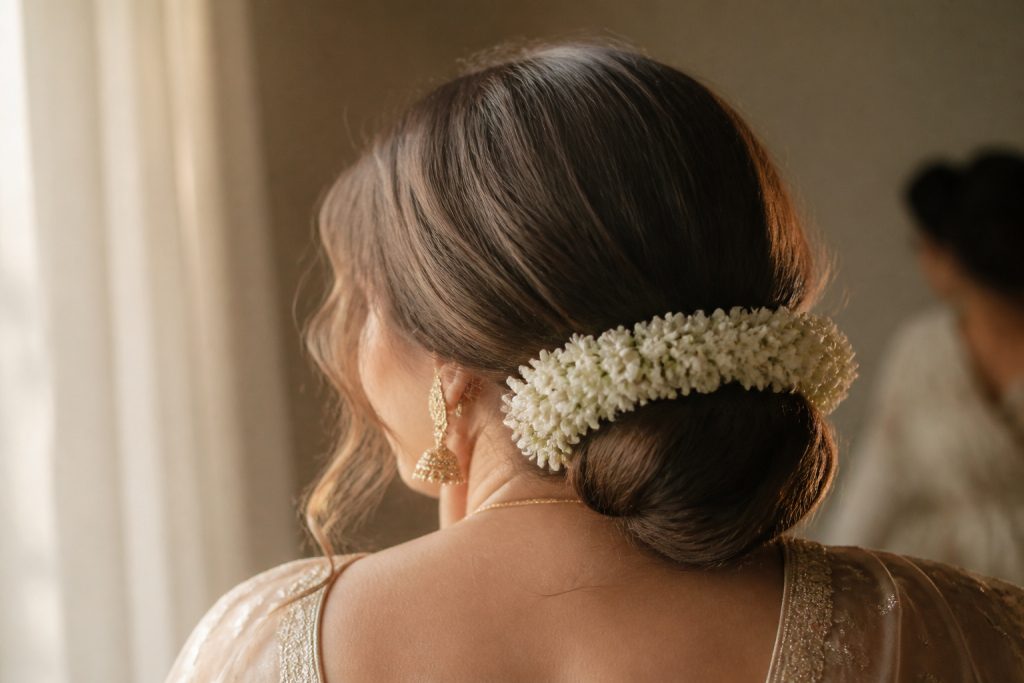

The first time my bun fell apart during the pheras I remember the priest pausing and my mother whispering that the gajra had slipped. That day I learned how to choose bridal hairstyle for Indian wedding ceremonies the hard way. What fixed it was a low, anchored bun plus a second trial that tested the dupatta and jewellery together.
This guide shows the exact order and tiny details I use now so the hair still looks neat by the vidaai. It works for shoulder-length to long hair, and I include swaps that help fine or shorter hair.
I’ll show the realistic budget and a cheaper path if you own a wand and a few pins. The look is a low traditional bun with soft face-framing pieces so the dupatta sits neatly and the maang tikka is centered. If you have fine hair, the priorities are root lift and clever padding; if you have thick hair, it is control and anchoring. My observation: styling that prioritizes longevity beats purely decorative tricks every time.
Prep the day before for grip and shape
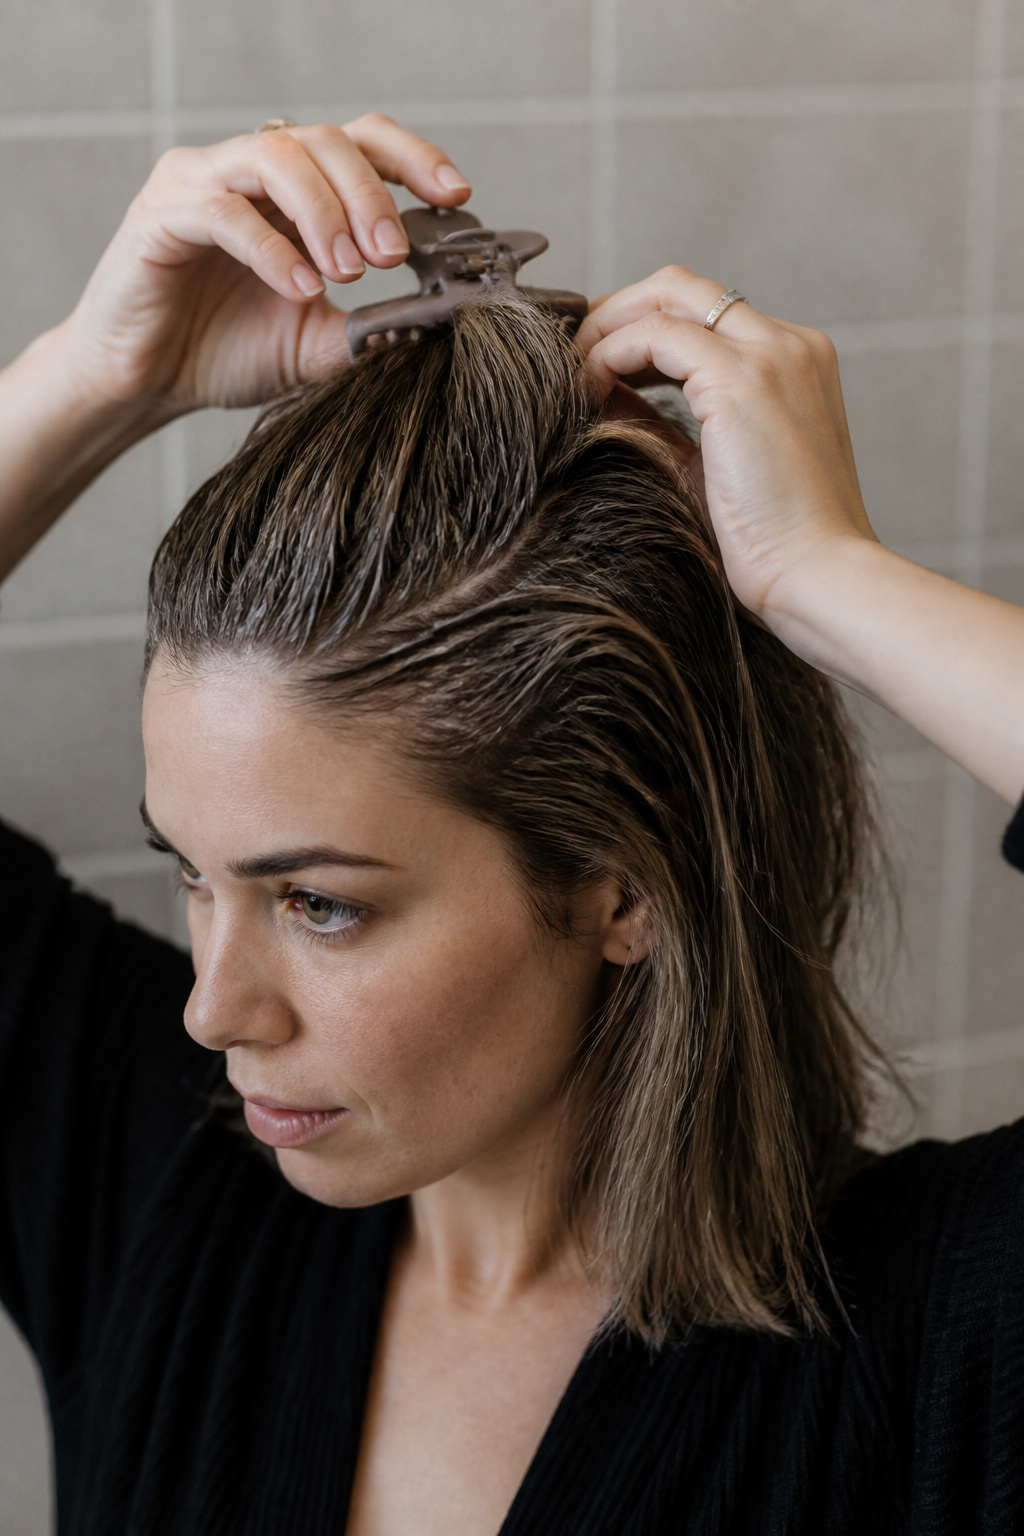

Prep decides how long the style holds, so you do this step first. Wash hair the evening before. Freshly washed, silky hair is slippery and needs more pins than anyone wants to wear.
On damp hair I work a golf-ball-sized amount of alcohol-free volumizing mousse into the roots only for shoulder-length hair. The ends get smoothing oil only if they are frizzy. That root-only approach gives lift without crusty ends.
I apply a coin-sized drop of heat protectant through mid-lengths and ends, working section by section so the product is distributed. That prevents the outer layer from overheating and keeps the shine. Rough-dry to about 80 percent before any hot tool touches it.
The biggest mistake here is starting with hair that is still wet under the surface. It steams when heated and the wave drops. If humidity is high, use a lightweight anti-frizz serum at the ends (a pea-sized amount) so the crown stays voluminous and the ends stay sleek.
Build a secure low bun that carries a dupatta
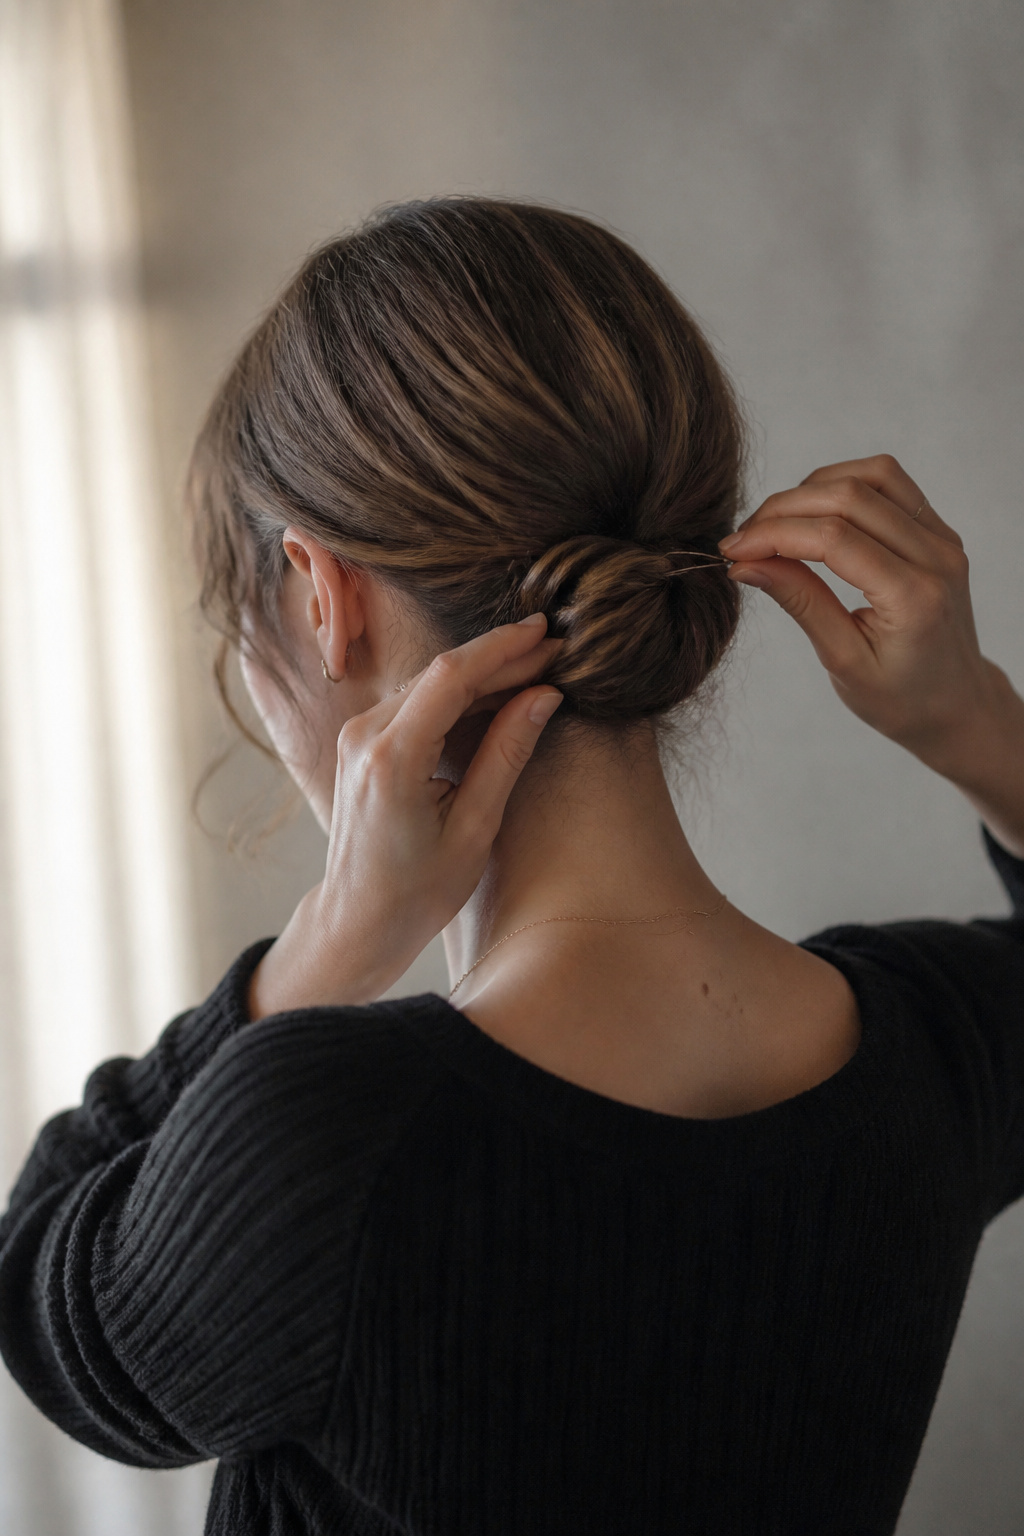

This is the structural stage because the bun must survive movement, veil adjustments, and vows. Part hair where your jewellery sits. I center most of my weight through the nape so the dupatta can tuck over without pulling the crown.
Divide hair into three sections: two side panels and the back. Back hair is where the support lives. For shoulder-length hair, create a 2 to 3 inch diameter bun; if your hair is longer, you can coil more length into the same compact circle. Use a small foam bun donut only if you need extra bulk; otherwise twist the hair under itself to make a flat, round shape.
Pin systematically. I place one bobby pin horizontally through the base of the bun, then cross two pins in an X over the top. Use about eight to twelve long bobby pins for medium-density hair. Anchor a few pins into the scalp, not just the hair, so the bun becomes part of the skull rather than perched on top.
If you plan to tuck the dupatta, sew or pin a small loop of thread into the underside of the bun during the trial. That loop is a salvation; it takes the weight of the fabric and stops the bun from loosening.
Shape the face frame and test jewellery and dupatta
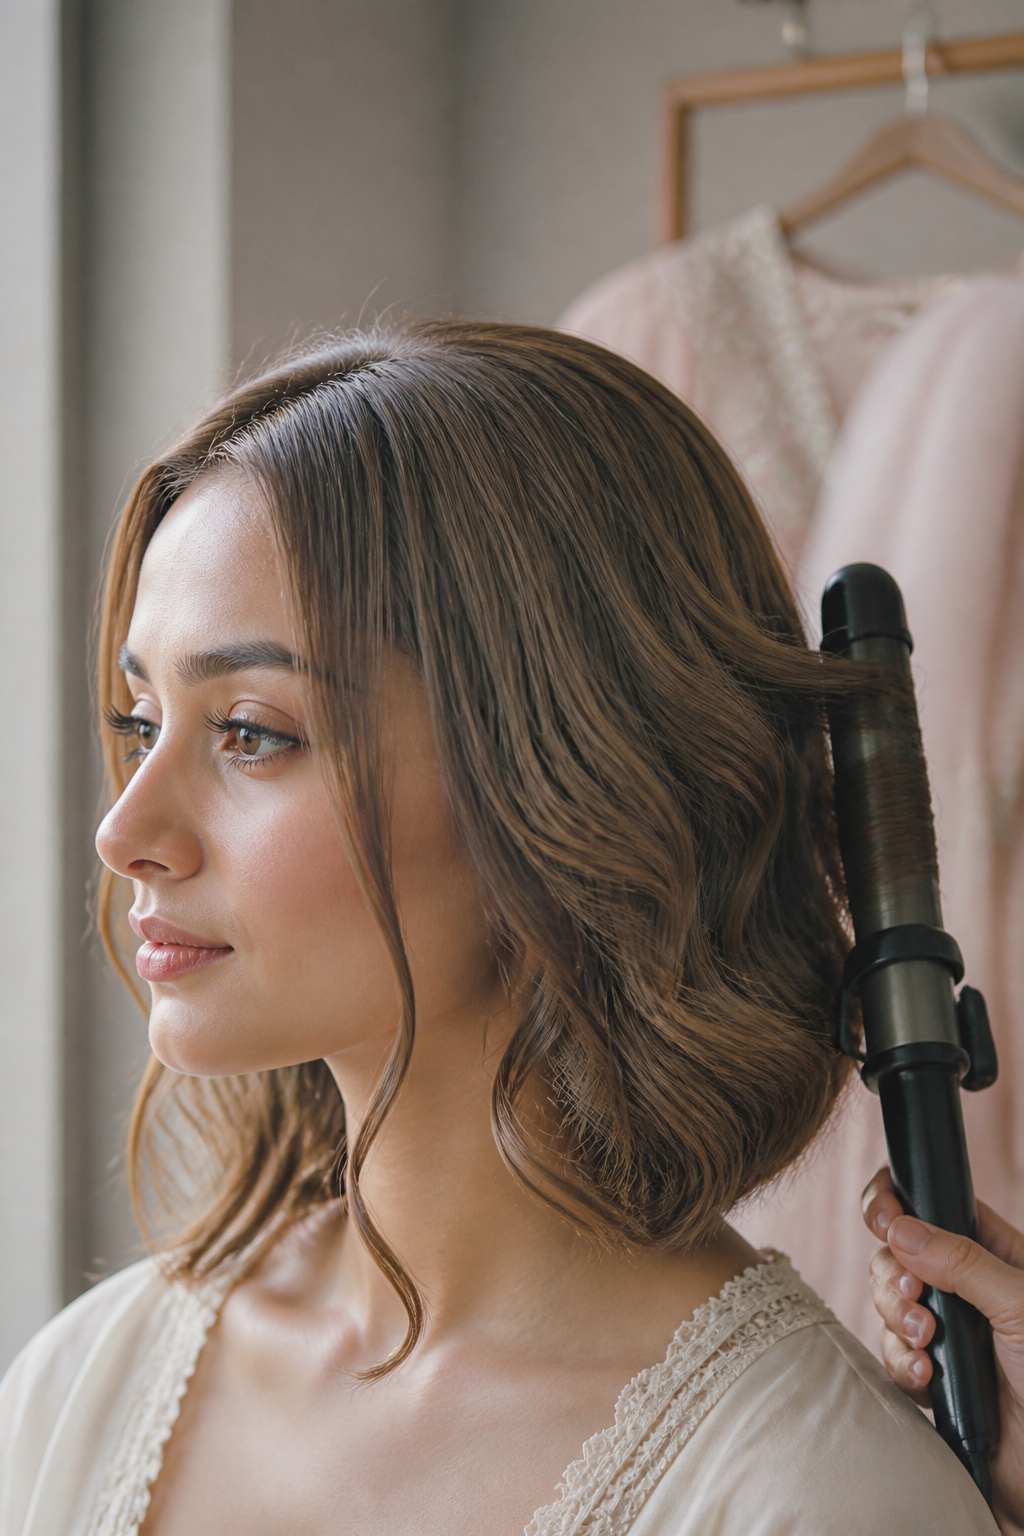

This is where the look reads bridal in photos, so do it after the bun. Decide how much face-framing you want based on face shape. For elongated faces, keep the top flat and leave wider pieces at the sides. For round faces, avoid equal-width pieces on both sides; instead sweep one side back slightly for asymmetry.
Use a 1.25 inch ceramic curling wand at 320 F for shoulder-length hair to create soft S-waves in the face-framing pieces. Wrap hair away from the face for a modern look, and leave the ends loose for movement. For finer hair, curl smaller 1 inch sections to give the illusion of density and use a light texturizing spray on mid-lengths only.
Place the maang tikka and matha patti during this step and knead pins near their base. If the jewellery has a heavy centerpiece, anchor its back loop into the bun or sew a small snap to the dupatta lining so the weight does not shift the hair.
The mistake many make is skipping the jewellery trial. A headpiece that looks balanced on the salon chair can pull a bun off when you lift the dupatta; check both together.
Finish for hold and daylight-proofing
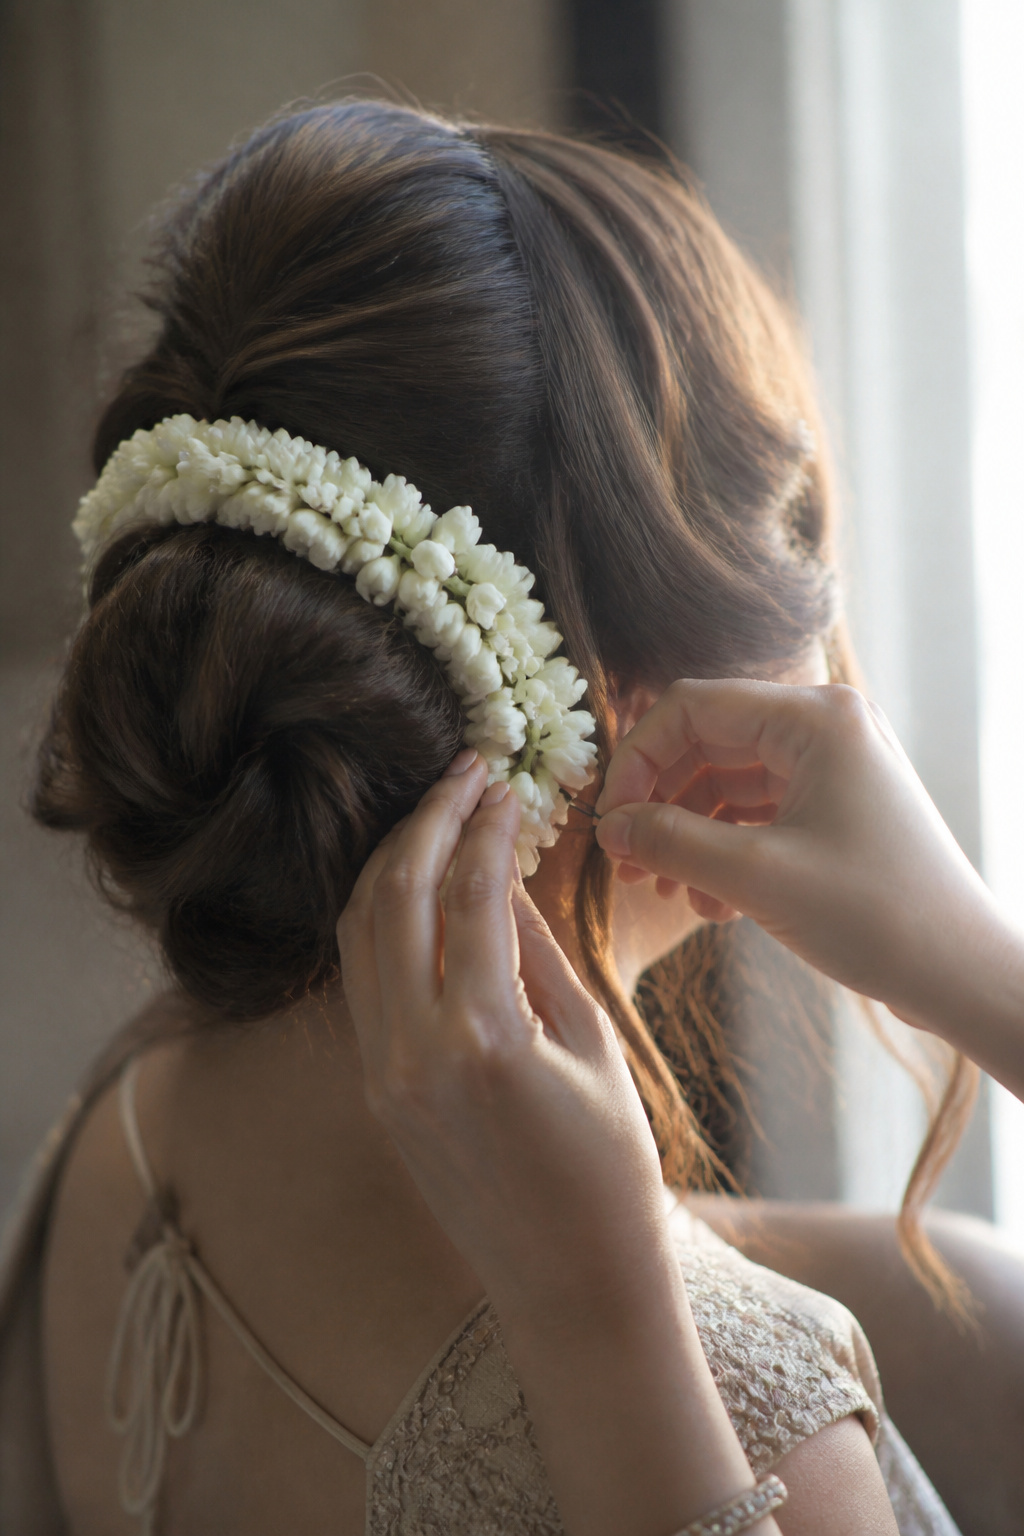

After the shape is right, locking it matters. I mist the crown with a light layer of flexible hold hairspray, then hit the bun with a strong-hold spray at arms length for a crisp finish. Spritz from 10 to 12 inches away so product settles in a veil, not a puddle.
Tuck the gajra around the bun after pins are set. Use a few fresh, small U-pins to secure flowers to the bun rather than wrapping glue or heavy clips. If the flowers are heavy, distribute them evenly rather than clustering to one side.
Carry a tiny emergency kit: six long bobby pins, two U-pins, a travel-size strong-hold spray, a small hair elastic, and a root-touch powder stick. If the bun loosens, re-insert two pins at the base and smooth the nearby hair with your fingers before spraying. By 4pm on humid days I still get one stray tendril; smoothing it and respraying keeps photos consistent.
The most overrated trick I tried was dousing the whole bun in gel to make it rigid. It photographed shiny but became a brittle shell and cracked mid-ceremony. Now I mix flexible and strong hold products instead.
Common Styling Mistakes to Avoid
Washing hair the morning of. Why it fails: too slippery for pins. Better approach: wash the evening before and sleep with the hair in a loose braid to keep texture.
Ignoring the dupatta test. Why it fails: it shifts the whole hairline. Better approach: do a full jewellery and dupatta dry run at least once, and ask the stylist to sew a small loop under the bun.
Using too few or wrong pins. Why it fails: pins placed only in hair, not anchored to scalp, allow rotation. Better approach: use long pins inserted horizontally into the bun base and cross two in an X for the first layer.
Overloading the bun with product. Why it fails: hair becomes crunchy and breaks under the weight of pins. Better approach: use product in targeted zones. A pea-sized serum on ends; root mousse at the roots. For refreshes, a root powder works better than re-spraying.
How to Make It Last
Expect the crown to soften first and the gajra to wilt if it is fresh flowers. For day-of longevity, have the stylist double-pin the bun and hide a couple of extra anchor pins inside the structure. I re-check pins once after the varmala and again before the pheras.
Carry a tiny toc kit: two long bobby pins, two U-pins, a small comb, a travel-size strong-hold spray, and a root powder stick. For a quick refresh without restyling, lift the front sections with a powder or dry shampoo, pinch the crown, then respray the base of the bun.
If humidity hits, do not try to brush the waves back. Instead, re-define two or three face-framing pieces with a quick 10 to 15 second pass from your wand set to 320 F. That little touch usually puts definition back without undoing the bun.
For a second-day reception, loosen the bun and finger-comb through the lower lengths to convert into soft waves. Add a small clip-in extension for volume if needed and pin minimal jewels back in place.
What You'll Need for This Look
Heat tools
- 1.25 inch ceramic curling wand ($25 to $65). Good wand is worth the investment; it holds heat evenly so curls set.
- Salon blow dryer, 1800 to 2000W ($40 to $150). Cheaper models work; pro dryers are faster and gentler.
Styling products
- Alcohol-free volumizing mousse, 8oz ($12 to $22). Use at the roots only.
- Lightweight heat protectant spray, 6oz ($10 to $25).
- Flexible hold hairspray, 10oz ($8 to $20).
- Strong-hold finishing spray, 10oz ($10 to $25).
Care and protection
- Anti-frizz serum, 1oz ($8 to $20). Pea-sized only.
- Root fix hair powder stick ($8 to $18). Instant lift for fine hair.
Accessories and finishing
- Long bobby pins, pack of 50 ($5 to $12).
- U-shaped hairstyling pins, pack of 20 ($4 to $10).
- Small bun donut, medium ($3 to $8). Use only if you need volume.
- Silk-lined hair ties, pack of 6 ($6 to $15).
- Fabric gajra or faux flower garland ($12 to $35). Floral look that avoids wilting.
Budget swaps
- Velcro rollers and a cheap drugstore hairspray can replace pro tools for short events. A $20 wand will outlast cheap sprays long term, so spend where the tool matters.
Where to start if you only change one thing
If you make one change, style the hair the evening before and sleep on it. That single habit fixes grip, reduces slipperiness, and makes pins behave. Try the bun with your actual dupatta and jewellery once and ask the stylist to sew an anchoring loop under the bun. Which part of the look would you like photos of? Tell me and I’ll suggest the exact camera angles to ask your photographer.