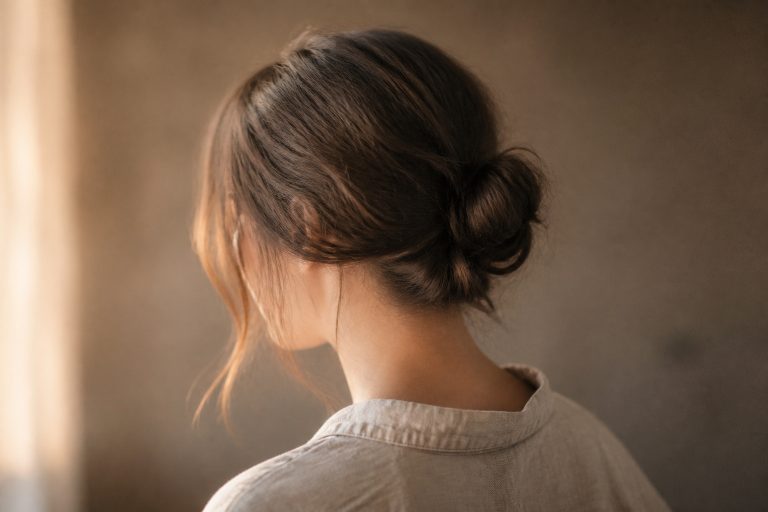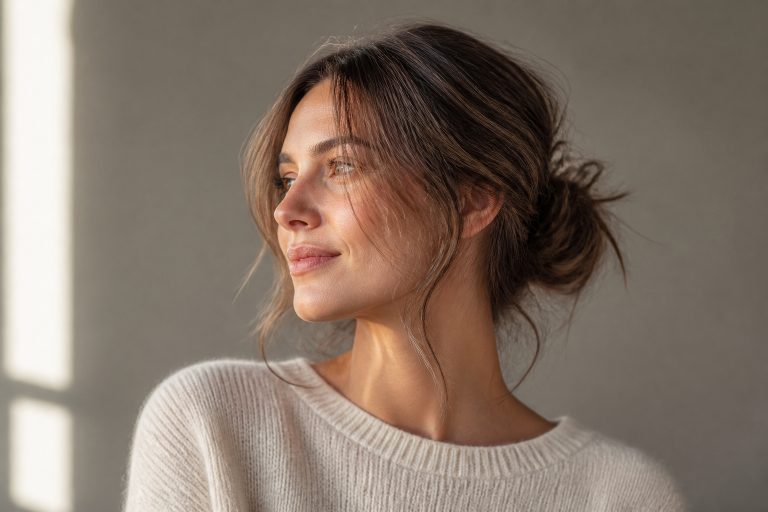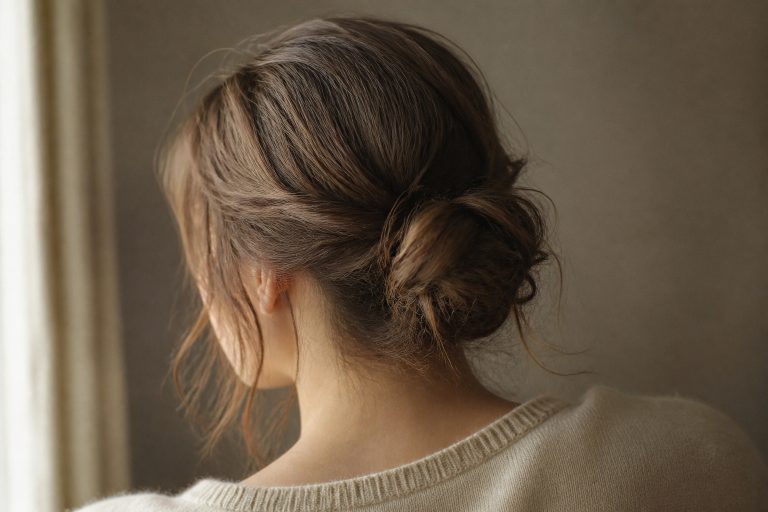

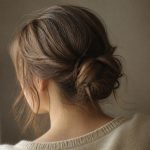
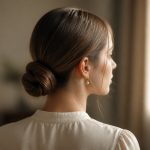





My mother laughed when I showed up with a tiny jasmine string instead of a whole garland, and then elders asked for the recipe. I tried dozens of buns before my own wedding and learned the hard way that tight pins beat floppy florals for long rituals. Below are 19 bridal bun hairstyle indian wedding looks that actually survive hours of vows, dupatta settling, and dancing, with options for medium hair, long hair, straight hair, and wavy hair.
These looks lean traditional but skew modern. Most are commandingly compact so a dupatta sits right, a few are softer with face-framing tendrils, and I call out which styles suit medium-length hair or thinner crowns. Expect most of these to take 10 to 25 minutes with a stylist or a practiced hand at home.
19 Bridal Bun Hairstyle Indian Wedding Ideas That Hold Through Every Ritual
Classic Low Bridal Bun with Gajra
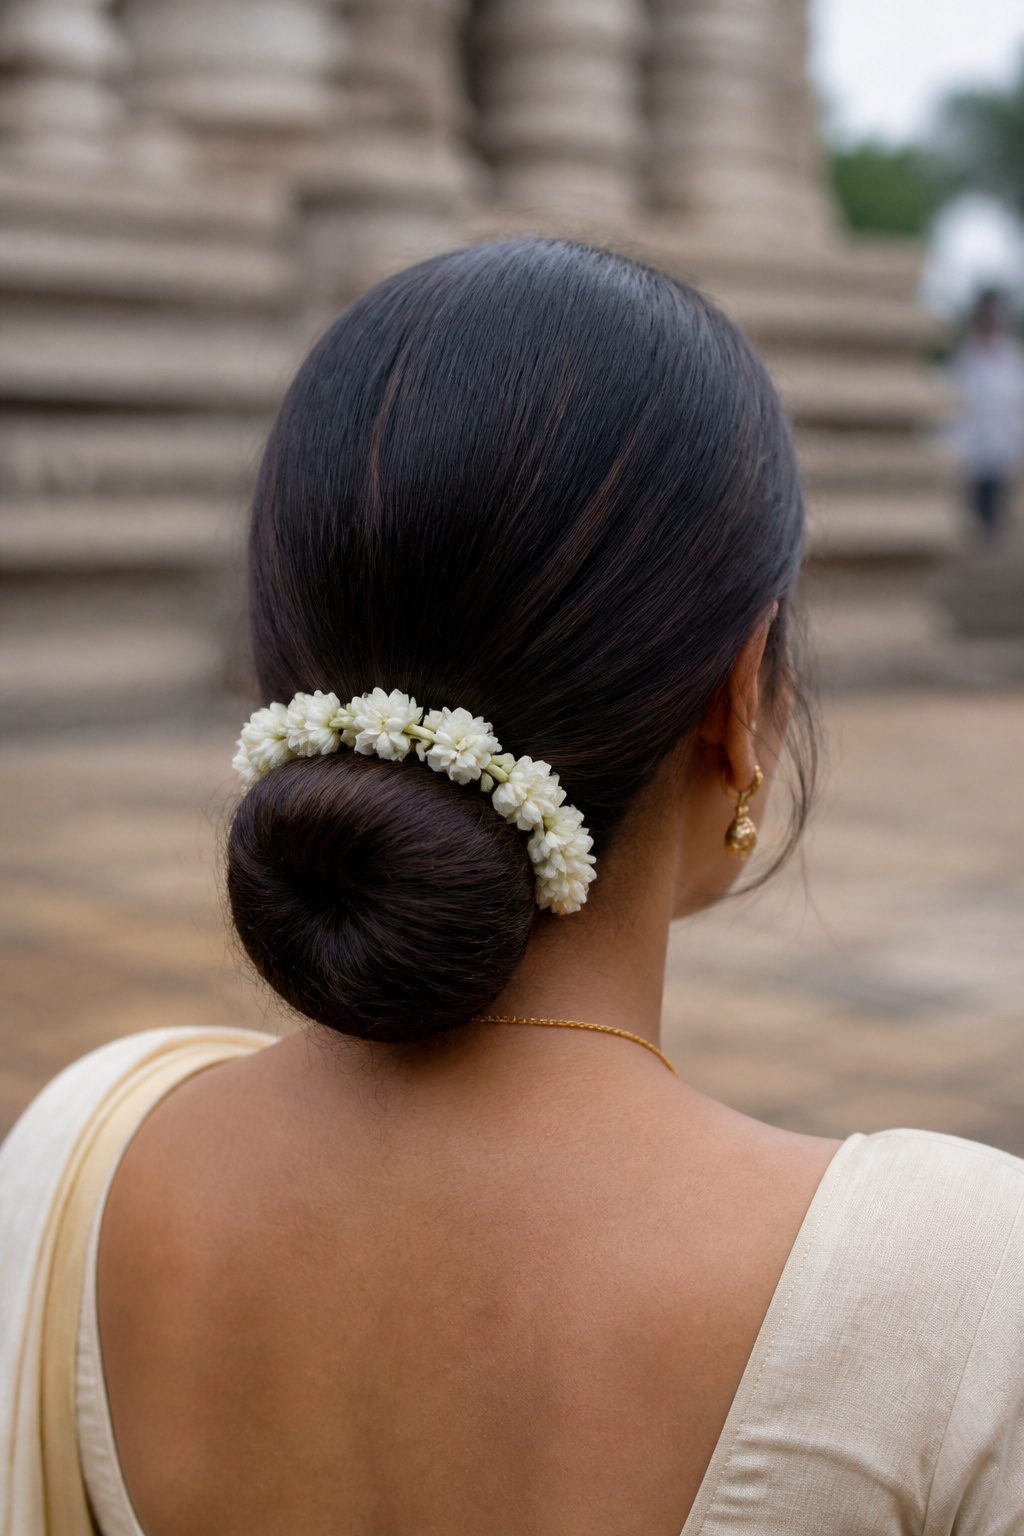

Best for medium to long hair. Trim every 10 to 12 weeks. About 10 to 20 minutes with a stylist.
The payoff is ceremony-friendly neatness. A compact bun lets the dupatta sit flat and keeps a mathapatti centered. The trick is to smooth the crown with a fine-toothed comb after you’ve backcombed for volume, so the shape reads polished, not flattened. Common mistake: wrapping the gajra too tightly so it flattens the bun. Use shorter pins and U-pins to anchor, and ask your stylist for a rounded, low knot rather than a messy chignon.
Textured Low Bun with Soft Tendrils
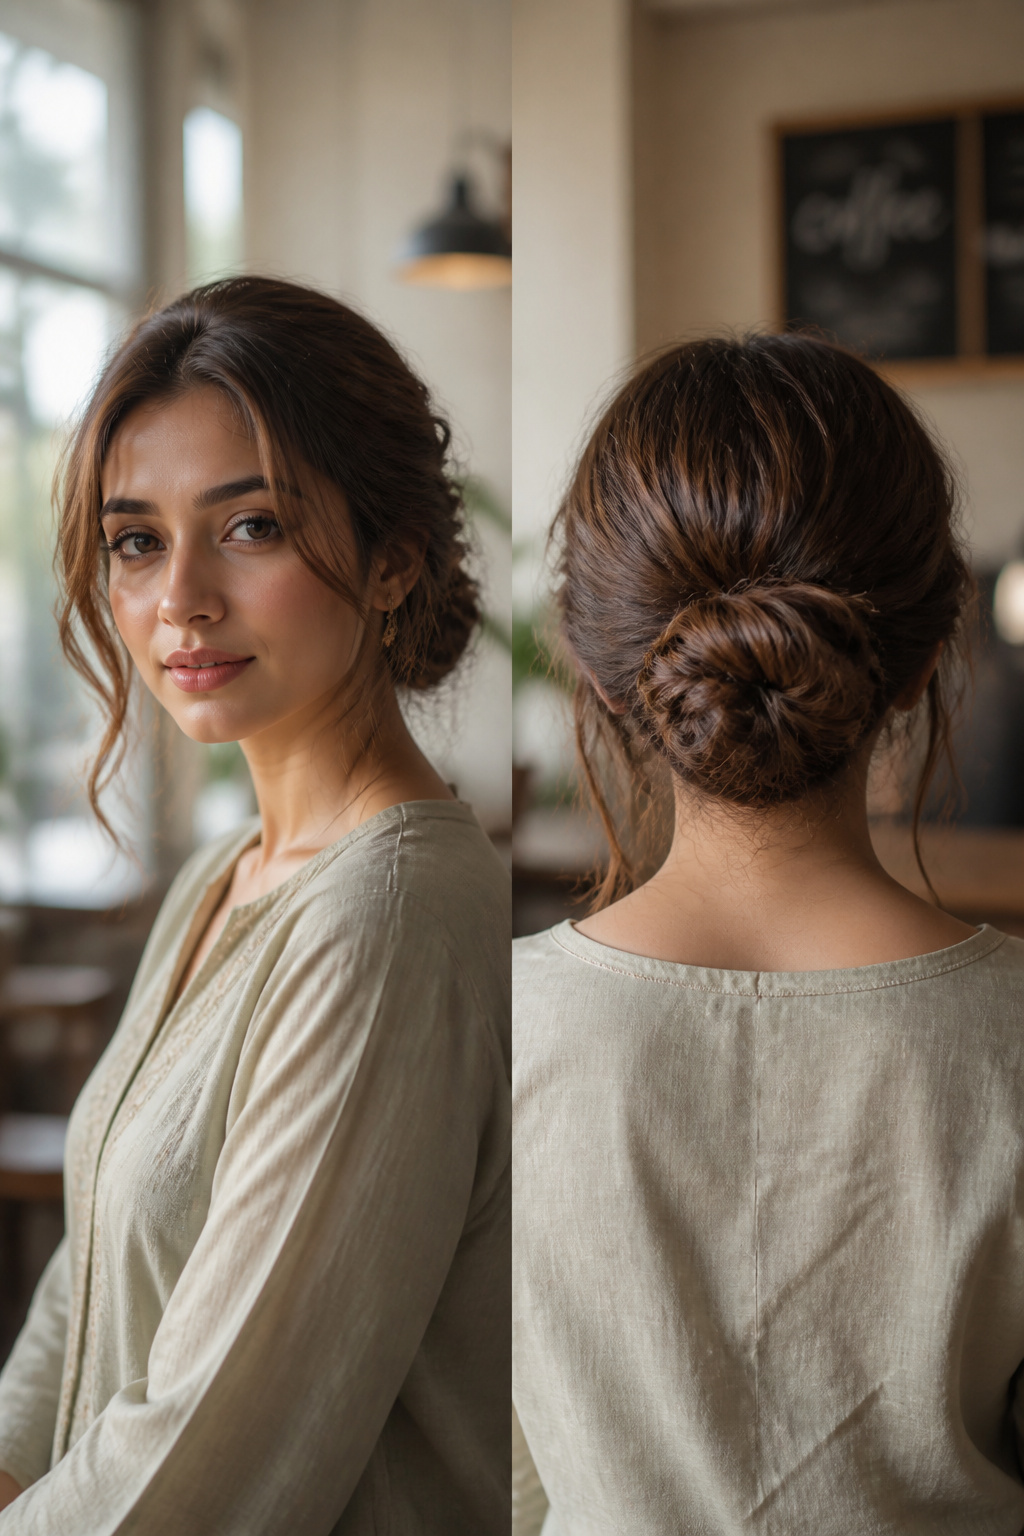

Best for medium hair. Grows out gracefully. About 12 to 18 minutes to set.
If you want romance without losing structure, this is it. The visual payoff is softness around the face while the bun stays compact under a dupatta. The trick is to curl only mid-lengths away from the face and stop the barrel an inch before the ends so the tendrils fall natural. Mist lightly with flexible-hold spray. Most people over-tug the tendrils; leave them looser for a lived-in, textured bridal bun.
Sleek Middle-Parted Bridal Bun


Best for straight to wavy hair. Touch up before photos. About 15 minutes for precision.
This one clears the face so jewelry and makeup take center stage. Ask for a clean center part and smoothing serum at the roots. The technique detail is to anchor the bun with matched U-pins and hide the elastic inside the knot for a seamless look. Warning: skip this if your hair is very fine and limp without padding; it can look thin unless you add a soft donut or extra pinning.
Figure-8 Sculptural Bridal Bun
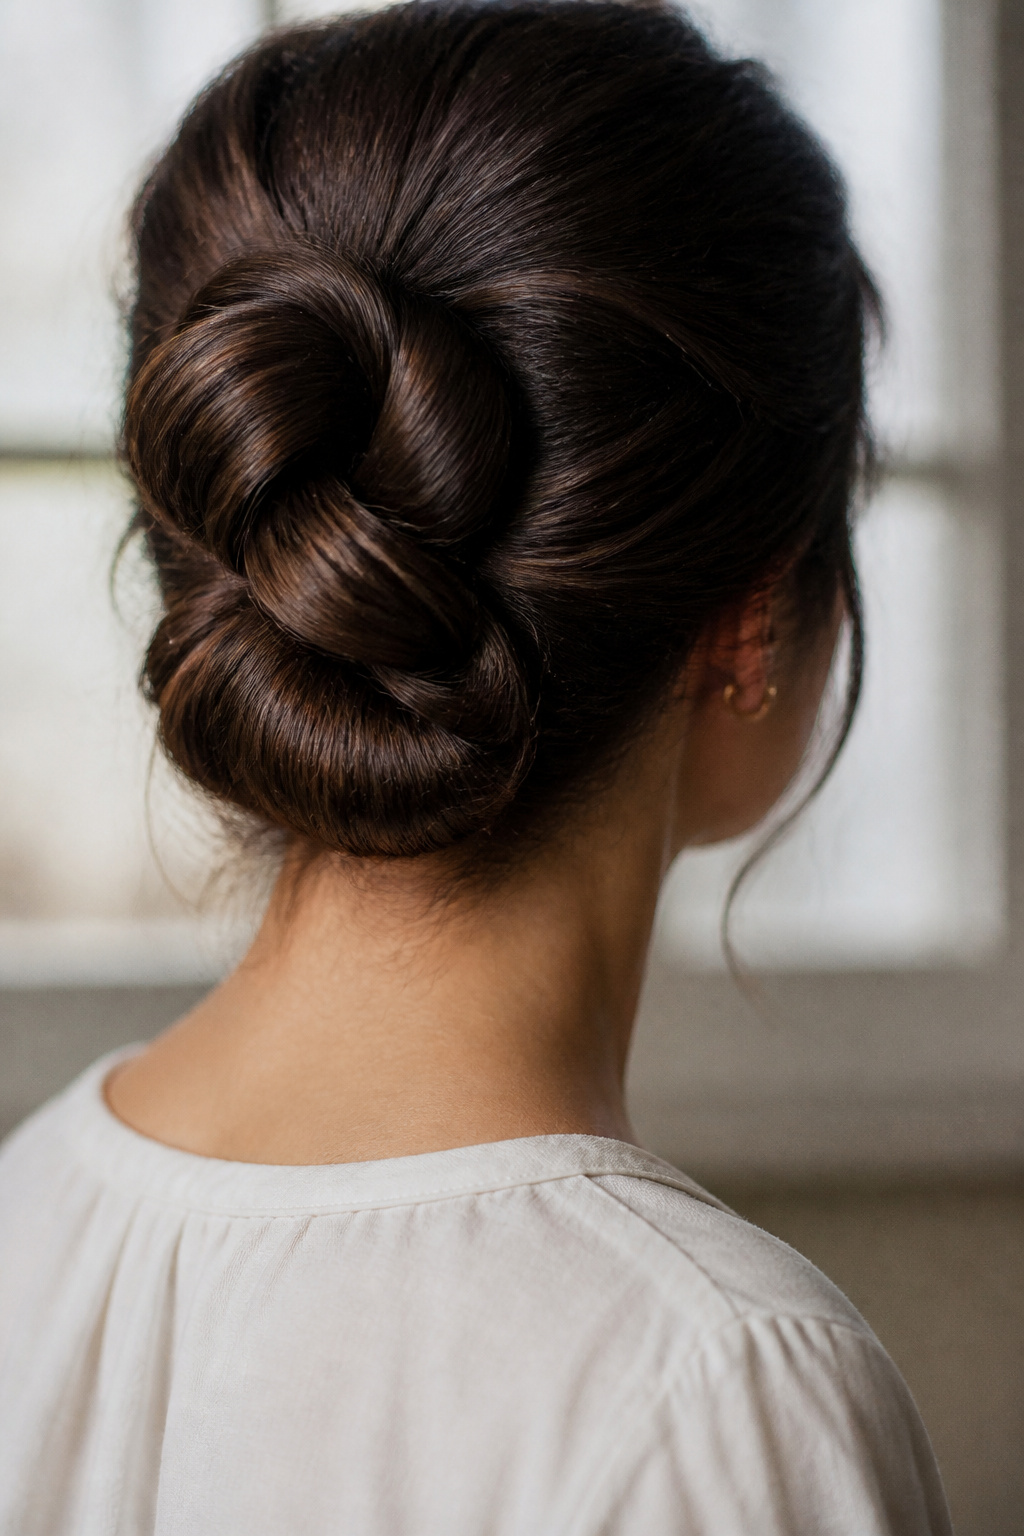

Best for long hair or hair with padding. Holds well for receptions. About 20 to 30 minutes.
This reads modern-traditional and photographs beautifully from the back. The technique is to create two separate loops and pin their meeting point solidly, instead of forcing all the hair into one knot. I once tried to DIY this without sections and it collapsed; always section first. Not for very short or fine hair unless you use a pad or extensions.
Classic French Twist for Civil Wedding or Reception


Best for medium to long hair. Touch up before leaving. About 15 to 25 minutes.
The French twist is unexpectedly modern at receptions and reads editorial with a saree gown. The trick is to roll the hair vertically and secure the seam with long U-pins for endurance. Honest moment: my first French twist flattened after the baraat; the secret is lots of internal pinning, not visible surface products. This is one of the looks I recommend asking a stylist for rather than forcing at home.
High Sculptural Bridal Bun for Reception


Best for long hair or with padding. Won’t work well with very fine hair without help. About 25 minutes.
Want presence in reception photos. The goal is height and clean silhouette. Backcomb the crown lightly and smooth the top section before shaping the bun. Mist heavily at the base pins. Common mistake: over-spraying the entire head and making the bun stiff; target the crown and pin points instead.
Braided Low Bridal Bun
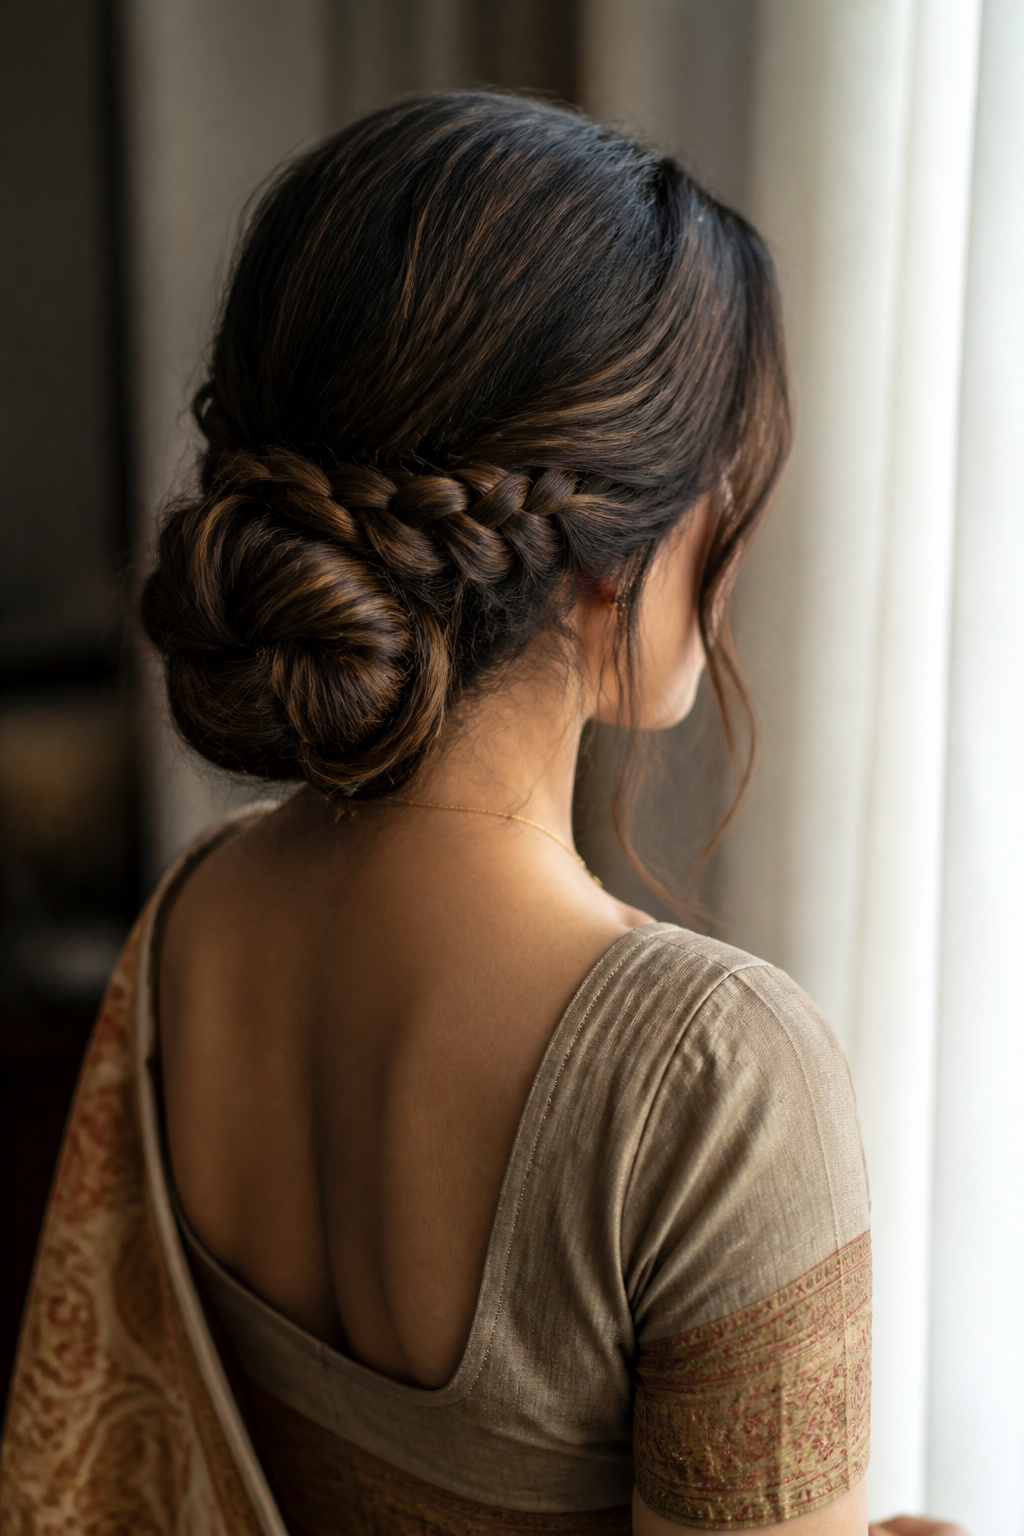

Best for long or medium hair. Secure for long ceremonies. About 20 minutes.
Braids add texture that still reads neat from a distance. Start with a loose three-strand braid and wrap it into a low bun, tucking ends under. The technique that helped me hold it through rituals was anchoring the braid base with cross-pinned U-pins. Avoid making the braid too loose or it will unravel under the weight of jewelry.
Messy Textured Bridal Bun


Best for wavy or medium hair. Looks good day two. About 10 to 15 minutes to rough-in.
If you dislike stiffness, this is your soft glam pick. The payoff is movement and a romantic silhouette that survives dancing. The trick is texturizing spray at the roots and light teasing only where you want lift. Most people overdo the hairspray; use flexible hold so the bun moves and still photographs textured, not crunchy.
South Indian Braided Bun with Jasmine and Temple Jewelry


Best for long hair. Ceremony-ready and very secure. Plan floral refresh if needed. About 30 minutes.
This is archetypal for traditional weddings and supports heavy temple jewelry. Braid first, then coil into a compact bun and pin. Honest moment: dense floral garlands wilt fast in summer, so use a single jasmine string for later rituals. If you love maximal traditional ornament, ask your stylist for extra internal pinning to support the jewelry weight.
Pearl-Lined Bridal Bun or Braid


Best for medium to long hair. Keeps florals light. About 15 minutes.
Pearl pins modernize a bun without heavy florals. Thread pearl pins along the bun perimeter or insert them into a braid. The technique detail is to pin pearls into larger bobby pins for grip rather than pushing thin pins into the bun directly. Mist sparingly so the pearls don’t slip.
Bejewelled Braided Updo


Best for long hair. Balance jewels with jewelry. About 25 minutes.
This is for brides who want the braid itself to be the canvas. Weave a three- or four-strand braid into a bun and place jeweled pins along the braid. Avoid clustering too many heavy pins near the nape. Most people overload; let the braid carry the look and pick a few statement pins.
Sleek Low Ponytail with Embellishment
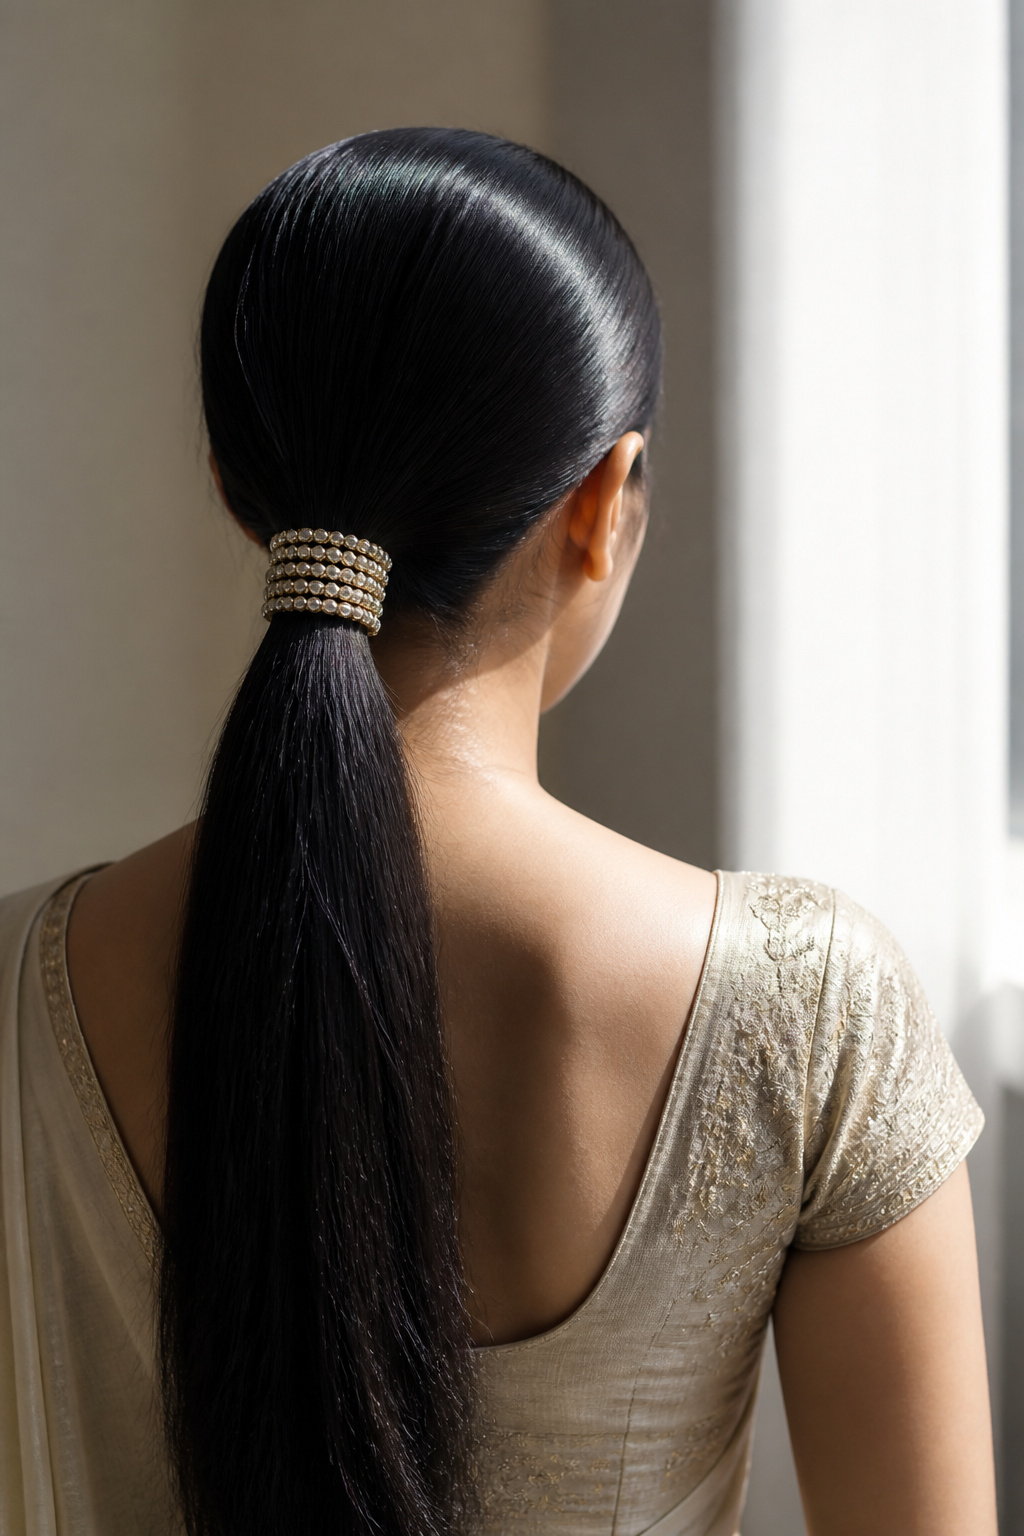

Best for long straight hair. Cleaner and modern. About 10 minutes.
A sleek low ponytail reads fresh and is easier to maintain than complex buns. Smooth the crown and wrap a jewel band around the tie or add a pearl line. The trick is a smoothing serum and a final mist of flexible-hold spray on the crown. Skip if you need hair to fully support a heavy dupatta at the back.
Hollywood Waves as a Bridal Moment


Best for long hair. Vulnerable in humidity. Style before event photos. About 20 to 30 minutes.
Not a bun, but sometimes brides want hair down for reception. Wide barrel waves look polished with traditional jewelry. Technique: use a 1.25-inch barrel and curl away from the face, brushing through once for a smooth S-shape. Honest warning: humidity flattens these quickly; set with a humidity-resistant spray.
Power Bun with Puffed Crown
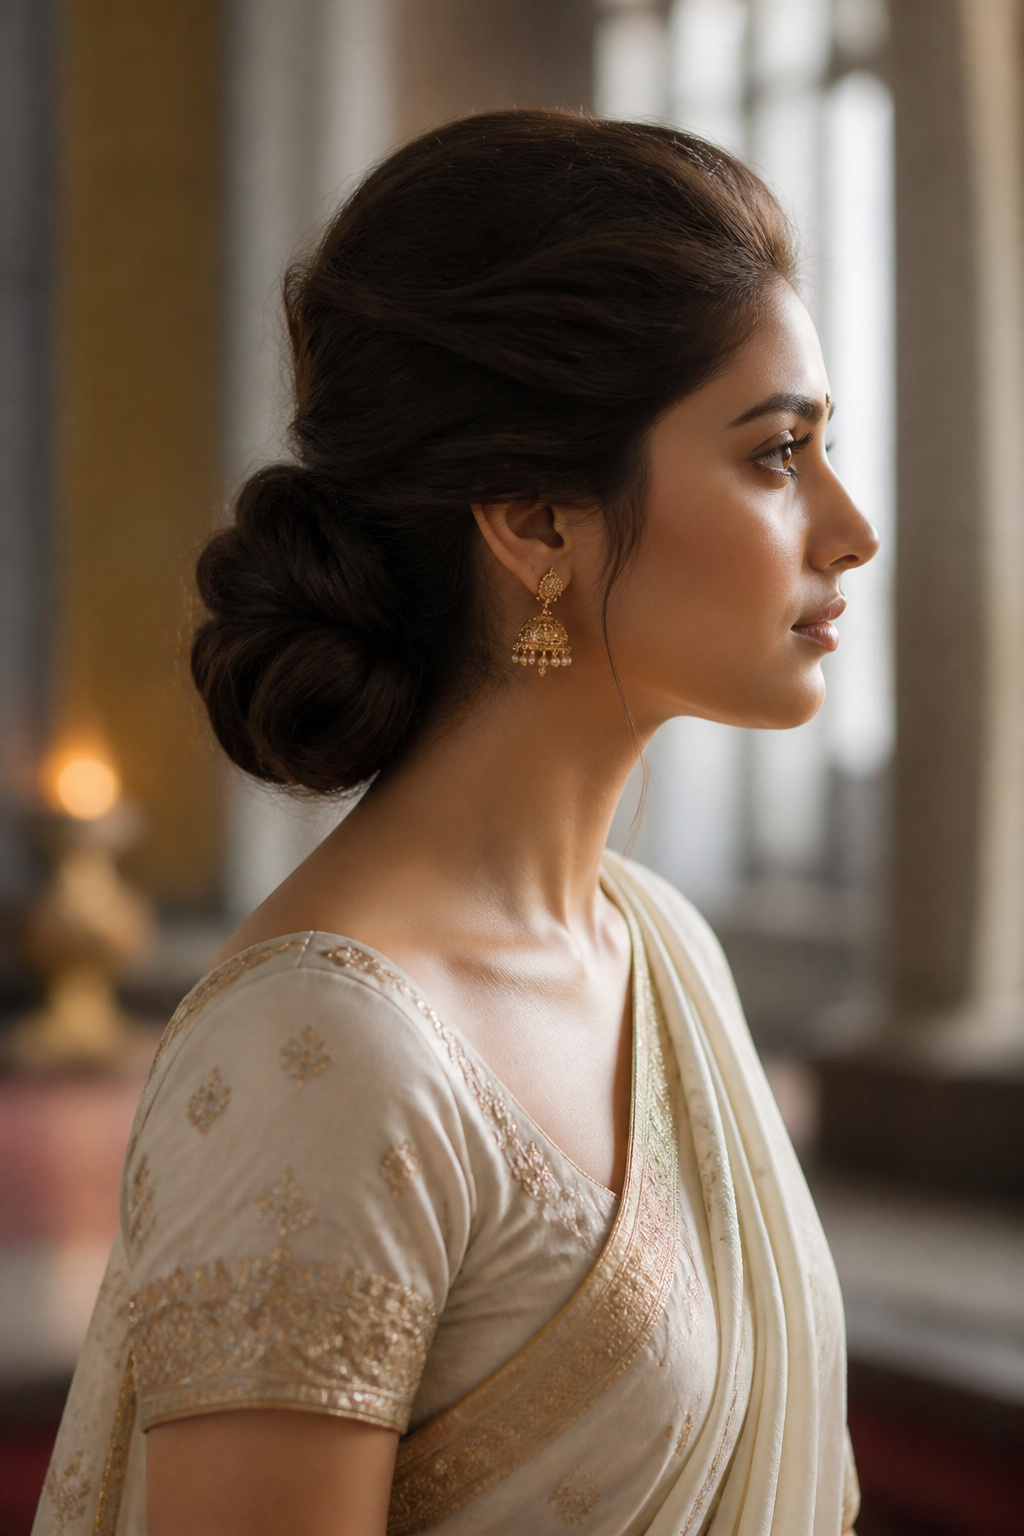

Best for medium to long hair. Statement silhouette. About 20 minutes.
This is an updated volume-forward bun that reads modern-traditional. Backcomb the crown gently and smooth the top layer before forming the bun. The technique that lasts is anchoring the puff at the roots with long pins and using a moderate-hold spray on the crown only. Avoid over-teasing which can tangle the hair under heavy ornament.
Gajra-Wrapped Minimalist Bun
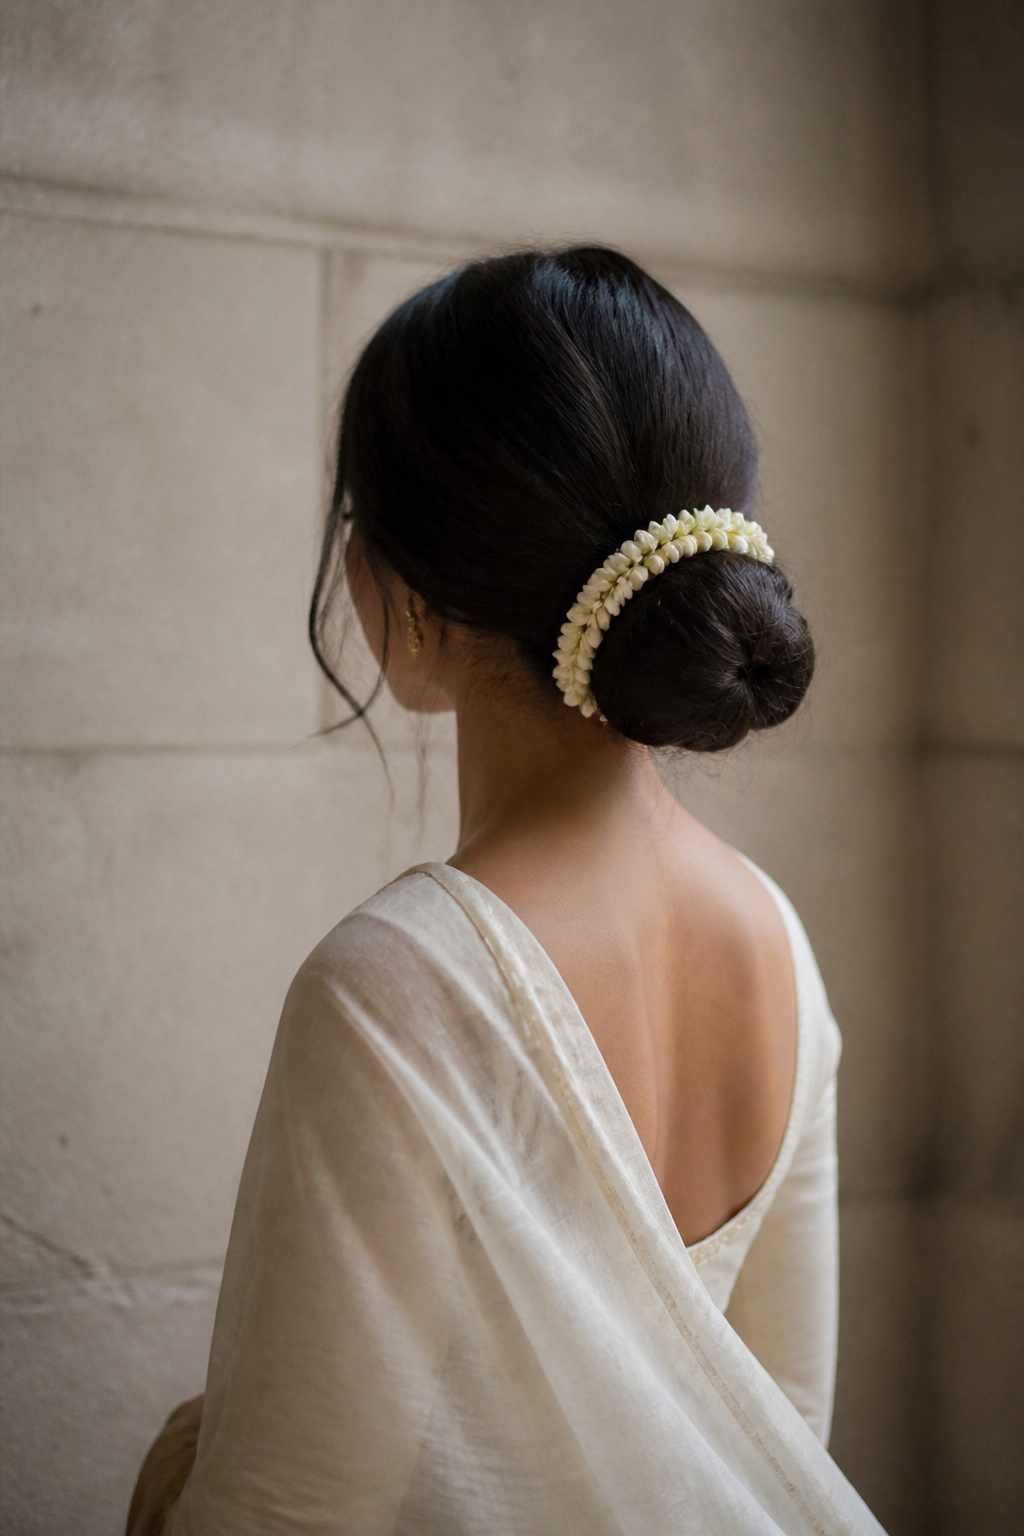

Best for medium hair. Fresh floral look early in the day. About 12 minutes.
My favorite for ritual-heavy mornings because it looks traditional without the weight. The single jasmine string is wrapped once and pinned beneath a small section to avoid slipping. The common error is tying the gajra too tight, making the bun look squashed. Keep it light and anchored with a discreet U-pin.
Bridal Bun for Medium Hair That Reads Full


Best for shoulder-length hair. Use padding or extensions. About 15 to 20 minutes.
If your hair is medium length, you can still get a full bun. The technique is a small donut or clip-in extension and careful pinning so the bun reads dense. I used a clip-in pad once and no one guessed. The mistake is using too-large padding that peeks out; keep it hidden and blend with hair.
Bridal Bun for Curly and Coily Hair


Best for curly and coily textures. Embrace texture, don’t flatten it. About 20 to 30 minutes.
Curly hair needs structure that respects the pattern. Create defined sections, braid or twist them, and coil into a compact bun. The payoff is volume where you want it and defined texture at the edges. Big mistake: over-straightening for a “sleek” bun, which can stress curls; work with the curl pattern instead.
Fine Hair Bridal Bun with Invisible Volume Hacks


Best for fine hair. Use padding and texturizing. About 15 minutes.
Fine hair can look full with a hidden donut and texturizing powder at the roots. The technique is backcombing a small base where the bun sits, smoothing the top layer, and wrapping hair around a small pad. Honest tip: I once skipped the pad and the bun looked flat in photos; do not skip this for thin hair.
Reception-Friendly Low Knotted Bun with Veil Placement


Best for ceremony and reception combo looks. Plan veil clips. About 20 minutes.
If you need your hairstyle to take a veil for some photos and come back down for reception movement, pin a small anchor stitch behind the bun so the veil clip secures without shifting the knot. The technique is to use two small sewn-in thread loops for the veil rather than heavy clips that tug. Most mistakes come from clipping the veil to surface pins that pull out mid-ceremony.
Minimalist Pearl Bun for City Weddings


Best for modern city weddings. Lightweight accent. About 12 minutes.
City brides often want minimalism with a nod to tradition. Fit a curved pearl comb into one side of a low bun or pin pearl studs along the rim. The technique is to test placement with your outfit and jewelry so the pearl line complements, not competes. Avoid heavy florals that can feel costume-like in minimal city venues.
Textured Side-Swept Bun for a Statement Profile


Best for brides who want a strong profile. Secure with cross-pins. About 20 minutes.
A side-swept bun gives a strong silhouette for profile shots. Curl mid-lengths away from the face and sweep to one side before coiling into a tidy knot. Cross-pin the meeting points for durability. The mistake is under-pinning the ear-side base, which lets weight pull the bun down.
What You'll Need to Get This Look
Heat Tools
- 1.25-inch ceramic curling wand ($30 to $70) for loose and Hollywood waves.
- Professional 1-inch flat iron ($40 to $120) for sleek parts.
- Carbon pin tail comb ($6 to $15) for precise parts.
- Blow-dryer with nozzle ($30 to $150) for root lift.
Styling Products
- Flexible-hold hairspray, 300ml ($8 to $20) for movement without crunch.
- Texturizing spray, 200ml ($8 to $25) for messy and lived-in finishes.
- Alcohol-free volumizing mousse, 8oz ($6 to $18) for root lift on damp hair.
Hair Care and Protection
- Heat protectant spray, 200ml ($7 to $20) to prevent damage.
Accessories and Finishing
- U-pins pack, 50 pieces ($6 to $12) essential for bridal buns.
- Pearl hair pins pack ($8 to $25) for minimalist ornament.
- Jasmine gajra single string ($10 to $30) for traditional freshness.
- Hair donut padding small ($4 to $12) to bulk up buns.
Budget Swaps
- Drugstore flexible-hold hairspray ($4 to $10) is fine for rehearsal looks.
- Basic bobby pins pack ($3 to $8) for practice sessions.
- Affordable texturizing spray ($5 to $12) that holds day two texture.
Shopping Tips for These Looks
Buy core pins in bulk: U-pins and bobby pins vanish on the big day. Stock extras so stylists can pin confidently. I like grabbing a bulk pack of U-pins.
Wait for appliance sales: Hair tools drop during festival and Black Friday sales. A pro-level wand can be 20 to 30 percent cheaper if you wait.
Use drugstore dupes for practice: cheap hairspray and bobby pins are great for rehearsals. Save salon products for the wedding day.
Match accessories to your jewelry tone: choose pearls or gold pin details that echo your maang tikka so the look feels cohesive. A small pack of pearl pins is worth having.
Test florals in the climate: if you’re doing jasmine outdoors in heat, have a backup like fresh pearl pins to swap in later.
Frequently Asked Questions
Will these buns hold through an eight-hour wedding day?
Yes, compact buns with multiple internal anchor points and U-pins usually hold through long rituals. Use flexible-hold hairspray to avoid stiffness and schedule a quick stylist touch-up before photos.
Can I get a bridal bun with medium-length hair?
Absolutely. Use padding or small clip-in extensions to add volume, and pin strategically so the bun reads full rather than flattened.
How do I keep hair frizz-free for an outdoor wedding?
Prep with an alcohol-free volumizing mousse and finish the crown with a humidity-resistant flexible-hold hairspray. Carry a small travel spray for quick touch-ups.
Are fresh flowers better than pearls for durability?
Fresh flowers look beautiful early but can wilt. Pearls and jeweled pins are more durable and photograph consistently across long events.
What should I ask my stylist for if I want a modern-traditional mix?
Ask for a compact low bun with textured surface detail and a single accessory line, like a pearl rim or a one-string gajra. Mention you want the dupatta to sit flat and show photos.
Can I DIY any of these looks at home?
Yes for textured buns, sleek ponytails, and gajra wraps if you practice. Leave sculptural figure-8 shapes and French twists to a stylist unless you have strong pinning skills.
Where to Start
Pick one or two photos that match your outfit silhouette and show them to your stylist during trials. If you have medium or fine hair, start by testing a small pad and a single pearl line so you can see the visual impact without a full commitment. Which two styles are you leaning toward for your wedding day?