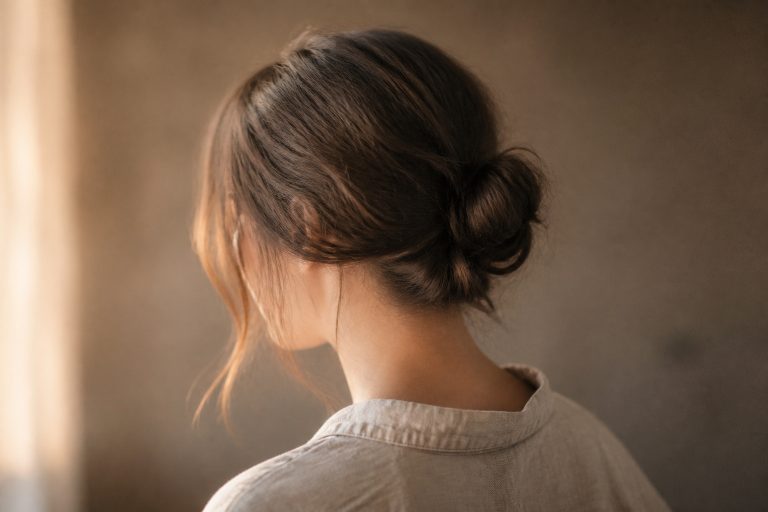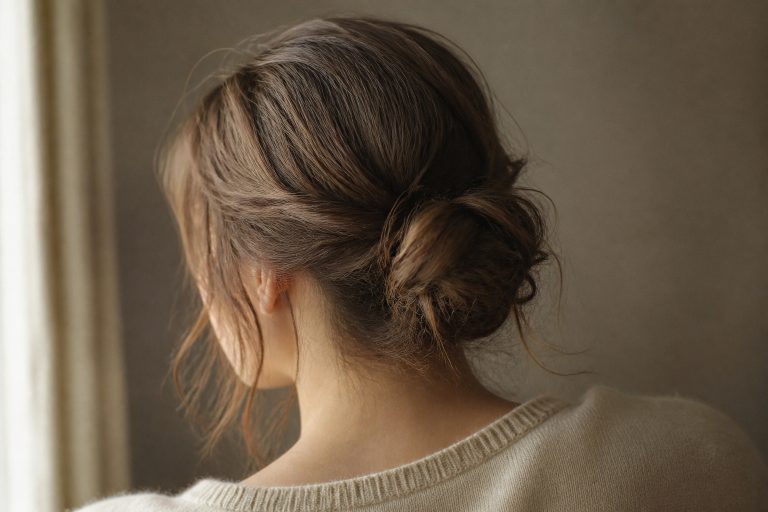




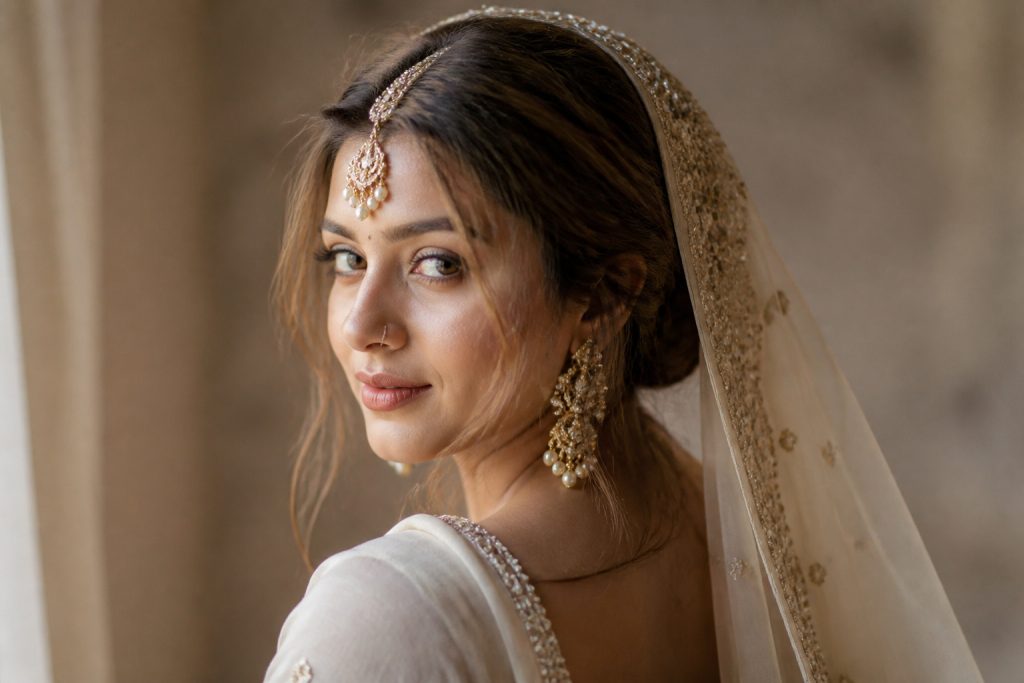

I learned how to set dupatta on bridal hairstyle the hard way when my dupatta slid off during the tea ceremony at 3pm and my mang tikka went with it. That day I realized the problem was not the fabric or the pins alone, it was where the pins were anchored and how the weight was shared. I fixed it by building a flat, secure base at the crown, distributing the weight, and revealing the face jewelry intentionally.
This is a realistic bridal setup you can do at home or ask your stylist for. Plan 45 to 75 minutes in a salon, 30 to 50 minutes at home if you have tools. It suits mid-back to long hair and medium density best; if your hair is fine, add a small hair filling. Trend note: brides want open length visible while keeping the dupatta secure, so this routine balances an anchored updo with soft face-framing lengths.
Prep and build a secure base for the dupatta
Prep decides how long the style holds, so start here. I work on dry hair that I rough-dry to remove dampness and give surface grip. If your scalp tends to get oily, mist a coin-sized amount of alcohol-free volumizing mousse into the roots only, about the size of a golf ball spread through shoulder-length hair.
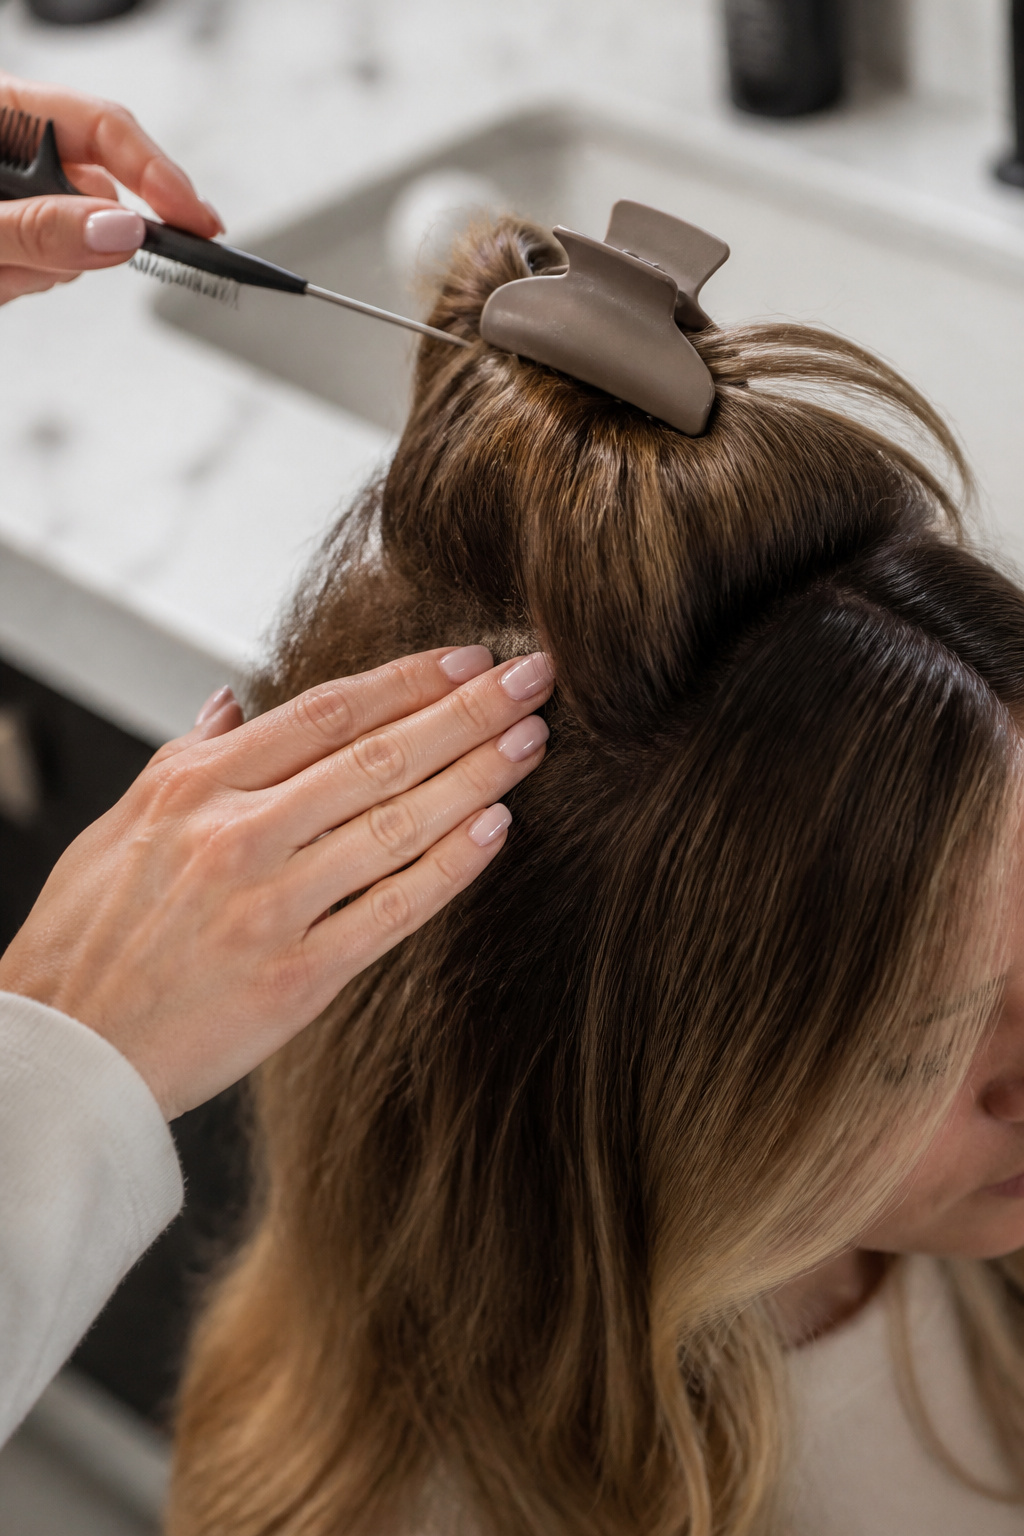
Section the hair into three horizontal zones: a 1.5-inch front hairline zone left out for face framing, the crown zone about two fingers wide, and the remaining lengths. For a low bun base, make a loose pony at the nape. If you need more structure, braid the pony into a flat three-strand braid and coil it into a bun. When I tried to anchor everything to loose hair, the dupatta slipped; the braid fixed that.
Tease the crown lightly with a teasing comb to create a flat but lifted platform where the dupatta will rest. Backcomb in short 1-inch strokes, then smooth the top with a soft brush so the bump reads as volume, not frizz. Use 6 to 8 U-pins and 10 bobby pins to lock the bun and the crown base. Smoothing serum, a pea-sized drop, keeps flyaways in check around the part.

Anchor the dupatta and distribute the weight
This is where styling meets engineering. Lay the dupatta over your head and drape it so the embroidered border sits where you want it visible. For traditional looks leave a 2 to 3-inch forehead margin so the mang tikka sits flat and jewelry is unobstructed. If the dupatta is heavy, place the central seam or a sewn-in comb at the crown, not at the hairline.
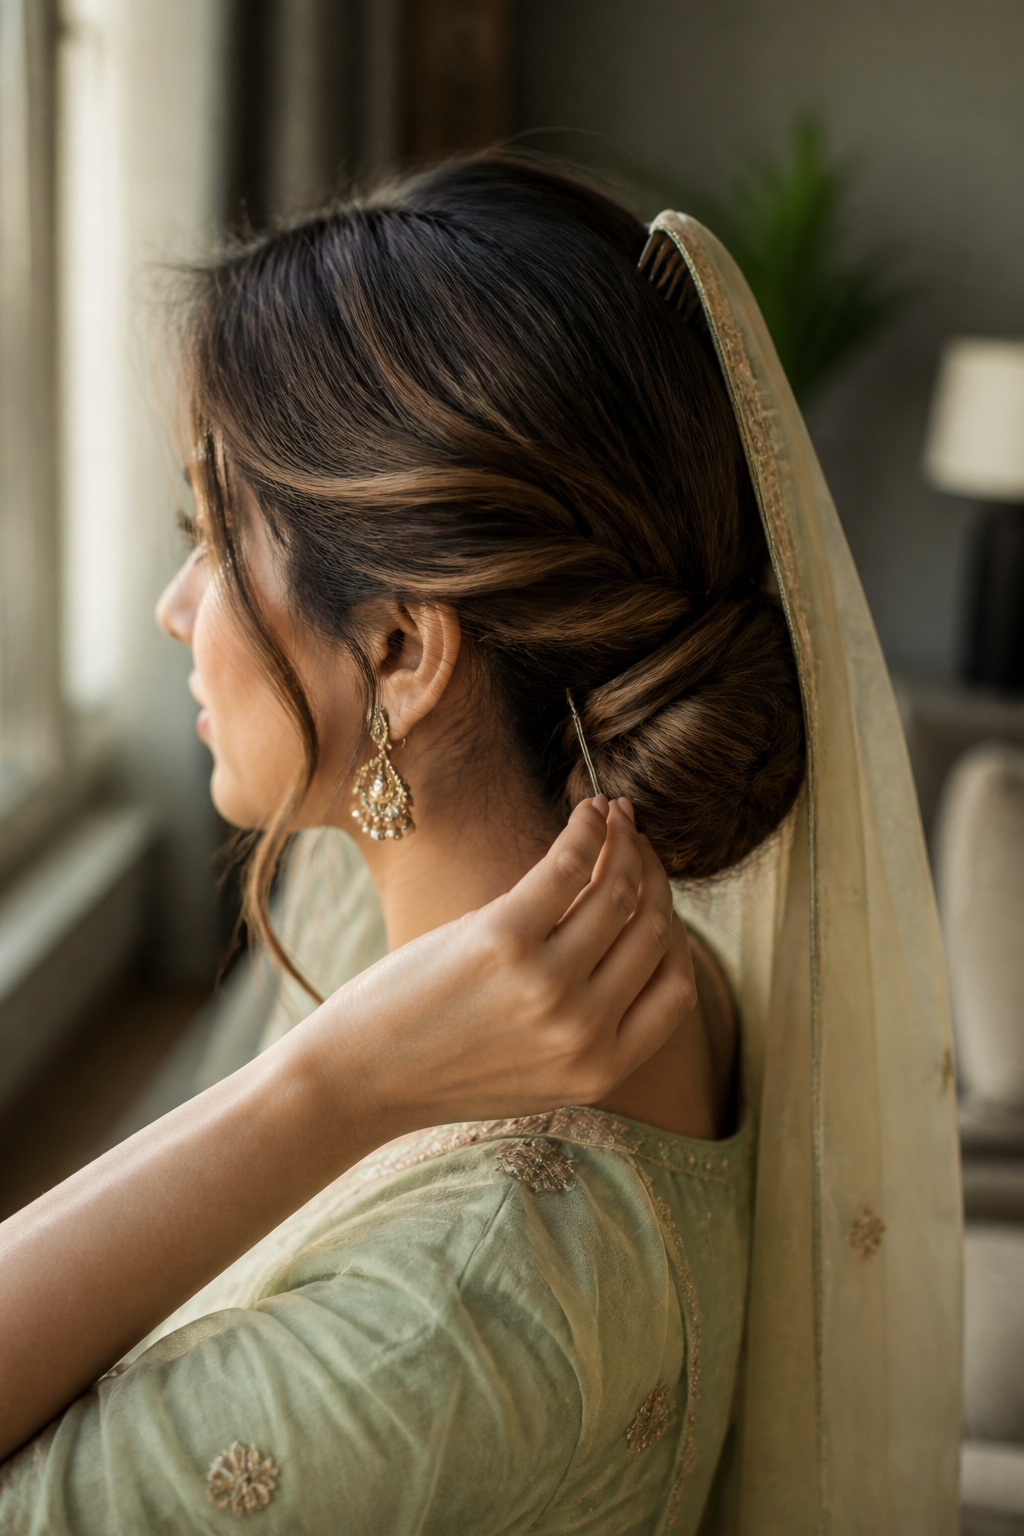
Sew or pin small comb clips to the dupatta’s border if possible; they bite into hair and fabric. Place the comb at the crown and anchor it to the teased root area by pushing the comb teeth into the scalp at a shallow angle so it grips the teased base, not just surface hair. Cross-pin on both sides: insert a long safety pin through the dupatta into the bun, then fix a bobby pin crossing over the safety pin to lock it in place. I like using a second anchor over the opposite parietal bone when the fabric is especially heavy.
If your hair is very fine, create two parallel mini braids along the crown under the dupatta and pin the comb clips into those braids. This avoids the common mistake of pinning only into loose hair that slides. Test the hold by gently tugging the dupatta forward, then sit still for 60 seconds to feel if any shift happens.

Reveal the hair and polish the visible details
Now refine what the audience will actually see. If you left front pieces out, shape them with a 1.25-inch barrel, curling away from the face for a soft S-wave. Work with 1-inch sections, clamp at the mid-length, wrap once and leave the ends out for movement. Set the iron to 320 F for medium-thickness hair; lower to 300 F for fine hair, higher only for very coarse hair. After each curl, hold the curl in your hand for 10 seconds to set the shape.
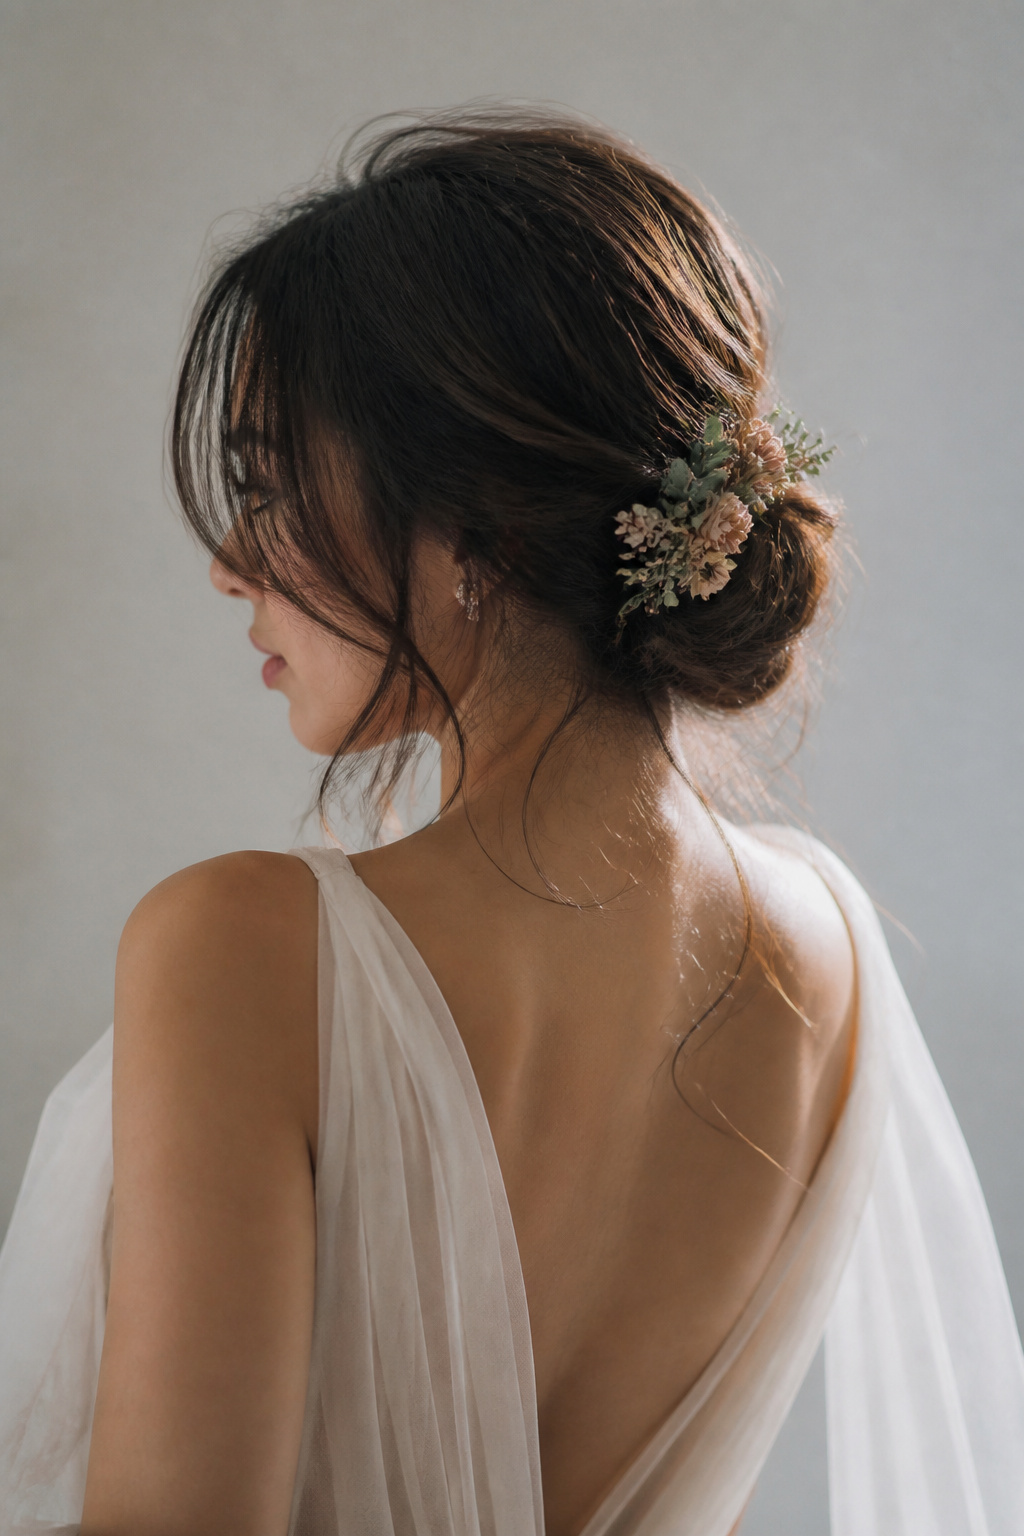
Create controlled texture on the lengths with a light mist of texturizing spray, smoothing the top lightly with your palms so the crown stays flat. Place floral pins or a small decorative accessory beside the bun, not on top of the dupatta, so the decoration reads against the hair and not the fabric. A too-heavy accessory under the dupatta will collapse the anchor.
One thing I tried and dropped: full-strength hairspray on the crown to lock everything. It made the crown stiff and obvious under the dupatta. I now use a flexible-hold hairspray from 8 to 12 inches away, two light pumps, which keeps shape without the helmet look.

Common Styling Mistakes to Avoid
Pinning only into surface hair. Why it fails: hair slips under stress and the dupatta falls forward. Better: anchor to the scalp via a teased base, braided grips, or sewn-in comb clips.
Using one central pin for a heavy dupatta. Why it fails: a single point bears all weight. Better: distribute across two or three anchors, including one into the bun and one near each ear if needed.
Overloading the crown with product. Why it fails: stiff roots show through fabric and flatten the style. Better: use a pea-sized smoothing serum and flexible hairspray, save mousse for roots before drying.
Leaving face-framing sections too long and unshaped. Why it fails: these strands go limp and look unintentional. Better: trim or shape a 1.5 to 2-inch front zone and set it with a small barrel for consistent movement.
How to Make It Last
What collapses first is usually the crown and then front pieces. Refreshing fast is about small corrections, not redoing everything. Carry four bobby pins and two safety pins in a small pouch. If the crown feels loose, slide a U-pin into the teased base behind the comb and then smooth the top with fingers.
For limp waves, heat to 300 F for a 15-second touch on the outer curve of the wave, not the root. Use a short spritz of flexible-hold hairspray where the curl needs structure, then cup the curl in your hand until it cools. Dry shampoo on the roots will restore grip by the afternoon, but avoid powdering too close to the hairline so it does not show under the dupatta.
If you need a quick weight fix, drape the dupatta over the arm first, set the central comb, and then ease the sides down while someone cross-pins the edges into the bun and behind the ears. This handling method saves frantic re-pin work during the ceremony.
What You'll Need for This Look
Heat tools
1.25 inch ceramic curling wand ($25 to $60). The 1.25 inch size gives a soft S-wave that still moves.
Compact hair dryer 1875 watt ($25 to $80). A reliable dryer speeds prep and rough-drying.
Styling products
Alcohol-free volumizing mousse, 8oz ($8 to $18). Use a golf-ball-sized amount for shoulder-length hair at the roots only.
Heat protectant spray, 4oz ($6 to $20). Spray section by section before any hot tool.
Flexible-hold hairspray, 10oz ($6 to $18). Two light pumps finish without stiffness.
Texturizing spray, 5oz ($8 to $20). Adds grip and movement to lengths.
Accessories and finishing
Bobby pins, 100 pack ($4 to $12). Keep them your shade; mismatched pins show when hair moves.
U-pins hair pins, 50 pack ($5 to $15). Essential for bun structure.
Small sew-in comb clips, 4 pack ($6 to $18). Sew these to the dupatta border for a cleaner hold.
Hair filling donut pad, small ($3 to $12). Use under the bun for extra volume if hair is thin.
Budget swaps
Travel-sized heat protectant spray, 2oz ($4 to $10). Good if you already own a full-size product but want a ceremony kit.
Value pack bobby pins, 200 pack ($6 to $14). Cheaper offline, but handy to have extras.
Where to start if you only change one thing
Anchor to the scalp, not the loose hair. Learn to place a comb or U-pin into the teased crown so the dupatta sits on a structural platform. Start by practicing that single move at home with a scarf and two bobby pins; when it works with a scarf, it will hold a dupatta. Will you try this at your next trial? Tell me what fabric you’re working with and I’ll suggest the anchor points that will hold best.