






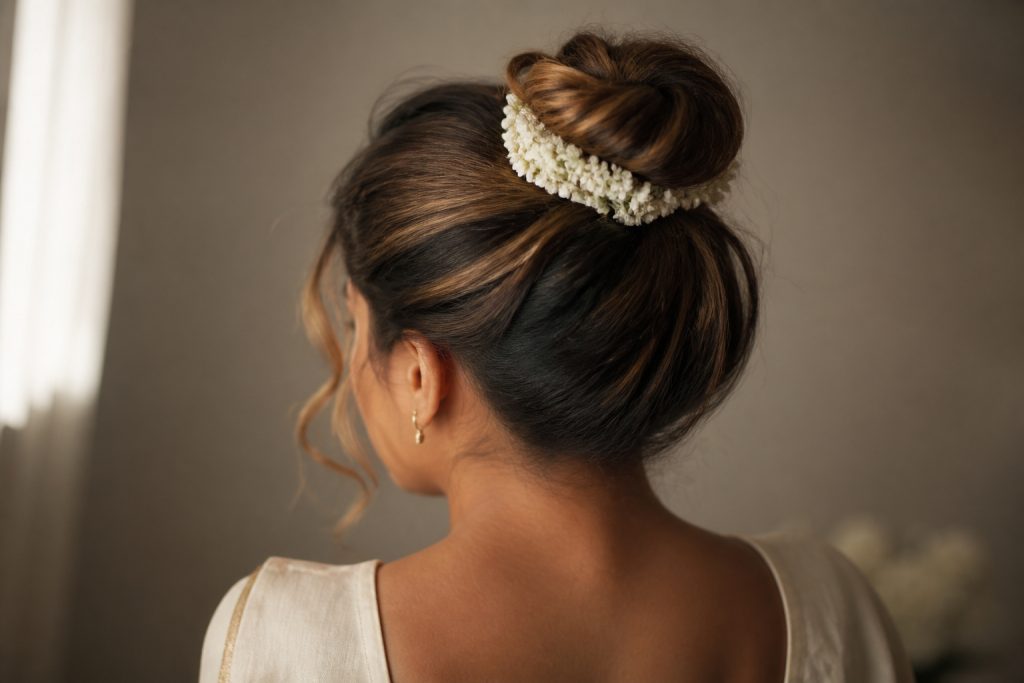

I wrecked my first attempt at a wedding look because the bun fell flat by 4pm and the dupatta kept sliding off. Learning how to make indian bridal bun hairstyle the way I do now meant solving three problems at once: believable crown volume, a pinned base that holds under heavy jewelry, and a clean wrapped perimeter that photographs well. The difference for me was planning each layer and overpinning the base.
This is a high, wrapped bridal bun for mid-back to long hair and medium density. It works whether your hair is naturally straight or softly wavy; if your hair is fine or shorter you can use a bun filler or a clip-in extension. Expect 25 to 40 minutes the first few times, 15 to 25 minutes once you know your sections. My cheaper path: a messy bun scrunchie and extra pins for a fast, salon-like result.
Prep and texture for hold and movement
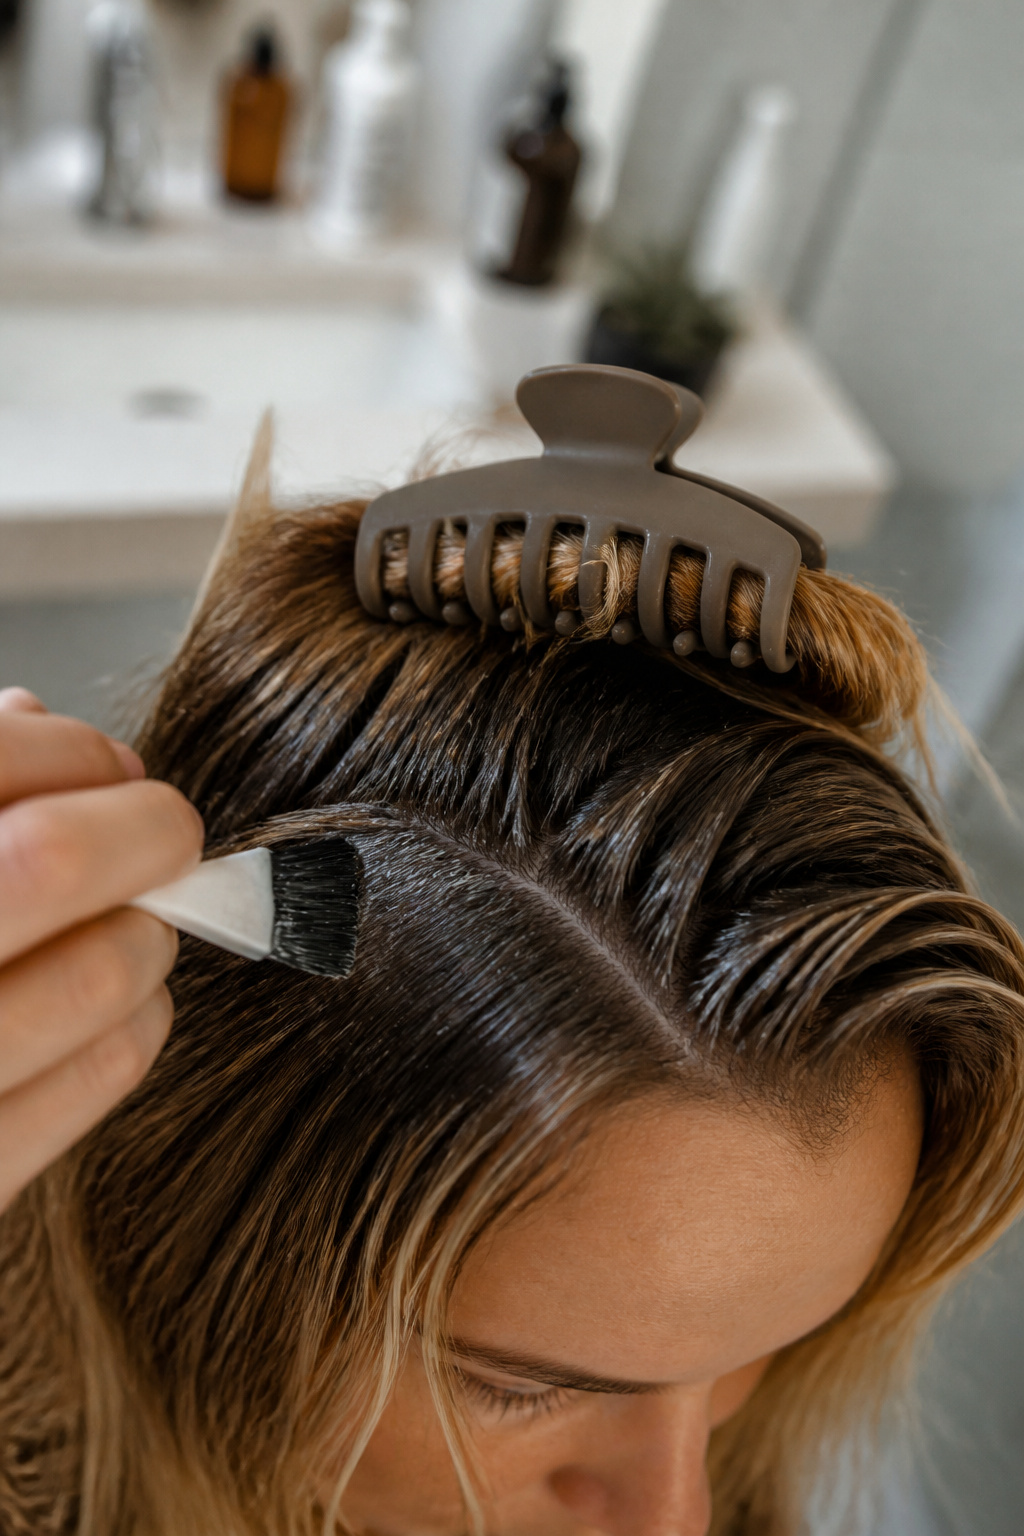

Prep decides how long the bun survives, so this comes first. I work a golf-ball-sized amount of Alcohol-free volumizing mousse, 8oz into damp roots only. That gives lift without crunchy ends.
Next I mist mid-lengths and ends with a light Heat protectant spray, 6oz and rough-dry to about 80 percent. If you start hot styling on wet hair the wave will steam out and fall flat.
If you want soft waves around the bun, use a 1.25 inch barrel on low to medium heat and alternate barrel direction for small sections. For me a medium heat setting keeps the hair shiny while letting the curl relax into a lived-in wave. The biggest mistake here is overdoing product on the lengths. Too much mousse or oil and your wrap slips instead of gripping.
Build a secure, voluminous base
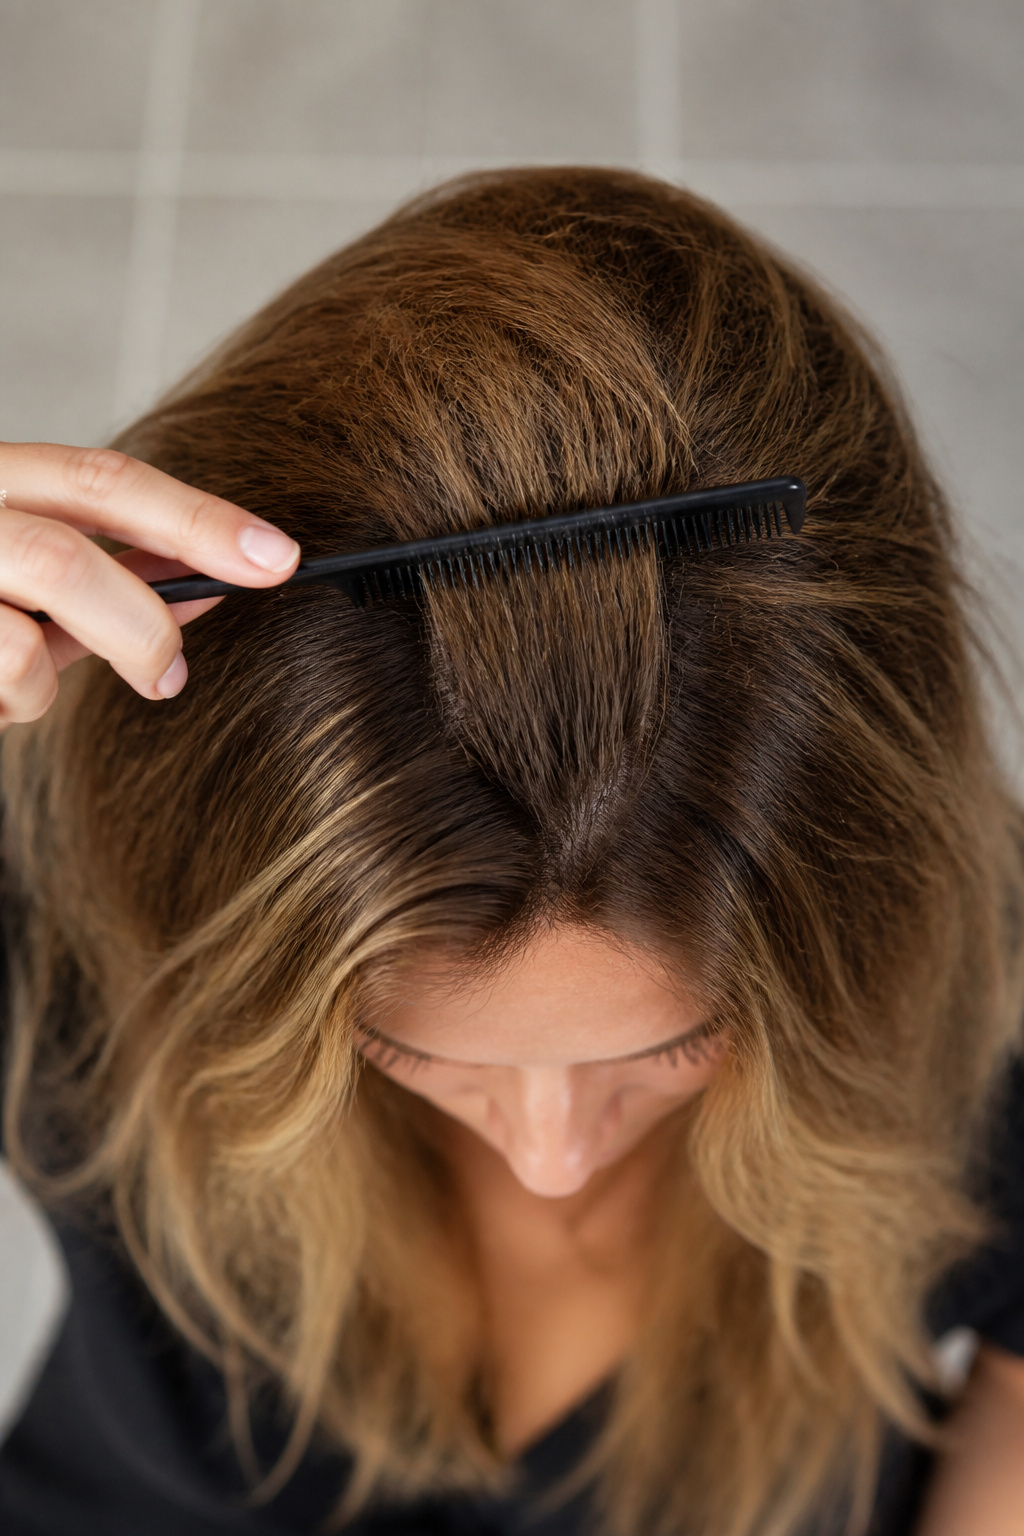

The visual principle is simple. Volume at the crown with a dense, pinned base underneath keeps the bun readable from every angle.
Section the hair into three bands. Take a 2-inch front band along the hairline for face framing later. Make a 3-inch crown band for teasing and lift. Gather the remaining hair into a high ponytail at the crown, securing it with an elastic.
Backcomb the crown band gently using a Backcombing teasing comb. Work in 1-inch subsections and spray each teased layer lightly so it holds. Insert a medium Bun filler donut, medium over the ponytail if you want extra roundness. The common error is teasing the whole head. Keep the backcombing limited to the crown so the wrap reads polished instead of puffy.
Pin the teased crown forward over the top of the donut with U-pins hidden at the base to lock the shape. This is the skeleton your wrapped lengths attach to, so overpin it. I once tried to skimp on pins and repinned myself backstage; do not repeat that mistake.
Wrap, pin, and create the outer shape
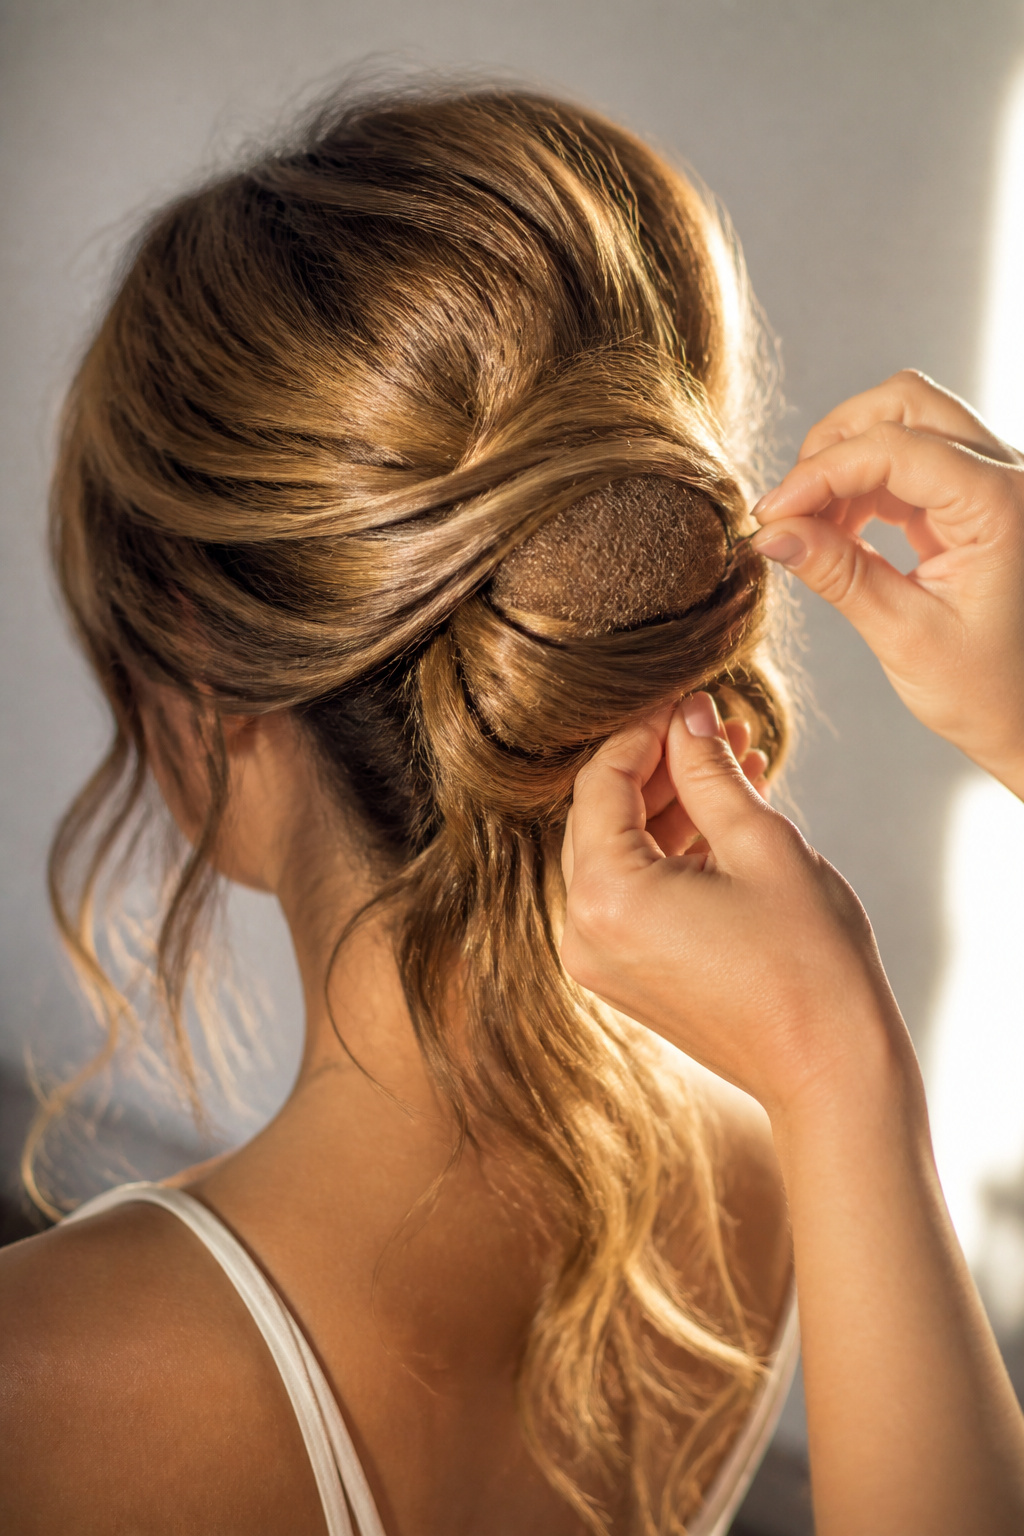

Now you convert the base into the bridal silhouette. Divide the ponytail into 6 to 8 vertical sections for a wrapped look that hides the donut and reads neat on camera.
Take one 1-inch section, smooth it over the donut and wrap it clockwise, tucking the end under the previous layer. Secure every wrapped pass with two bobby pins inserted in opposite directions so they lock. Use sturdy Bobby pins assorted pack and a few U pins hair bun set at the anchor points for extra hold.
If your hair is thin or short, blend a Clip-in bun extension, human hair under the wrapped sections. Work half over half: each new wrapped strip should overlap the previous by a finger width for a seamless edge. The mistake is wrapping too large sections. Small sections give you a cleaner perimeter and better pin purchase.
Finish, face framing, and accessories
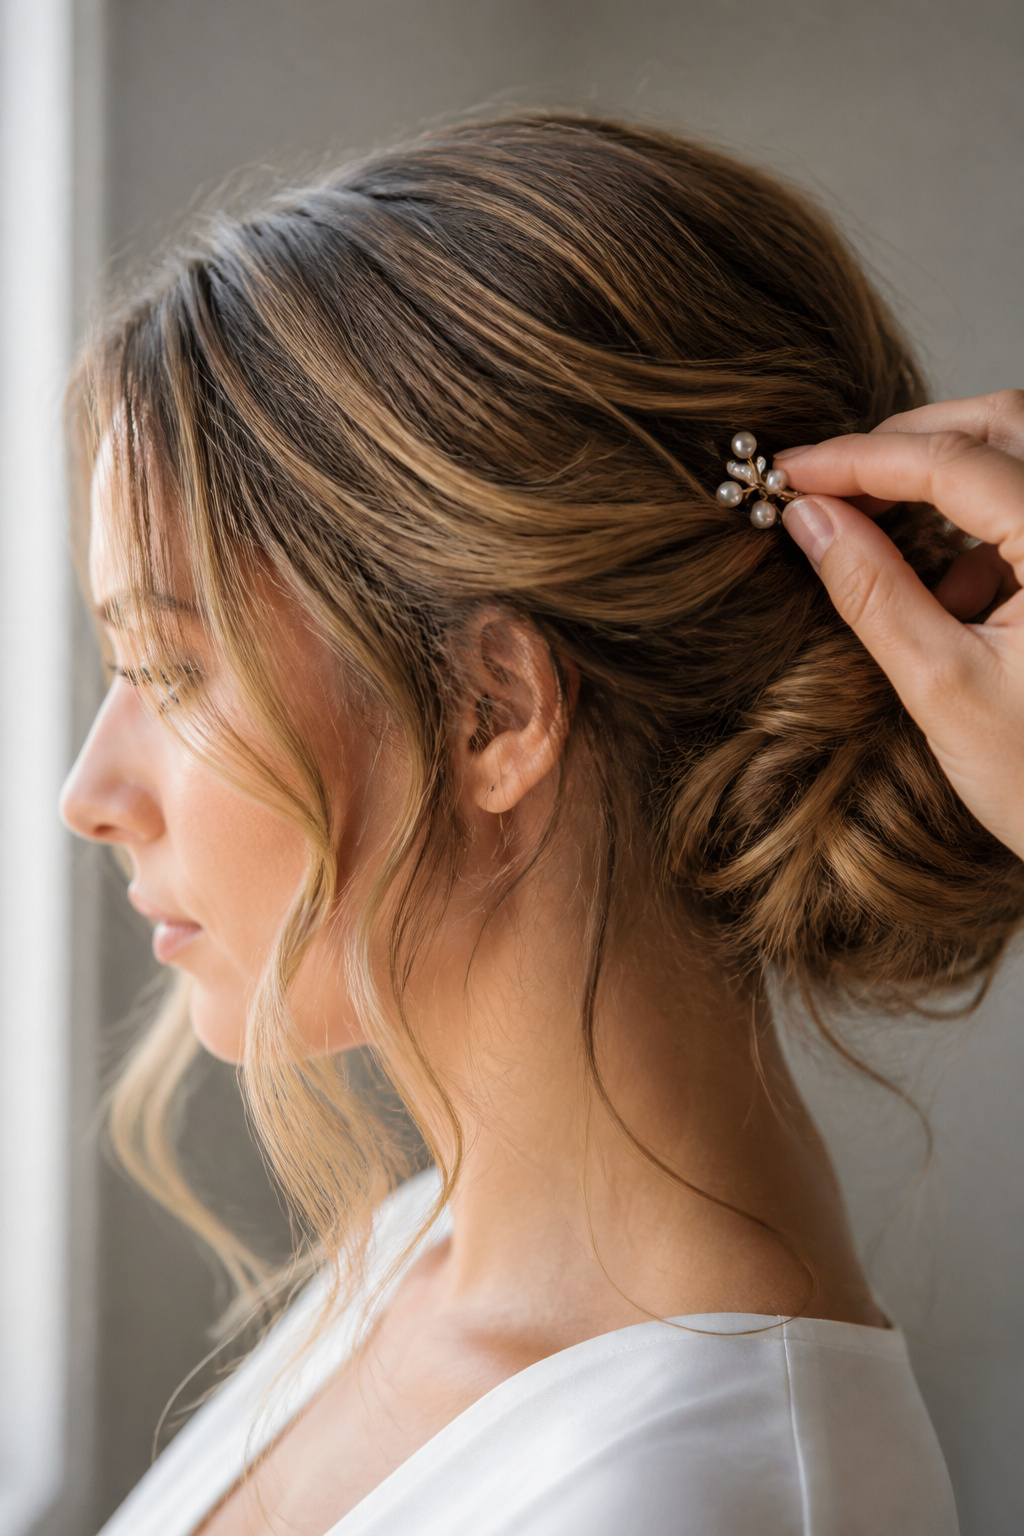

Use a fine-tooth comb to gently smooth the outer layer and soften the crown where needed. Release the 2-inch front band and create two face-framing tendrils by curling 1-inch sections away from the face and brushing lightly.
Lock the whole style with a strong mist of Strong hold hairspray, 10oz. Pin decorative elements—fresh gajra, pearl pins, or gold accessories—after the hairspray so you do not flatten the volume. I prefer placing flowers in a semicircle so the bun still reads circular in photos.
One thing I tried and then stopped doing was over-curling the tail before wrapping. The extra curl created too much texture and made the wrap uneven. Now I only curl the front tendrils and let the wrapped ends sit smooth under the pins.
Common Styling Mistakes to Avoid
Teasing everywhere. Why it fails. You end up with a puffy band that ruins the bun silhouette. Better: tease only a 3-inch crown band and spray each teased layer lightly.
Using too few pins. Why it fails. The bun migrates or collapses by mid-event, especially under dupatta weight. Better: insert pins in pairs and add U-pins at anchor points.
Wrapping large chunks. Why it fails. Large wraps slip and show gaps. Better: wrap 1-inch to 1.5-inch strips with small overlap so each layer hides the last.
Over-smoothing with oil or serum. Why it fails. The wrap needs grip. Better: smooth the surface with a fine-tooth comb and reserve oil for the ends only. If hair is limp, a quick spray of Dry shampoo, travel size at the roots adds traction.
How to Make It Last
The first thing that collapses is crown lift, then the outer perimeter loosens. To refresh, mist the crown with a little water or spray and re-tease a narrow strip, then press it back into place and re-pin the anchor points. If the wrapped perimeter loosens, push a U-pin behind the lifted section and catch both the wrapped hair and the donut.
For humidity, use a strong hairspray on each layer as you pin rather than only at the end. By 4pm my bun usually softens; a careful re-pin and a quick mist of hairspray gets it wedding-ready again without redoing heat styling. Pack an emergency kit with five bobby pins, two U-pins, and a travel hairspray.
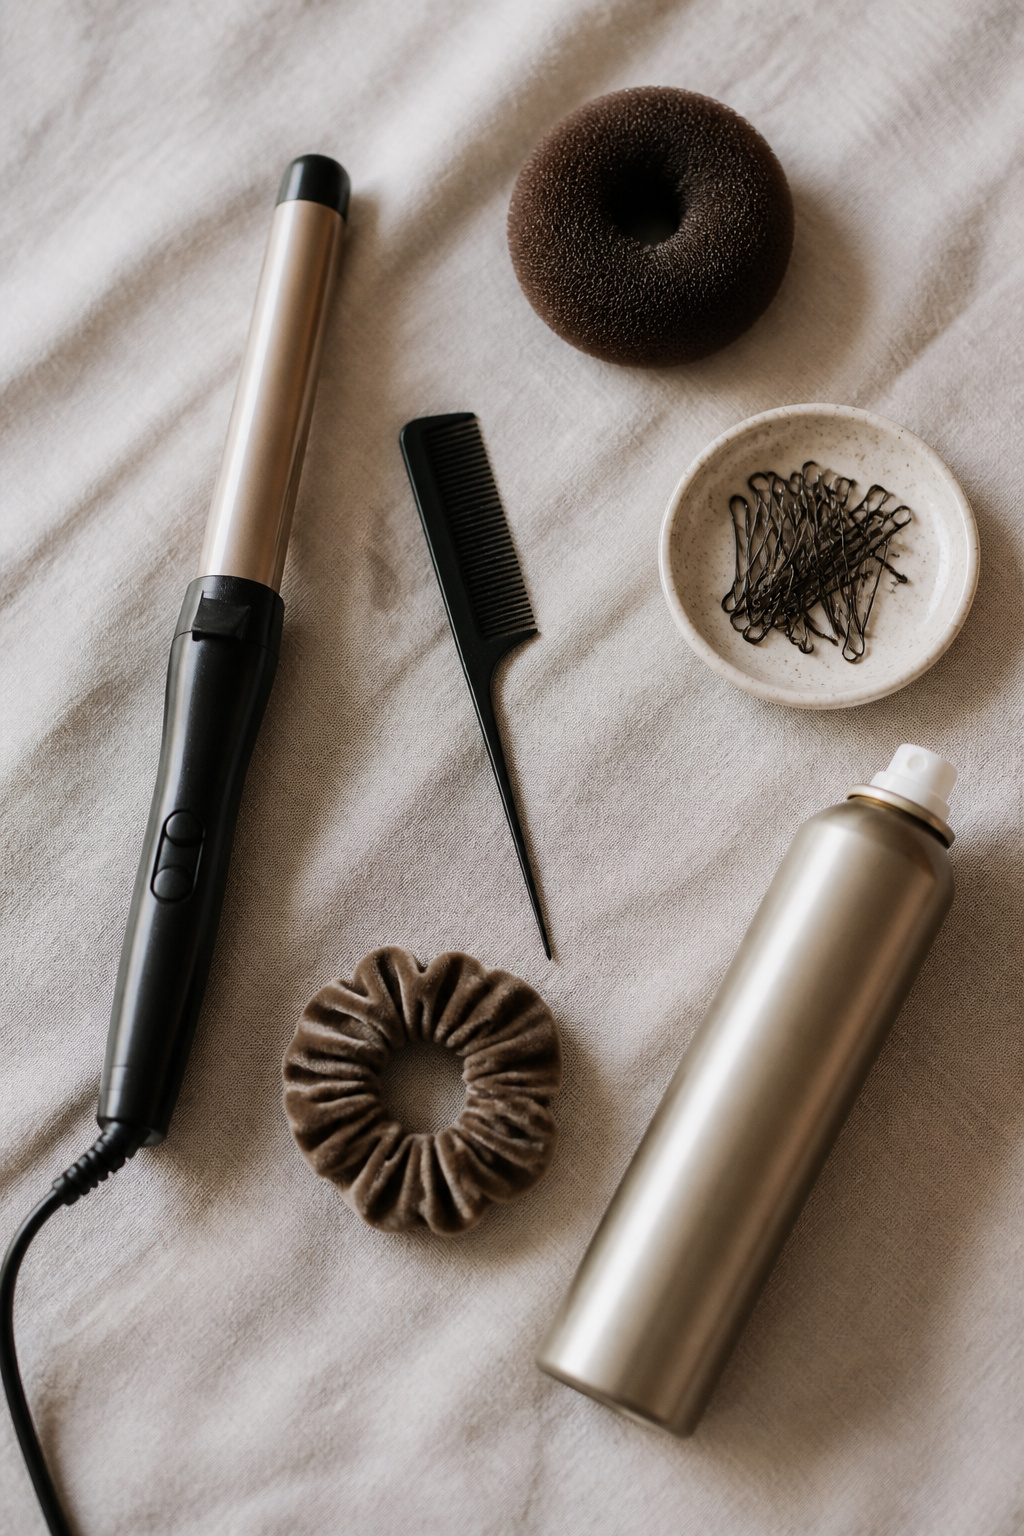
What You'll Need for This Look
Heat tools
- 1.25 inch ceramic curling wand ($25 to $60). Worth spending on; you will use it beyond the wedding.
- Heat protectant spray, 6oz ($8 to $18). Section-by-section application prevents overloading the surface.
Styling products
- Alcohol-free volumizing mousse, 8oz ($12 to $25). Use at roots only for lift.
- Strong hold hairspray, 10oz ($10 to $20). Layered hold beats one heavy coat.
- Dry shampoo, travel size ($5 to $12). Adds grip if roots are limp.
Tools for shaping
- Backcombing teasing comb ($5 to $12). Small teeth for controlled lift.
- Bun filler donut, medium ($6 to $15). Cheap and makes a round silhouette.
- Clip-in bun extension, human hair ($15 to $40). Use for density or length gaps.
Accessories and finishing
- Bobby pins assorted pack ($3 to $8). Buy matte and shiny to match your hair.
- U pins hair bun set ($4 to $12). The cleanest anchor for a tight bun.
- Pearl hair pins set ($8 to $25). Place after hairspray for shine control.
- Messy bun scrunchie, medium ($4 to $10). Budget swap: use this when you need a fast base.

Where to start if you only change one thing
If you only change one thing, backcomb a controlled crown band and pin a solid base underneath the wrapped sections. That single habit keeps the bun visible and supports heavy jewelry and a dupatta. Try it once on a rehearsal day and you will see the hold difference by the end of the night. What part of this technique would you like a short video of next?


