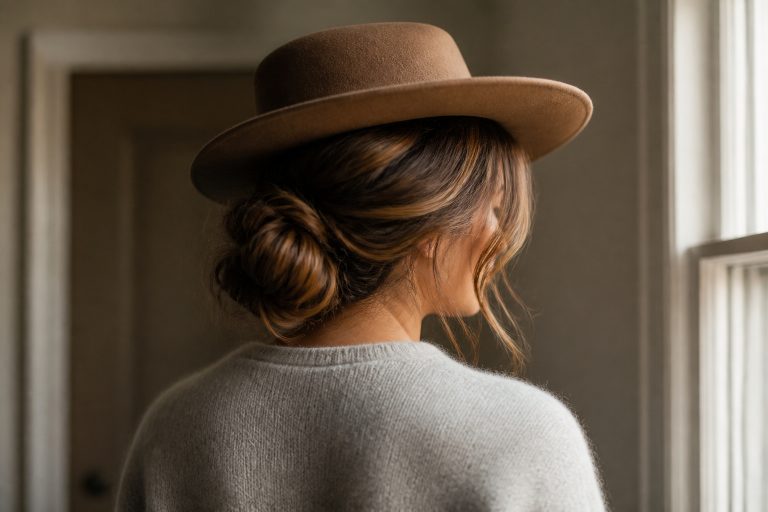






I used to ask myself how to choose a bob haircut because every picture I loved made my cheeks look wider by midday. The change that fixed it was learning to match the exact landing point and angle to my face, then committing to one styling habit that holds the shape through a long day.
This is a lived-in collarbone-length bob with a soft A-line and an off-centre part. It is realistic on a budget: a good wand and a quality spray are the two things worth spending on; the rest can be drugstore. It suits medium-density hair with loose natural waves or straight hair that can take a bend. The current angle I favor is below-chin length with texture at the ends to soften the jaw.
Decide the landing point and ask for it in the chair
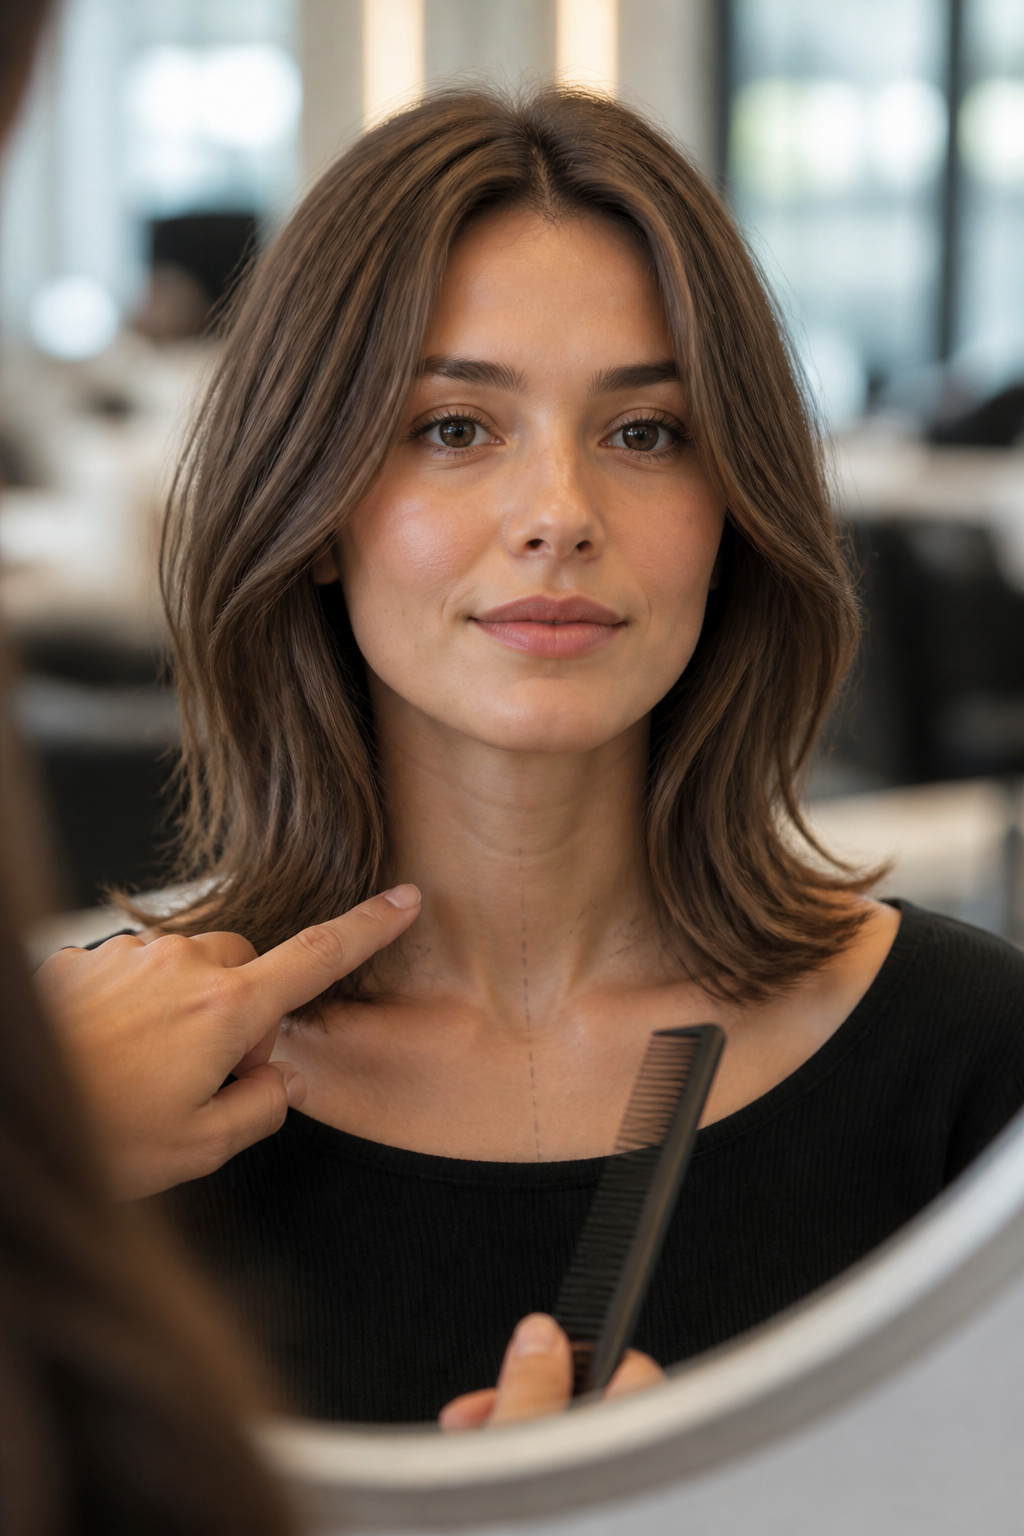

Start the consult by showing one front photo and one three-quarter photo. Say the words I used: "I want a bob that hits below the chin by about 1 to 2 inches in front, slightly shorter at the back, soft A-line and light face-framing layers." That phrasing gives the stylist concrete geometry to work with.
If you have a round face ask for length that skims the collarbone or an A-line longer in front. If you have a square jaw ask for a razor-softened perimeter or long face-framing layers. For fine hair tell them you want internal layers for movement, but a defined perimeter for visible weight. For thick hair ask for weight removal inside rather than a thin outer edge.
I trace my face on the mirror to show the shape I want, and it helps the stylist understand where the line should fall. The mistake I made once was saying "a little shorter" and leaving with a jaw-length cut that widened my cheeks. Be specific about inches.
Prep and product placement that makes the shape last
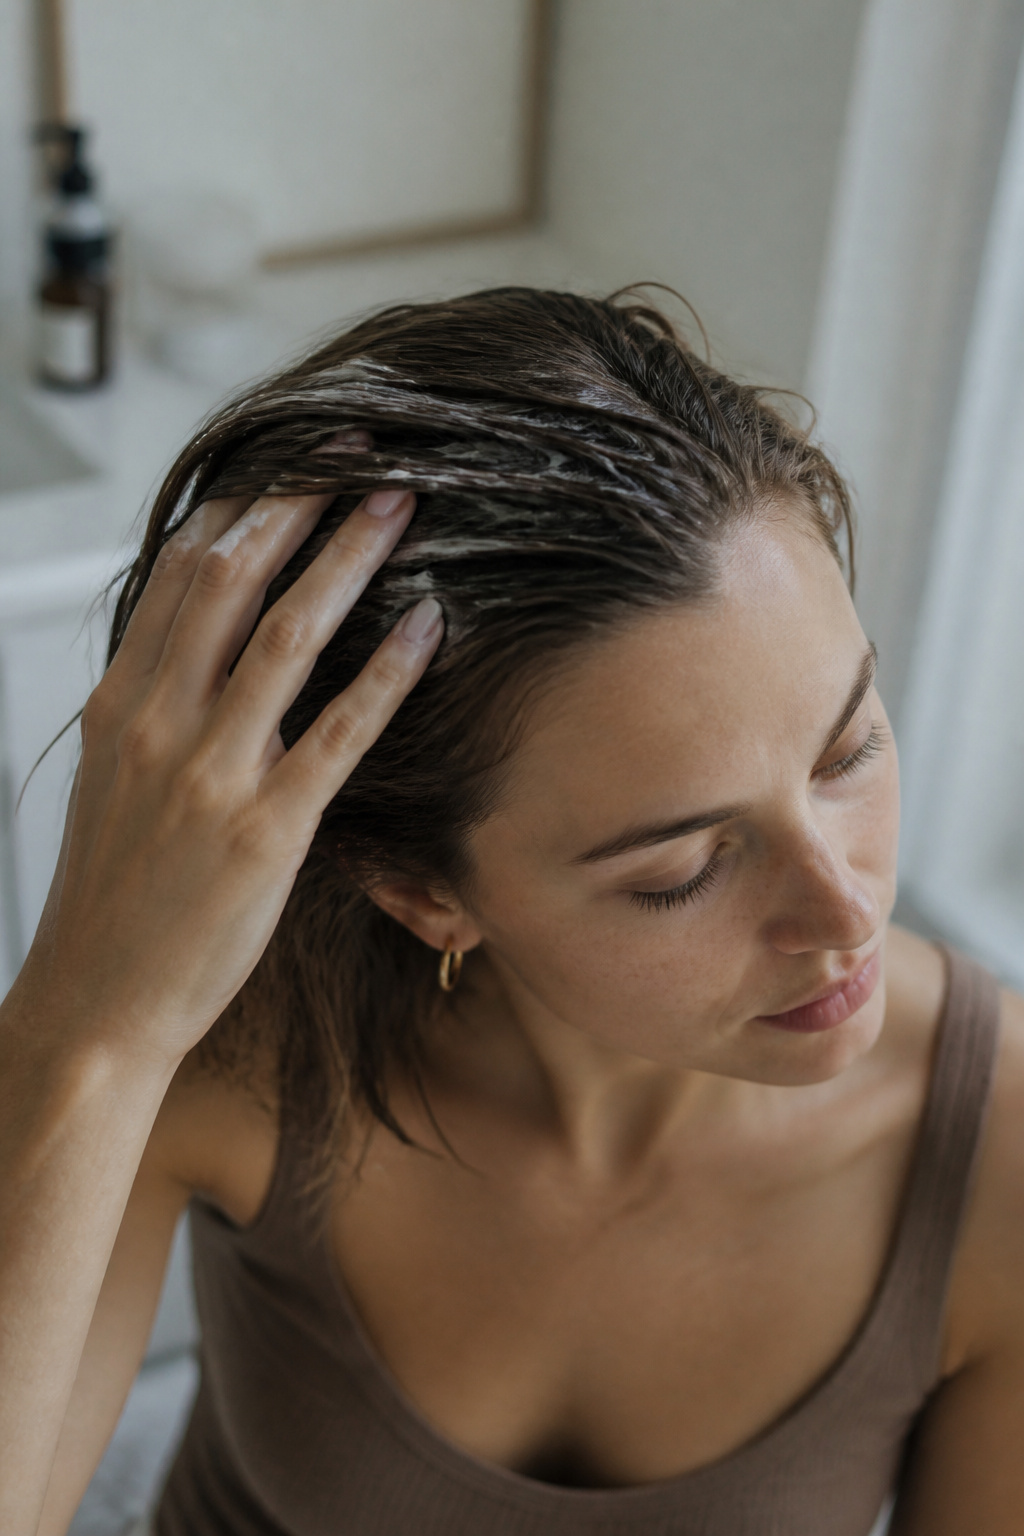

Prep decides how long the style holds, so it comes first. I work an alcohol-free volumizing mousse into damp roots only, about a golf-ball-sized amount for my collarbone-length hair. That gives lift without stiffening the ends.
Spray a light heat protectant from mid-length to ends, doing each section as you dry. I use a 1 to 1.5 inch round brush and a medium heat blow dryer to smooth the top while lifting the roots. Rough-dry to about 80 percent. The biggest mistake is styling when hair is still damp. It steams the strand and the wave drops by midmorning.
If your hair is fine, use a lightweight mousse and a vent brush to boost roots. If your hair is thick, a denser mousse and a higher heat setting work, but never skip the protectant. I link my go-tos in the shopping list so you can grab the exact sizes I prefer.
Shape the bob with direction and alternating bend
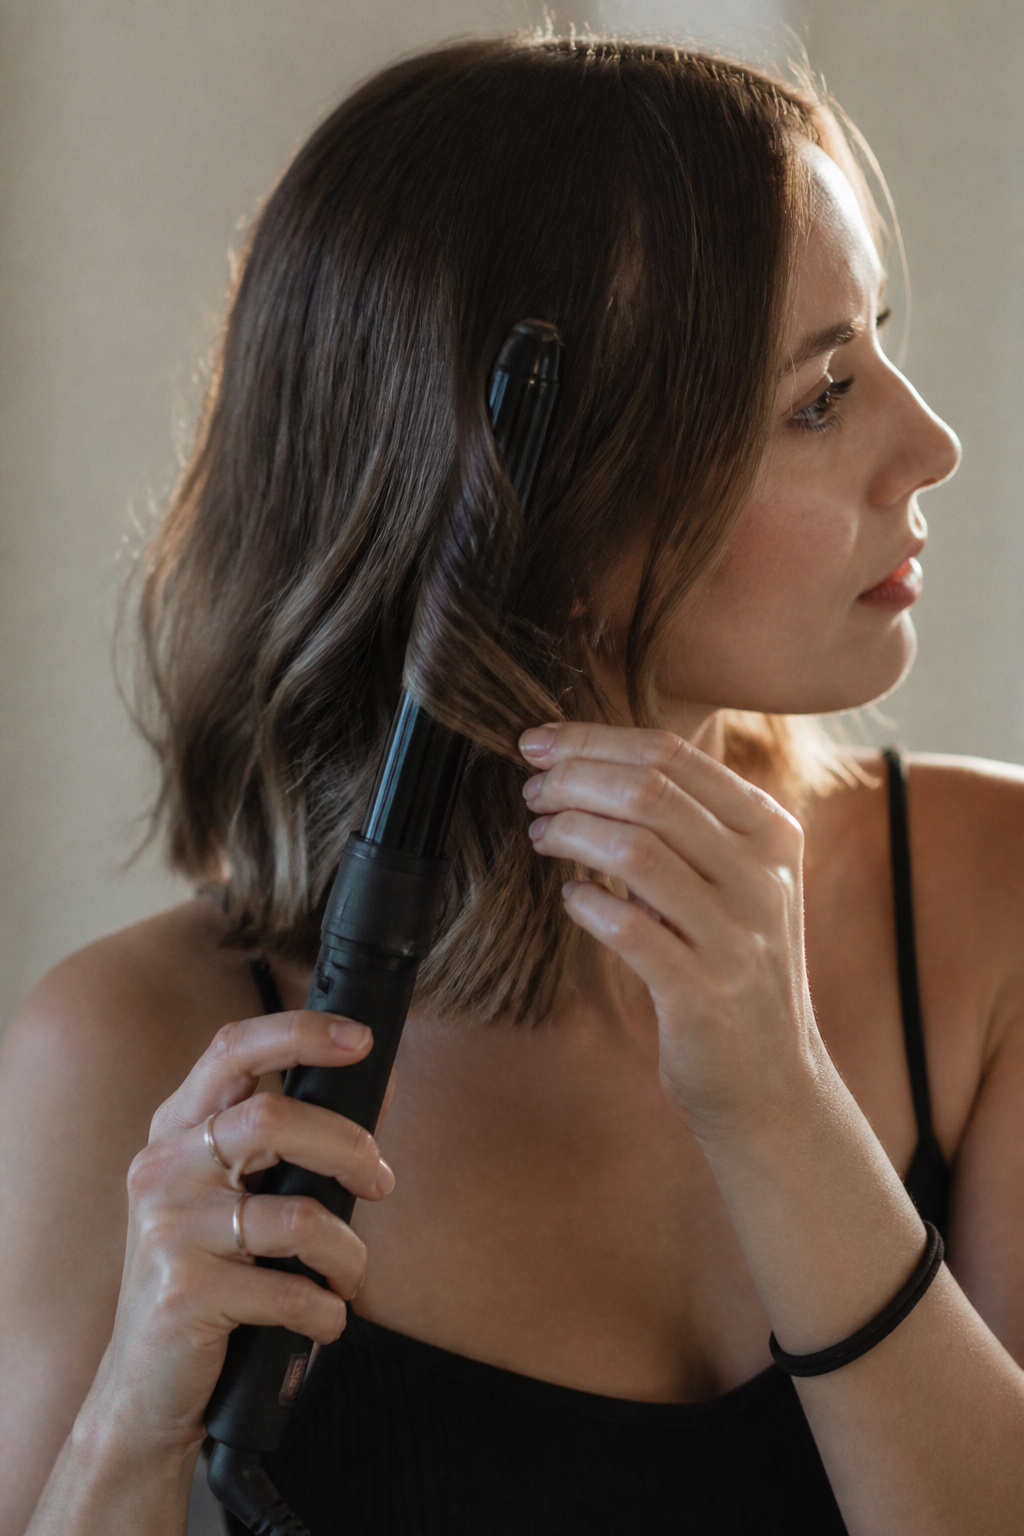

This is where the bob becomes flattering instead of flat. Work in horizontal 1-inch sections, curling away from the face on alternating rows to create a modern S-wave. For a 1.25 inch ceramic wand set the heat to about 350 F for medium density hair; if your hair is fragile, drop to 300 F.
Wrap the strand around the wand leaving the ends out about 1 inch so the perimeter reads soft and not ringleted. Pin each curl flat against the head with a clip until cool for longer hold, or skip pinning if you want a lived-in look.
Mist a sea salt texturizing spray lightly and break the curls apart with fingers. The common fault is over-brushing, which turns shape into fluff. I once used too much salt spray and the cut looked gritty and heavy; I fixed it by washing and starting over with a pea-sized drop of argan oil on the ends.
Finish, tuck, and day-two tricks
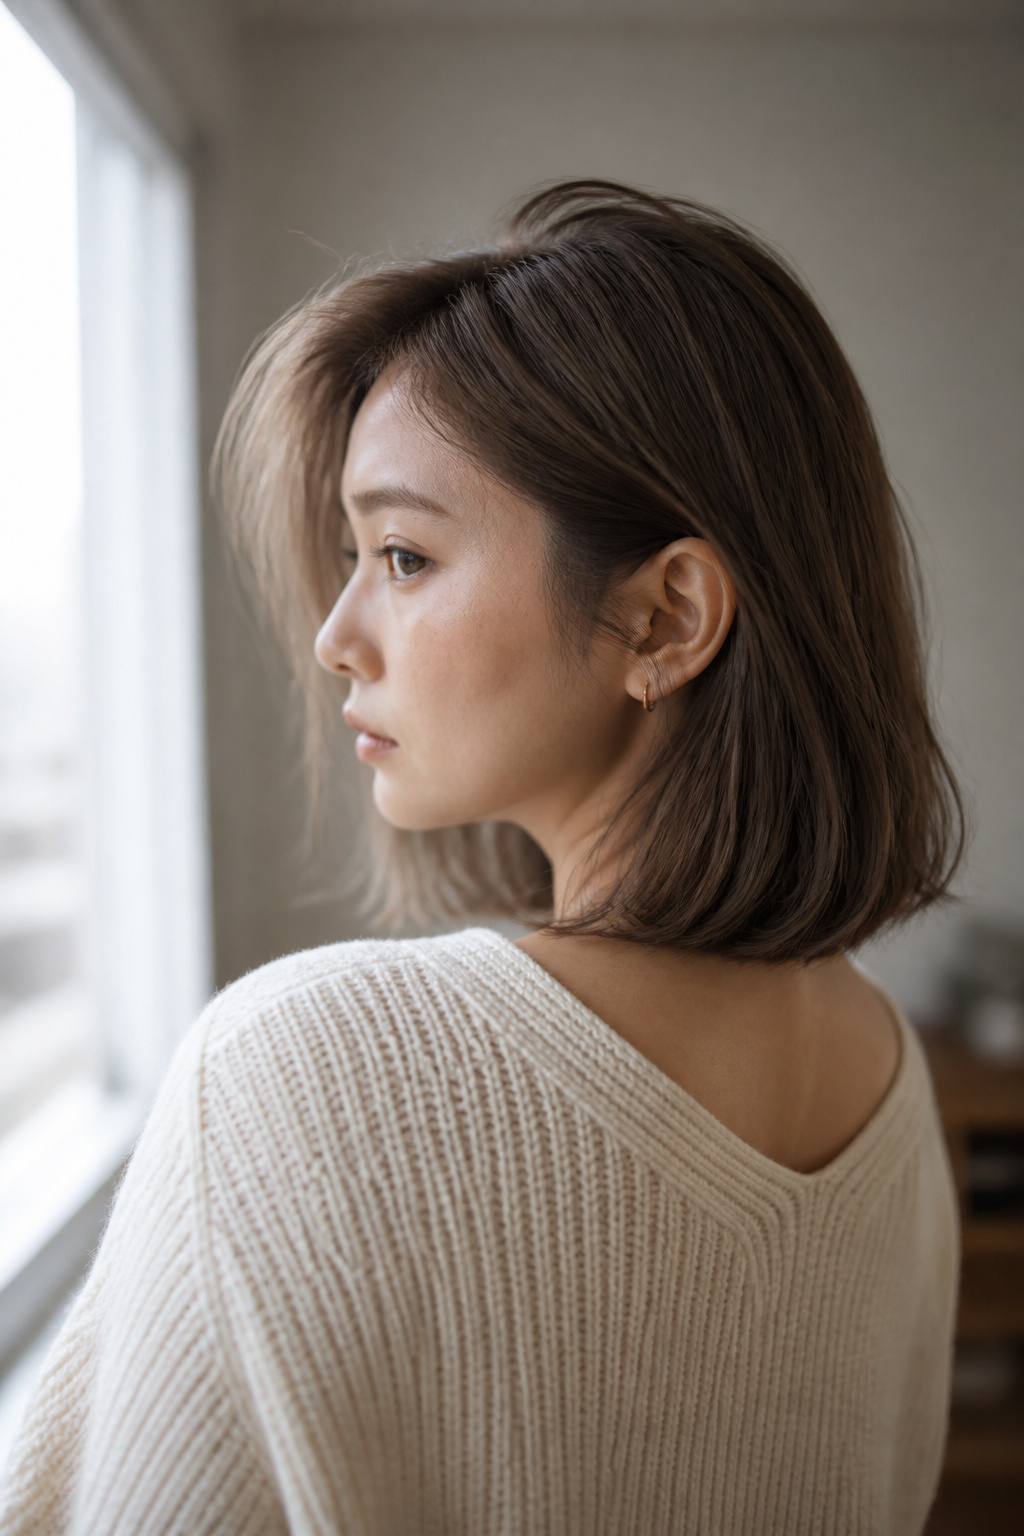

Finish with a lightweight flexible-hold hairspray held about 10 inches away, misting the roots and mid-lengths, not the ends. Add a coin-sized drop of lightweight argan oil on your fingers and smooth only over the perimeter to tame flyaways without clumping waves.
Tuck one side behind the ear to show cheekbones and create asymmetry; it narrows the face visually. By day two, refresh roots with dry shampoo and scrunch through the mid-lengths. If shape softens too much, quickly touch the outer arc with a 1 inch wand set to 320 F for 5 to 8 seconds.
The one trick I never skip is sleeping on a silk pillowcase and loosely clipping the front into a low twist to avoid flattening the part.
Common Styling Mistakes to Avoid
- Cutting to the jawline when you want to slim your face. Why it fails. A jaw-length blunt perimeter widens cheeks. Better approach. Choose below-chin length or an A-line longer in front.
- Styling damp hair with a hot tool. Why it fails. Heat on wet strands creates steam, frizz, and a limp wave. Better approach. Rough-dry to 80 percent before shaping.
- Over-texturizing the perimeter. Why it fails. Too much sea salt spray or heavy oil removes the line and reads messy. Better approach. Use a pea-sized amount of oil on the ends and a light mist of texturizer.
- Brushing out curls into volume. Why it fails. The defined shape becomes a helmet or a frizz halo. Better approach. Break curls apart with fingers and use a light spray to hold.
If you need a product fix mid-day, a flexible dry hairspray or a small dab of oil on the very ends will often rescue the shape without a full restyle.
How to make it last
Day two, the roots will usually flatten first. Apply dry shampoo to the roots in an X pattern and massage with your fingertips to rebuild lift. Scrunch through the mid-lengths to reactivate texture; avoid brushing.
Day three is rescue mode. Reheat the outer arcs only with the wand at a lower temperature for a fresh bend. Use a matte claw clip overnight to loosely hold an off-centre part and prevent the crease from forming.
If humidity collapses your shape, a small amount of anti-frizz serum on the perimeter plus a restyle of the front two sections is faster than starting from scratch.
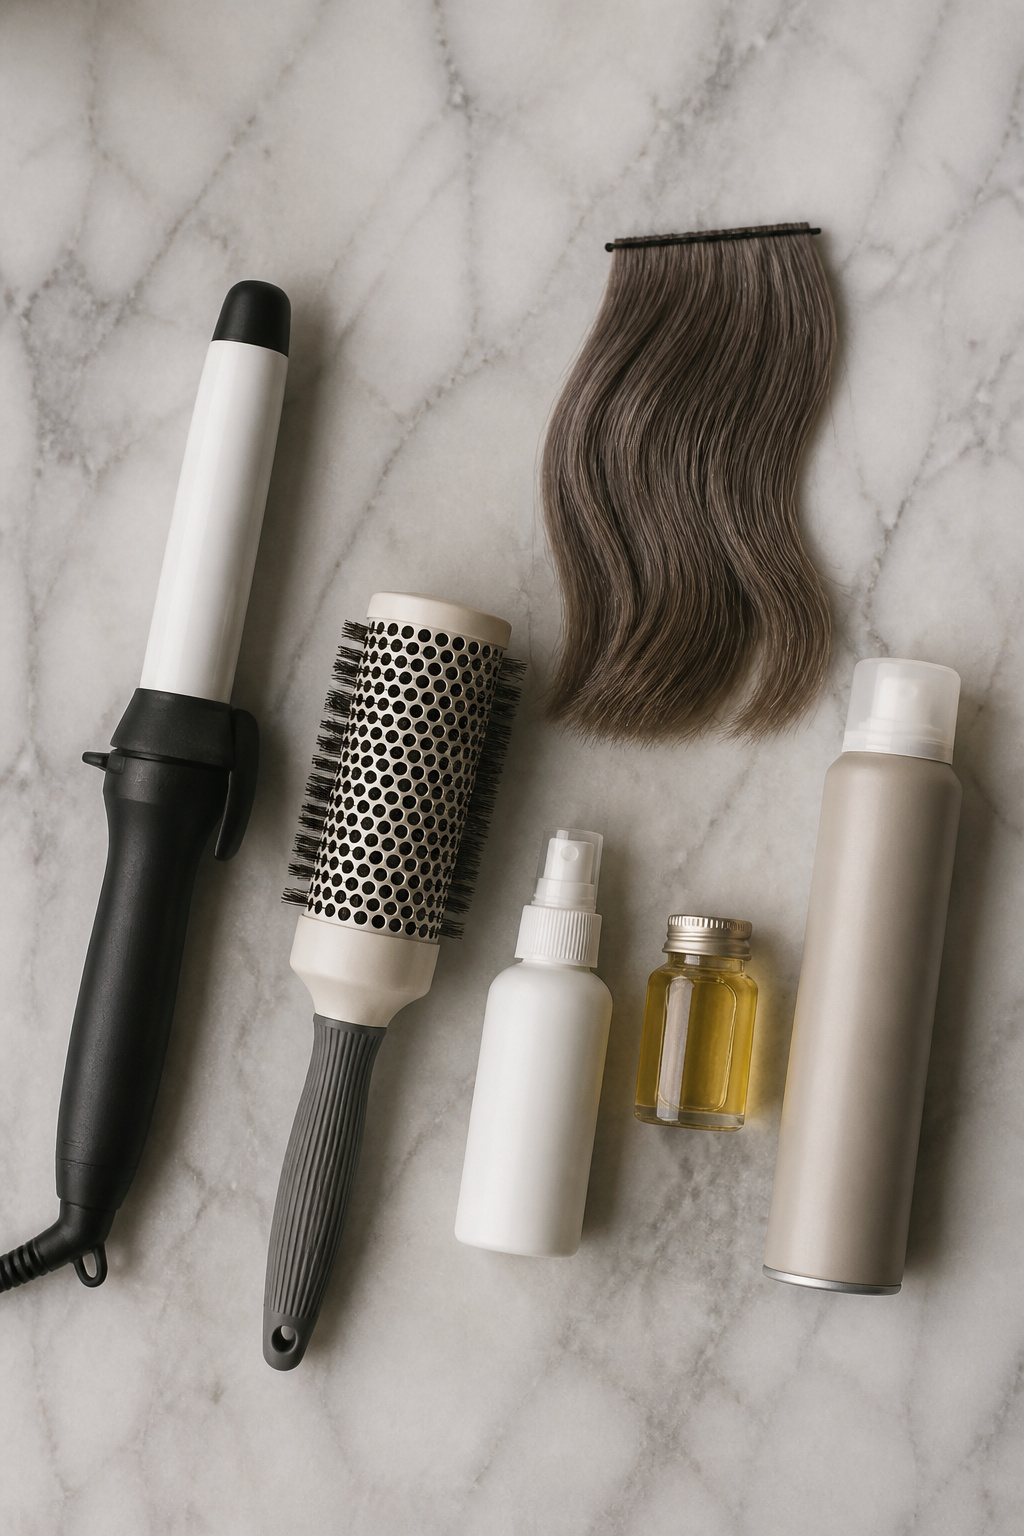
What you'll need for this look
Heat tools
- 1.25 inch ceramic curling wand ($40 to $120). The barrel is worth investing in; it creates soft arcs without tight ringlets.
- Tourmaline hair dryer ($35 to $200). Faster drying and less frizz for medium-density hair.
- Round vent brush, 1.5 inch ($8 to $25). Use for root lift during rough drying.
Styling products
- Alcohol-free volumizing mousse, 8oz ($8 to $20). I use about a golf-ball-sized amount.
- Heat protectant spray, 4oz ($6 to $25). Spray mid-lengths to ends section by section.
- Sea salt texturizing spray, 6oz ($8 to $30). Light mist for lived-in texture.
- Lightweight argan oil, 1oz ($6 to $30). A pea- to coin-sized drop on the ends.
- Flexible hold hairspray, 8oz ($6 to $25). Mist from a distance for natural hold.
- Dry shampoo for fine hair, 6oz ($6 to $20). Day-two root refresh.
Care and protection
- Silk pillowcase, queen ($15 to $60). Helps preserve the part and reduce frizz.
- Wide-tooth comb ($4 to $12). For gentle detangling.
Accessories and finishing
- Matte claw clip ($5 to $20). For loose twists overnight or quick tucks.
- Bobby pins pack ($2 to $8). For tucking one side behind the ear and securing cooled curls.
Buy the wand and a good protectant if you are choosing two items. The rest can be drugstore quality and replaced more often. Some tools are cheaper offline at local retailers.

Where to start if you only change one thing
If you only do one thing, pick the landing point and commit to it in the chair. Everything else—product choice, part placement, and daily styling—follows that geometry. Want a quick win. Ask for "below-chin by 1 to 2 inches with a soft A-line and subtle face-framing layers" and start practicing the 1-inch section curls away from the face. Which face-shape worry is tripping you up? Tell me and I will suggest the exact landing point.