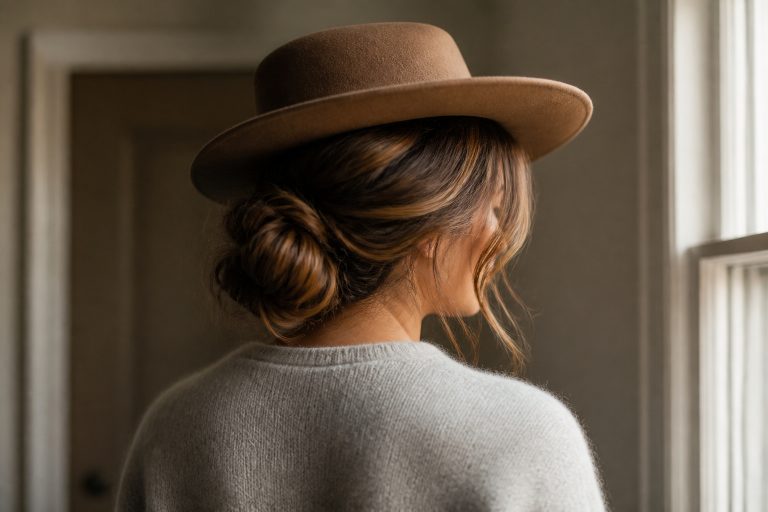






I used to think how to curl a bob hairstyle simply meant wrapping hair around a barrel and hoping for the best. My bob would puff into a helmet by midday or the curls would drop into one flat semicircle by 10 am. The change that fixed it was deliberately building root lift, working in very small sections, and leaving the ends a touch straighter so the shape reads modern, not overworked.
This is a lived-in, soft-wave bob for chin-length to slightly longer bobs, medium density, and hair that’s straight to gently wavy. If you already own a 1-inch iron, you can make it work, but a 3/4-inch wand is the useful extra investment for short shapes. I’ve used everything from a $25 wand to a pro-grade Hot Tools barrel; the technique matters more than price. My take: less perfect pattern, more natural movement.
Build root lift and prep the hair


Prep decides whether curls last and whether the bob keeps shape at the crown. I work on towel-dried hair. For my chin-length, medium-density hair I use a walnut-sized amount of alcohol-free volumizing mousse at the roots only. That gives lift without making the ends crunchy.
Spritz heat protectant on each section before you touch it with hot tools. I do three sprays into my hands and smooth it through the mid-lengths, because an all-over cloud of spray misses the undersides and leaves them raw. The product I reach for is lightweight so it won’t weigh down the root lift.
Rough-dry to about 80 percent dry on medium heat. If the hair is still cold or damp when it meets metal, the wave will steam out inside an hour and you get frizz instead of shine. The biggest mistake is skipping this step and blaming the wand.
Create the base shape from nape to crown


Sectioning from the nape up builds a rounded back without crowding the top layers. I clip the top half up and work the bottom in quarter-inch to half-inch slices for a chin-length bob. Small sections equal longer-lasting bends.
Use a 3/4-inch ceramic wand for this length. Wrap each section around the barrel leaving the last 1 to 1.5 inches out for a modern straight tip. Hold for 6 to 10 seconds for medium hair at about 350 F. If your hair is fine drop to 300 F and shorten the hold to 5 to 7 seconds. Thick hair can tolerate 380 F and a slightly longer hold.
Always point the curl away from the face on the pieces that sit at the front of each side. The common mistake here is using large sections to save time. Larger slices create loose S-curves that fall flat on a bob.
Build natural movement with alternating directions


Alternate the curling direction so the pattern does not form a helmet. For short bobs I wrap every other piece away from the face, then the next piece toward the face, but I do two away, one toward at the crown to avoid a checkerboard look. The result reads airy not uniform.
For face-framing pieces, curl away from the face to open up the cheekbone area. If you want extra lift at the crown, take slices closer to the root—about a half inch from the scalp—and clamp or wrap only the first two-thirds of the strand before releasing.
If you tried curling every piece the same way and felt it sat like a dome, that’s the habit to break. Alternating directions plus leaving ends straighter dissolves that helmet instantly.
Finish, cool, and finger-separate for a lived-in shape
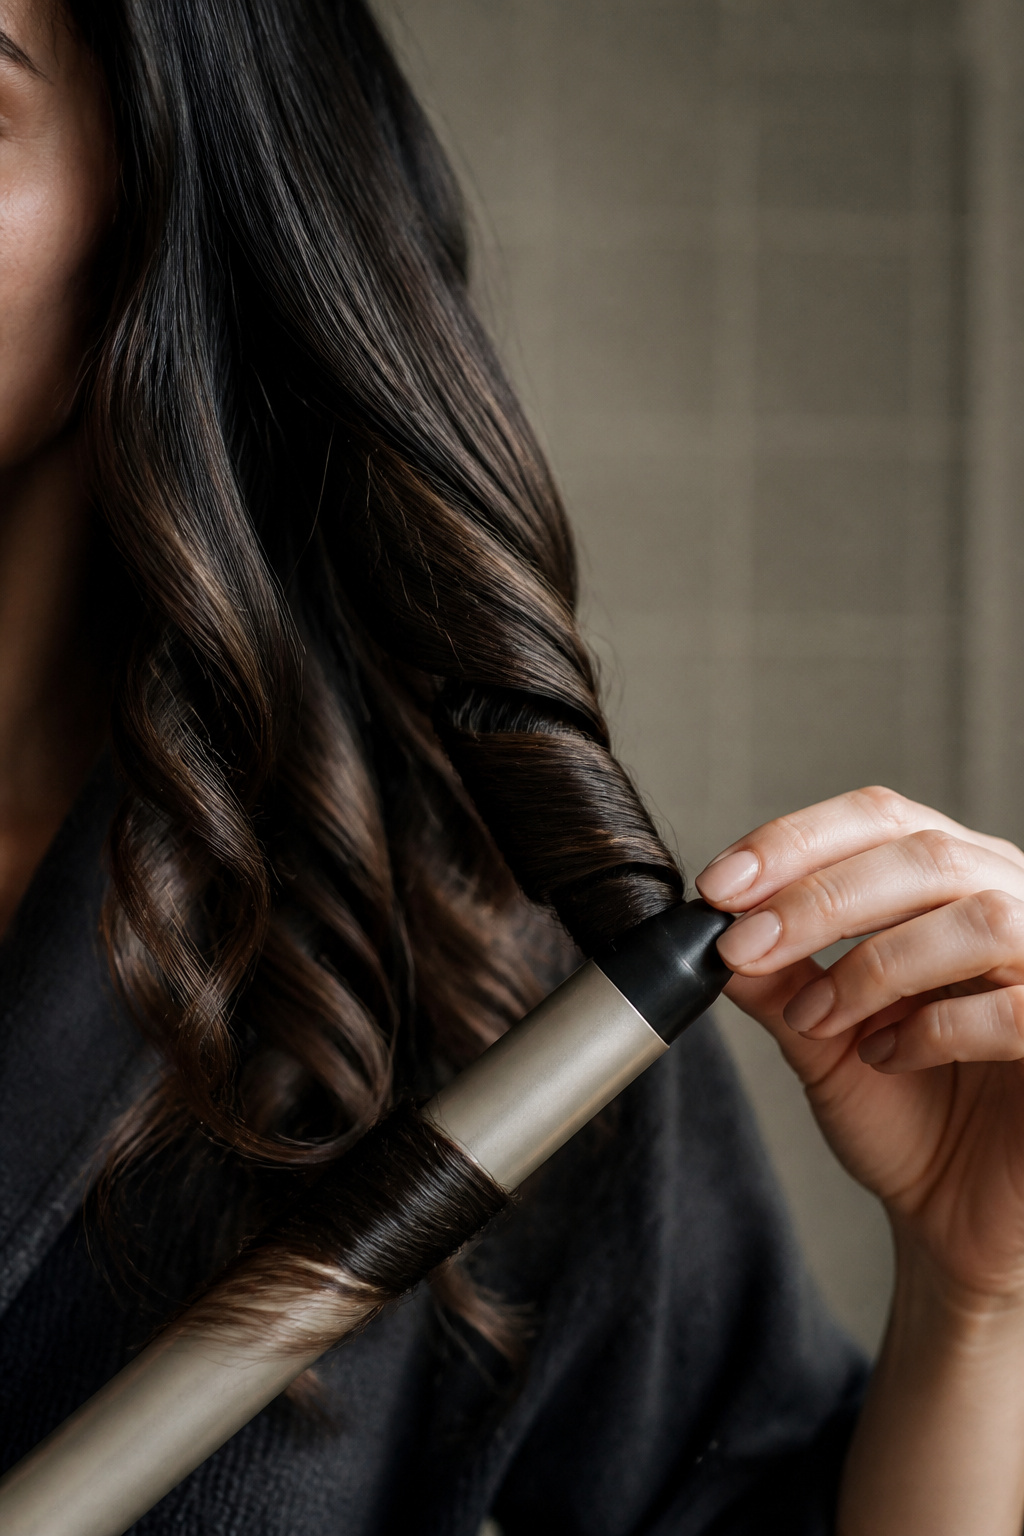

Let every curl cool completely before touching. I pin a curl with my fingers or a clip for 60 seconds if I want stronger hold. Once cool, lightly shake or separate with fingers rather than brushing. A quick spritz of a light-hold flexible hairspray seals the shape without shellacking movement.
Use a coin-sized drop of a curl cream on ends if humidity is high or your hair tends to frizz. I tried brushing curls to smooth them and ended up with a thin, limp wave. Finger separation preserves volume and keeps the ends from collapsing.
Finish by misting at the root if you need micro lift and scrunching the mid-lengths with your palms for texture.
Common Styling Mistakes to Avoid
- Overcurling every strand. It makes short bobs look small and dated. Curl selective showcase pieces at the top and around the face if you’re short on time. The modern look leaves some texture untouched.
- Curling damp hair. This steams the shaft and causes frizz and droop. Always rough-dry first and only touch up with hot tools on dry hair.
- Using one curl direction all the way around. That’s the helmet. Alternate directions and leave the last 1 to 2 inches out for movement.
- Piling product at the ends. Heavy creams on tips make the perimeter look weighed down. Apply mousse at the roots and a pea-sized amount of serum only to dry ends if needed.
How to make it last
Day one. The crown usually collapses first. To revive it mid-afternoon, spritz the roots lightly and pinch at the base with your fingers to rebuild lift. A small dusting of root powder at the part also helps on flatter days.
Day two. Refresh without heat. Use a continuous mist and a curl cream to reactivate mid-length bends, then scrunch and let air dry for 15 minutes. If you must touch up with heat, focus only on the face-framing pieces.
Carry a travel-size hairspray and a single clip in your bag. Re-cooling is underrated: if you need to re-shape, quickly rewrap a piece on the wand, clamp for five seconds, and let it cool clipped for a minute before releasing.
What you'll need for this look
Heat tools
- 3/4 inch ceramic curling wand ($30 to $90). Best for chin-length bobs because the barrel fits the curve without creating tight ringlets.
- 1 inch ceramic curling iron ($25 to $100). Versatile if you also style a lob.
- 1 inch flat iron, travel size ($20 to $70). Use this as an alternative to the wand for ribbon-like waves.
Styling products
- Alcohol-free volumizing mousse, 8oz ($8 to $20). Apply at roots only to build lift.
- Heat protectant spray ($8 to $25). Spray section by section.
- Light-hold flexible hairspray ($6 to $25). Keeps movement without stiffness.
- Curl defining cream, 5oz ($10 to $30). For frizz control on humid days.
Care and accessories
- Continuous mist spray bottle, set ($6 to $15). Mist and re-scrunch on day two.
- Matte claw clips, pack ($5 to $12). For quick sectioning and cooling curls.
- Wide-tooth comb ($4 to $12). For detangling without breaking curl.
- Heat-proof styling mat ($8 to $20). Protects surfaces during styling.
Budget swap notes. If you have one tool to buy, spend on a reliable wand. Mousses and sprays are cheaper replacements and can be bought at drugstores.
Where to start if you only change one thing
If you change only one habit, stop curling everything the same way. Alternate directions and leave the ends a touch straighter. Start with one side and do just the face-framing pieces; you’ll see instantly how much airier the shape reads. What part of your bob gives you the most trouble? Tell me and I’ll help troubleshoot.