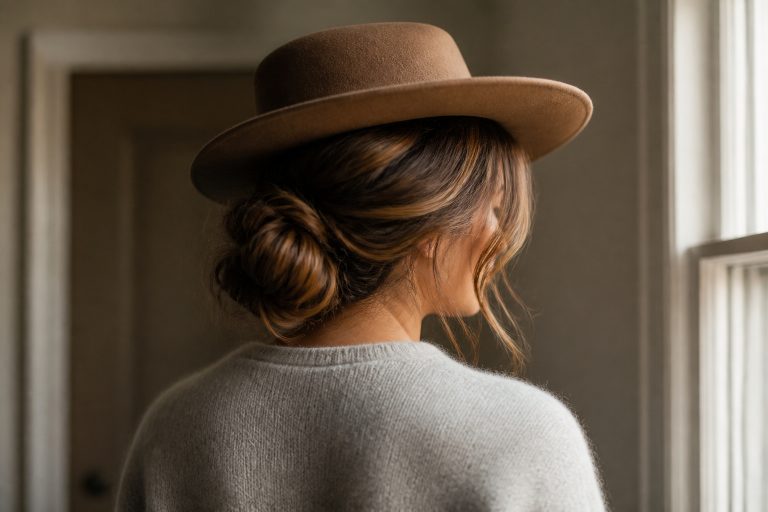






My bob used to collapse by 11am, which is why I taught myself how to style a bob haircut so it falls right every morning. One change fixed most mornings: build the lift at the roots first, then shape the ends so they do not compete for volume.
I’m sharing the routine that gets my collarbone-length bob out the door in 12 to 20 minutes, depending on whether I air-dry or use a hot brush. It works best on fine to medium hair and suits straight to slightly wavy textures. If you already own a blow-dryer or a hot brush, you can keep costs under about $50. If you want the salon shortcut, the hot-brush tools I list speed things up.
Prep that decides how long the shape holds
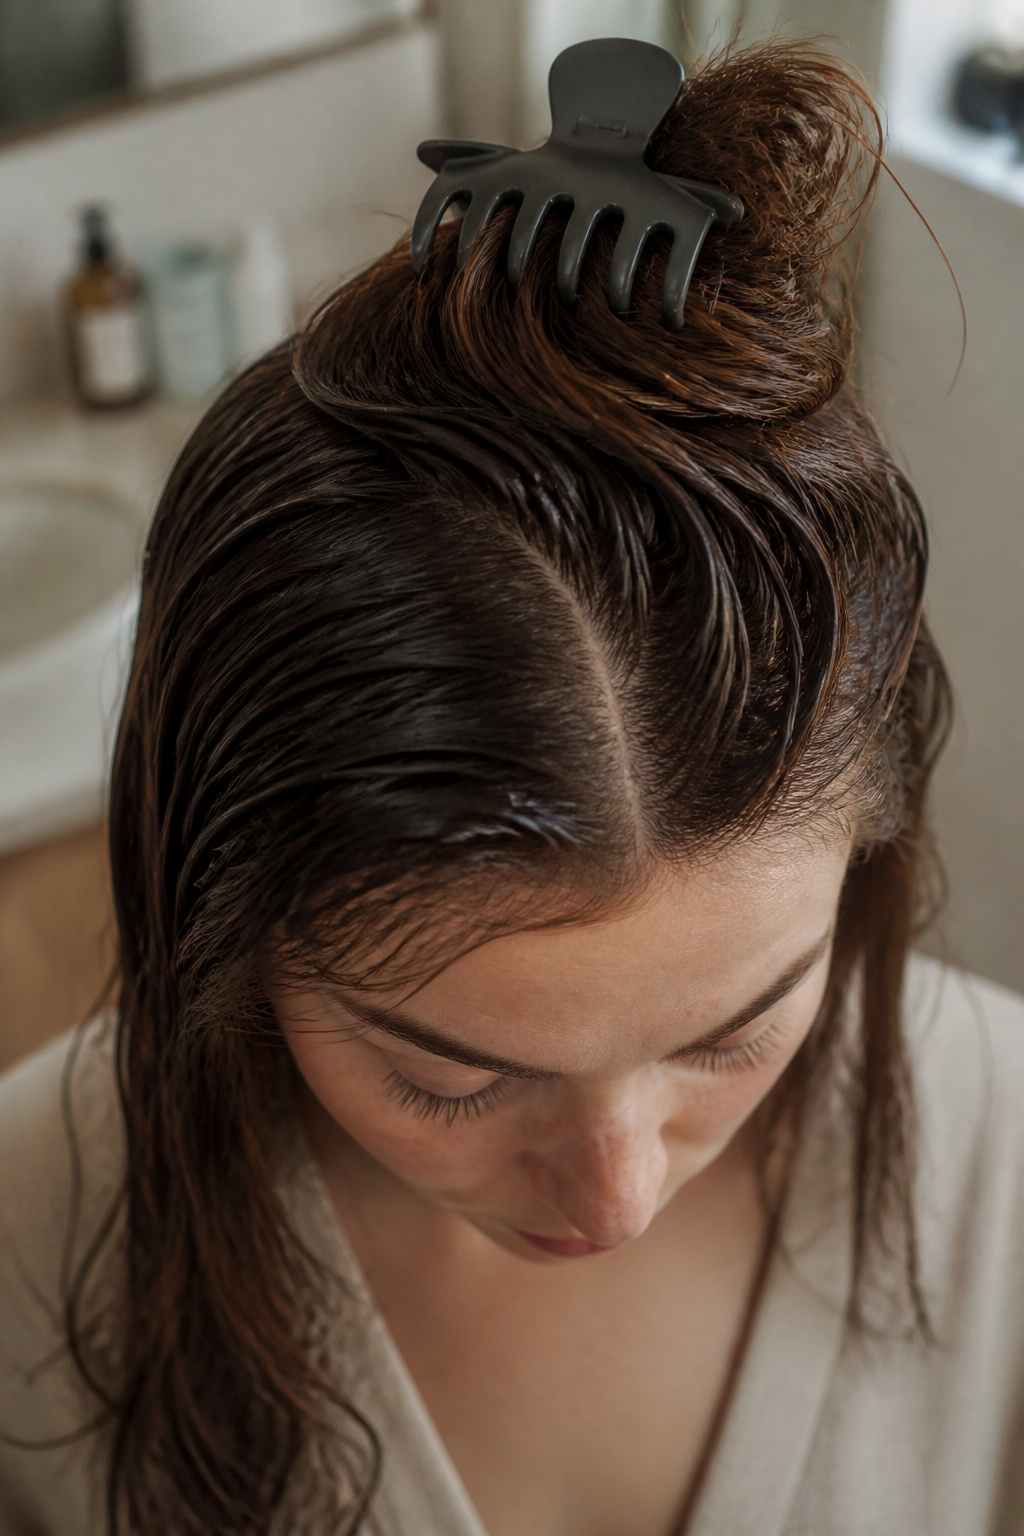

Prep decides how long the style holds, so it comes first. On towel-damp hair I work a golf-ball-sized amount of alcohol-free volumizing mousse into the roots only for collarbone-length hair. The ends get nothing heavy; they need movement, not weight.
Next, I spray a light heat protectant through the mid-lengths and ends. I mist section by section and comb through with my fingers so the spray does not sit on the surface layer only. That protects shine when the iron or hot brush touches the hair.
I rough-dry to about 80 percent using a nozzle and directing air up at the crown to set the lift. The biggest mistake here is styling when hair is still damp. Damp strands steam under heat and the volume drops inside an hour.
If you prefer no-heat mornings, skip the rough-dry and scrunch a wave cream into the mid-lengths, then diffuse on low until mostly dry.
Root lift and lasting body
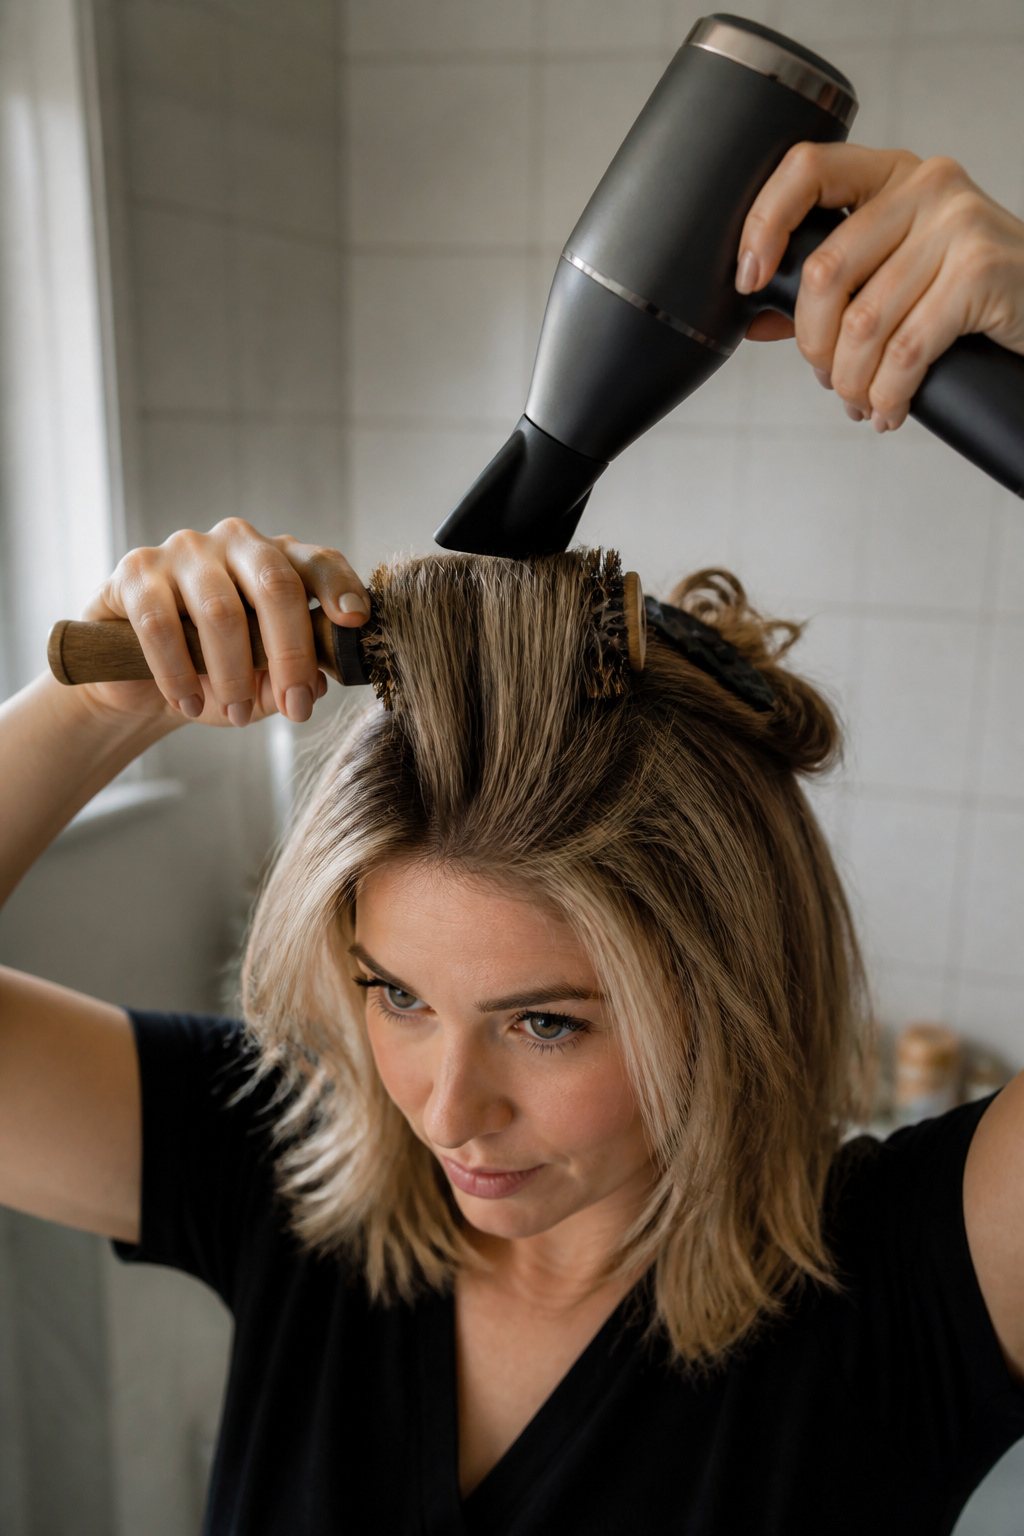

Once hair is mostly dry, I section the top into four pieces: two at the crown about 1.5 inches wide and two smaller side pieces. I start with the lower back so build order does not flatten what I just lifted.
Using a medium round brush I roll each crown section under the nozzle at medium heat and low speed, directing the brush up and away from the scalp as I pull through to the ends. Finish each section with a 3-second cool shot to set the bend. This gives root memory without crunchy product.
If your hair is fine, use a root-lift spray at the part and set with the brush; for medium hair a mousse plus the brush is enough. Avoid overteasing the crown. Teasing gives short-lived grit and visible breakage at the part if you do it every day.
Polished ends without the tuck
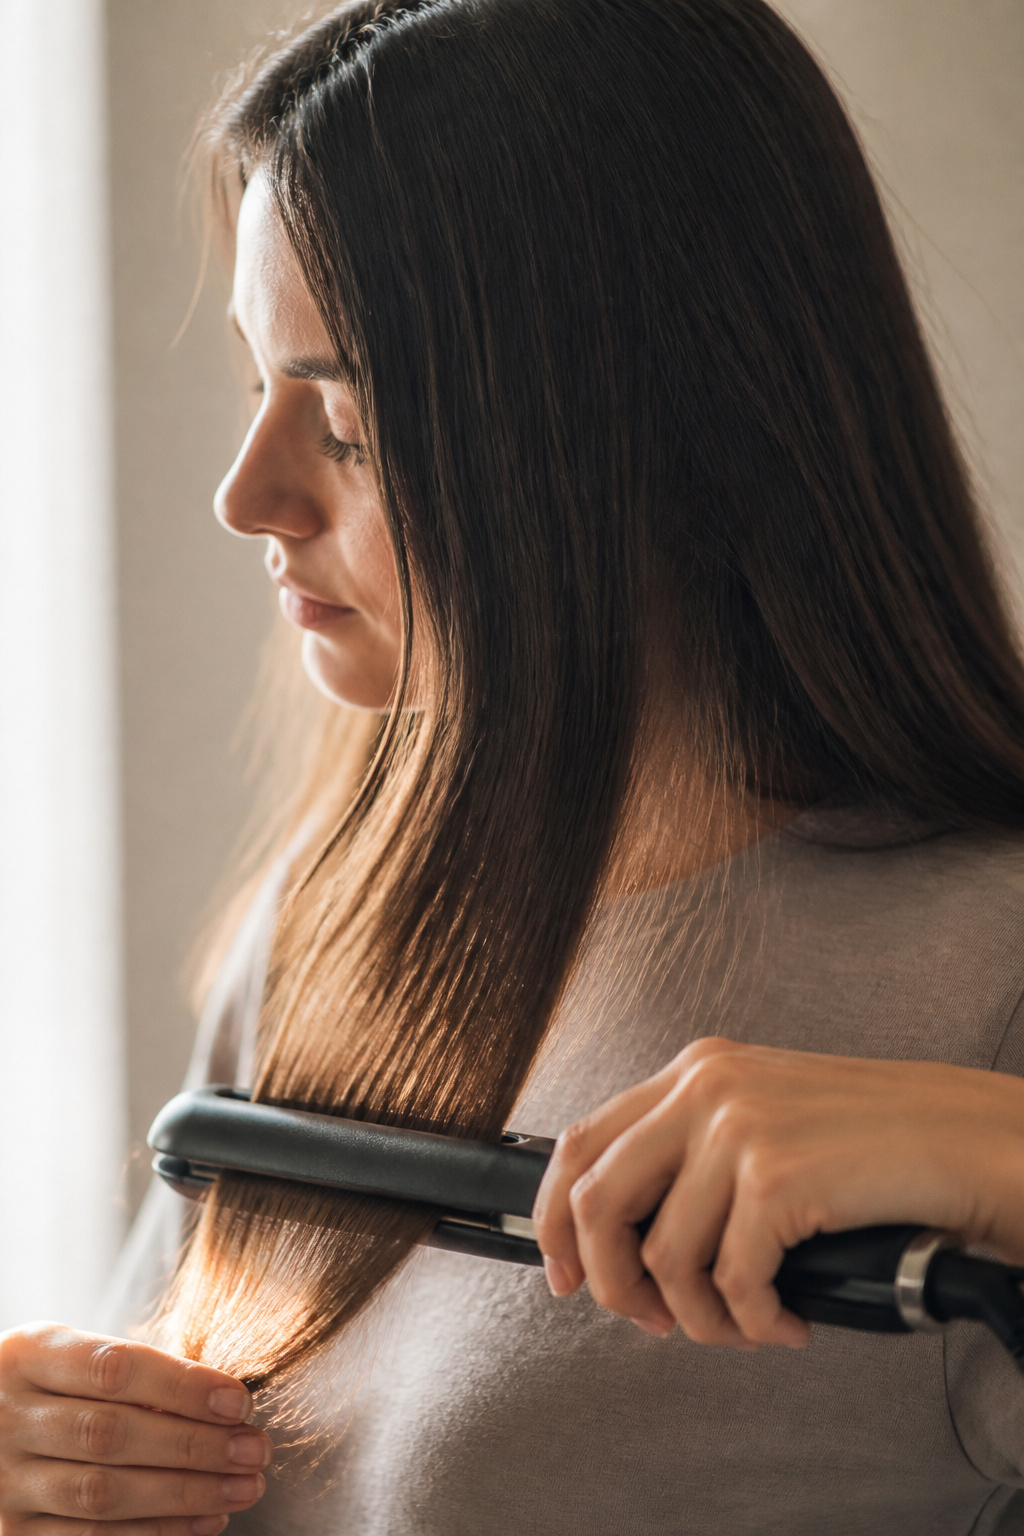

Shaping the perimeter happens after the roots are set so the ends read soft against the lifted crown. For a polished curve I use a 1-inch ceramic flat iron at 320 to 350 F for fine to medium hair. Clamp the iron near the root, twist it a quarter-turn away from the face, and glide through one smooth pass. Small 1-inch sections keep the curve consistent.
If you want the flipped-out retro edge, open the twist and flick the wrist outward at the ends. For a sleeker glass finish, flatten with a paddle brush afterward. The mistake I learned the hard way is overworking the ends. Multiple passes dull shine and make the perimeter look brittle.
If you do not own a flat iron, a hot brush or Airwrap-style tool gives a similar rounded result faster, though the grip differs.
Soft texture and light finish
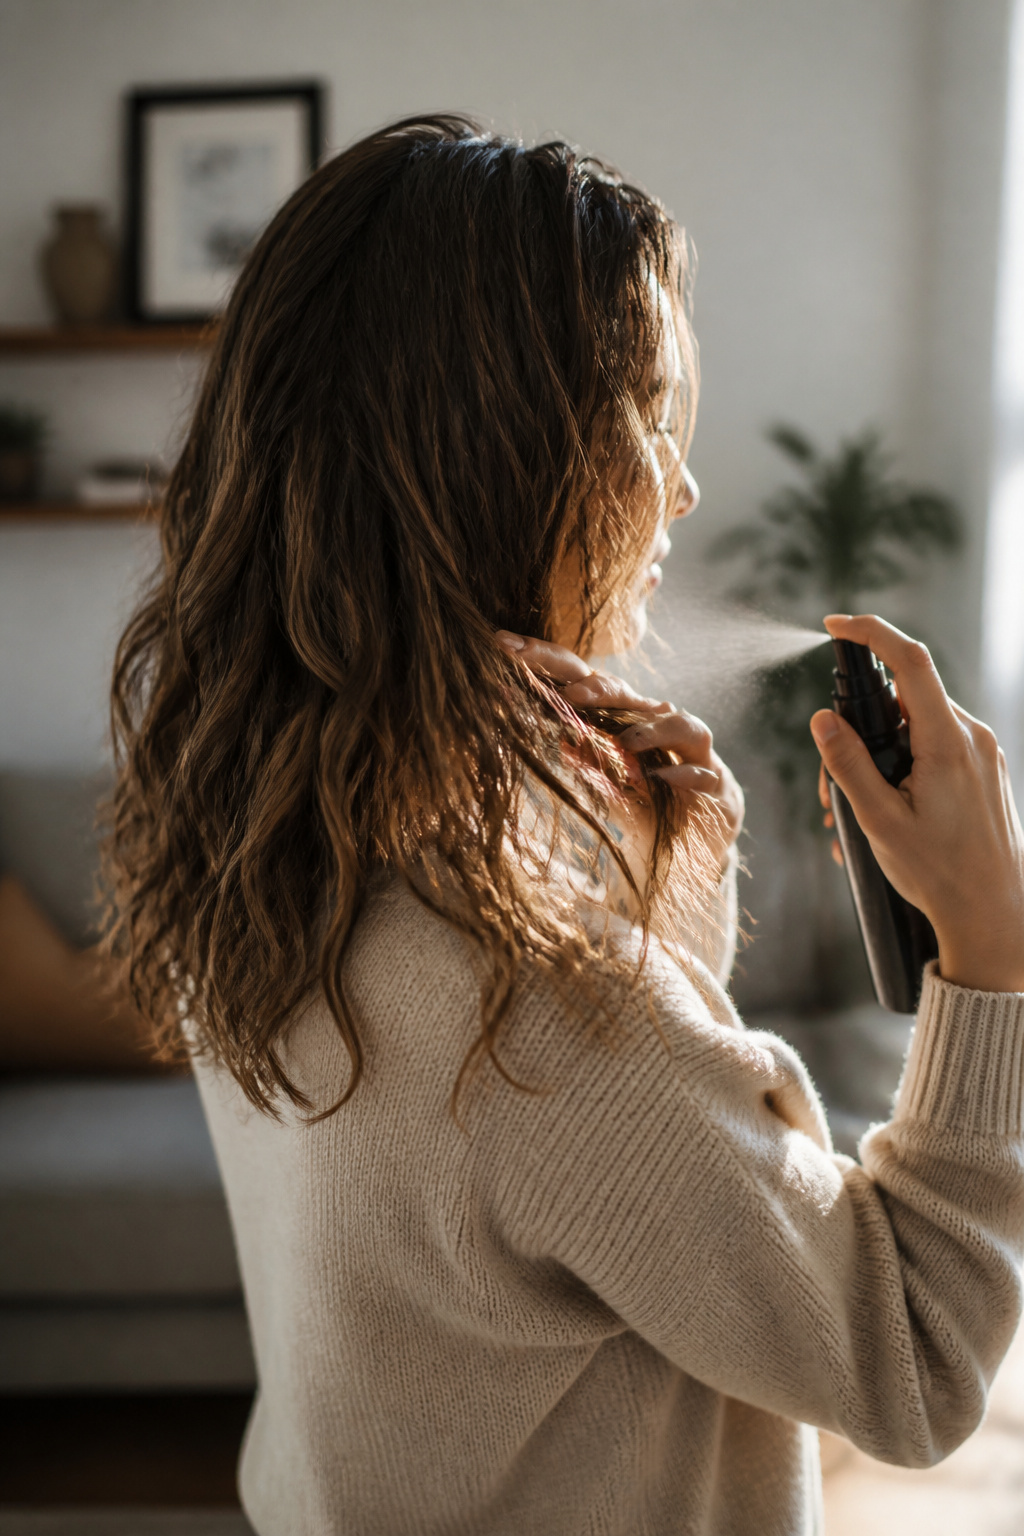

A lightweight texturizing spray adds separation without weight. I mist sparingly—two quick sprays through the mid-lengths and ends, then squeeze the hair between my palms to encourage soft S-bends. Alternate the direction of a few bends with a 1 to 1.25 inch wand if you need more shape, taking 1-inch sections and wrapping away from the face on one side and toward the face on the other for a lived-in look.
Finish with a fingernail-sized drop of lightweight oil applied only to the ends to tame flyaways and break any cast. I used to apply oil before styling and watched my waves flatten by lunchtime; applying it after the style keeps the shape and the shine.
A quick veil of flexible hairspray at arms length locks the silhouette without making hair stiff.
Common Styling Mistakes to Avoid
Overloading the roots with product. It sounds logical, but heavy creams at the scalp weigh down lift. Put mousse or root spray where the scalp and crown need it, not on the mid-lengths.
Blow-drying flat against the head. Drying with air directed straight down flattens the part and removes crown curve. Aim the nozzle up and use a round brush to lift.
Using too-low heat for short passes. Low heat plus many passes makes hair limp. Use the right temperature for your density, and do one smooth pass per section.
Over-teasing the part. Backcombing adds texture but wears down hair and makes the weave obvious. Build volume with brush-lift and cool-shot instead.
If frizz is the issue, swap a cream for a light serum on the ends only. The serum should be applied after styling, not before.
How to make it last
Day two, the crown softens and the ends may lose shape. I refresh roots with a 2-spray hit of dry shampoo at the part and gently massage it in to reactivate texture. If the perimeter needs a lift, I twist small sections with my fingers and clamp briefly with a 1-inch iron on low for two seconds, then cool.
For day three, I sleep on a silk pillowcase and pin the front slightly forward with two loose bobby pins so the part keeps its lift. If humidity sank the style, a quick mist of anti-frizz spray and finger reshaping usually brings it back.
When you need a fast fix, roll three 1-inch pin curls at the back, pin them until cool, then release for instant bounce with minimal effort.
What you'll need for this look
Heat tools
- Ceramic flat iron, 1 inch plates ($40 to $150). Worth spending a bit for even heat.
- One-step hot brush, medium size ($25 to $120). Time-saver for quick mornings.
- 1.25 inch ceramic curling wand ($20 to $80). Optional for soft S-waves.
Styling products
- Alcohol-free volumizing mousse, 8oz ($8 to $20). Use at roots only.
- Lightweight texturizing spray, 5oz ($8 to $25). For separation.
- Flexible hold hairspray, 7oz ($7 to $20).
Care and protection
- Thermal protectant spray, 6oz ($8 to $25). Use every heat day.
- Lightweight hair oil, 1oz ($10 to $30). Apply after styling to ends.
Accessories and finishing
- Medium round brush, 1.5 inch barrel ($10 to $30). For root lift.
- Matte claw clip, medium ($5 to $12). Handy for sectioning.
- Quality bobby pins, 50 pack ($4 to $12).
Budget swap. If money is tight, buy a reliable round brush and a good thermal spray first; a cheap flat iron will still help more than skipping protection.
Where to start if you only change one thing
If you do one thing, build the lift at the roots before shaping the ends. Practice the blow-dry lift for a week and you will notice the style lasts longer through the day. Which of these steps would you try tomorrow morning? I’d love to hear what works for your hair.