
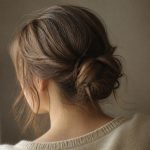
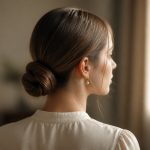



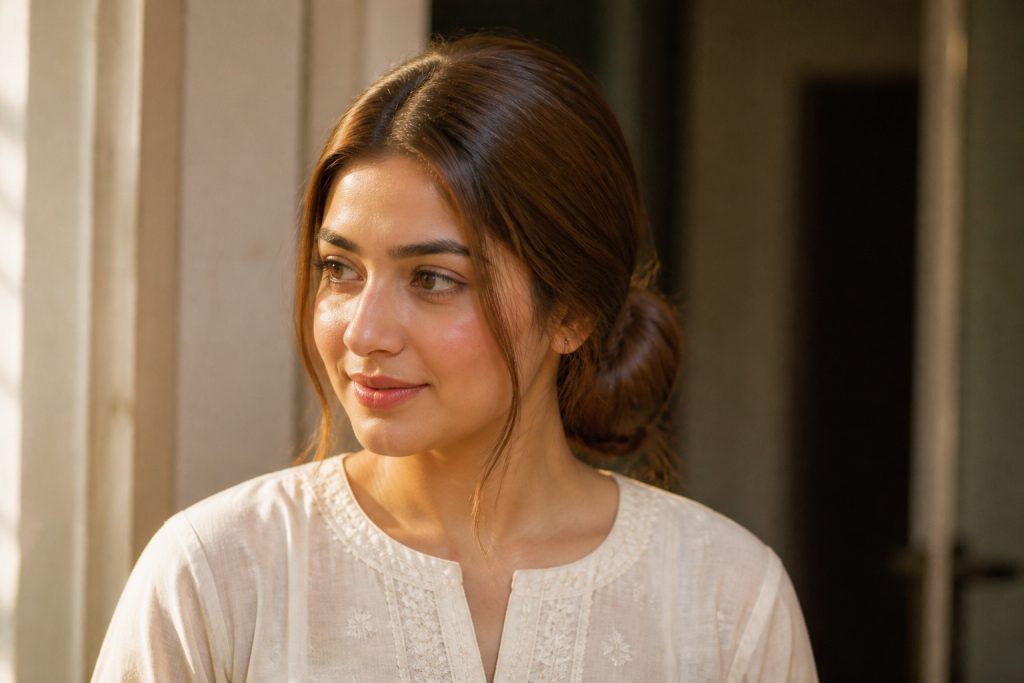

I mangled my first bridal dupatta placement once by tucking it into a messy half-up that collapsed by the pheras. After that, I tested everything I could: centre parts that read well under a maang tikka, low buns that carry heavy dupattas, and a few modern ponytails that actually survived dancing. Below are 14 looks I’ve tried or watched closely, each a practical take on a bridal hairstyle with dupatta indian brides really wear.
These ideas cover medium to long hair, straight to wavy textures, and a few braided options for denser hair. Most look salon-fresh in 20 to 40 minutes; a couple are true quick fixes. Everyone is moving toward visible front styling and dupattas pinned a little farther back.
Bridal Hairstyle With Dupatta Indian: 14 Face-Revealing Looks
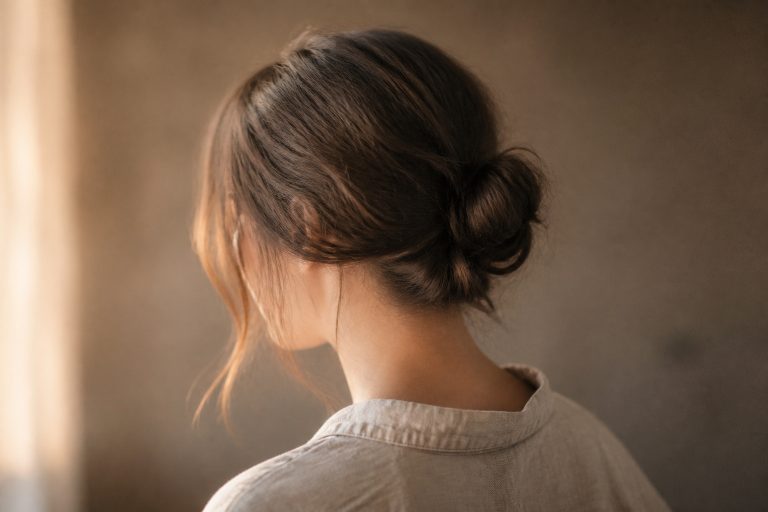
Classic low bridal bun with centre part and dupatta pinned back
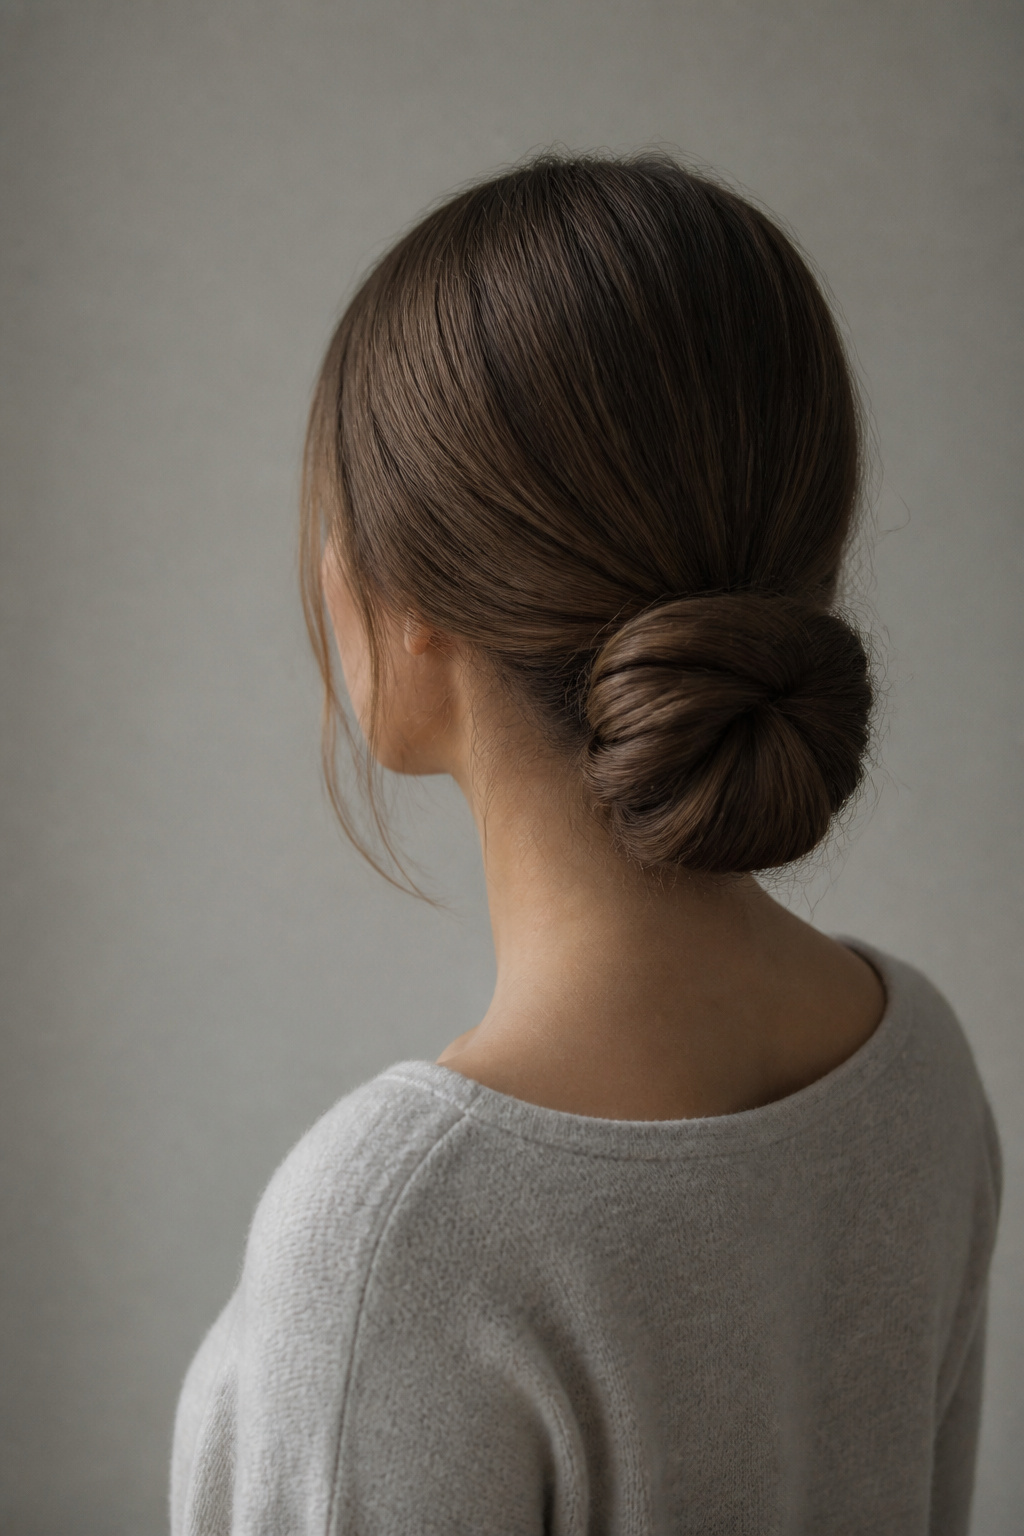

Best for medium to long hair. Lasts through long ceremonies with good pins. About 30 minutes with a stylist.
This is the workhorse of Indian bridal hair because it gives a clean face, a solid anchor for a heavy dupatta, and perfect symmetry for a maang tikka. The trick is a tight, compact bun sitting just above the nape, with the dupatta pinned to the hair just behind the part. Ask your stylist for a secure U-pin base and invisible U-pins to hide the anchor. Most people make the mistake of leaving too much volume on top; keep the crown smooth unless you want a front puff.
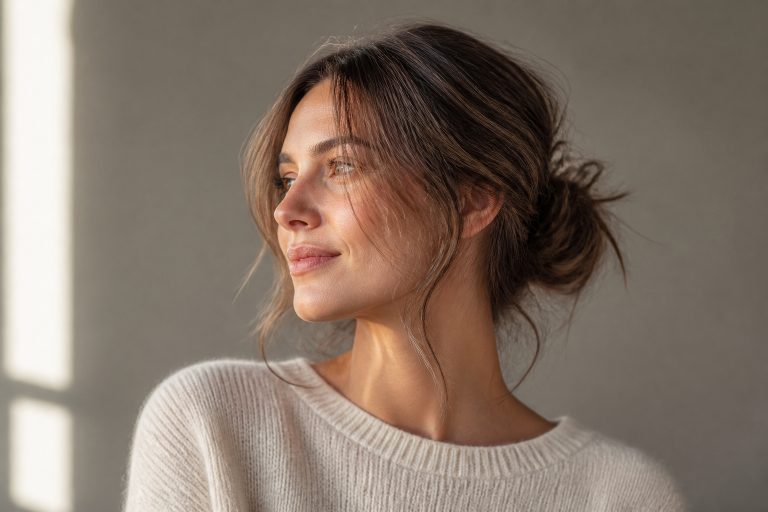
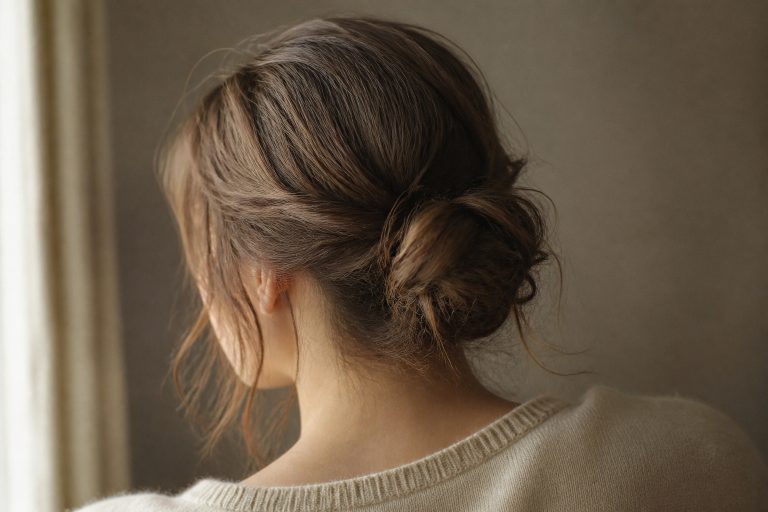
Messy curled low bun with soft face-framing wisps
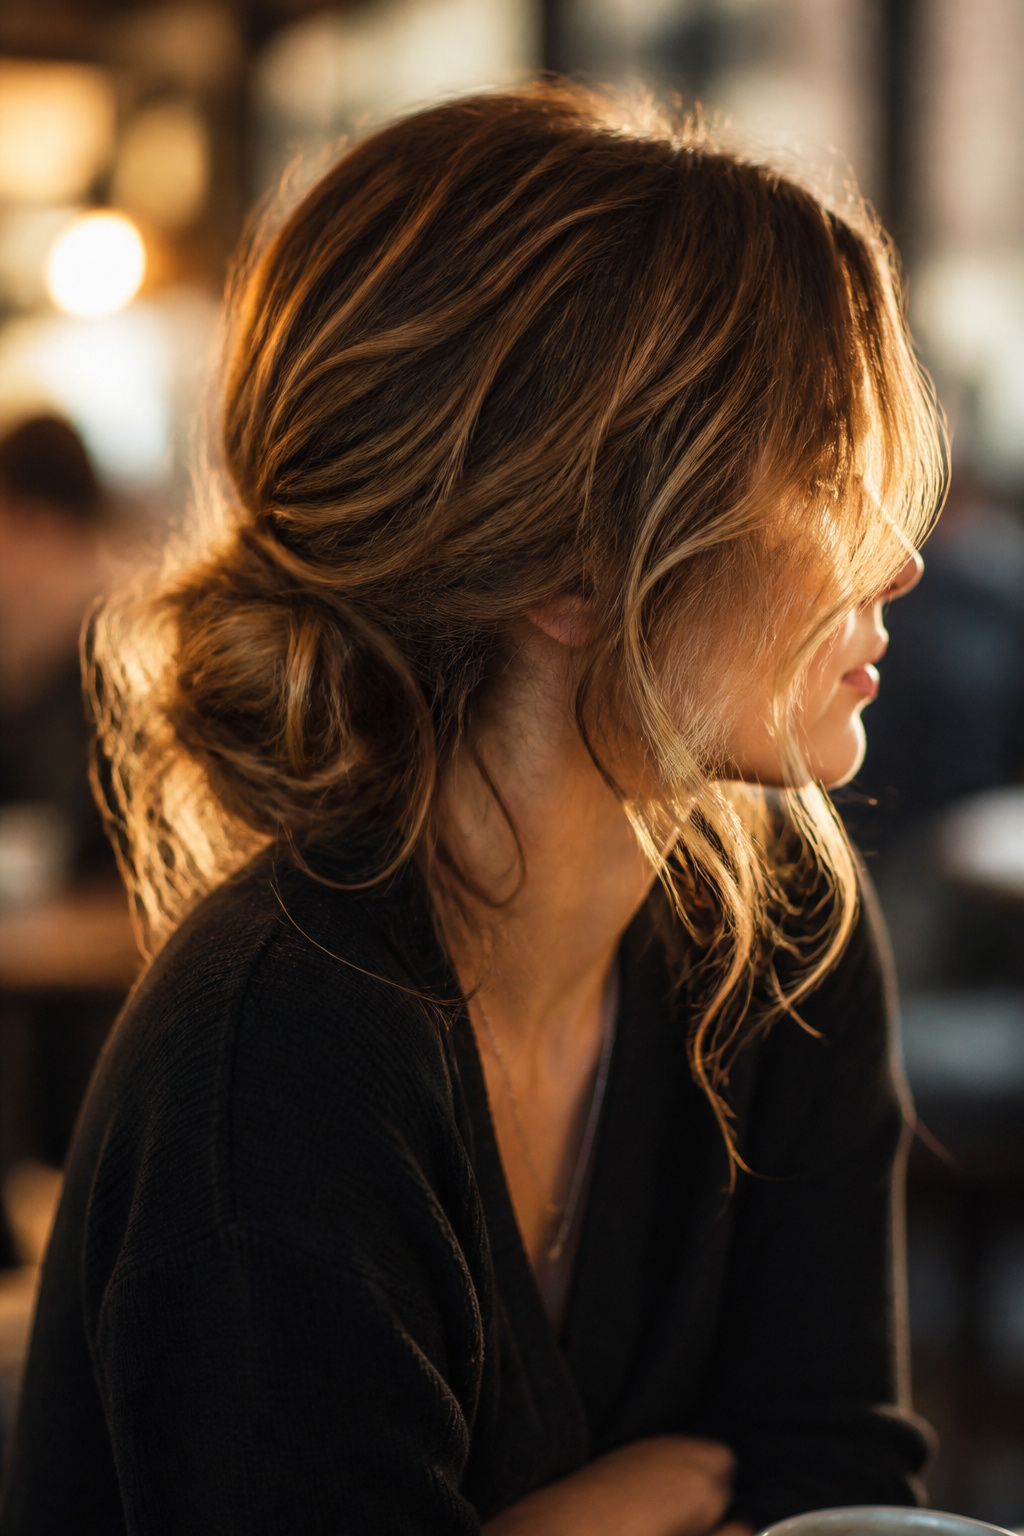

Best for medium to long hair. Grows out well and can be re-pinned. About 25 minutes.
This soft-glam version keeps the face visible and looks romantic in close-ups. Use a 1.25-inch barrel and curl away from the face, stopping the wand mid-length so the wisp stays loose at the ends. The mistake I made once was leaving the tendrils too long; they stuck to my makeup by hour three. Pin the dupatta behind the ear and into the bun so the front pieces can float free.
Medium-height bun with front puff for balanced profile
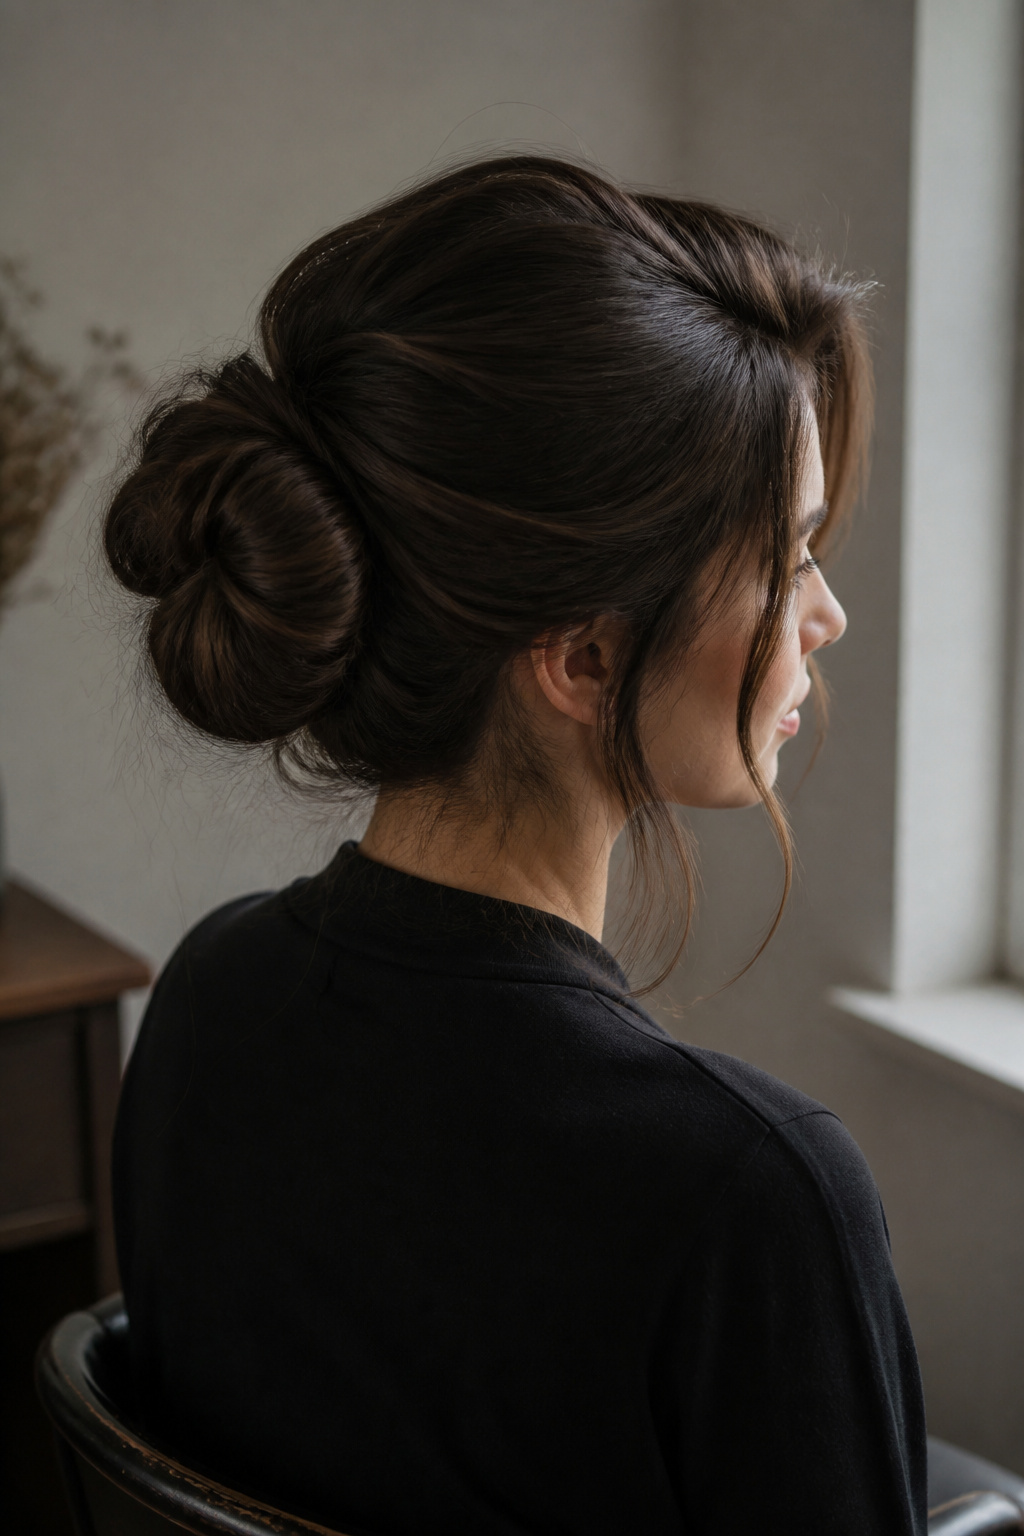

Best for thick hair and wider faces. Trim shape every 10 to 12 weeks. About 30 minutes.
This gives height without going full top knot, so jewellery and dupatta proportions look balanced. Backcomb the crown lightly and smooth over with a brush to keep it polished. The common error is overteasing until the silhouette looks top-heavy; keep the puff modest and pin the dupatta slightly back to show the part line.
High bridal bun with donut support
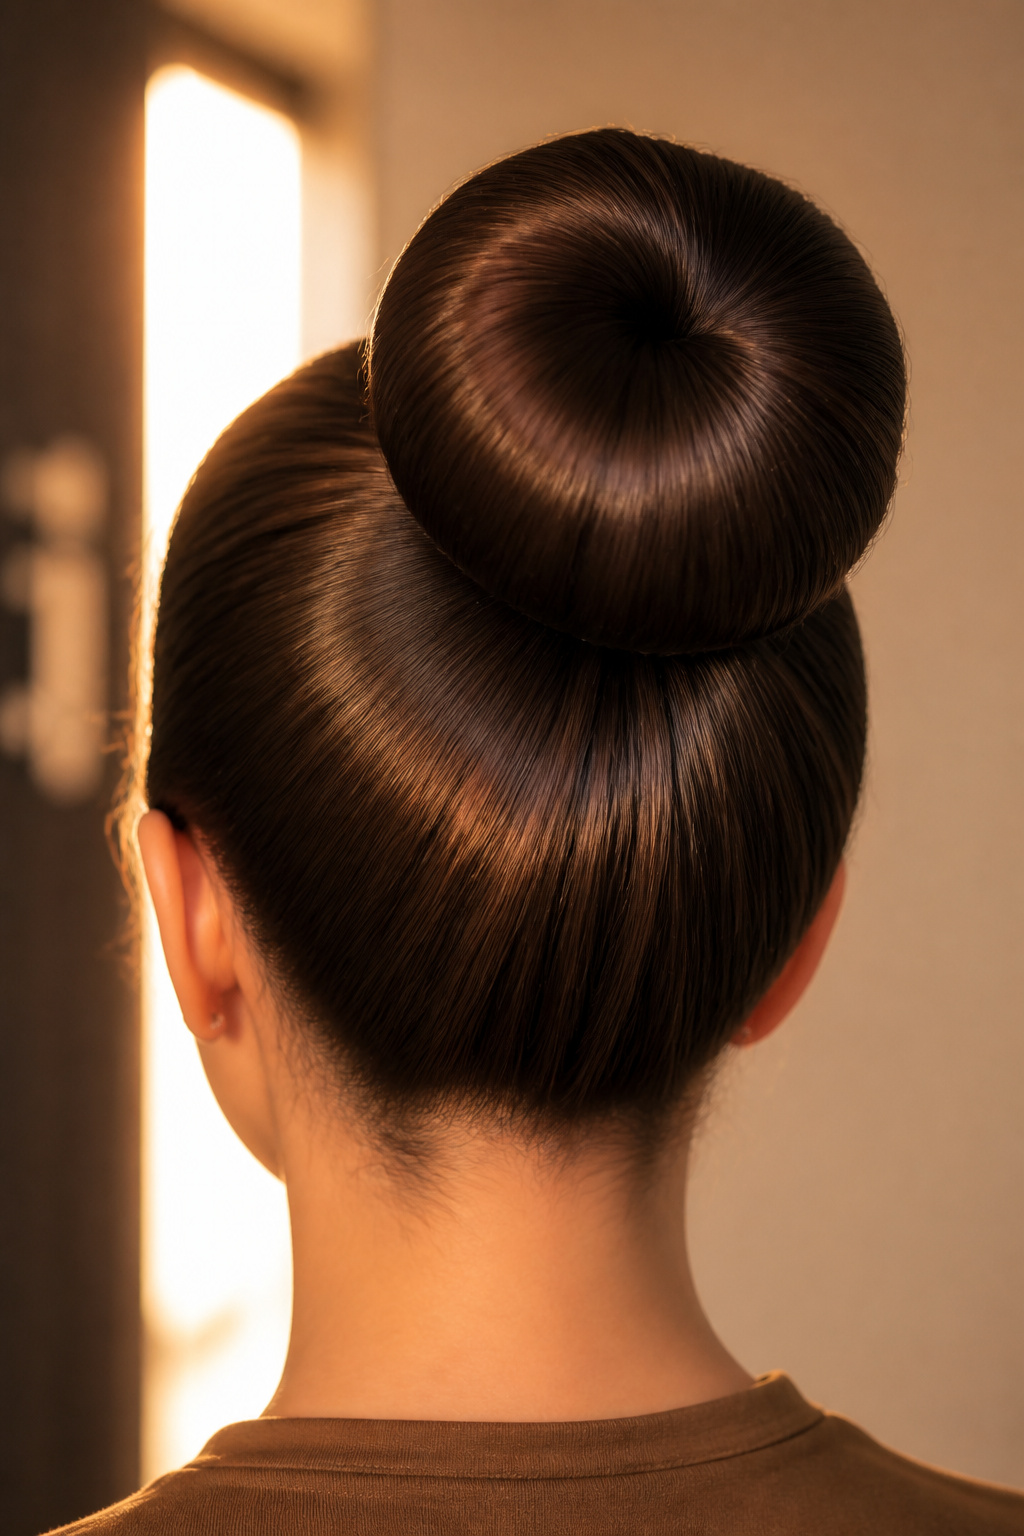

Best for medium to long hair. Very structured, not great for humidity. About 35 minutes.
If you want an elevated silhouette for heavy head jewellery, build the bun over a donut for volume and structure. Use firm pins and anchor the dupatta into the base of the bun. Honest moment: I loved the look but found it uncomfortable after a few hours; high buns can pull on the neck if over-tightened. Ask for a balanced pinning that’s secure but not painful.
Reverse French braid into a bridal bun


Best for long, dense hair. Stays secure all day. About 40 minutes.
This is a quiet structural hero—braid from the nape upward into a bun so the braid lines peek beneath the dupatta. The braid creates internal support, so you need fewer external pins. I didn’t link a product here because it’s a cut-and-technique style to ask your stylist for. Most people underestimate how neat the braid needs to be; sloppy plaits make the whole look read messy under a veil.
Traditional bridal bun with gajra
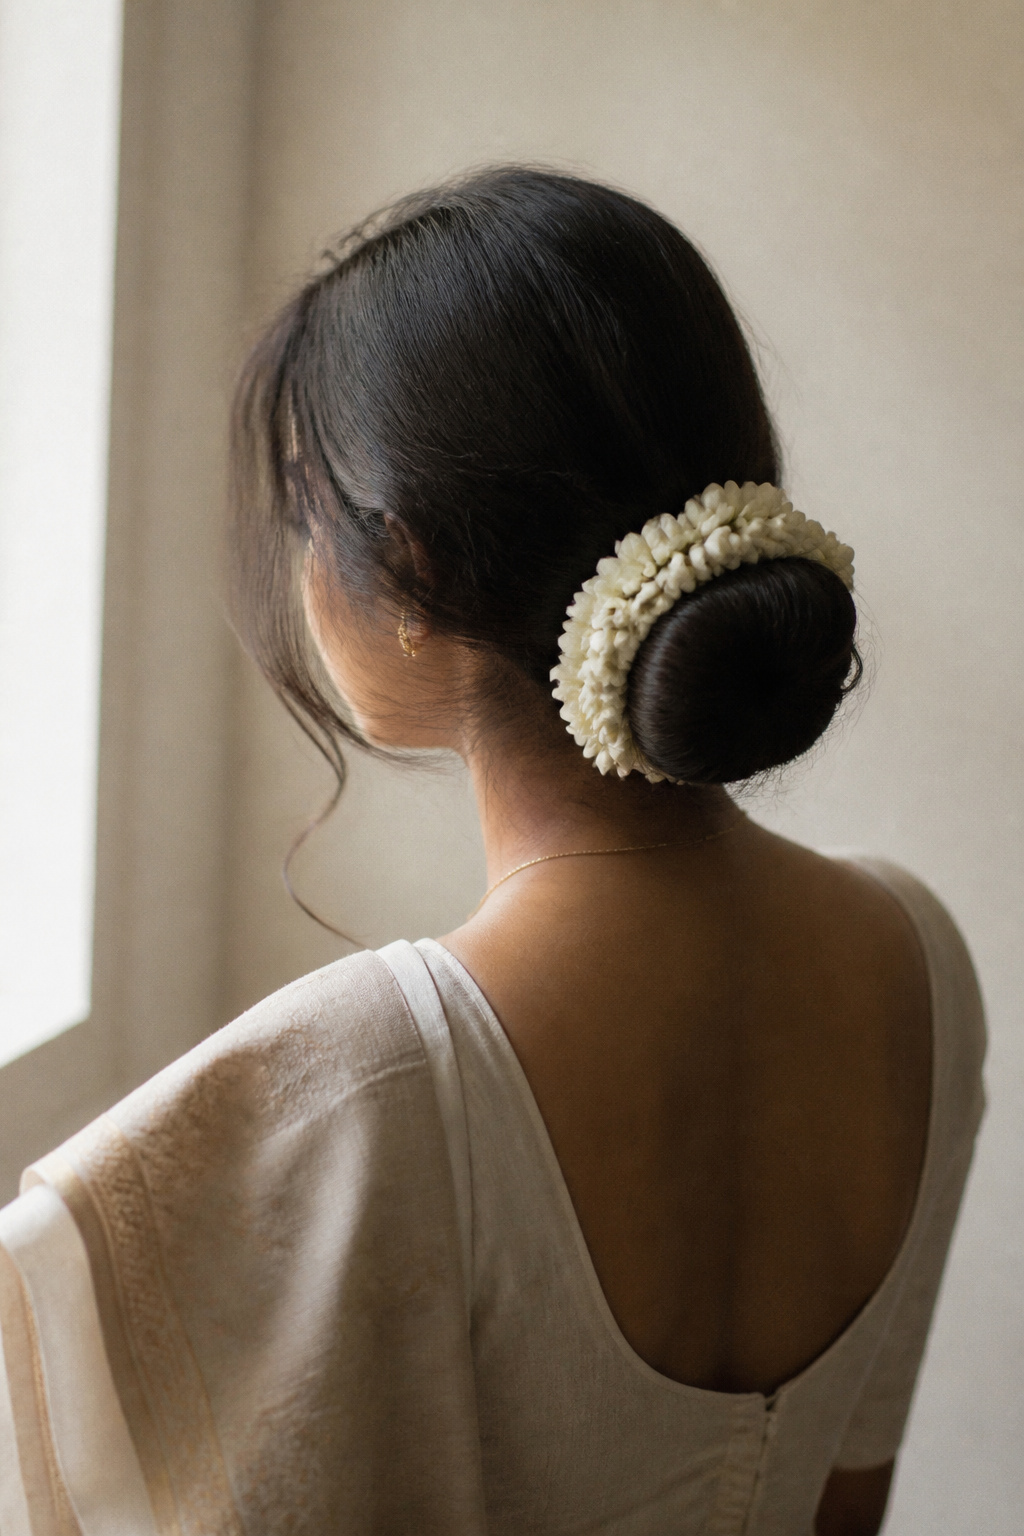

Best for medium to long hair and traditional ceremonies. Lasts through rituals. About 30 minutes.
A gajra instantly reads ceremonial and photographs beautifully. Wrap the flowers around a compact bun and pin the dupatta above the bun, not into the flowers. The common mistake is adding too much floral volume that competes with the dupatta; keep the gajra neat and proportionate.
South Indian braided bun with jasmine and temple jewelry
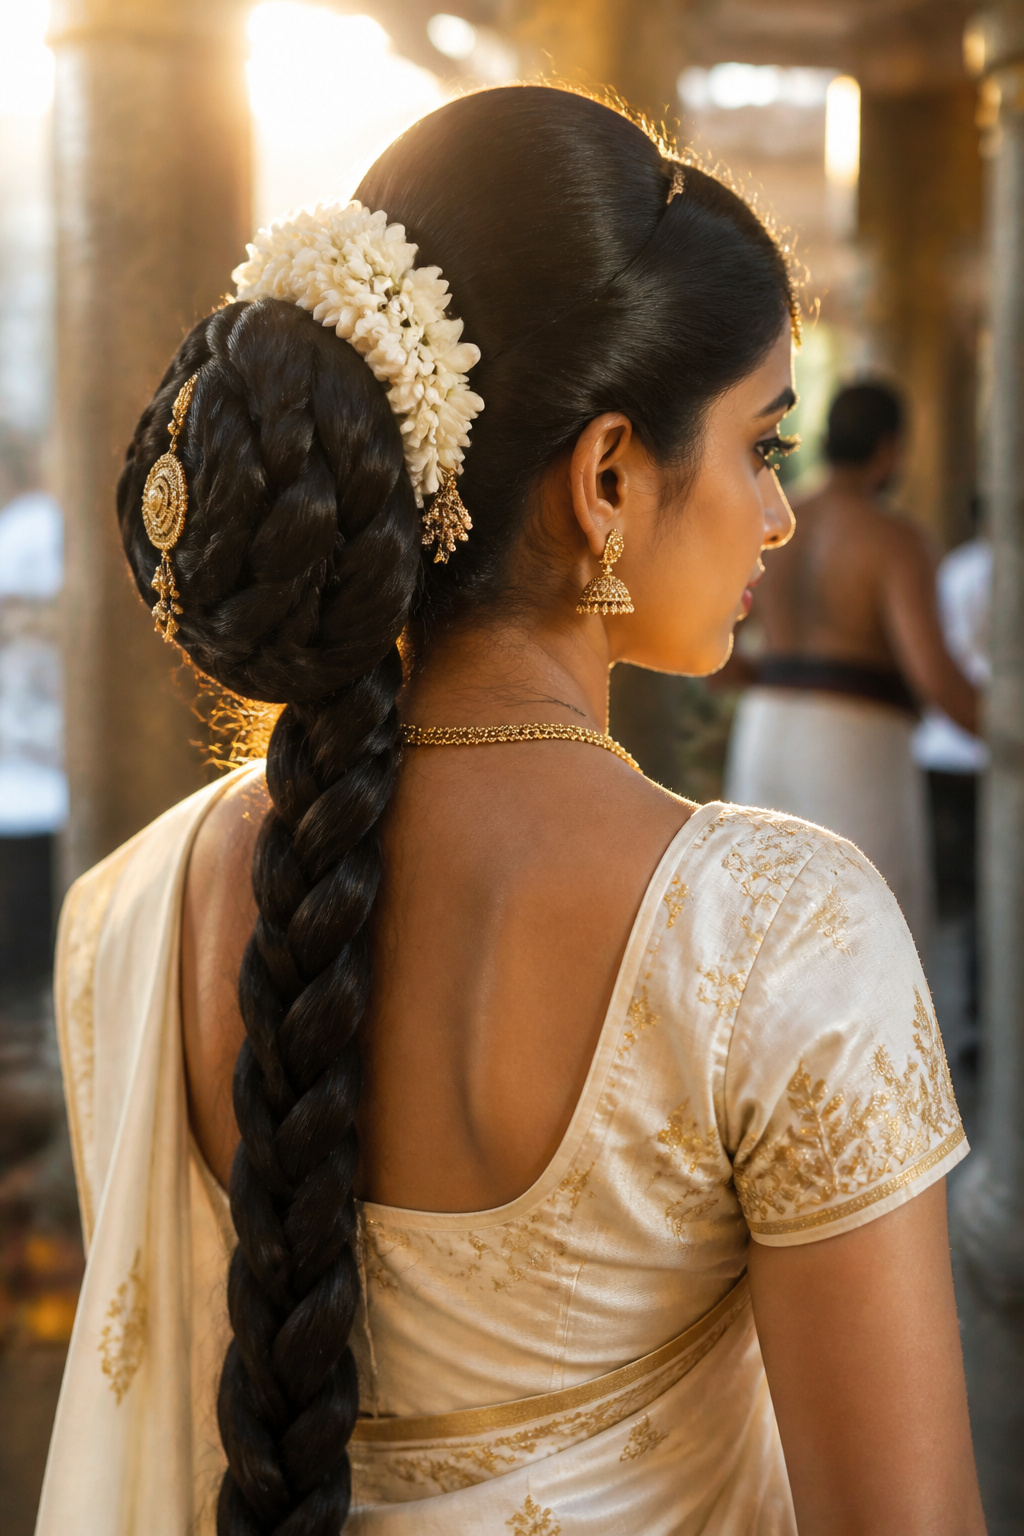

Best for very long hair and traditional South Indian looks. Built to last. About 45 minutes.
This is the classic heavy-jewellery solution. Braid the length, coil it into a bun, then anchor temple jewelry and flowers. If you’re wearing heavy pieces, pin the dupatta into the braid base rather than the ornaments. Honest moment: my first attempt had the passa sliding; always test-move the jewelry before the ceremony.
Braided updo with pearl pins
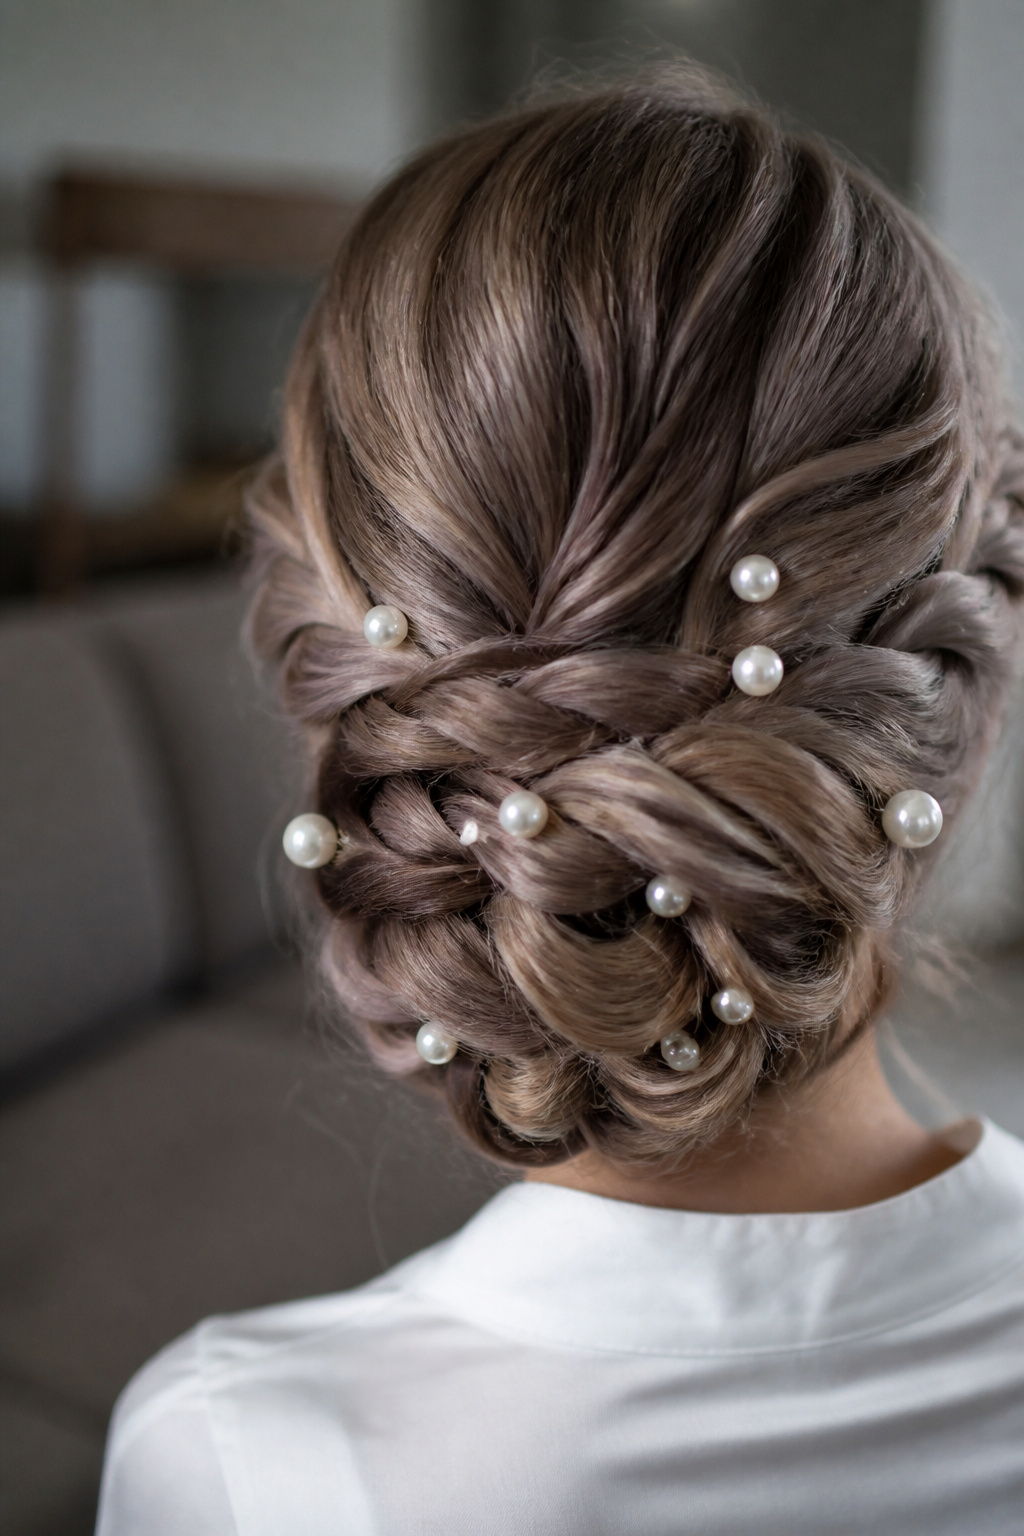

Best for medium to long hair. Very photo-friendly. About 35 minutes.
Add pearl pins after the updo to create decorative points that read under the dupatta. Place the dupatta pin slightly above the pearl accents so the jewels peek out without snagging. One mistake: shoving too many pins into a delicate braid can loosen it; add pins sparingly.
Half-up, half-down curls with dupatta draped farther back
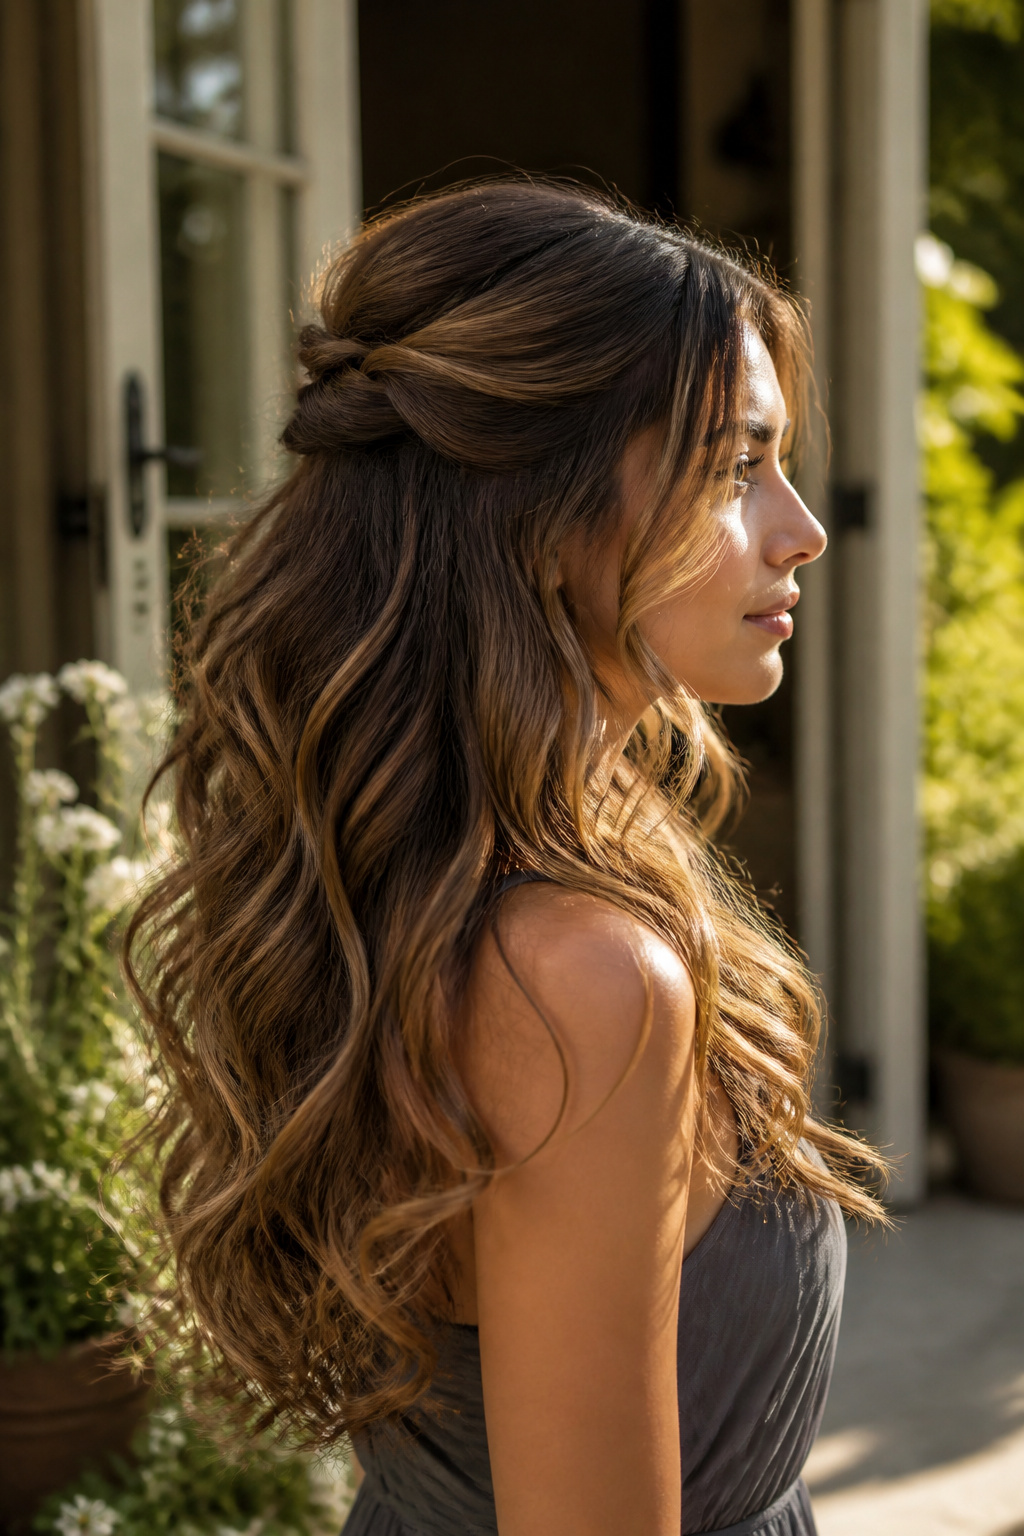

Best for long hair that holds a curl. Re-styleable for evening functions. About 20 minutes.
This lets you show length while keeping the face clear. Clip the half-up bump and pin the dupatta behind that section so it sits on the crown volume, not the forehead. The trick is stopping curls mid-length so they read soft below the dupatta edge. Most people find the dupatta slips forward; use invisible U-pins into the half-up base.
Front-framing soft waves with dupatta pinned behind the ears


Best for medium hair and close-up photos. Low upkeep. About 15 minutes.
Small S-waves at the front keep the face visible and elegant. Curl away from the face on the top sections and pin the dupatta behind the ears so the waves are unobstructed. Don’t leave flyaways untreated; a little smoothing serum along the part keeps it camera-ready without a greasy look.
Tiny defined temple curls with a polished updo
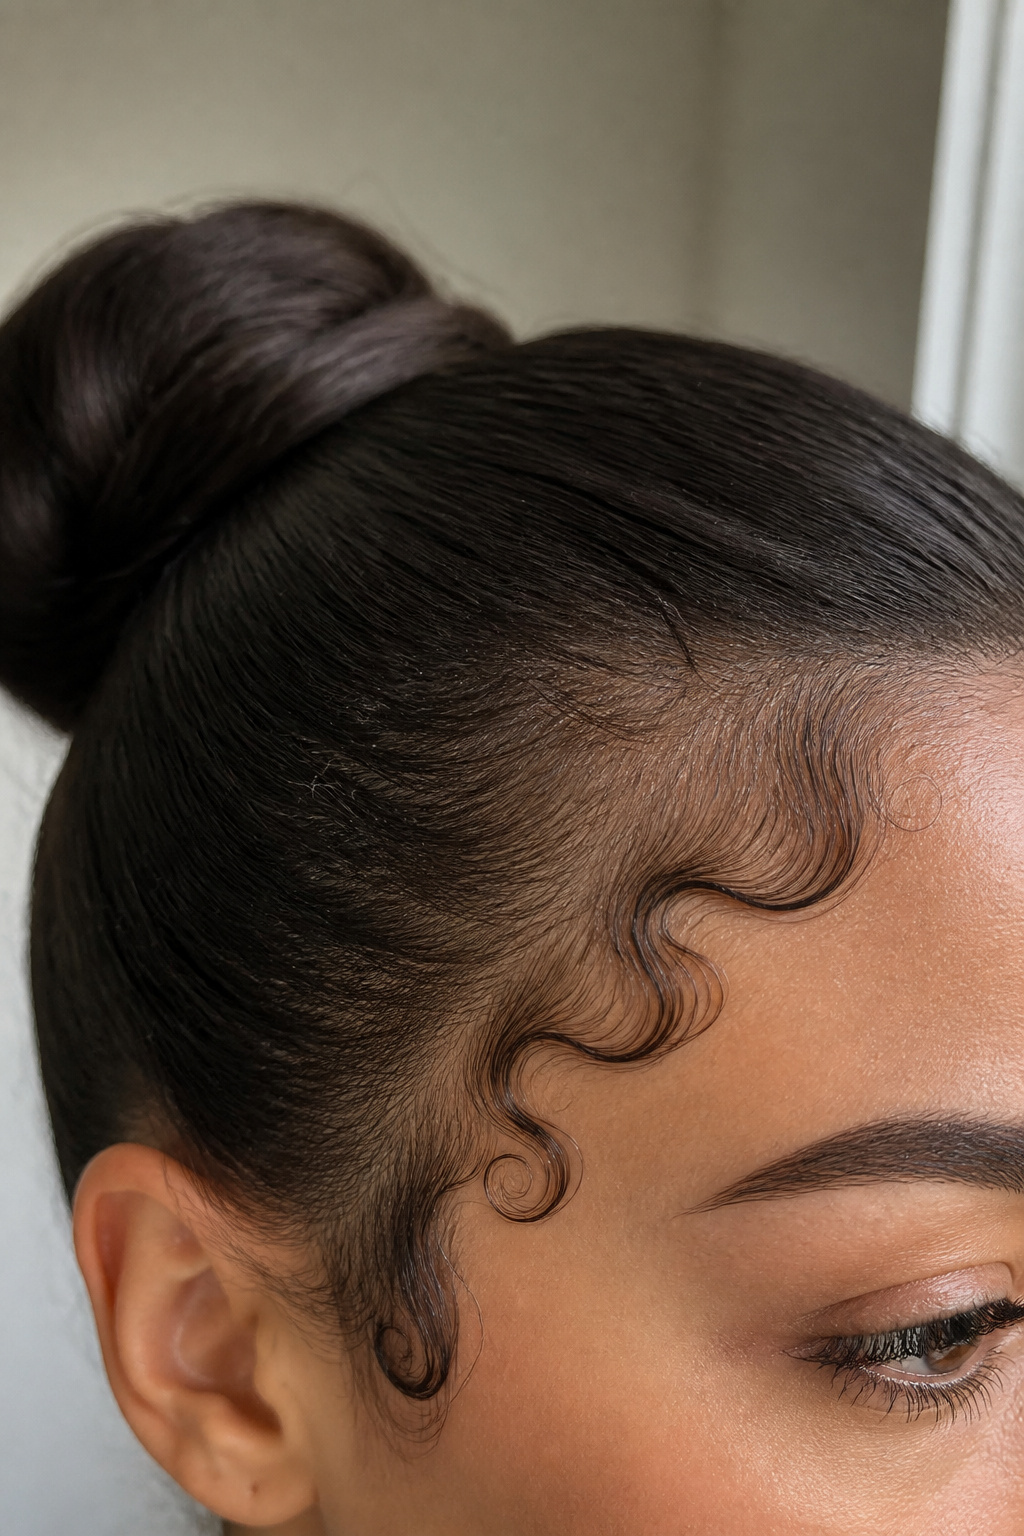

Best for medium to long hair. Polished and retro. About 25 minutes.
Micro-curls at the temples add vintage detail without exposing lengths. Use a tiny-barrel iron to form S-shaped curls and set with gel. Warning: leaving these too loose will make them stick to your forehead by hour two; pin them lightly or use a dab of setting gel.
Sleek glass-hair bridal look with secure dupatta placement
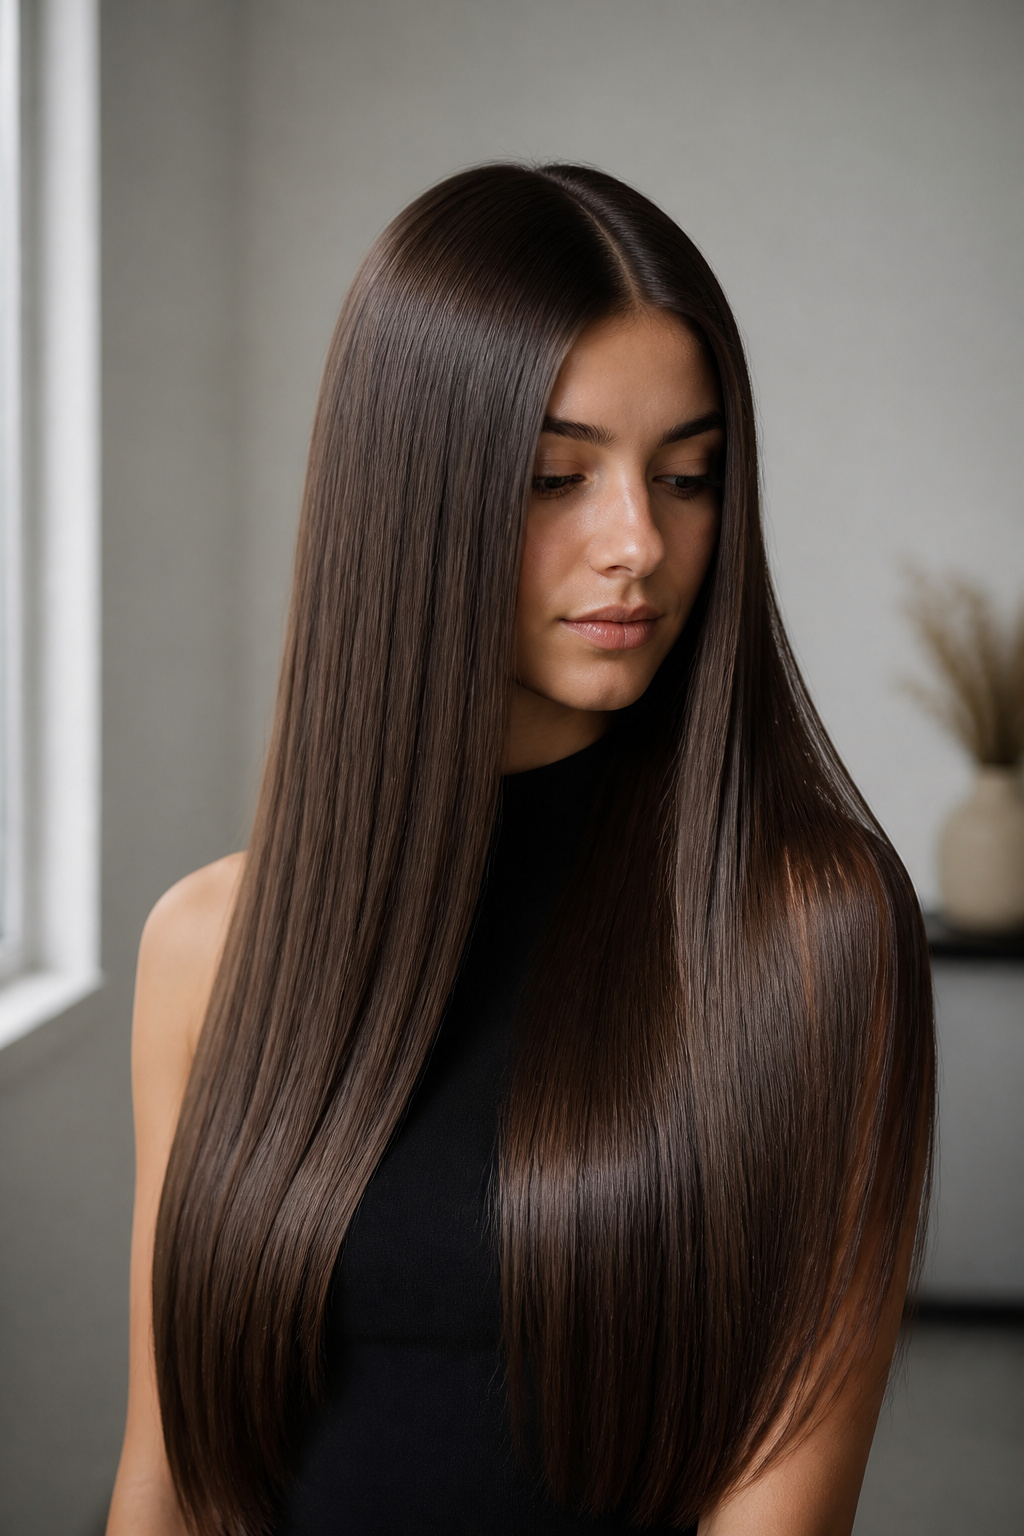

Best for straight to slightly wavy hair. Needs humidity-resistant products. About 30 minutes.
This modern approach keeps the face entirely visible and reads polished in photos. Flat-iron in small sections, finish with a smoothing serum, and pin the dupatta into the hair just behind the part. Overrated trend warning: glass hair looks amazing for portraits but can feel flat in motion if you crave texture.
Embellished ponytail for modern bridal functions
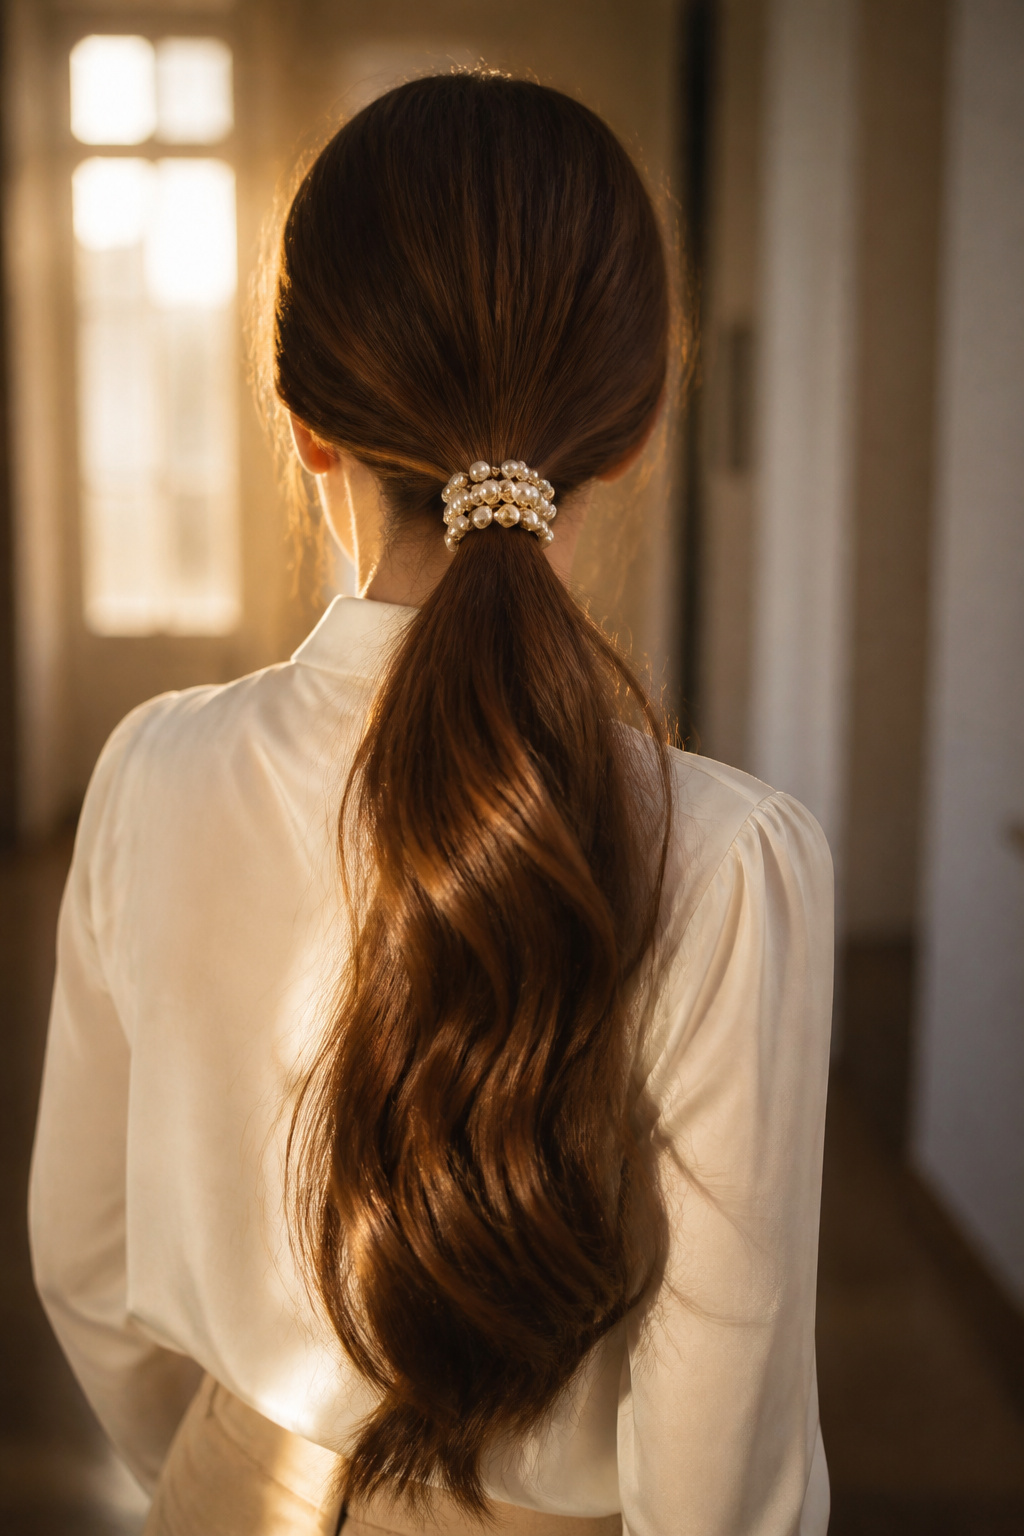

Best for long hair and reception events. Easy to touch up between dances. About 20 minutes.
A polished ponytail can be bridal when it’s ornamented and anchored properly. Wrap the tie with an embellished ribbon or a barrette and pin the dupatta behind the pony so it frames rather than hides the face. The mistake is a loose tie; use strong elastics and anchor pins under the embellishment.
Sleek low side bun with a visible part and maang tikka compatibility
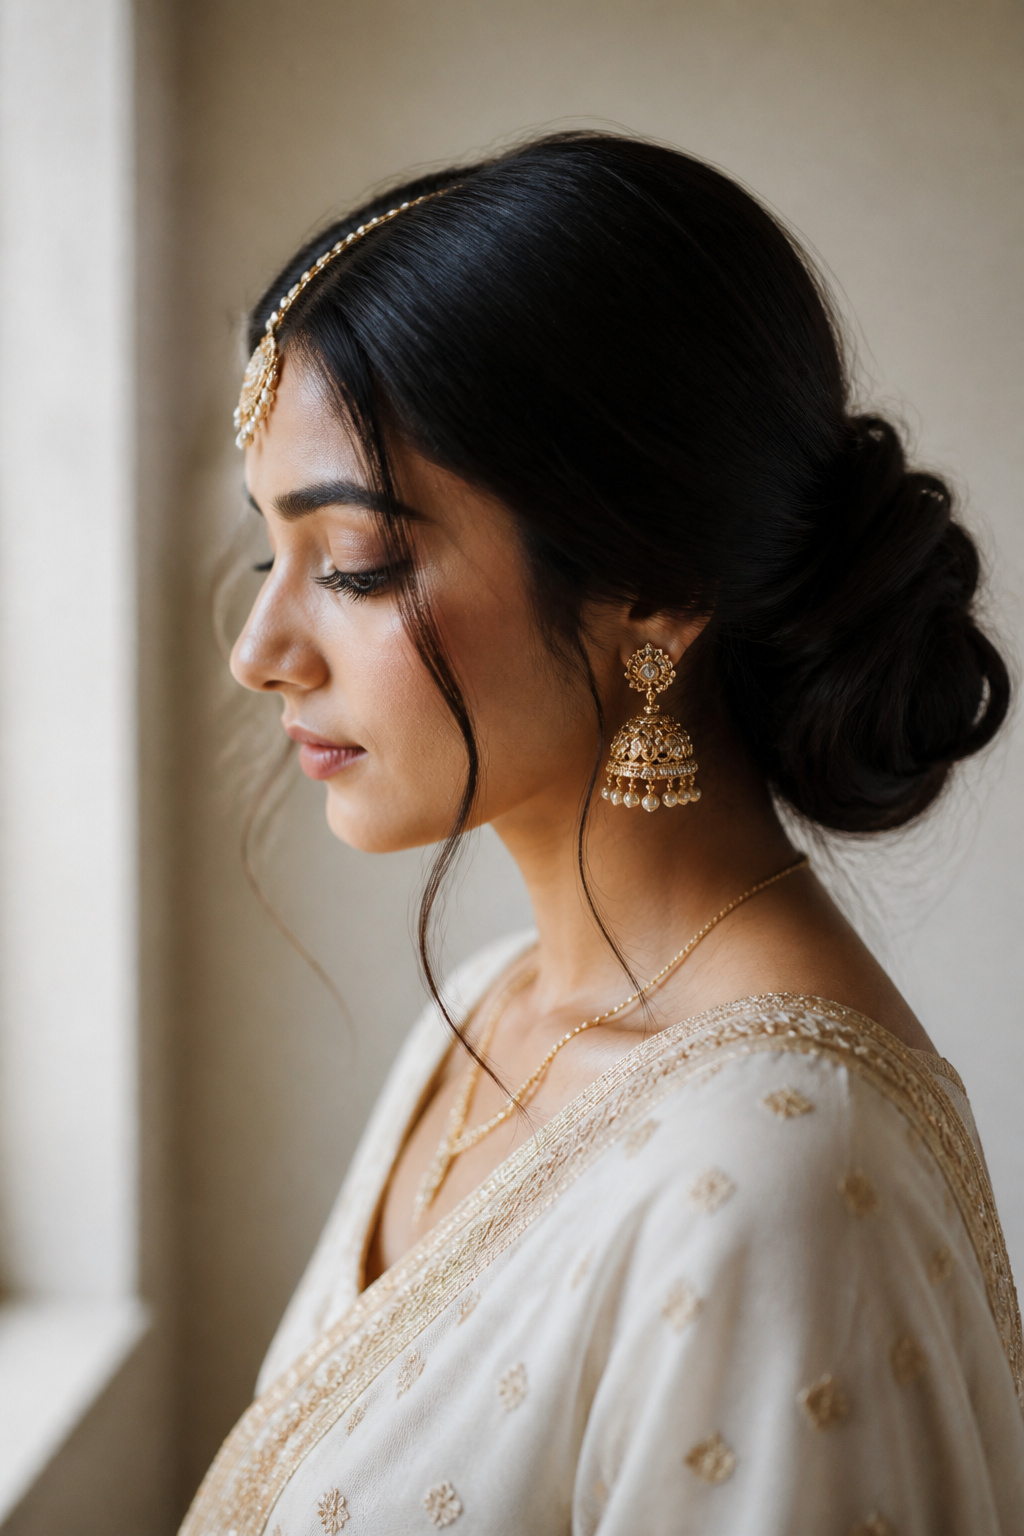

Best for brides wearing a maang tikka. Very traditional and neat. About 30 minutes.
Side or slightly off-centre buns let a maang tikka and passa sit perfectly while keeping the face visible. Keep the part crisp and pin the dupatta behind the part so the tikka sits on bare skin. If the part blurs, your jewellery won’t sit correctly.
What You'll Need to Get This Look
Heat Tools
- 1.25-inch ceramic curling wand ($35 to $60)
- 1-inch titanium flat iron ($40 to $120)
- Ionic hair dryer with diffuser ($30 to $90)
Styling Products
- Humidity-resistant strong-hold hairspray, 10 oz ($12 to $25)
- Smoothing serum, 2 oz ($8 to $25)
- Alcohol-free volumizing mousse, 8 oz ($6 to $18)
Hair Care and Protection
- Heat protectant spray, 5 oz ($7 to $20)
- Lightweight leave-in cream, 4 oz ($6 to $22)
Accessories and Finishing
- Invisible U-pins, pack of 25 ($5 to $12)
- Donut bun maker, medium ($4 to $10)
- Pearl hair pins set, 20 pieces ($6 to $18)
- Artificial jasmine gajra, set ($8 to $25)
Budget Swaps
- Drugstore strong-hold hairspray, 12 oz ($4 to $10)
- Drugstore smoothing serum, 1.7 oz ($3 to $8)
- Velcro rollers set, medium ($7 to $18)
Shopping Tips for These Looks
Buy tools during holiday sales. High-quality irons and wands drop 20 to 30 percent in November, so snag a 1-inch titanium flat iron then.
Prioritize invisible pins over fancy clips. Invisible U-pins hold dupattas discreetly and save the look; try a pack of Invisible U-pins.
Drugstore swap for everyday hold. A drugstore strong-hold hairspray is good for rehearsals; upgrade to a humidity-resistant formula on the wedding day.
Test the gajra and jewelry with your dupatta. Bring the actual dupatta to your trial and pin it with your pearls or hair pins to check balance and visibility.
Frequently Asked Questions
How do I keep a heavy dupatta from dragging my hairstyle down?
Anchor the dupatta into the hairstyle with multiple pins and internal support. Use Invisible U-pins and a compact bun or braid base for best hold.
My hair is fine. Which look shows the face but still looks full?
A low bun with a centre part or a slightly backcombed front puff adds volume without bulk. Use a donut bun maker, medium to create the illusion of thickness.
Will sleek glass hair survive humidity?
Only with the right products. Prep with a heat protectant and finish with a humidity-resistant strong-hold hairspray.
I have very curly hair. Can these styles work?
Yes. Braided updos and bun styles adapt well to curly textures. Use leave-in cream and set with pins rather than a lot of product so the curls stay defined and the face remains visible. Try a lightweight leave-in cream.
Final Thoughts
Start with one change that matters to you: if the face needs to show, pin the dupatta just behind the part or the crown. My go-to is the low centre-part bun because it survives ceremonies and flatters most faces. Which look are you trying first, and do you want a version for short or coily hair?